When it comes to a good easy sandwich roll, a homemade one is hard to beat. Finding a great recipe is also a bit of a challenge.
I wanted a recipe that didn’t require an overnight sponge or two rising times. I wanted a recipe that could be done in just a couple of hours and have good texture and great flavor.
The recipe had to be versatile and most of all, fun.
First is the recipe as I made it and after, is a basic recipe that can be modified easily to give you a whole bunch of different results.
With practice, you could have these ready to eat within 2 hours.
Easy Sandwich Rolls
Ingredients
- 1 cup non fat milk
- 5 ounces water
- 1 Tablespoon honey
- 2 ounces butter
- 1 egg at room temperature, beaten
- 3 cups AP flour
- 1 cup whole wheat flour
- 1/2 cup mixed grains and seeds; soaked in 1/4 cup water
- 2-1/4 teaspoons instant yeast
- 1 1/2 teaspoons salt
- Wash and topping:
- 1 egg yolk with 1 Tablespoon water
- Sesame and poppy seeds and coarse salt
Method:
Remove the egg from the refrigerator and crack it into a bowl. Beat it slightly with a fork, set it aside to come to room temperature.
Heat the milk, water and honey with the butter just until the butter melts. Cool until the temperature falls below 120°F then beat in the egg.
Measure 2 cups of AP flour, yeast, and salt in the bowl of a stand mixer. On low-speed, add the cooled milk mixture until a dough forms.
Slowly add the remaining flour a bit at a time. The dough will pull away from the sides of the bowl and will not be sticky when enough flour has been added. You may need to add additional flour beyond what is called for in the recipe.
Once a soft non sticky ball has formed, knead for 5-8 minutes until smooth and elastic.
Zero a scale and weigh the dough mass. Determine how many ounces of total weight you have. You can determine how many rolls to make in one of two ways.
1. Divide the total weight in ounces by how many rolls you need. Then cut off dough balls that of that weight and all rolls will be the same size.
2. Decide how large you want the rolls. The rolls featured are 3.2 ounce dough balls.

- small slider rolls – 2 ounces – bake 10-12 minutes
- sandwich or burger size rolls – 3.2 ounces – bake 12-14 minutes
- large sandwich rolls – 4 ounces – bake up to 20 minutes
- Hot Dog Buns: 4 ounce rolled into oblong shape, slice open on top or side – bake up to 20 minutes
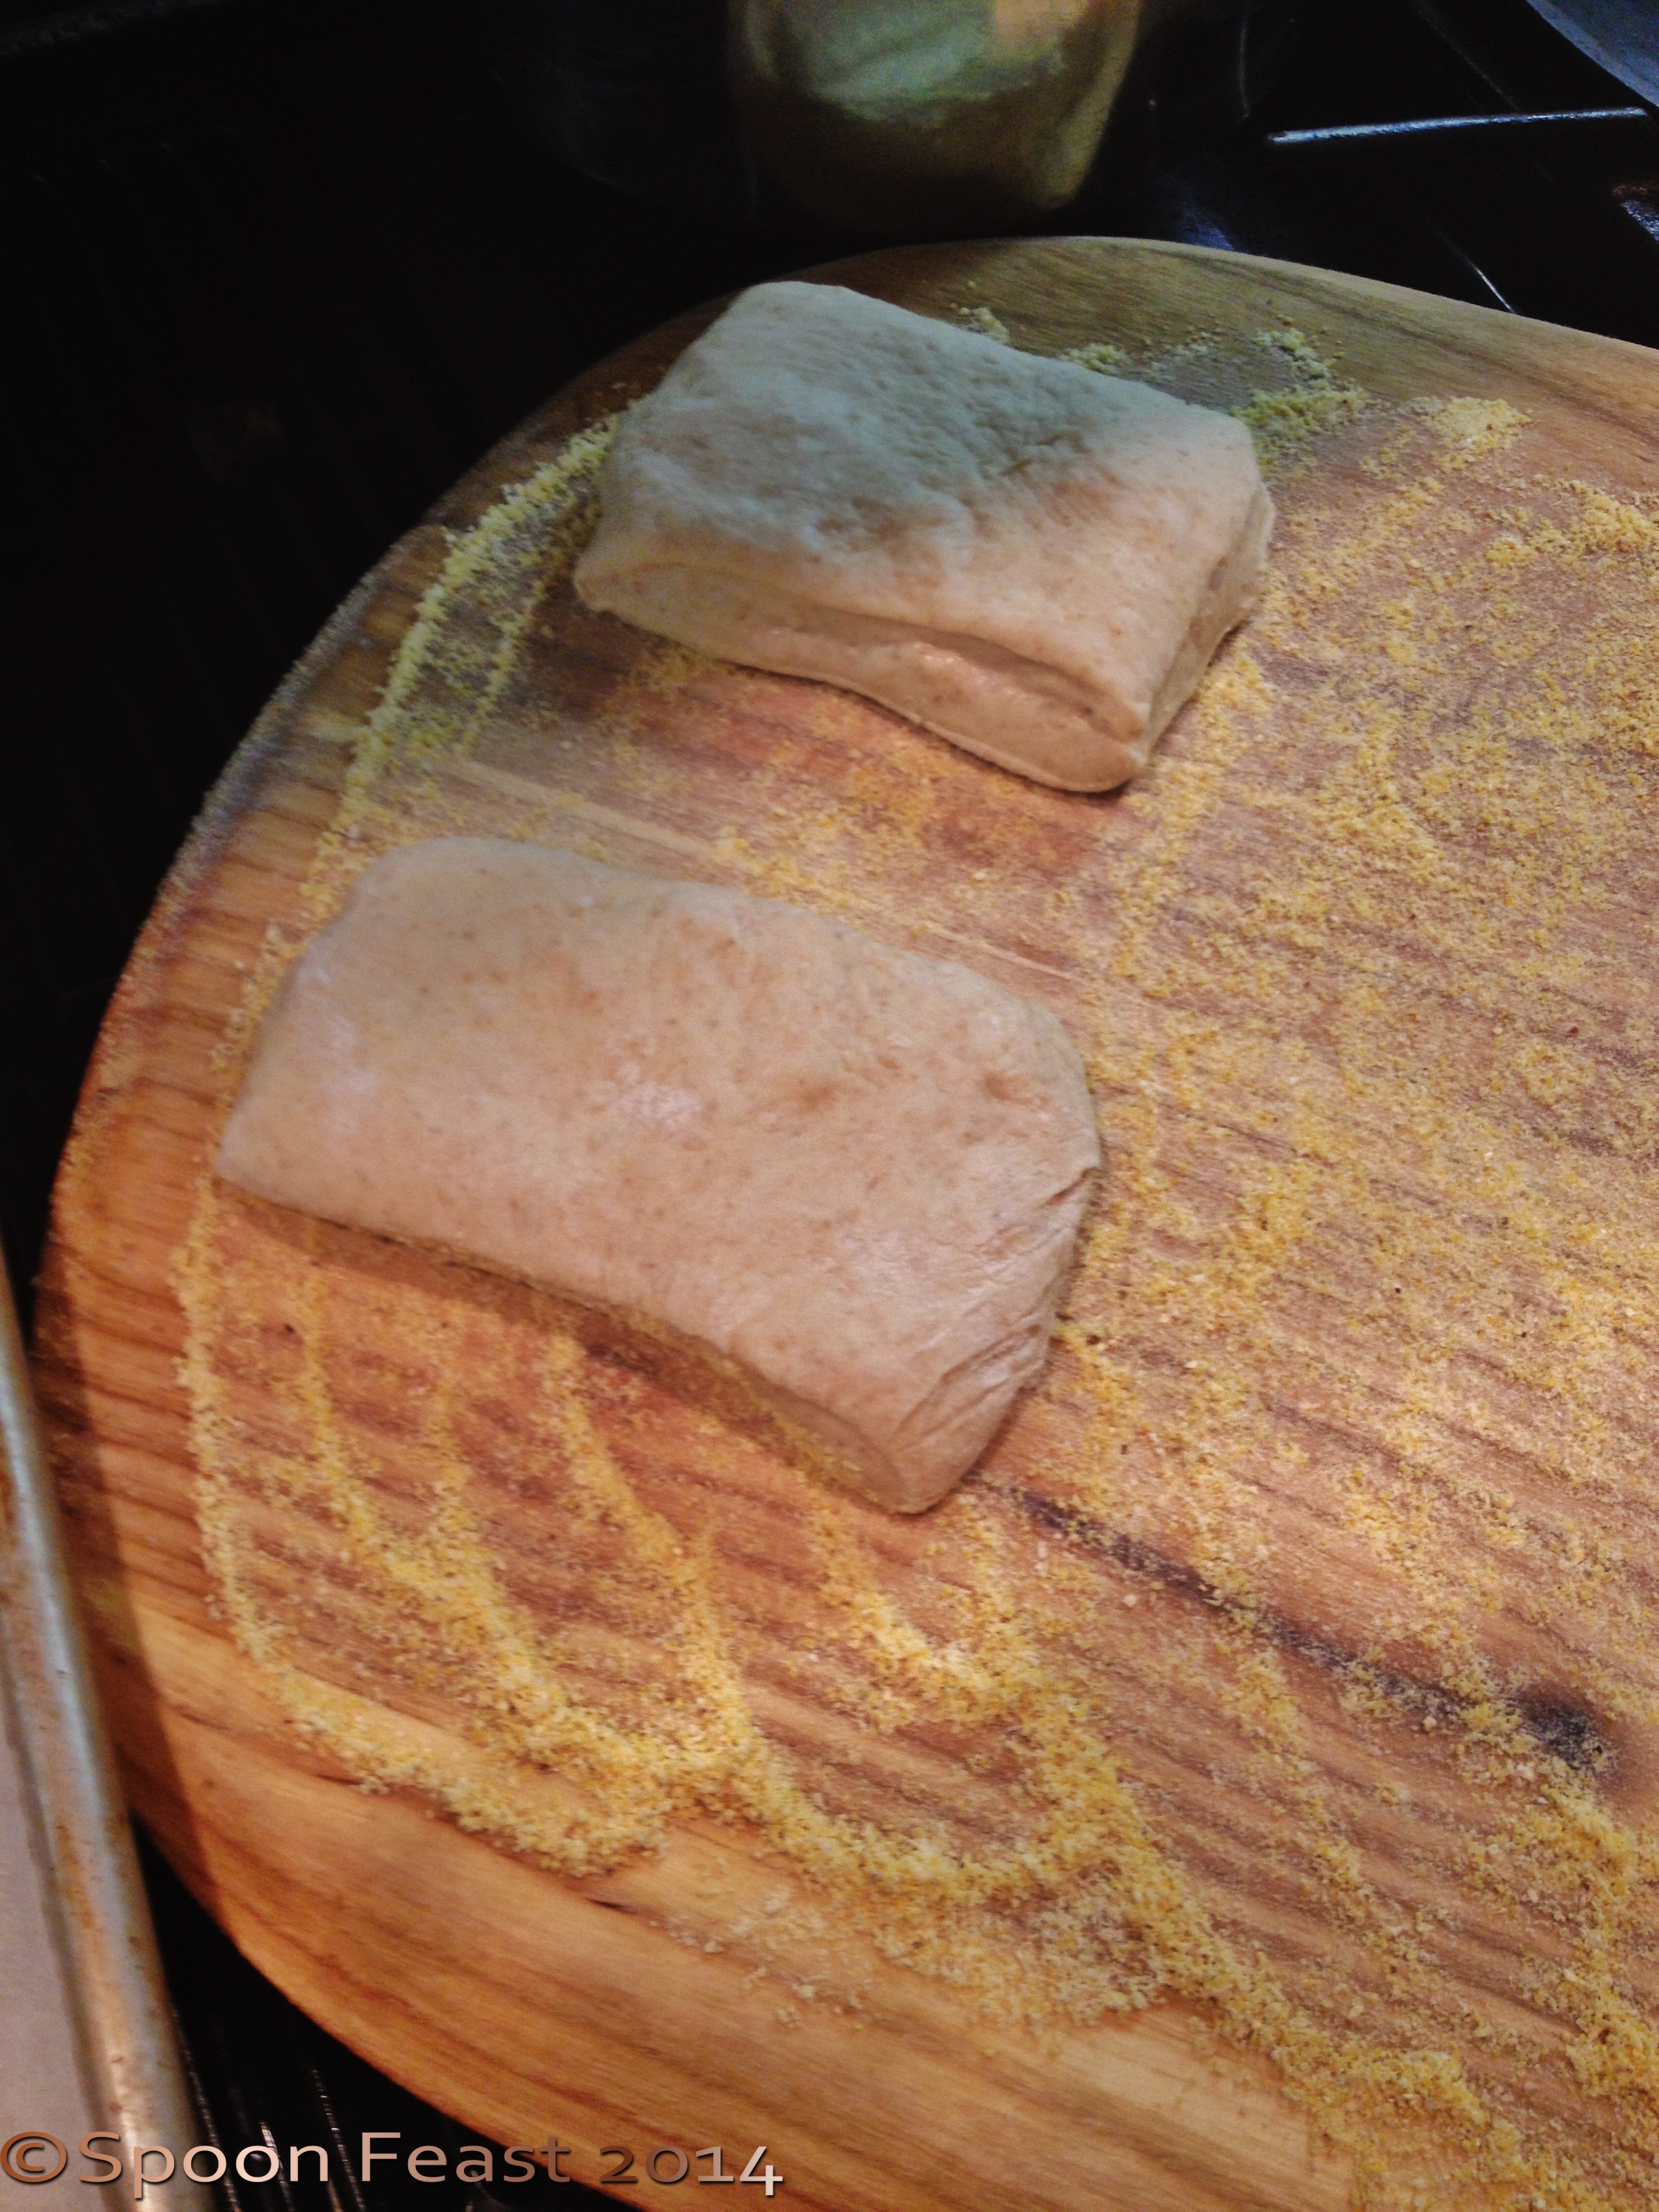
As the dough balls are weighed, round each dough ball to create a smooth top. Place them 3 inches apart on a parchment lined baking sheet. If desired, sprinkle a bit of cornmeal under the rolls.
Place the smooth dough balls onto the prepared baking sheet, cover with a piece of plastic wrap that has been sprayed with non-stick oil. Let the rolls rise until they double in size – in a warm kitchen this may take 30-40 minutes.
Meanwhile, pre-heat the oven to 400°F
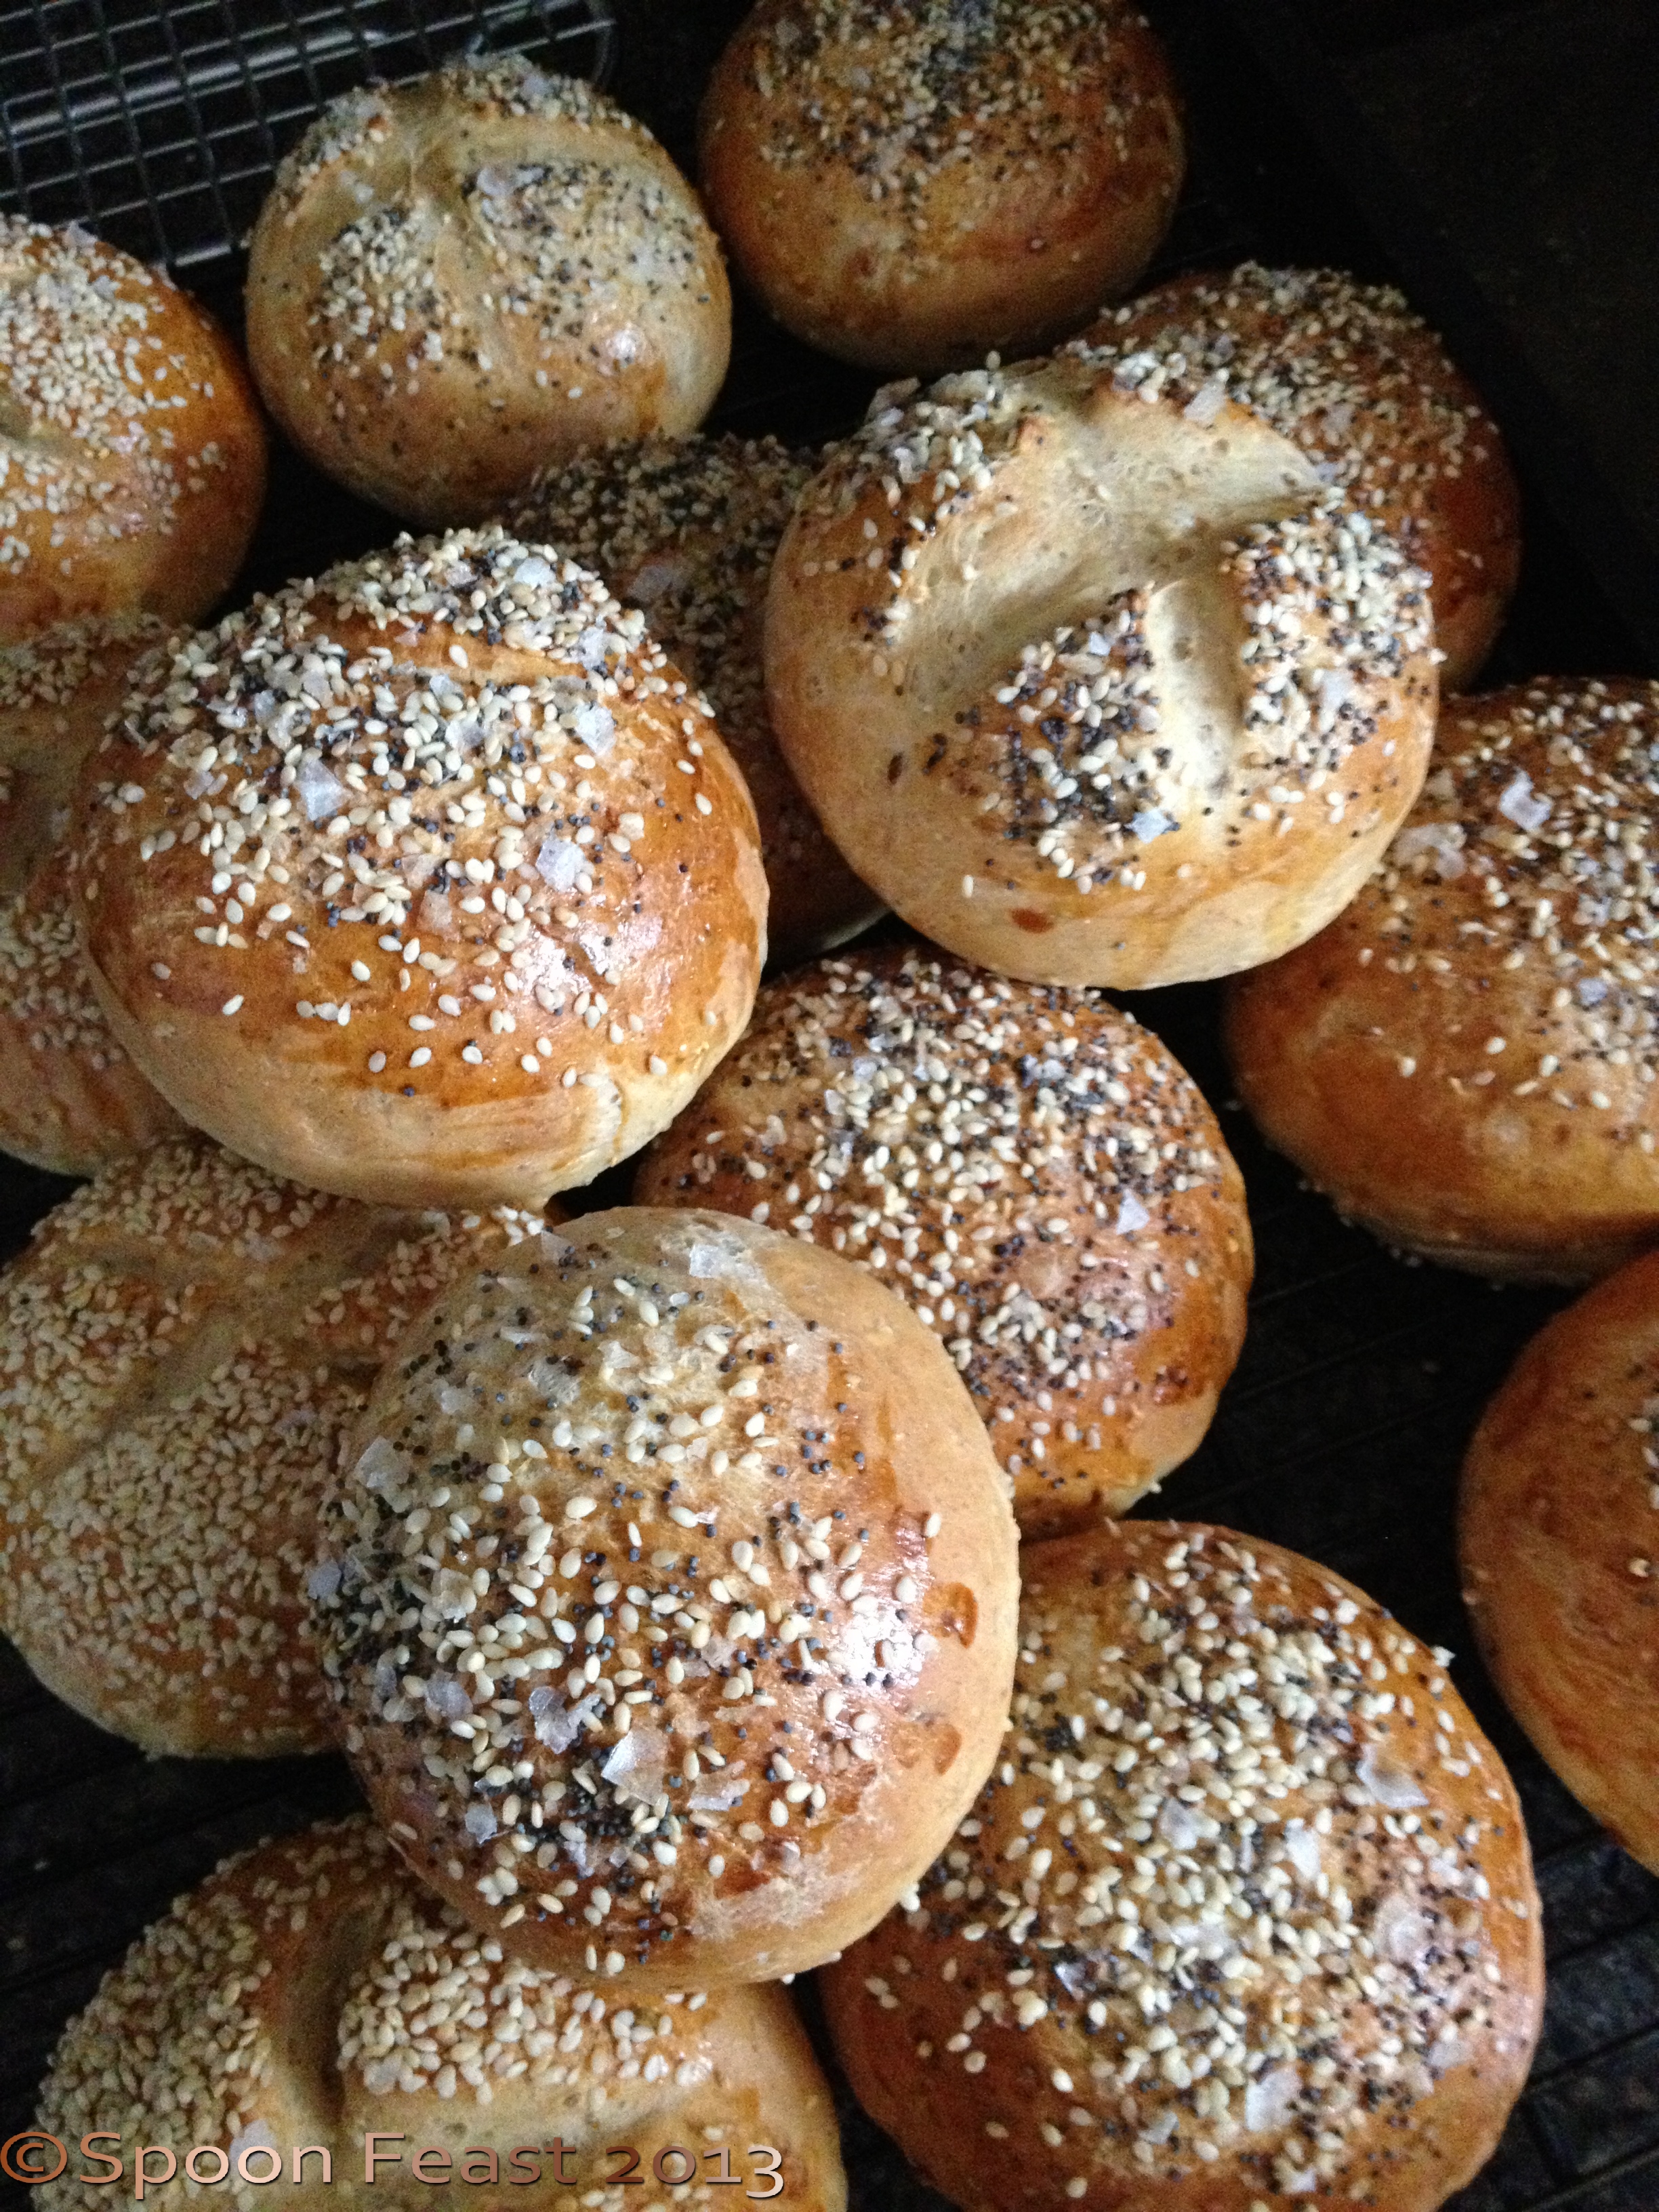
Once the rolls have risen, glaze them gently with egg yolk and sprinkle with seeds. The egg yolk helps the seeds stick and gives a nice shine to the finished roll. Brush the egg yolk on with a brush, being careful not to deflate the risen roll.
Bake the rolls in a 400°F oven for 12-15 minutes; 10-12 for the small rolls and up to 20 minutes for the larger rolls.
Verify internal temperature has reached 210°F and then cool the rolls on a rack. Be sure to space them so they don’t become soggy while cooling.
The final internal temperature should reach 210°F for any size.
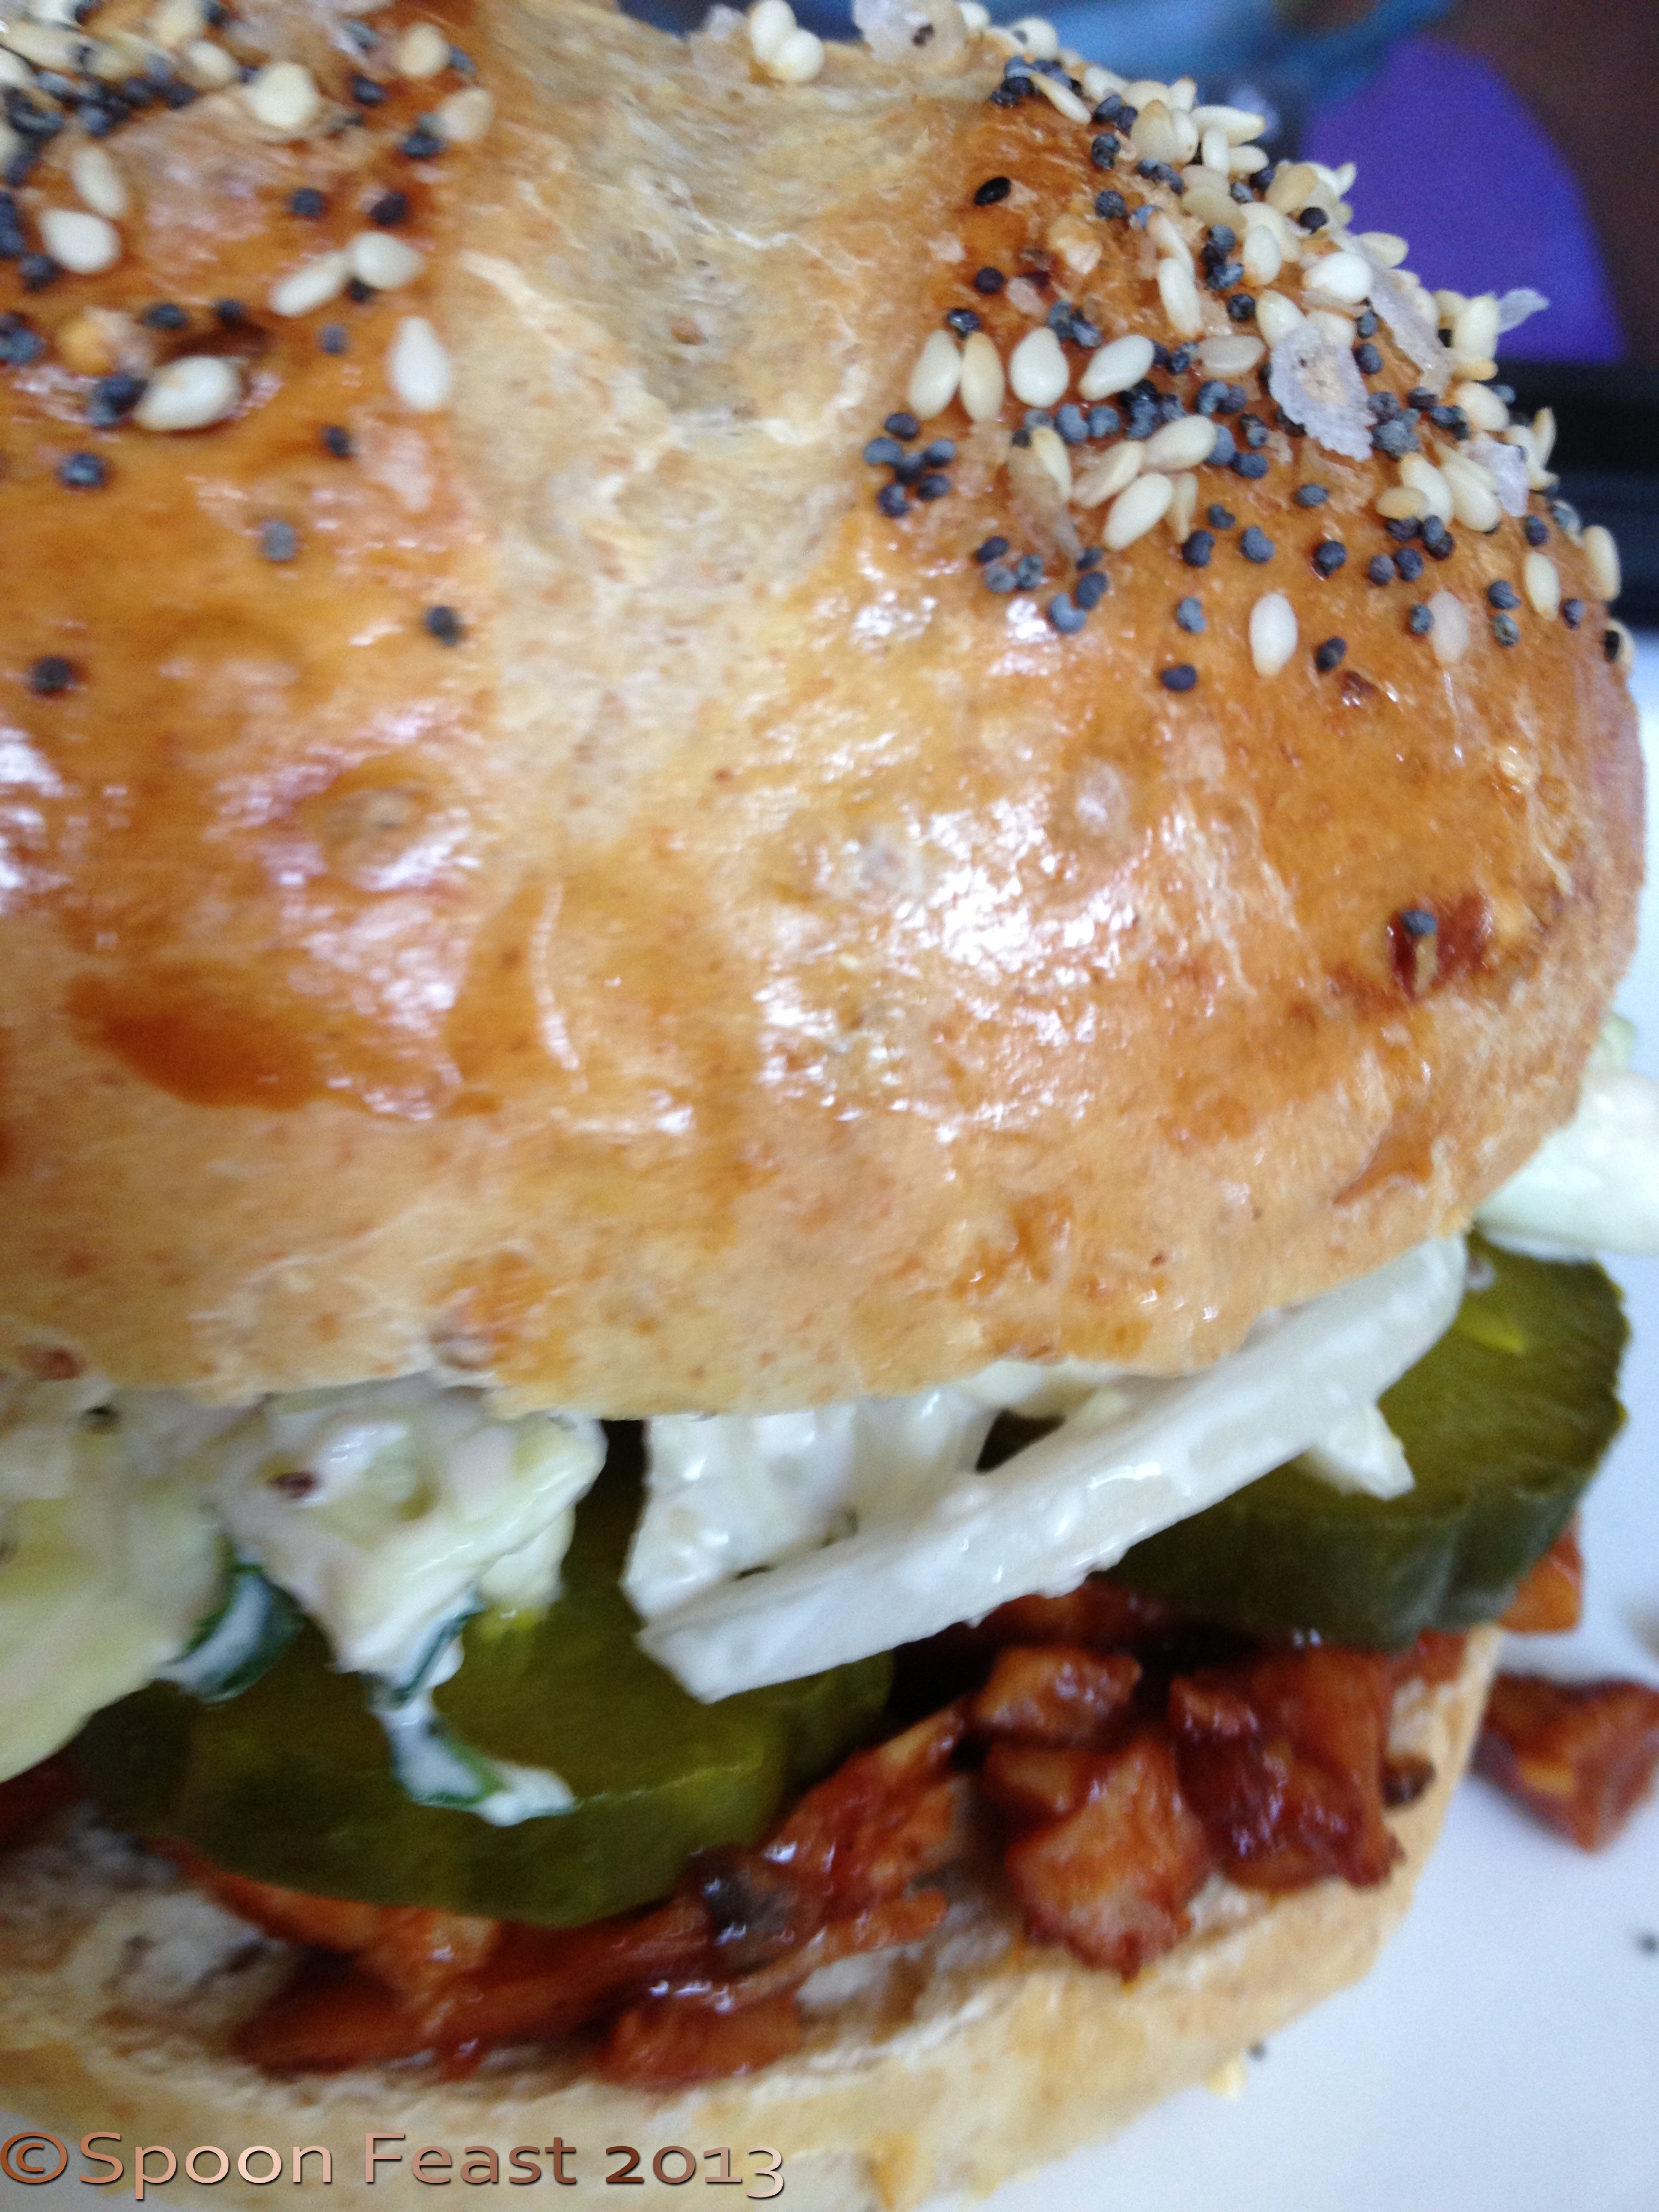
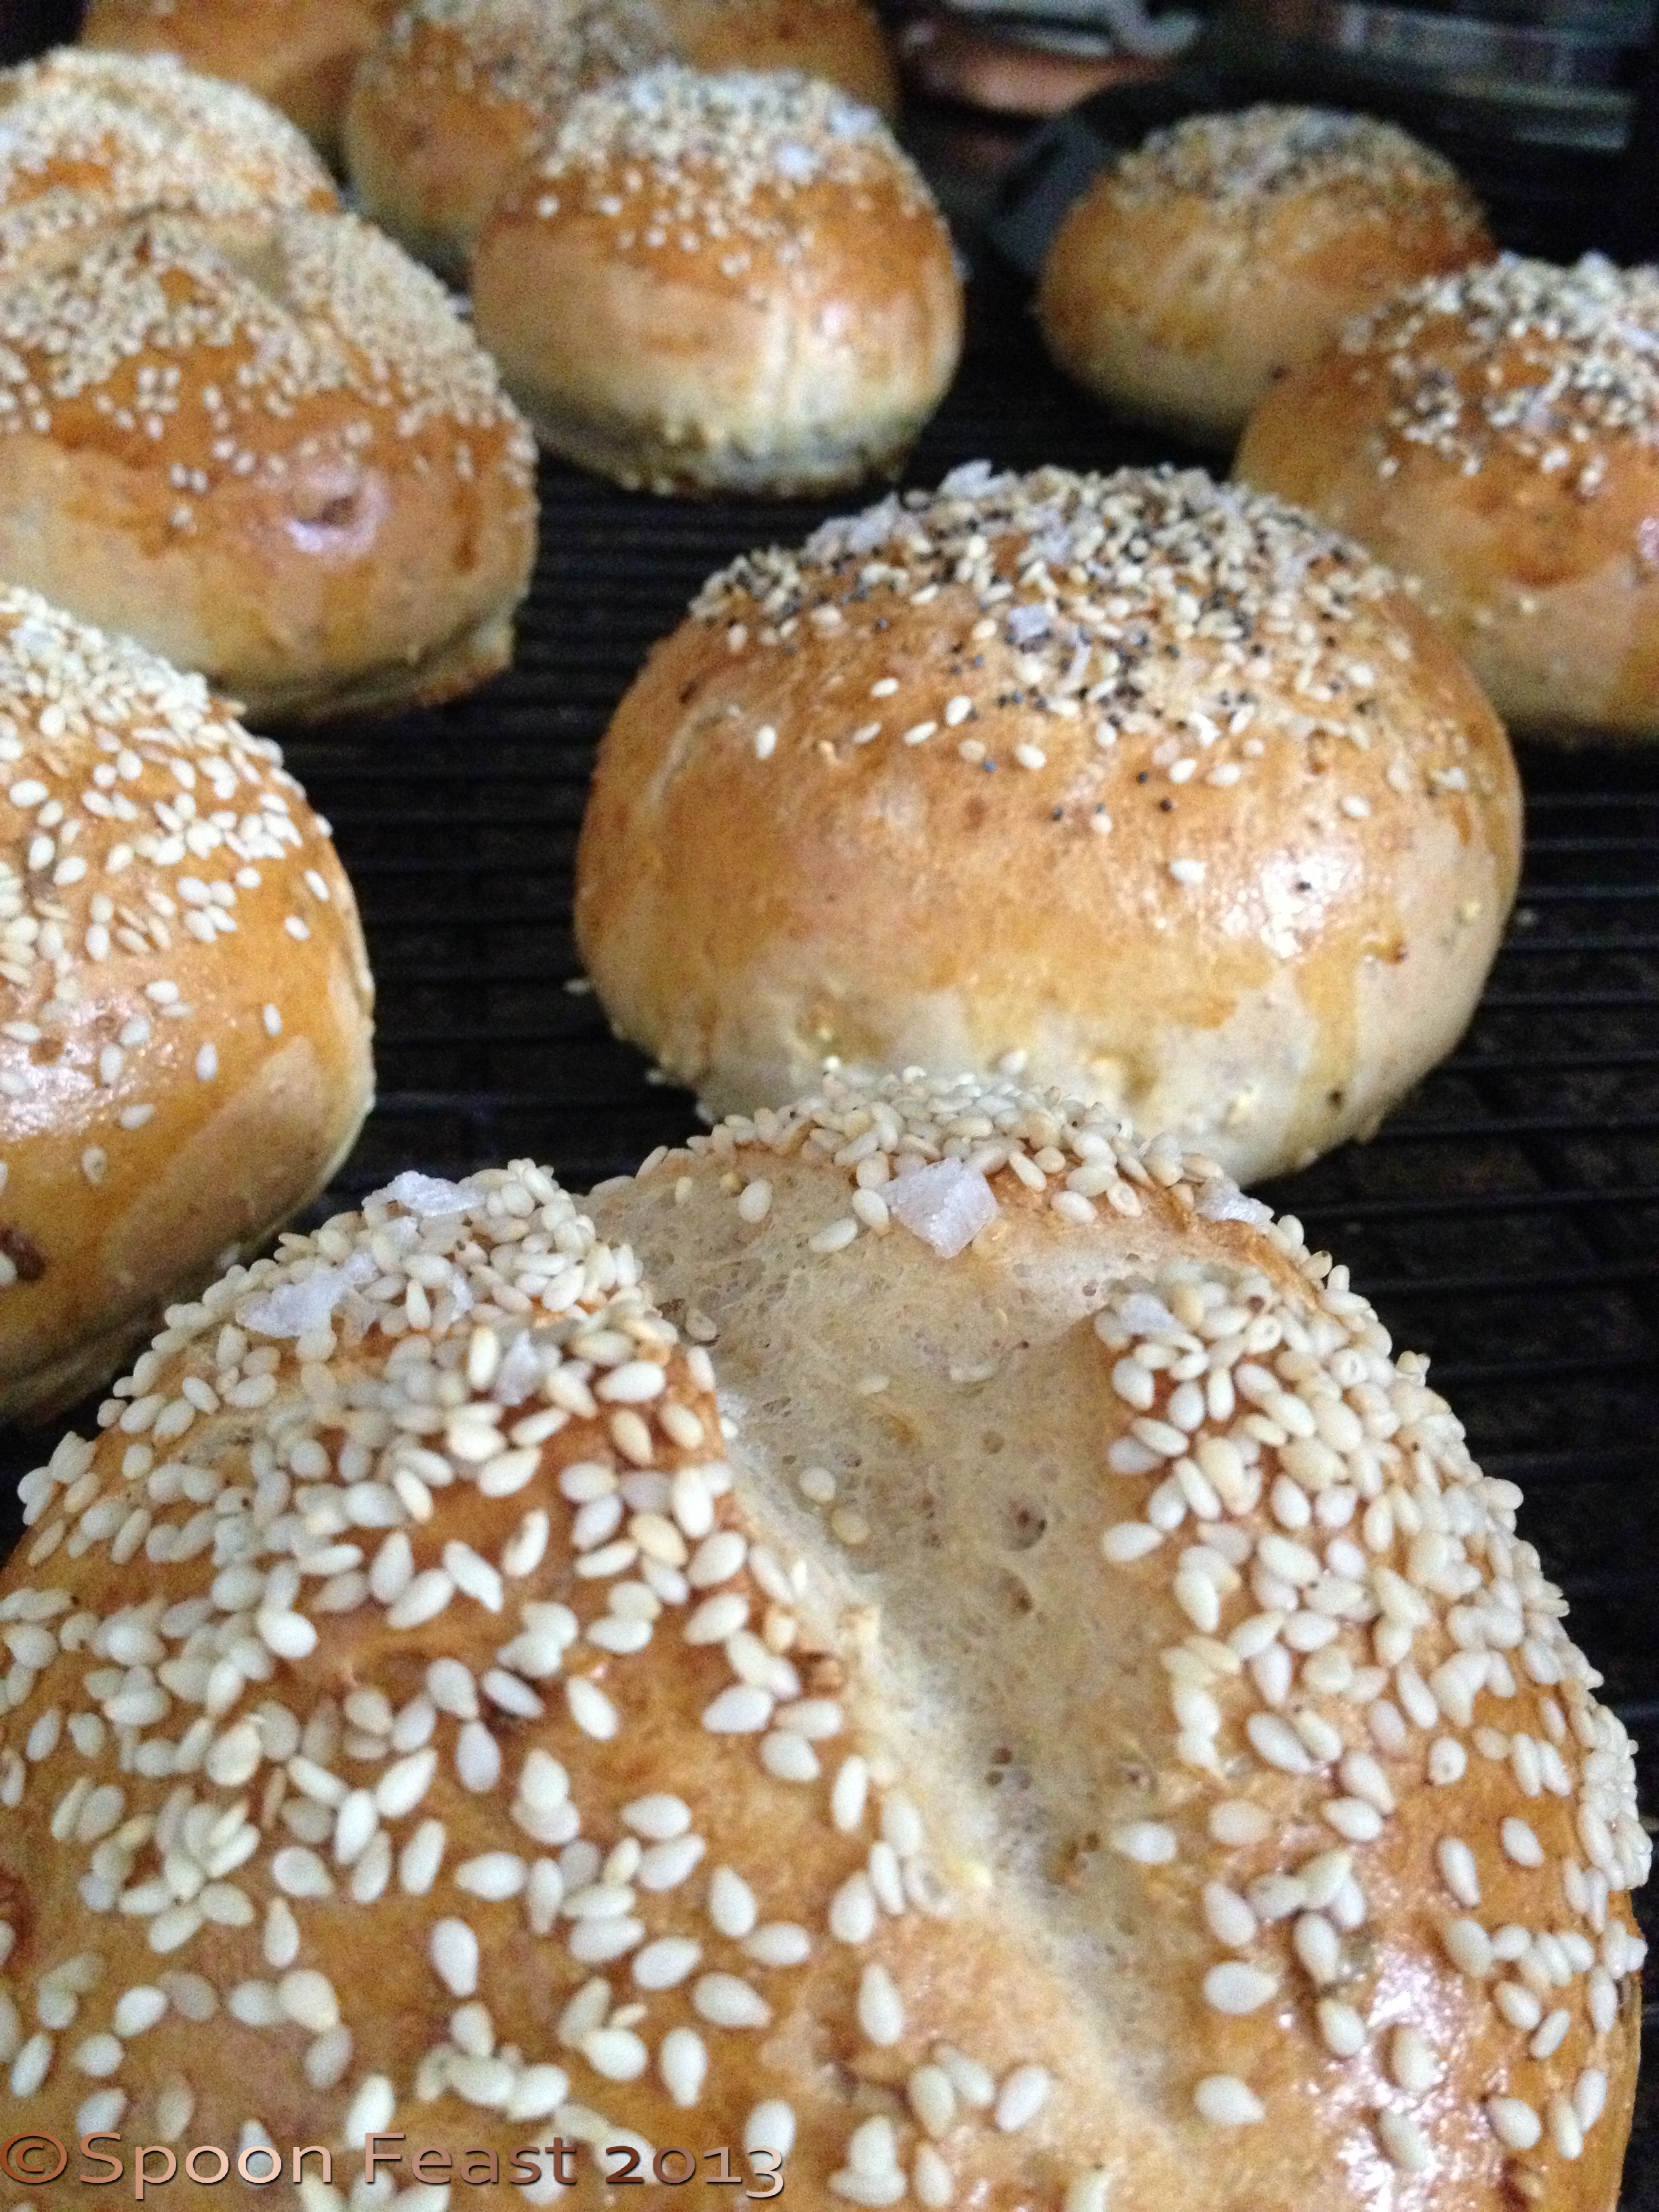
Once the rolls have cooled, slice them open and fill with your favorite sandwich filling. The rolls are tender, absorbent to hold juicy fillings without getting messy, taste really good and look fantastic.
Once you see how easy it is to make these sandwich rolls, you’ll make them again and again.
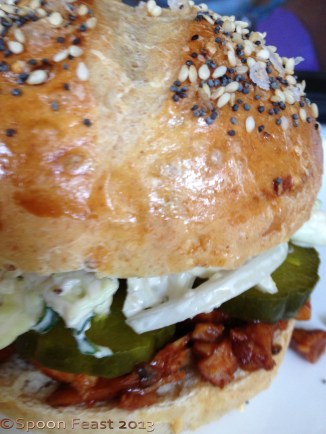
BBQ Chicken Sandwich on a Sandwich Roll with Cabbage and Kale Slaw and Sweet Pickle Chips
Plain White Sandwich Rolls
Ingredients
- 1 cup non-fat milk
- 1/2 cup warm water
- 1 Tablespoon honey
- 2 ounces butter, melted
- 1 room temperature egg, beaten
- 4 1/2 cups bread or AP flour
- 2 1/4 teaspoons instant yeast
- 1 1/2 teaspoons salt
Follow the same directions as the multi-grain rolls.
Use different toppings or slash the tops of some rolls for different looks.
If you use dried minced onions or dried minced garlic on the top of the unbaked rolls, be sure to soak the dried onions or garlic in a small amount of water before using as a topping. If they are not hydrated, they will burn and taste bitter.
Try adding cheese or shredded zucchini in place of butter to the recipe.
Use them as dinner rolls, give a bag to your neighbor.
To me one of the best parts of a sandwich is good bread. This is a great start.
Try them and let me know what you think and if you tried anything different.

Sandwich rolls
- Pretzel roll sandwich time! (freshfromtheheartblog.wordpress.com)
- Everything on a Pretzel Bun! (heavensentpeanutbutter.wordpress.com)
- Steak House Yeast Rolls (Spoonfeast.com)

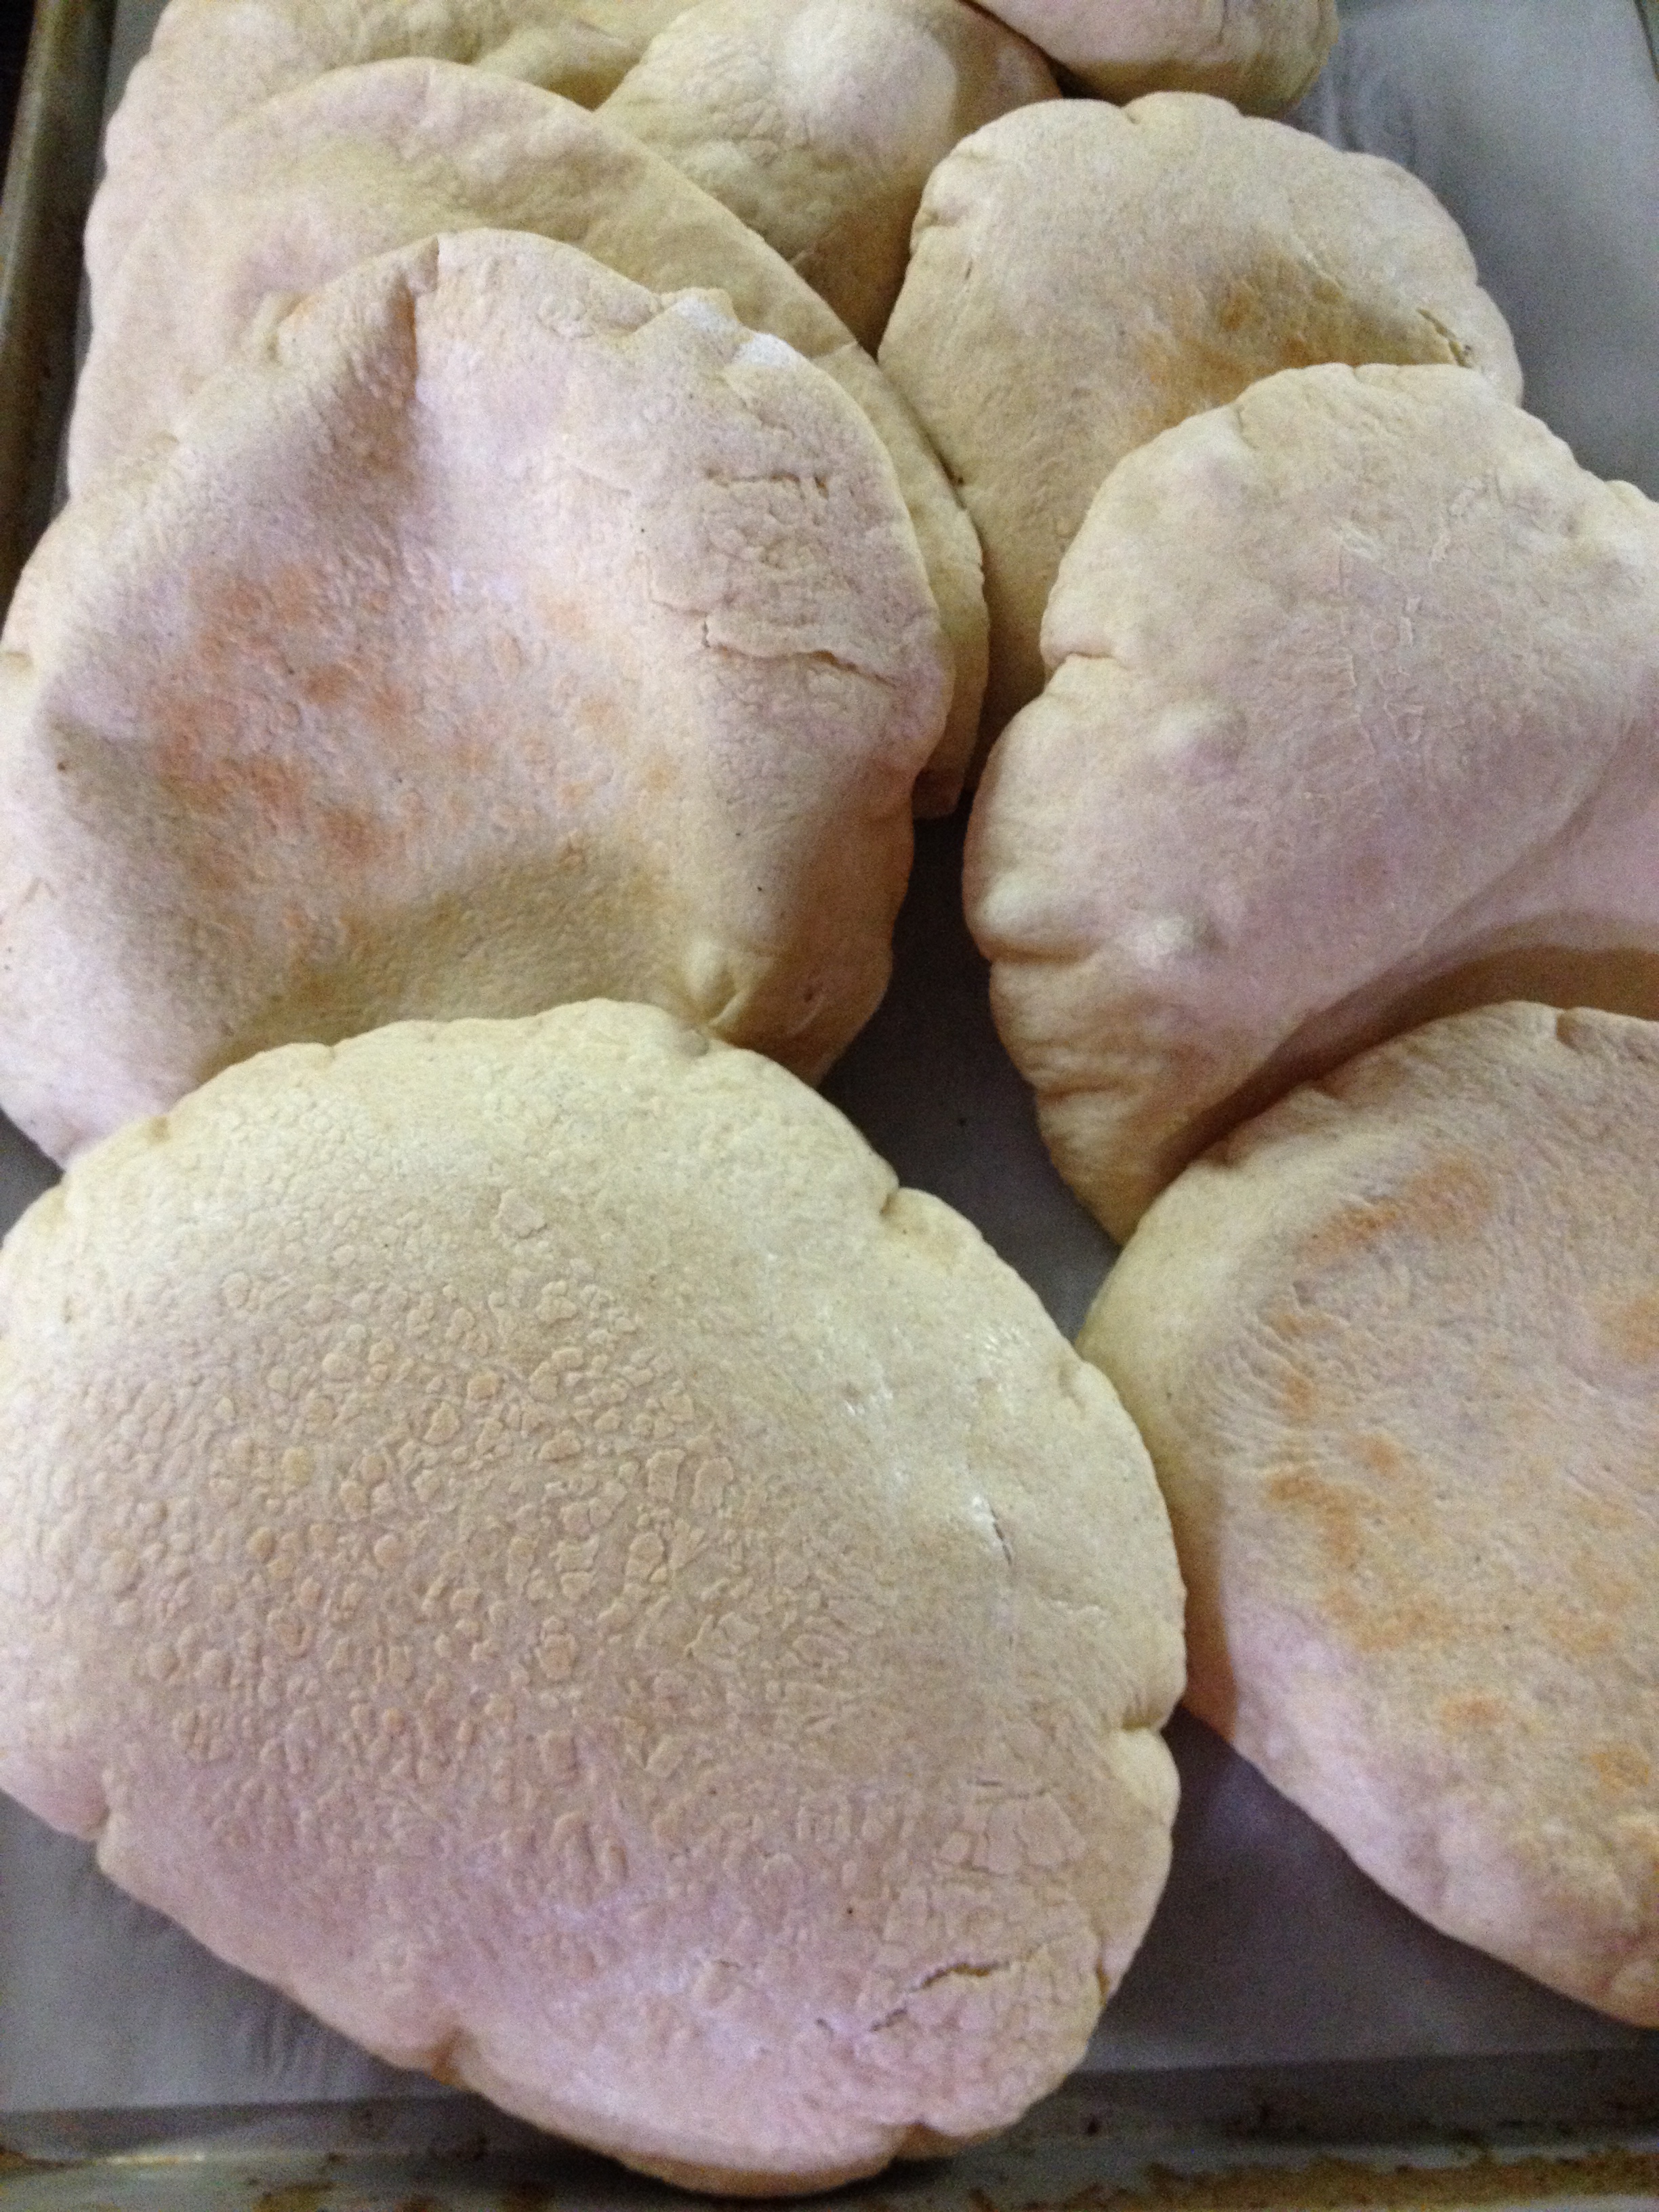
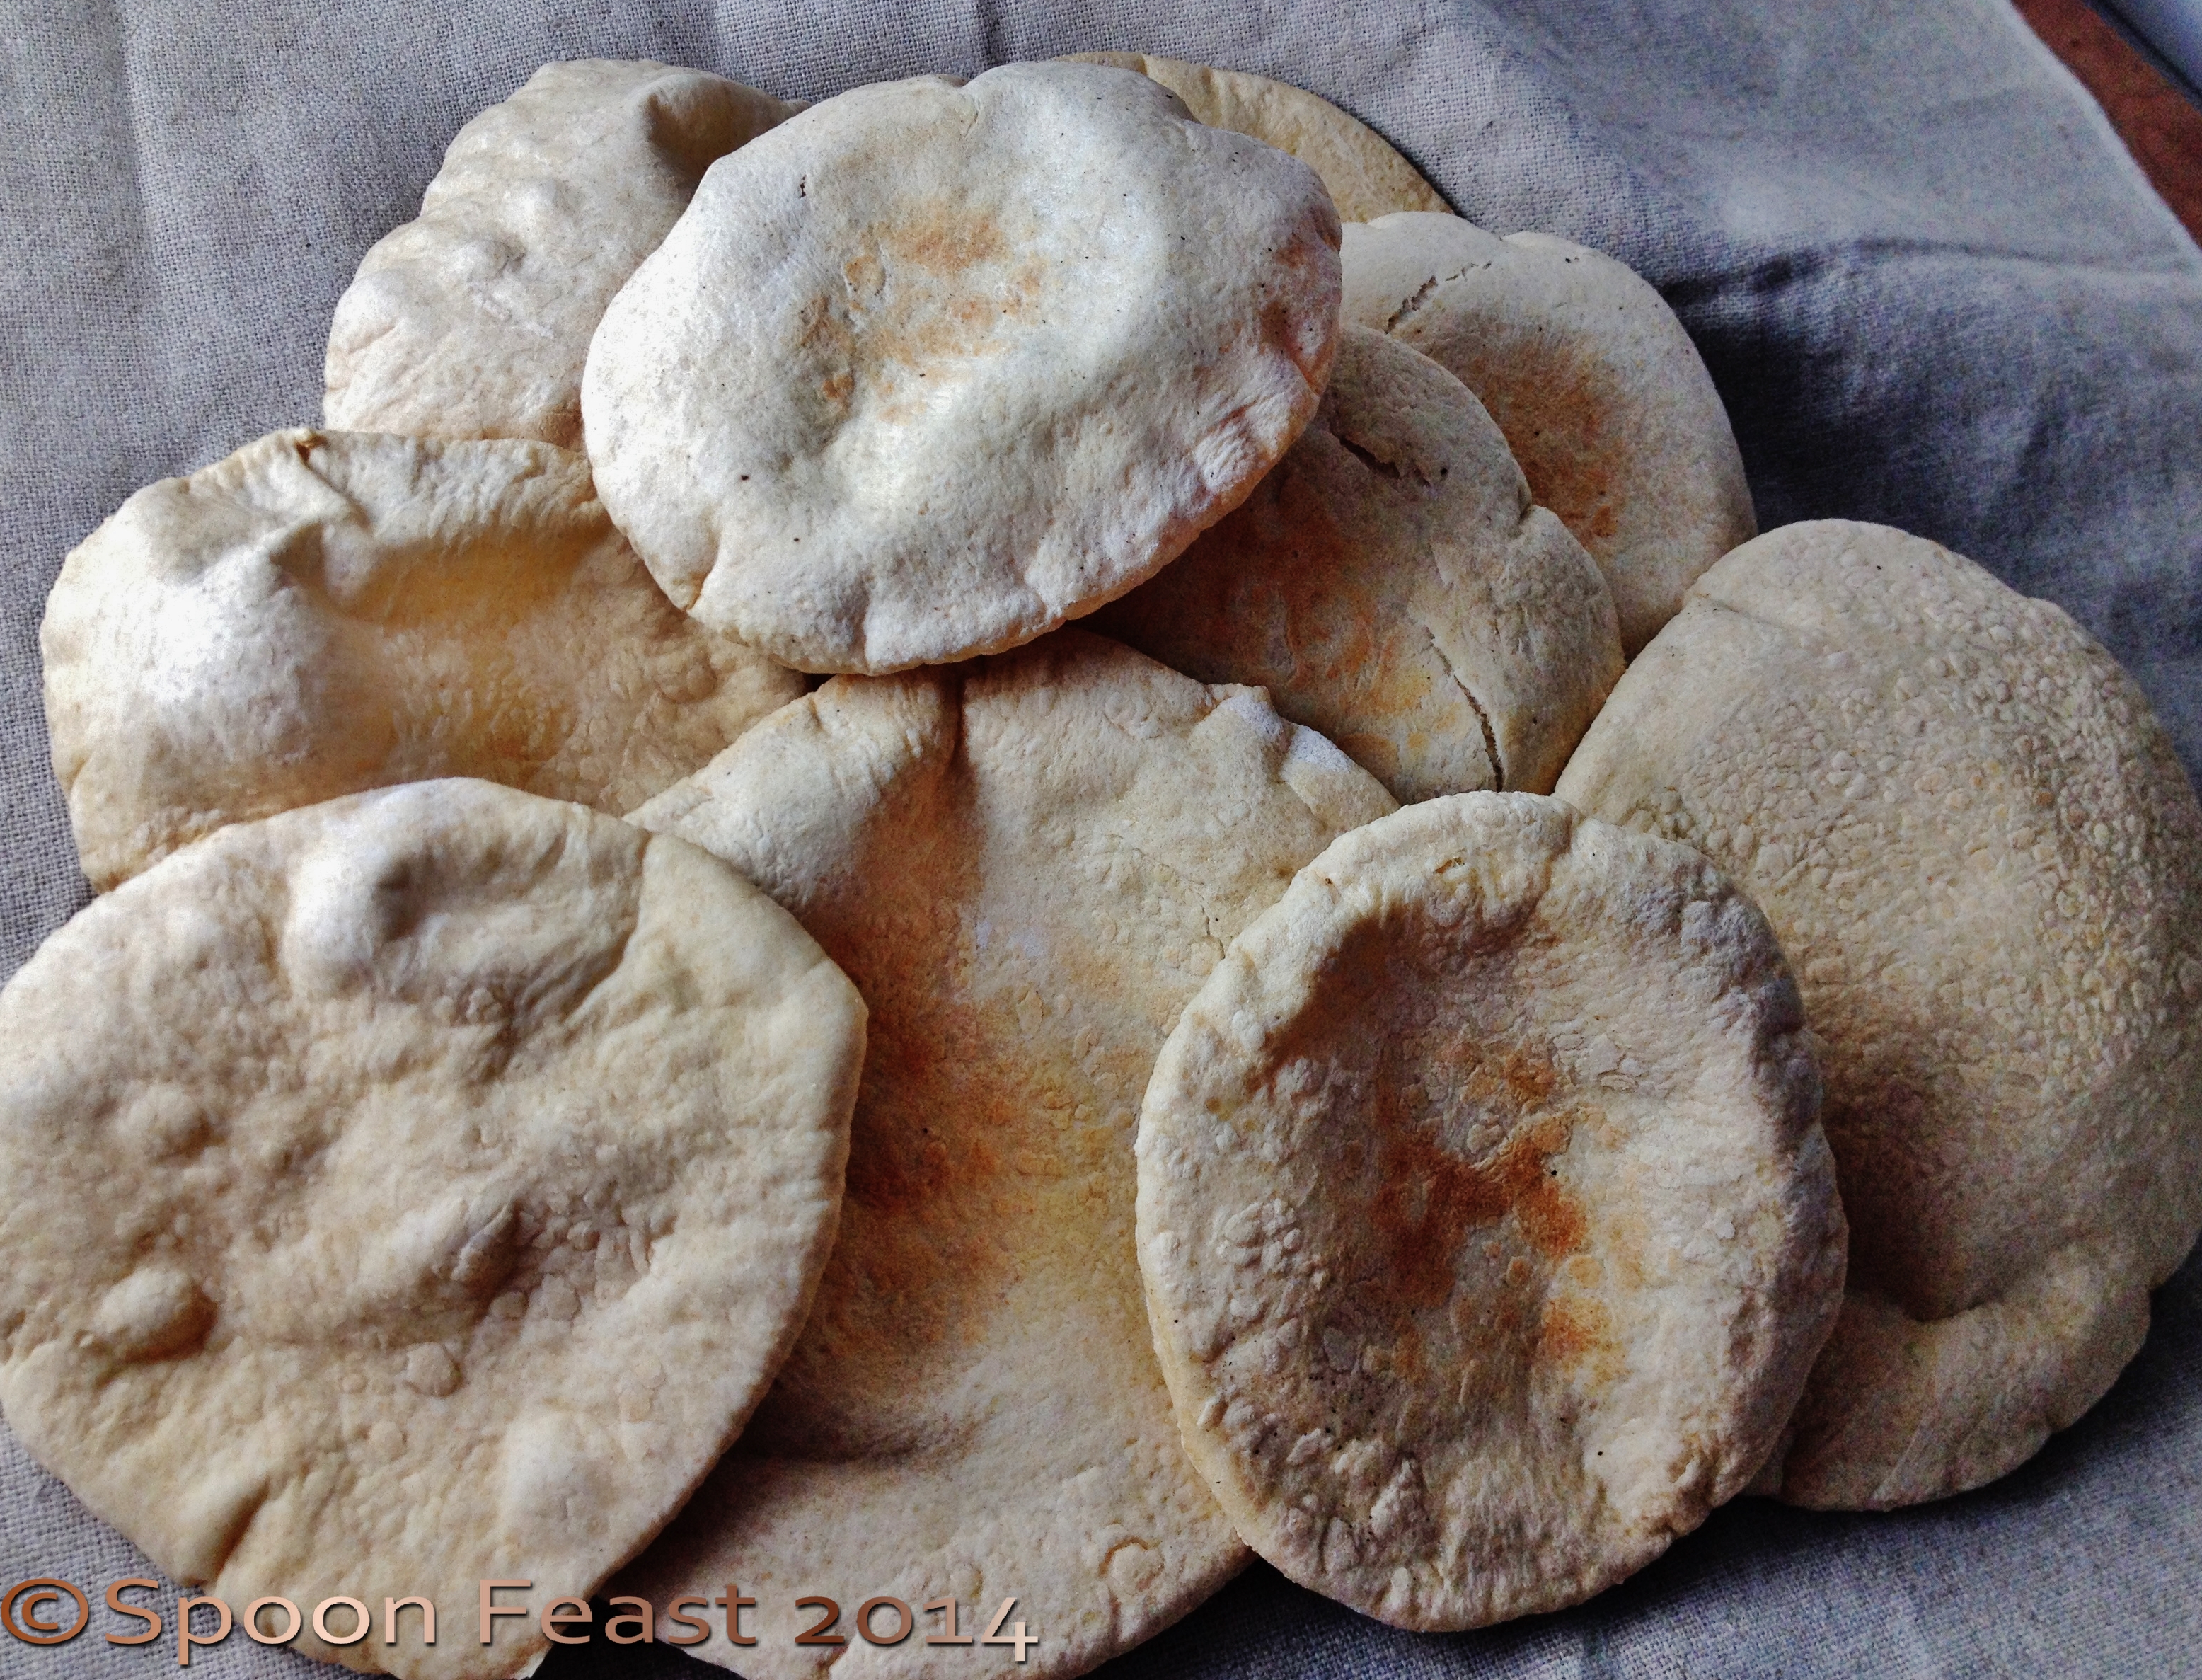
 here is nothing quite like the aroma of freshly baked bread, unless it’s eating freshly baked bread.
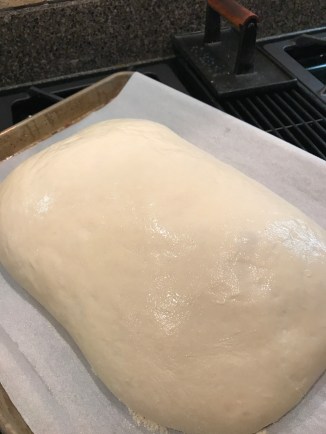
 Press the dough into a rectangle, fold into thirds, and then repeat. Do not knead the dough, just lightly pat it into place. Pat, pat, pat, just lightly.