If You Are Concerned About The Source of Your Meat, Then This Post is For You
I love meat but really don’t love commercially raised feedlot animals. As I became pickier and pickier in selecting the meats I choose for my family and friends, I found the quality harder to find in easy to shop food locations.
When I did find grass-fed beef, it was expensive!
To the tune of $20.00 each 6 ounce steak expensive.
At that price, not many people can afford to eat grass-fed beef.
Until now!
Butcher Block is a company that specializes in grass-fed beef, organic chicken and heirloom pork. And the home deliver is sustainable packaging, not Styrofoam.
I ordered a box of mixed meats from them and got: 2 – 6 ounce Filet Mignon, 2 – NY Strips, 2 # ground beef, 2 sirloin steaks, 1 pork tenderloin and 1 bag of chicken tenderloin. Each box has 8-11 pounds of meat per box which is enough to make 20-28 meals.
Guess What,
I arranged for anyone ordering their Butcher Block Box through this link, to get:
If you don’t eat bacon, then I’m absolutely positive there is someone you know who does who you could gift it to. But I have to tell you , it makes the most amazing BLT you will ever eat. Just saying.
Here is a video about the company. Watch, decide, the follow the link to order your box.
You’ll be glad you can get this quality of excellent meat shipped to your door at a price you can afford.
Now the biggest decision you need to make is to choose from one of the options:
There are 5 boxes to choose from: 1) all beef, 2) beef and chicken, 3) beef and pork, 4) chicken and pork, 5) Classic mixed box: beef, chicken, and pork.
I got the Classic Mixed Box and was more than satisfied with it. 8-11 pounds of meat per box which is enough to make 20-28 meals.
At the college where I work, we got permission to raise honey bees and this week was our first opportunity in harvesting honey.
The Hives for Greenway Gold
Bees are in danger and need all the care and help they can get. So to see one of the two hives we have thrived is quite a source of glee and happiness.
I am not a bee keeper but I am a local honey devotee.
Local honey helps with all kinds of pollen related allergies. As someone who was highly allergic to just about anything that grew, once I started consuming local honey and local bee pollen, the allergies for the most part, disappeared!
Let’s hear it for local honey!
On to the harvest!
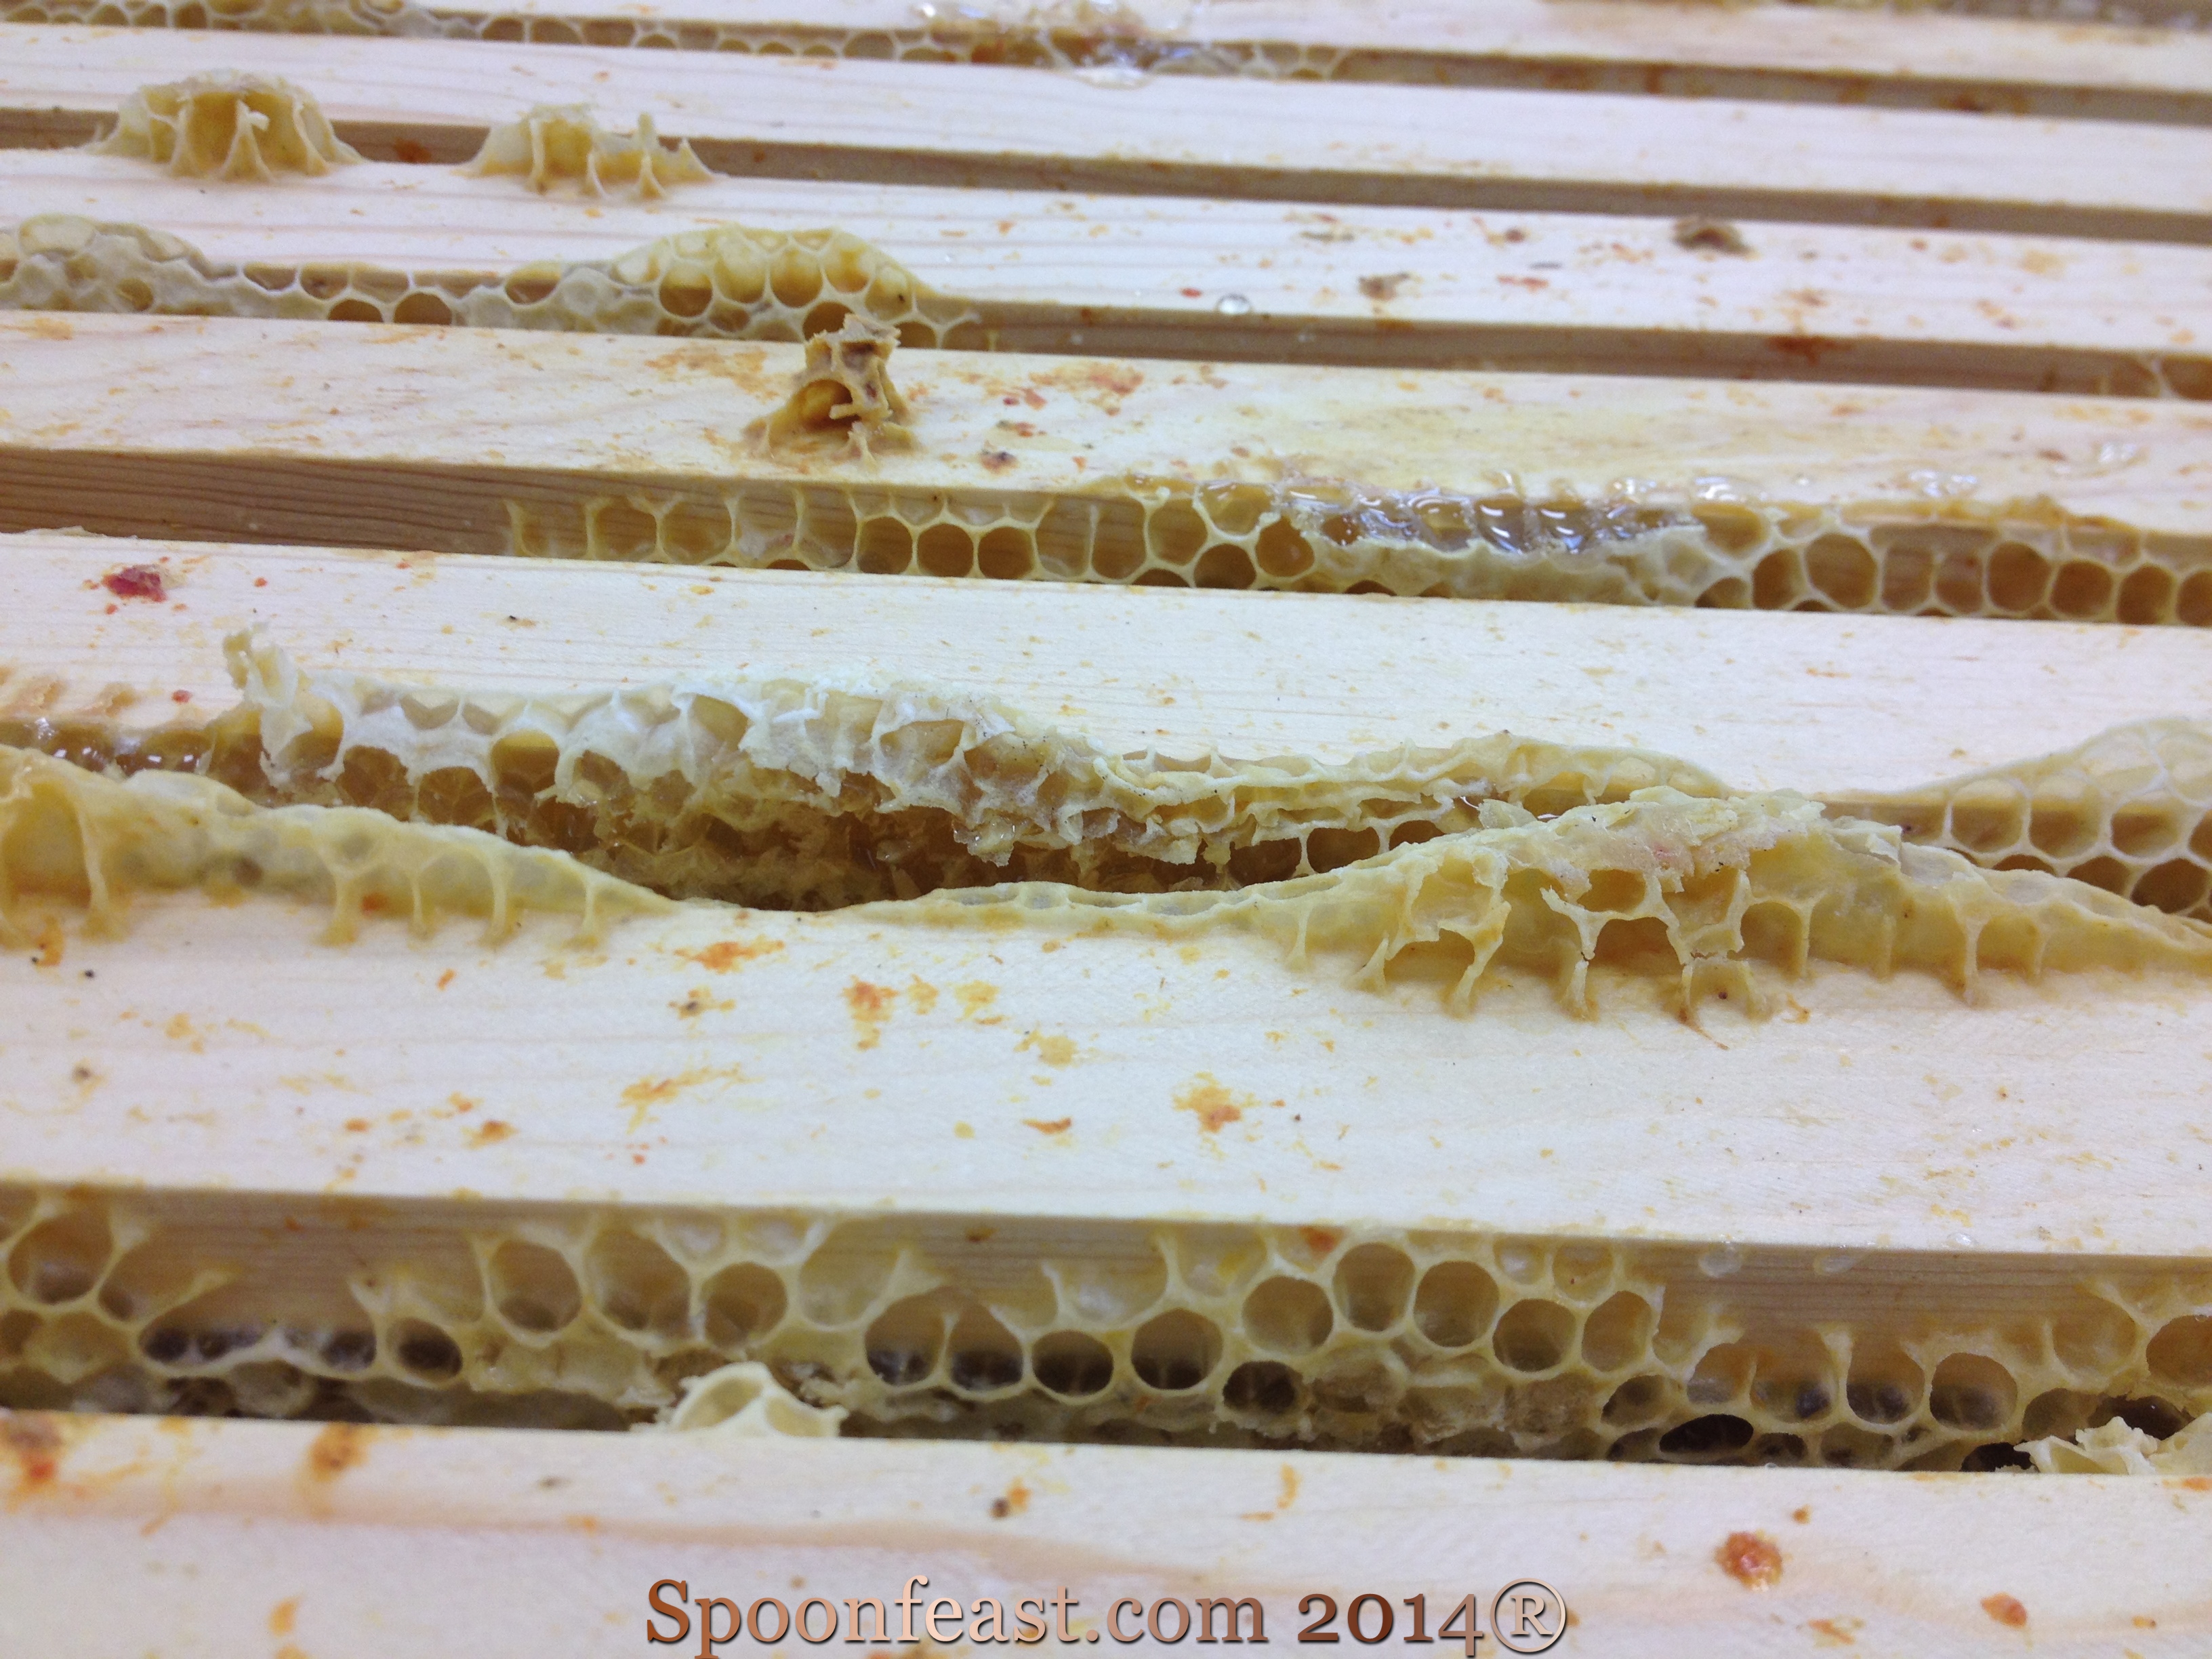
The box that had the frames which held the honey had been removed from the hive stack the day before.
Honeycomb frames filled with honey!
It really pissed some bees off, Jim got stung a couple of times. Why not? The bees were only protecting their winter survival source.
The “Extraction Room” had to be readied: plastic on the floor, tables, warm honey extracting knife,
The warm wax cutting knife
centrifuge assembled, screen filters, buckets,
The filter bucket
jars and damp paper towels all in place. Don’t forget the tasting spoons!
Assembling the centrifuge
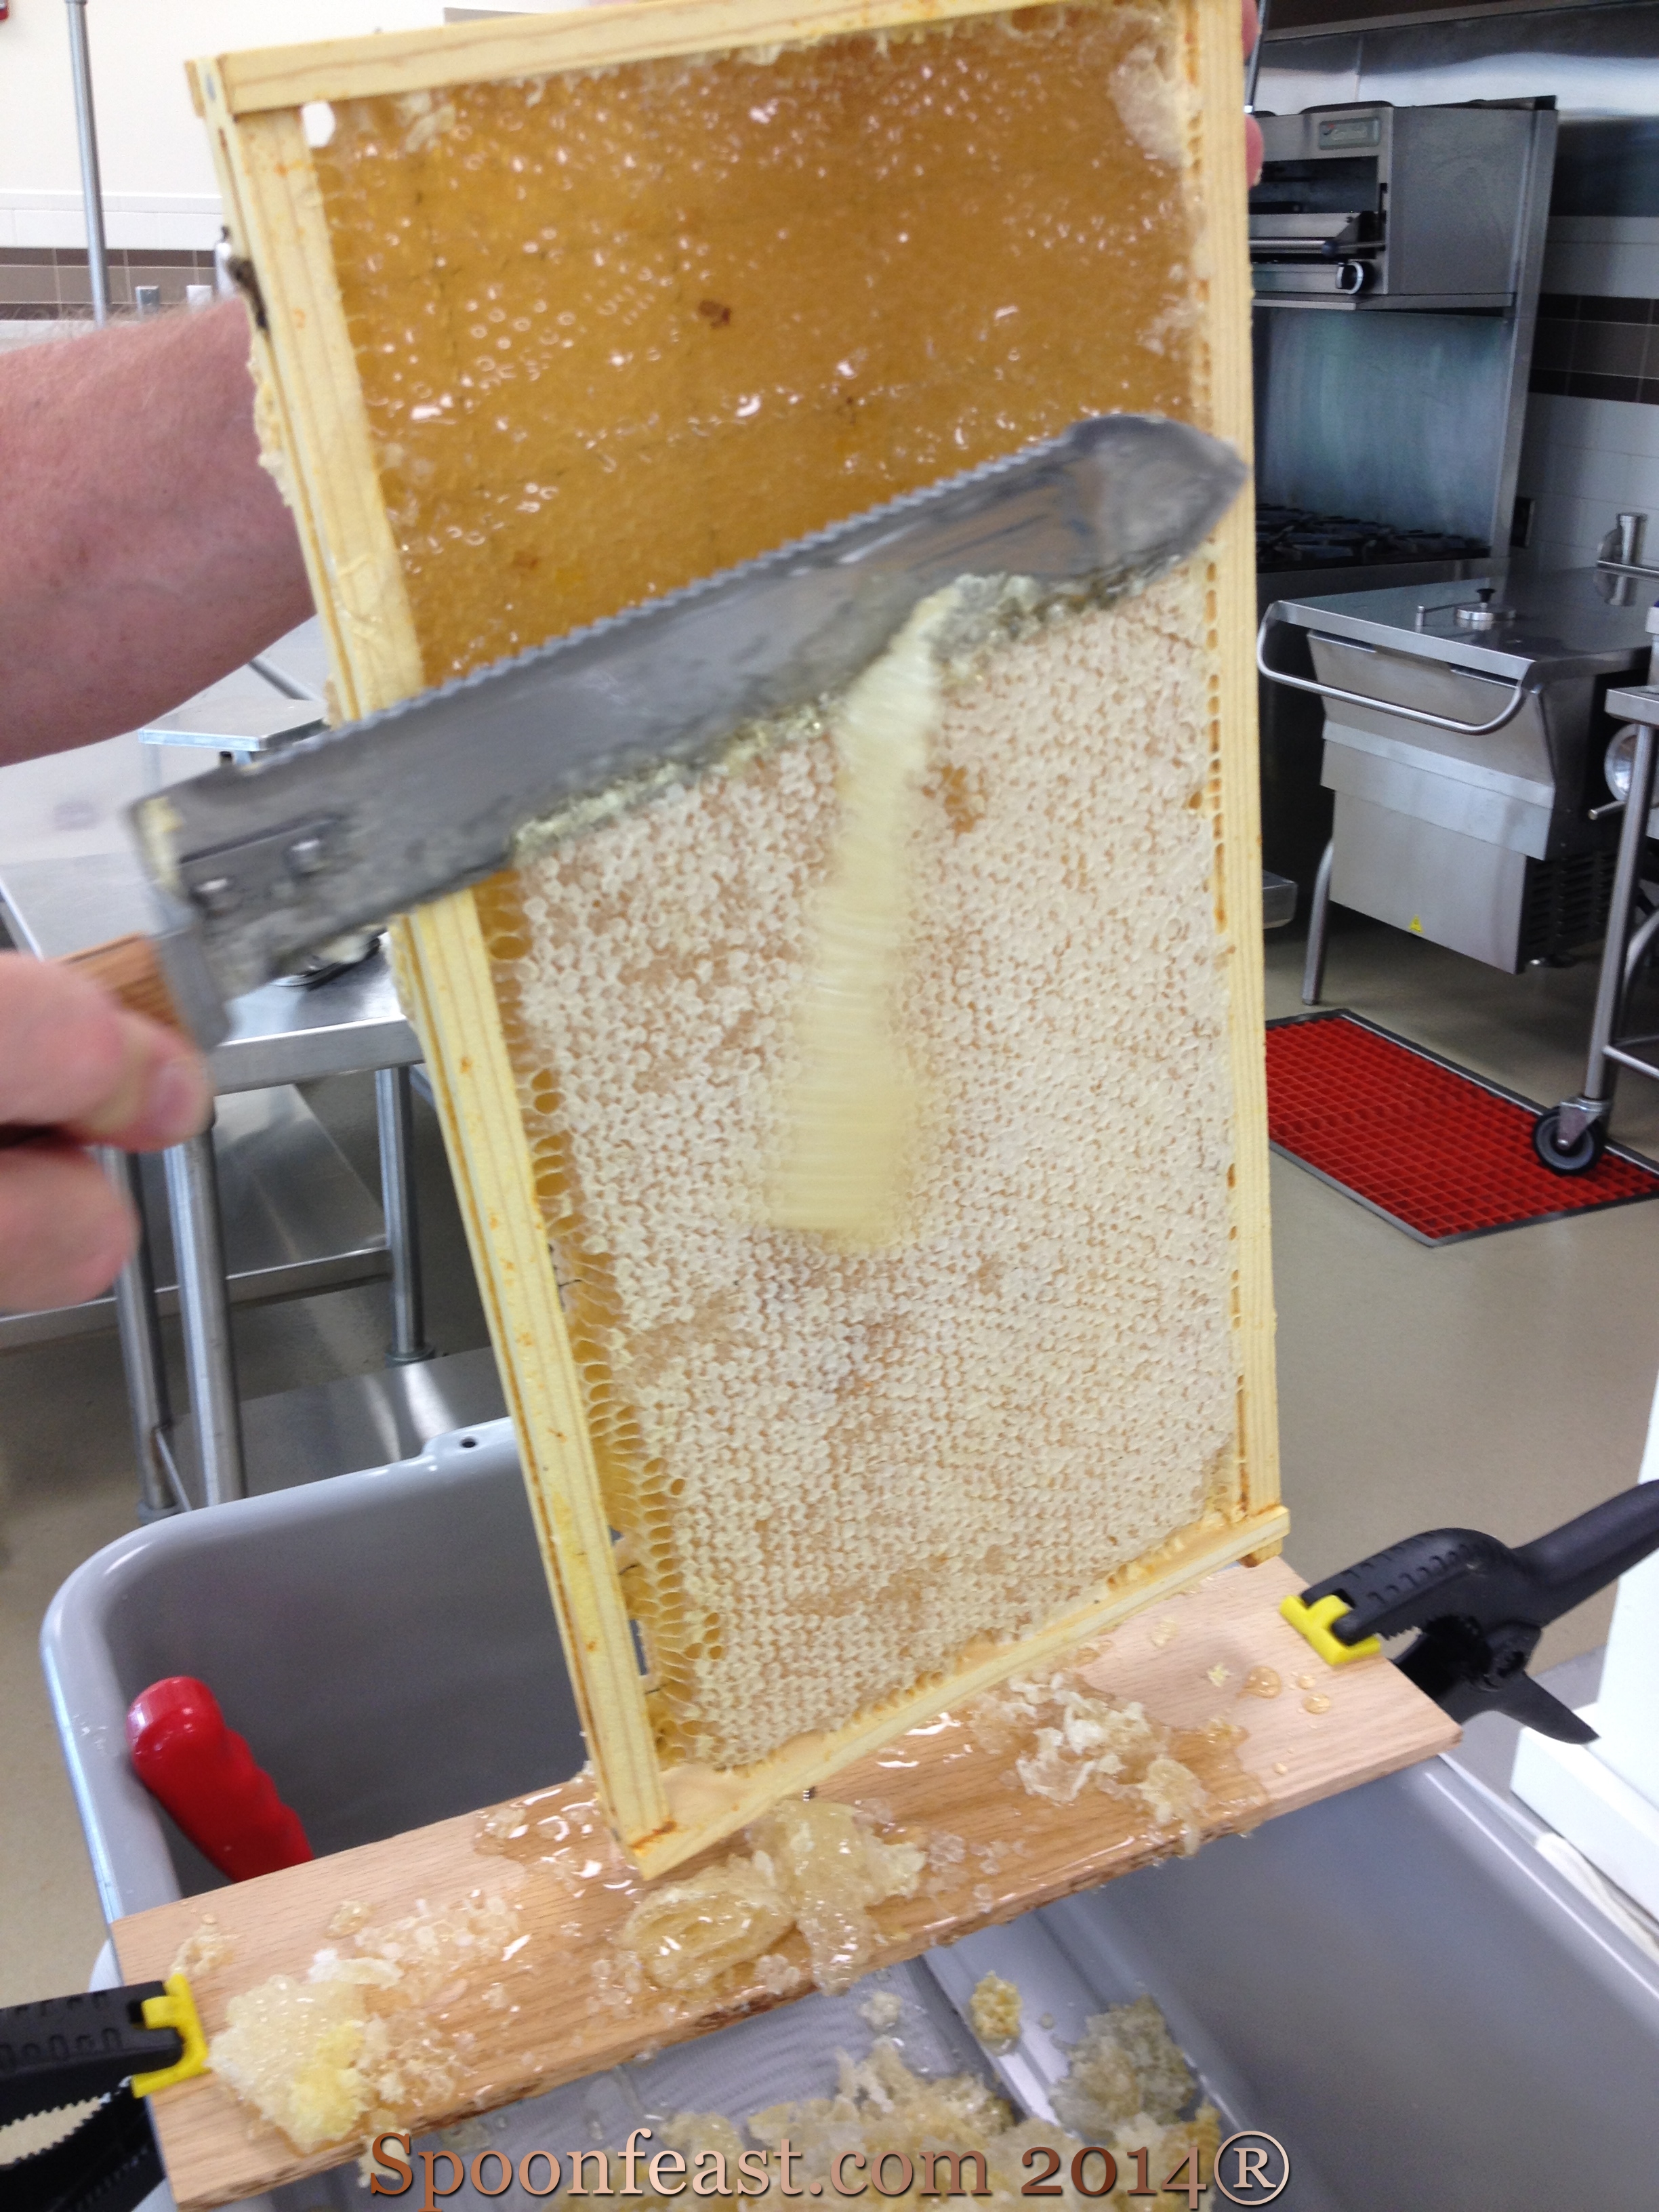
Each of the frames weighed around 7.5 pounds before removing the honey and 1.5 pounds after. The process is sticky but amazingly rewarding.
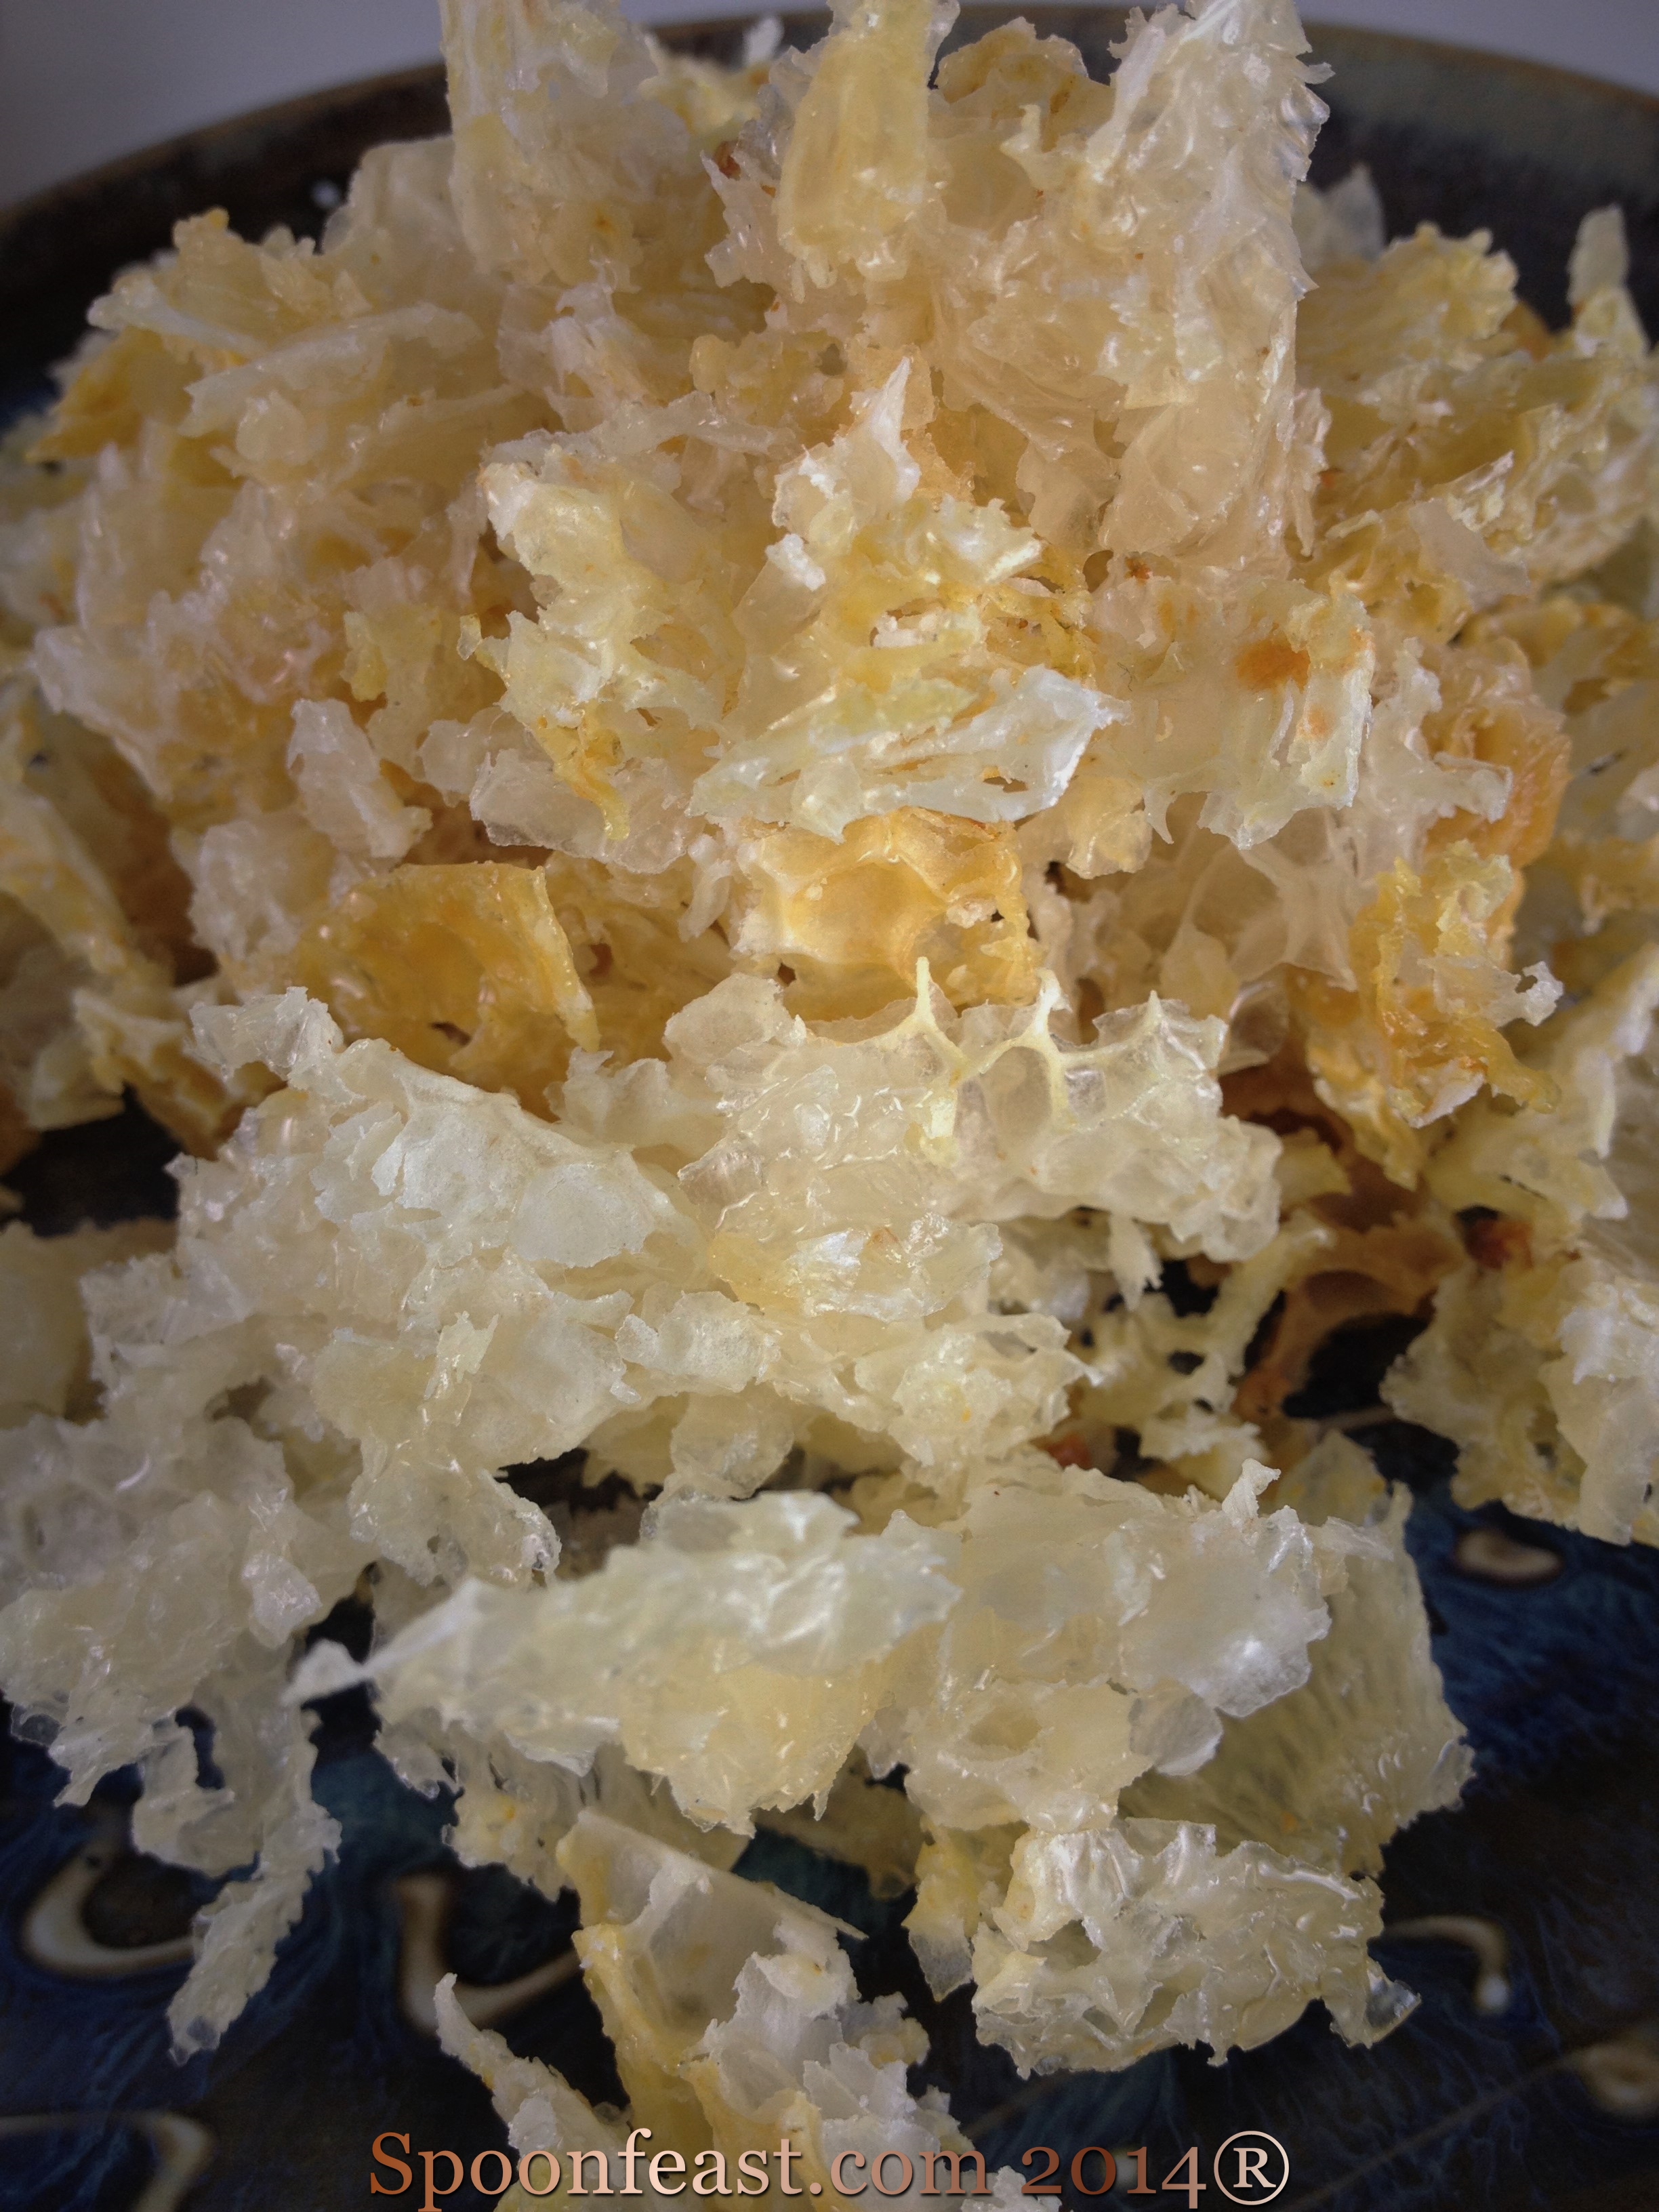
Once you have everything ready to go, one of the frames is placed so the wax caps can be removed from both sides of the frame using a warm knife made for doing just these kinds of things. Catching the wax caps in a bucket below is a great idea as this is “virgin” beeswax, perfect for making lip balms and body lotions; just wash the honey out gently in cool water.
This is some of the wax cut off the honeycombs; virgin beeswax is perfect for lip balms!
Cutting the wax caps with a warm knife
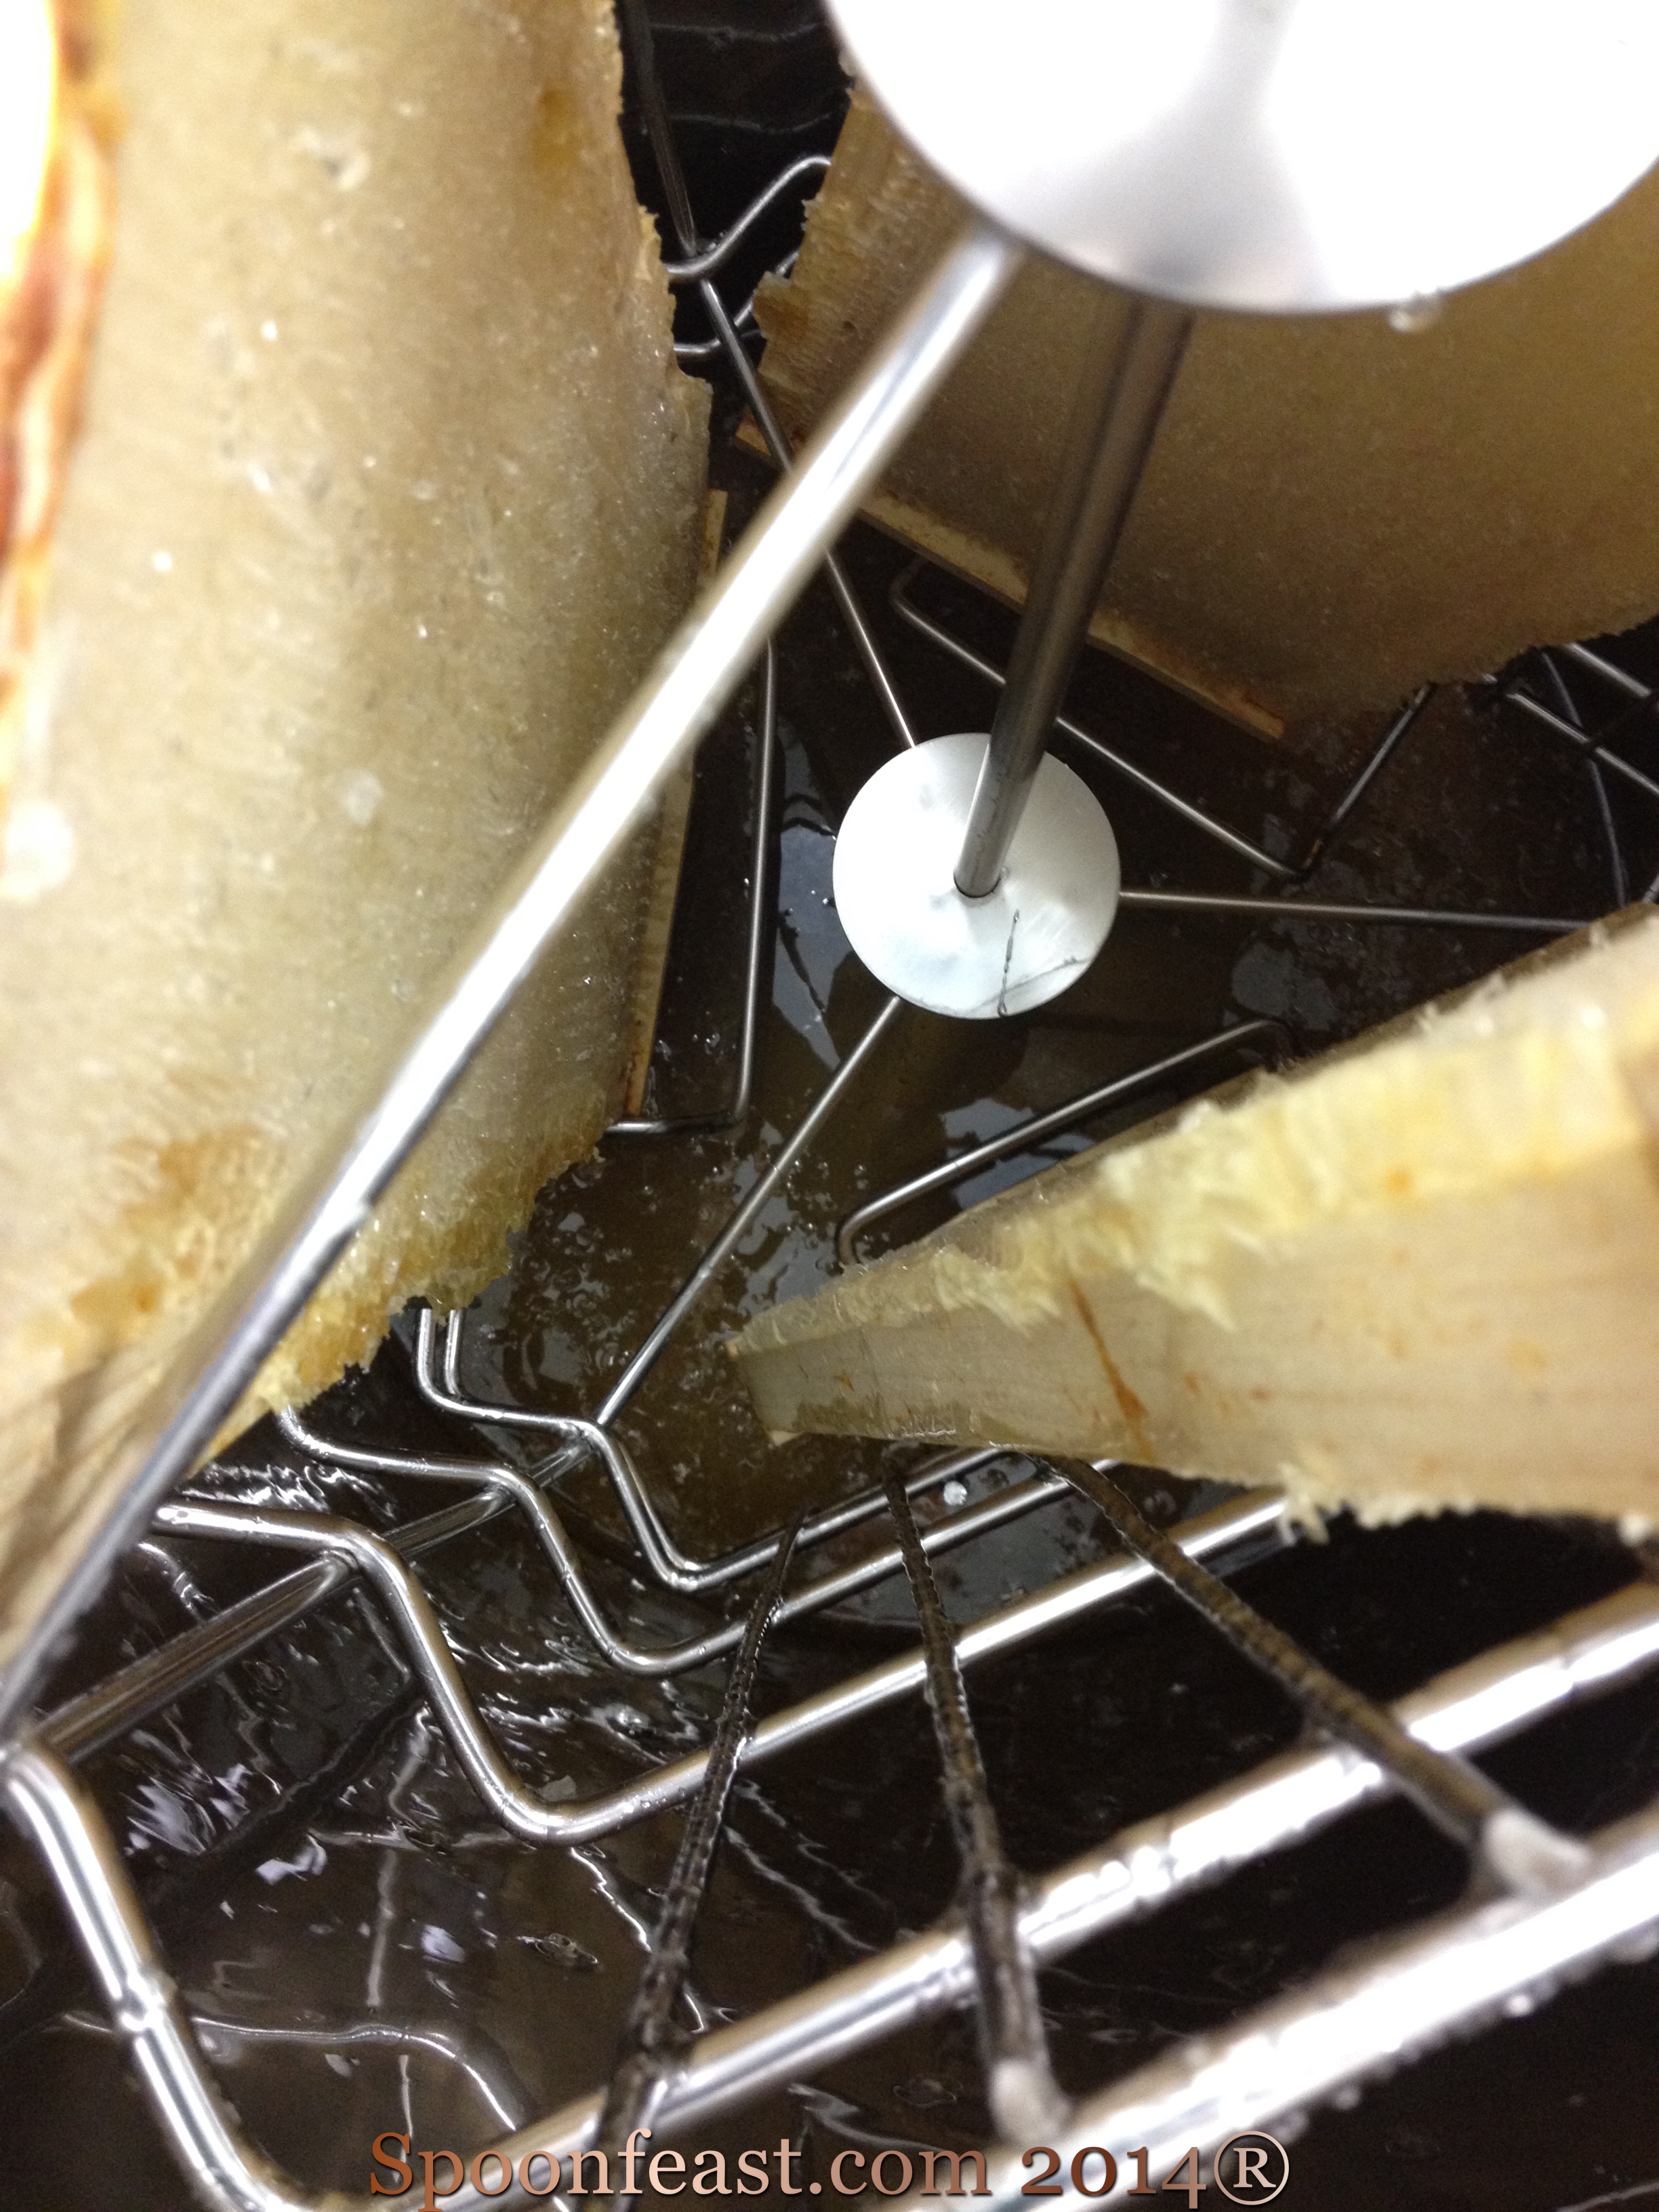
Place the frames in the centrifuge, there’s a certain angle they have to be placed because the bees create the honey combs on a particular angle to prevent the honey leaking out. Clever things!
Inside the centrifuge, see all the honey at the bottom?
Once the honey is spun out of the combs, it needs to be filtered.
It gets filtered through a larger screen mesh then into a fine mesh into a clean bucket below.
Then it is ready to bottle. When the honey is first bottled, there are a lot of air bubbles in it.
Due to the viscosity of the honey, it takes some time for them to rise and leave behind the clear, lovely color of the honey.
From our first harvest, we extracted 3.81 gallons!
Filling the jars
We are naming it “Greenway Gold” since the hives are near the Greenway here in Charlotte.
Look at our stash!
Our honey is pale yellow and has a very floral flavor, similar to an orange blossom. It is delicate and sweet and couldn’t get any more local. Heck, it’s made just outside my office door!
Here’s an amazing part: the bees will refill the empty combs and will “clean up” any honey left on any of the buckets and other things. It’s good for them. Our main concern is the equipment getting stolen so Jim takes the things home for his home bees.
Did you know a honey bee will only produce about 1 teaspoon of honey in its lifetime? These are amazing critters.
There is a “Bee School” around here that is working hard to encourage people to keep bees. I don’t think I’d ever actually keep my own, but I will certainly continue to help with the honey extraction!
Now I can have some honey flavor in my lip balm formulas, won’t that be nice?
The state of our food supply is in crisis and WE are the ones to do something about it.
This is the beginning of a mission. There is a way we can fight back against big food corporations.
Cassie Parsons is a local chef and farmer who has an on-fire passion about local and honest food. This past February she did a TEDx talk about her big idea. In her speech she declares
“Our food supply is broken.”
And she’s right. She’s spot on.
Cassie’s TEDx Talk is linked below, give it a listen, Please.
This is what I have to say about the state of our food.
“America has the worst food in the world.”
We have the most and the worst. Quantity does not make quality food. Quantity has never made quality in any industry. Still there are so many that go hungry; that is another discussion for another day.
We are in a state of change and increasing awareness. There is no reason to feel helpless about our food supply unless you decide not to do anything or you think someone else will do it instead.
That’s what Big Food is counting on, good old American apathy.
We’re world champions in apathy, we’re apathetic champions off the freaking chart.
You know what?
I hate to be the one to break the news, but the time for change is here; it’s NOW and it’s up to us.
We can’t let this go.
I want to talk about what we can do to stop Big Corporate Food from developing, planting and growing GMO‘s and other food atrocities they have developed and forced on us. They think we don’t need to know; they think we don’t care.
Worst of all is they think they can get away with it.
Here is the biggest thing, We DO have a choice. We have to demand the truth as to what is in our food, how it is processed and how the animals are treated and what’s in it; we have to get involved with our food.
Two news reporters were fired for not watering down a report about Monsanto and recombinant bovine growth hormonecausing cancer in humans who drink milk from cows treated with rBGH. rBGH is injected into dairy cows every two weeks to increase milk production which increases profits at the expense of human health. Click the link above to read the article.
Have you heard of rBGH? Big Food feels you don’t need to know if the milk you drink and give to your children is from cows treated with rBGH. You only find it mentioned on milk without it.
You don’t need to know that commercially grown strawberries can have residue of up to 13 different pesticides on them.
You don’t need to know that in order to “water” the plants, workers need to wear hazardous material suits “to protect them”.
From what?! Aren’t they supposed to be “watering”?
The bees are dying due to the use of GMO seeds for growing crops.
Monarch butterflies are affected by GMO corn crops. You can hardly find non-gmo corn anymore, even then, I’d question it. Same with soy and soy products.
If you read food labels, you may have noticed high fructose corn syrup products appears in nearly all processed foods.
What about additives, preservatives, FD&C color dyes for food, drugs and cosmetics (FD&C means that it has been approved for use in food, drugs and cosmetics) and who knows what else they put into products. How many of us read a label, see a list of 40 or so ingredients, glaze over it and buy the product anyway?
Those aren’t “cherries” on your cherry danish from that favorite fast food place, but a “cherry-like” substance with full cherry flavor. Read it.
Leave the products on the shelves! Drive by fast food, you and your family devserve better.
How can we make a change?
With our purchasing power and the decisions we make. Learn to make some of the “processed” food we buy at home; pickles, condiments, sauces, salad dressings, mayonnaise there are so many easy things to learn.
When we buy food that has come from a long distance from where we stand, we pay for that in more than money. When we buy those products, we no longer support our local economies. That money goes back to where the product came from or was produced.
Cassie explains this in her TEDx talk. I suggest when you are finished reading this post, go get a cup of coffee, glass of tea or whatever refreshing beverage you want, come back and watch Cassie Parsons talk. There’s a link at the end of this post and only about 18 minutes long. It will make you think.
It will empower you and implore you to do something too. When you process your own condiments and other food, you know your ingredients, you know what you are serving; you know ALL the ingredients and the quality used.
Yo wont find pink slime in your burgers if you grind your own meat, you won’t find bone scrapings and other left over bits if you learn to make your own fresh sausage.
If you do this right, you also know who raised the pig and get the casings from the same farmer.
If you make your own pickles, know the farmer who grew the cucumbers. There are farmers markets in nearly every city on nearly every day of the week. There is no reason not to find one and use them.
Beyond benefits of local foods, you gain the benefit of a stronger local economy, a stronger social community, which leads to great places to live and raise families. Why? Because you know who is growing your food, what they are growing and how. You share things, trade things, eat healthier, you build a better community.
Your health will be infinitely better. My grandfather used to tell me you can grow it yourself, pay the farmer, or pay the big grocery stores and then pay the hospital bills. He grew all his vegetables and raised a large family with fresh bread, fresh fish and good food.
If we decide to make our own processed foods (yes, there is a learning curve) we can have an impact on big food profit. If products sit on the shelves, if people stop buying them, it will have an impact on profits, which would get BCF attention.
Maybe then, Monsanto and other companies would listen to “Please No GMO!”
Watch this, out of the mouths of babes, the young people get it and it scares them.
If everyone learned just one thing they could make, make enough to share with neighbors, swap, make things together and share. This is not only about building our health, but community and quality of life.
We don’t have to feel helpless or voiceless in this food crisis. We have a choice. WE can do something, each and every one of us.
Buy local.
Ask questions about the food you buy.
Support local farmers.
Learn to make basic condiments, with a group and share.
Start a pickling group or whatever. Make food about people, health and community again; take the profit away from Big Corporate Food.
Stop the apathy and get involved, your health depends on it.
The multi-grain bread was made by me and cooked on the grill. The sourdough culture I use is nearly 2 years old and came to me from a friend.
I grew the lettuce.
I made the goat cheese from milk from local goats. I could find out the names of the goats if I wanted. I buy the milk from our organic farmers market who bring it in fresh. Low-temp pasteurized, yeah buddy!
The tomato is from a farm just down the road whose family has been growing vegetables and operating a working farm on the land since 1775. These tomatoes are the first to ripen with any flavor, just perfect for the goat cheese!
Ever since I returned from the cheese making workshop a few weeks ago, my hands have been looking forward to getting into some milk.
First I had to find a source for good, clean, fresh goat milk for goat cheese and I still need to source Jersey cows for their milk for other cheese. For now, I have goat!
I LOVE the “barnyard” flavor of a strong goat cheese. While in France, I fell in love with Pouligny St. Pierre goat cheese which is a creamy smooth aged amazing bit of heaven to put into your mouth. It is my goal and intention to make some of that here, but obviously with the “terroir” of North Carolina.
OK, so here’s how I made this batch of Fresh Chevre:
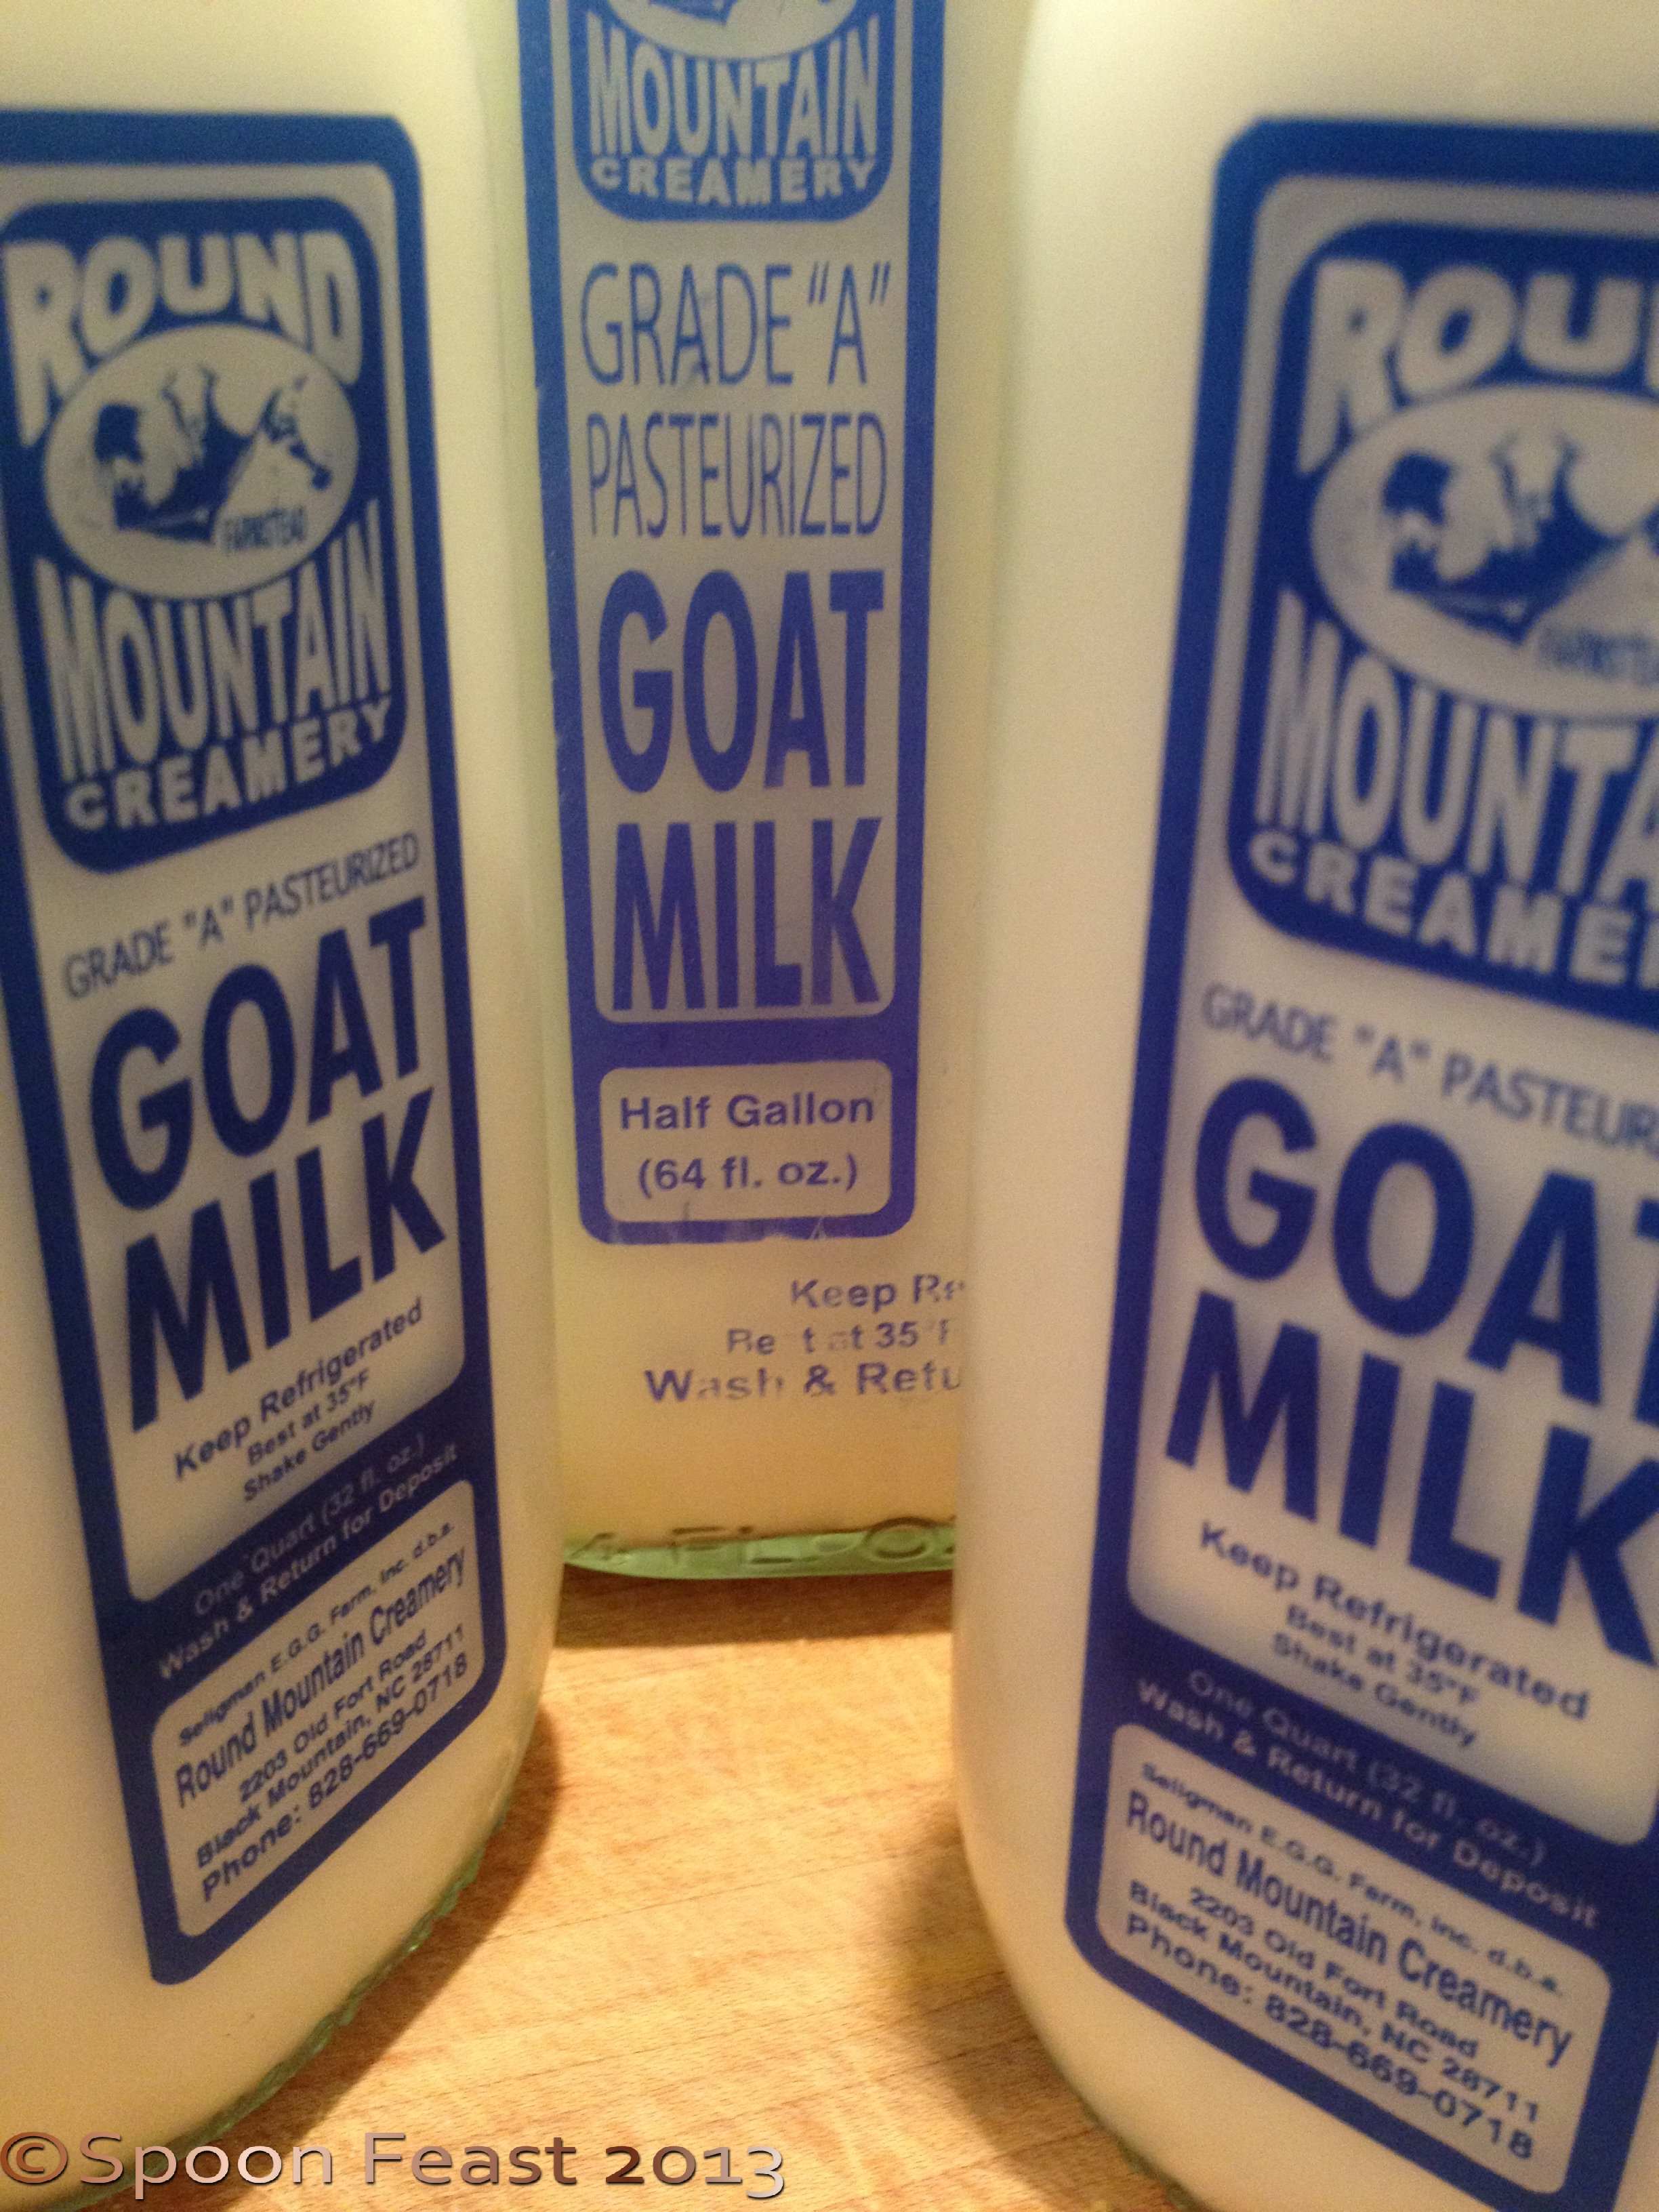
I started with one gallon of fresh Goat Milk from Round Mountain Creamery in Black Mountain, NC. The milk comes in glass bottles, which I love!
Order a batch of CHEVRE culture from New England Cheese Making Supply. One packet will culture one gallon of milk, so plan what you want to make. I never seem to order enough.
Additionally if your milk is pasteurized (PLEASE find milk that is low temp processed as Ultra-Pasteurized milk does not work for making cheese) you will need 1/4 teaspoon of calcium chloride per gallon of pasteurized, cold-stored milk.
In my next batch, I want to ripen it for a few weeks so I will be adding other cultures for different effects.
Equipment needed:
2 large pots; the small one holds 1 gallon easily. I can use the larger pot for larger batches. Just need to find a pot to nest it inside of for a reasonable price.
2 large stock pots: the one the milk goes into needs to be stainless steel (Non-reactive)
The second one needs to be large enough to make a double boiler or bain marie, the first needs to nestle into the large one so you can heat the milk easily and slowly.
A good thermometer: You NEED to be in control of temperatures, not too high or too low.
Cheese Muslin, butter muslin, closely woven cheese cloth– the normal loose woven is way too loosely woven. Invest in a yard or two, wash it and use it over and over.
Use cold water to remove any cheese particles, then hand wash. Rinse and boil it in a pot with some baking soda for 5-10 minutes, rinse and hang to dry. It will be fresh and good to go for the next round of cheese!
Here is how to make the cheese:
Wash and sanitize everything!! Have a pot of boiling/simmering water to drop cheesecloth, molds, tools into to sanitize them before they come into contact with cheese.
Pour the milk into the pot, place it over the water (about 80°F). Warm the milk to 72-78°F.
Please be aware that this will feel cold to the touch, this is not warm milk, just milk warmed from refrigeration to 72-78 degrees.
Open 1 packet of the Chevre culture and sprinkle it over the top of the milk. Allow it to hydrate for 2-5 minutes before stirring it into the milk.
Add 1/4 teaspoon calcium chloride is using cold-stored pasteurized milk.
Allow this to sit undisturbed for 6-12 hours. This is the hardest part as you want to go see what is happening and you want it to hurry up and do its thing. But be patient, it takes time.
This batch sat for 8 1/4 hours before testing the cleave of the curd. When it is ready to test, you should see a thin layer of whey over the curd and a slight separation from the sides of the pot.
Testing the cleavage break
Insert a knife or a spoon, slightly on the surface, the curd should cleave clean and the whey that floats into the separation should be clear.
Carefully lift the curds with a strainer into a colander lined with cheese muslin. Be sure to place the colander over a large bowl to catch the whey.
Gently fold the cheesecloth over the curds and allow them to drain for 6-12 hours again, depending upon your desired finished texture. Less time for sweeter cheese, more for tangy cheese. The longer the whey stays in contact with the curd, the more tangy it gets.
You must be very careful NOT TO PRESS the curds. Allow them to drain gently at this point. The whey should be clear dripping, if it is cloudy, you are losing milk fat and your cheese will be dry.
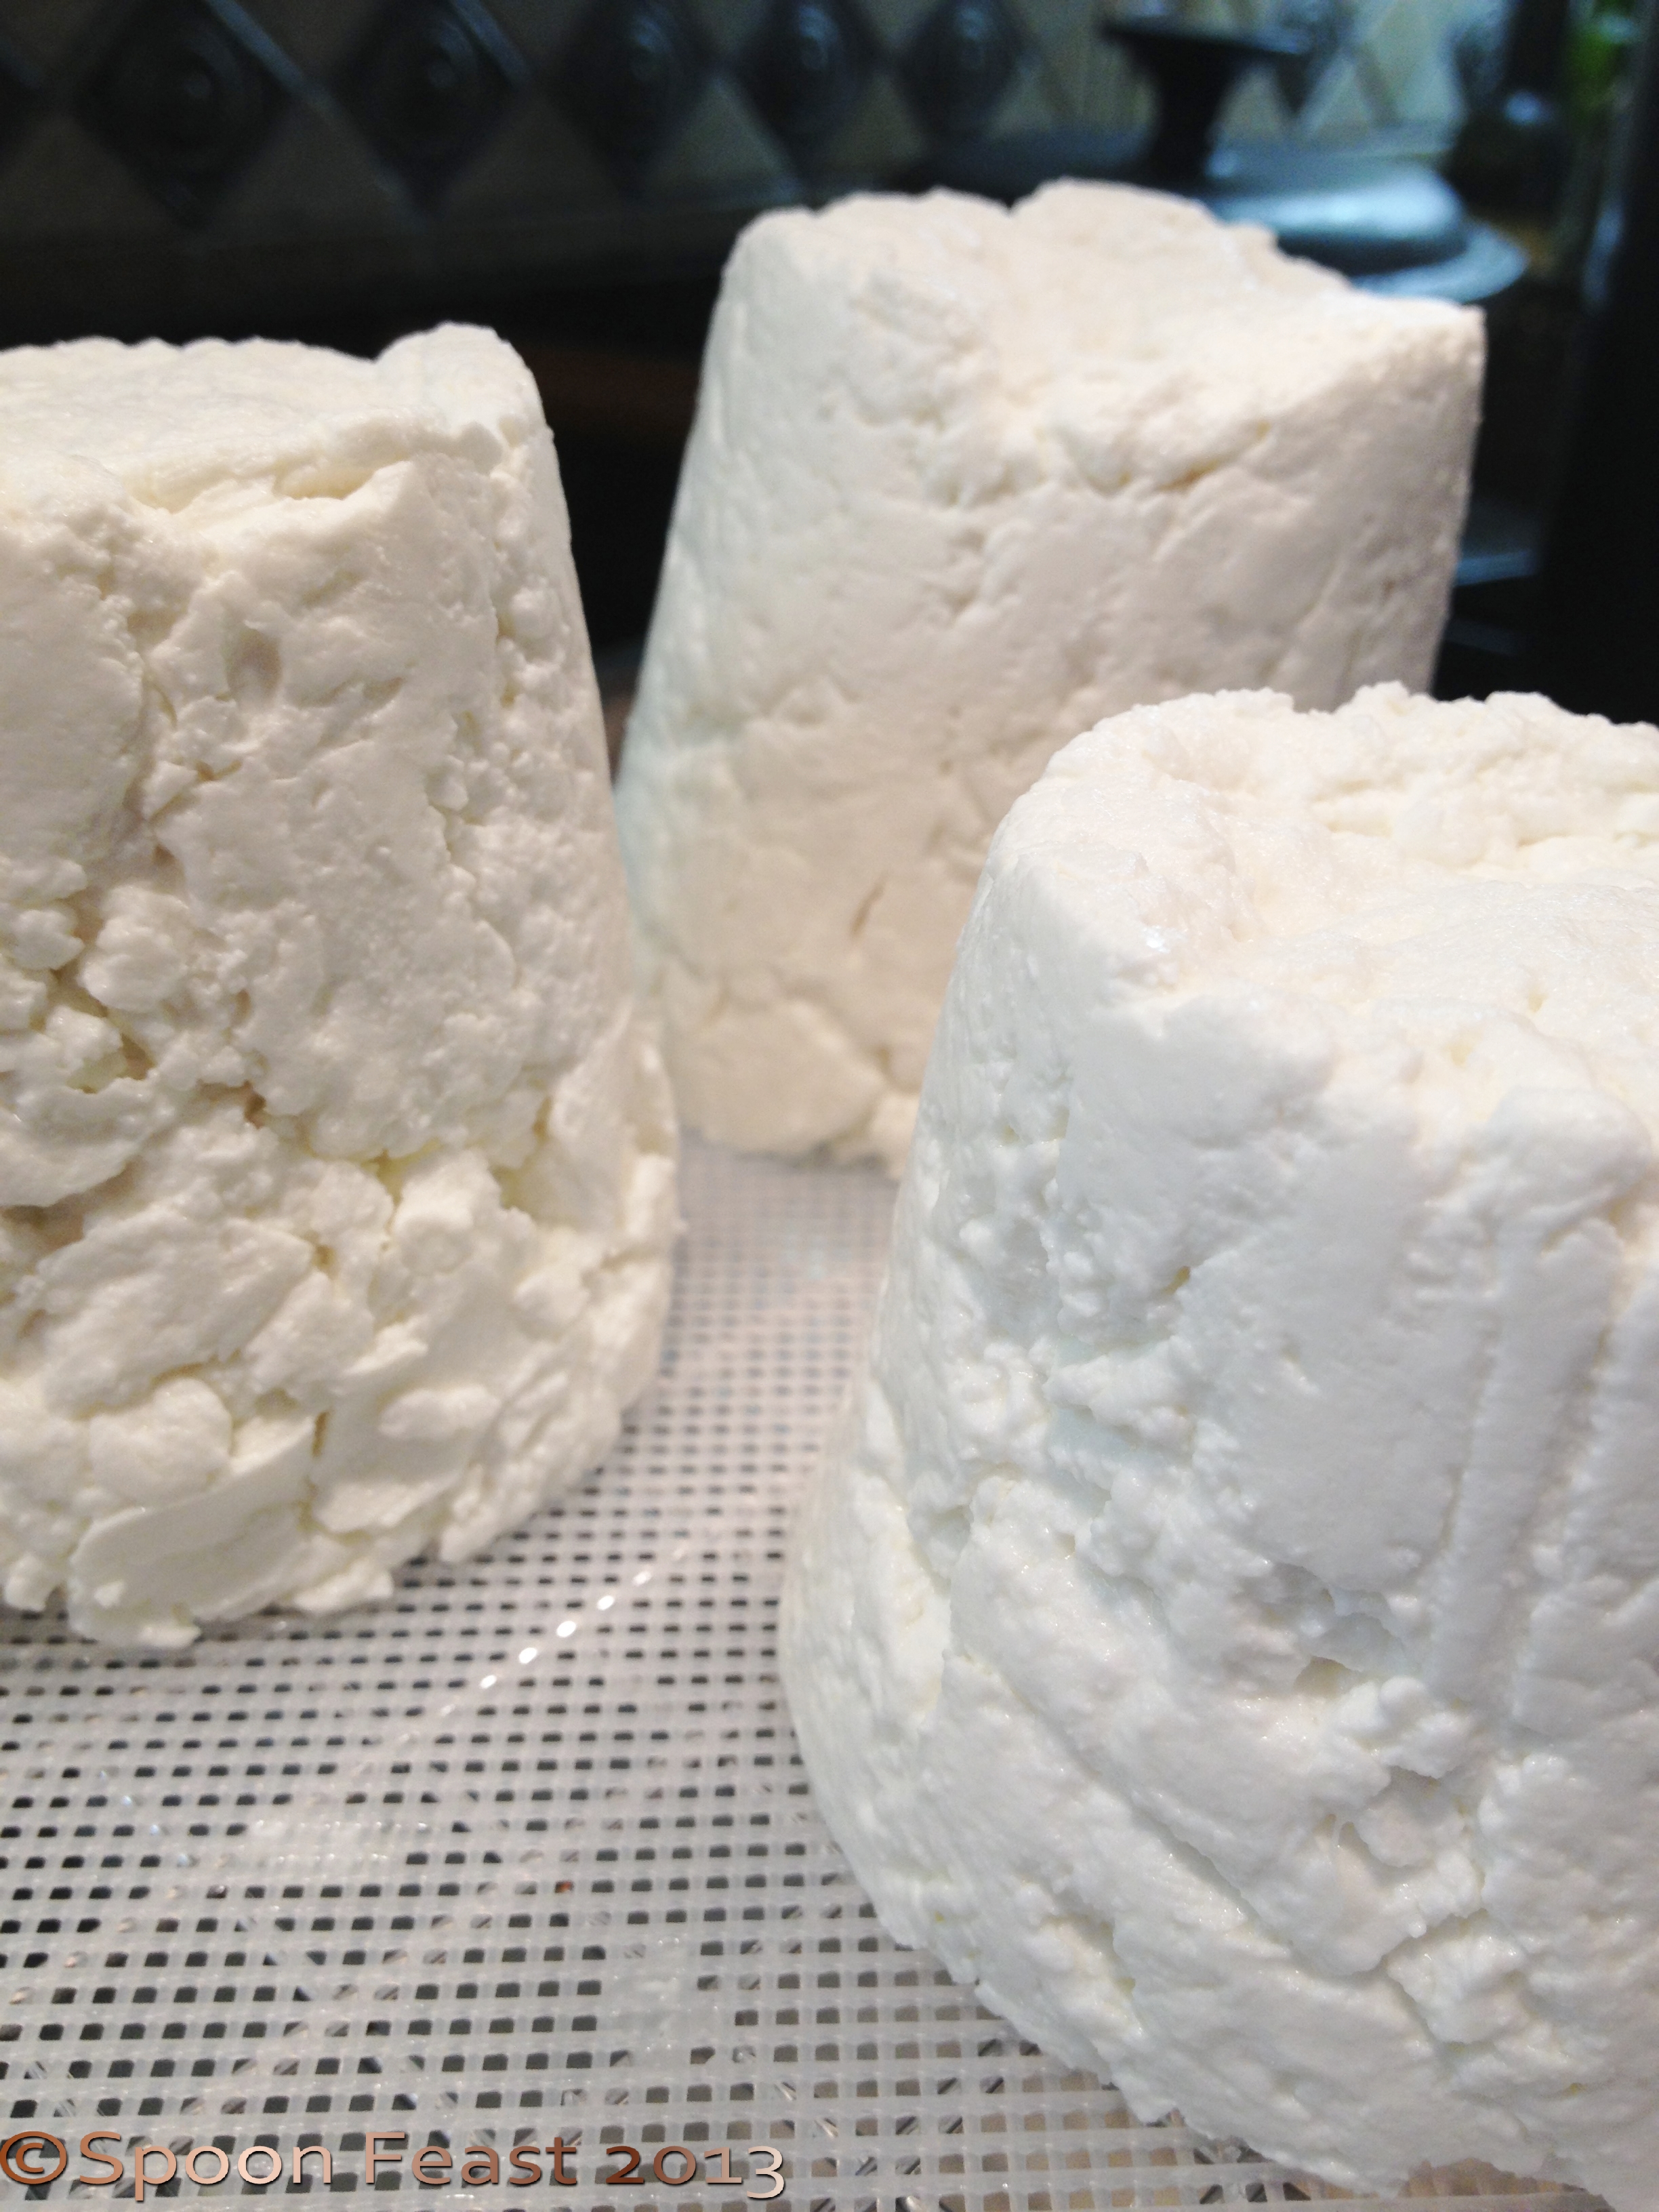
You can also put it into molds at this point if you are using a mold. It will result in a smoother sided end product.
Control the room temperature and the curd temperature to maintain as close to 72-78°F as possible. I let the curds form while still in the bain marie as the water in the host pot will maintain the temperature of the curd mass.
I usually let this happen overnight while sleeping. The next day is such a surprise!
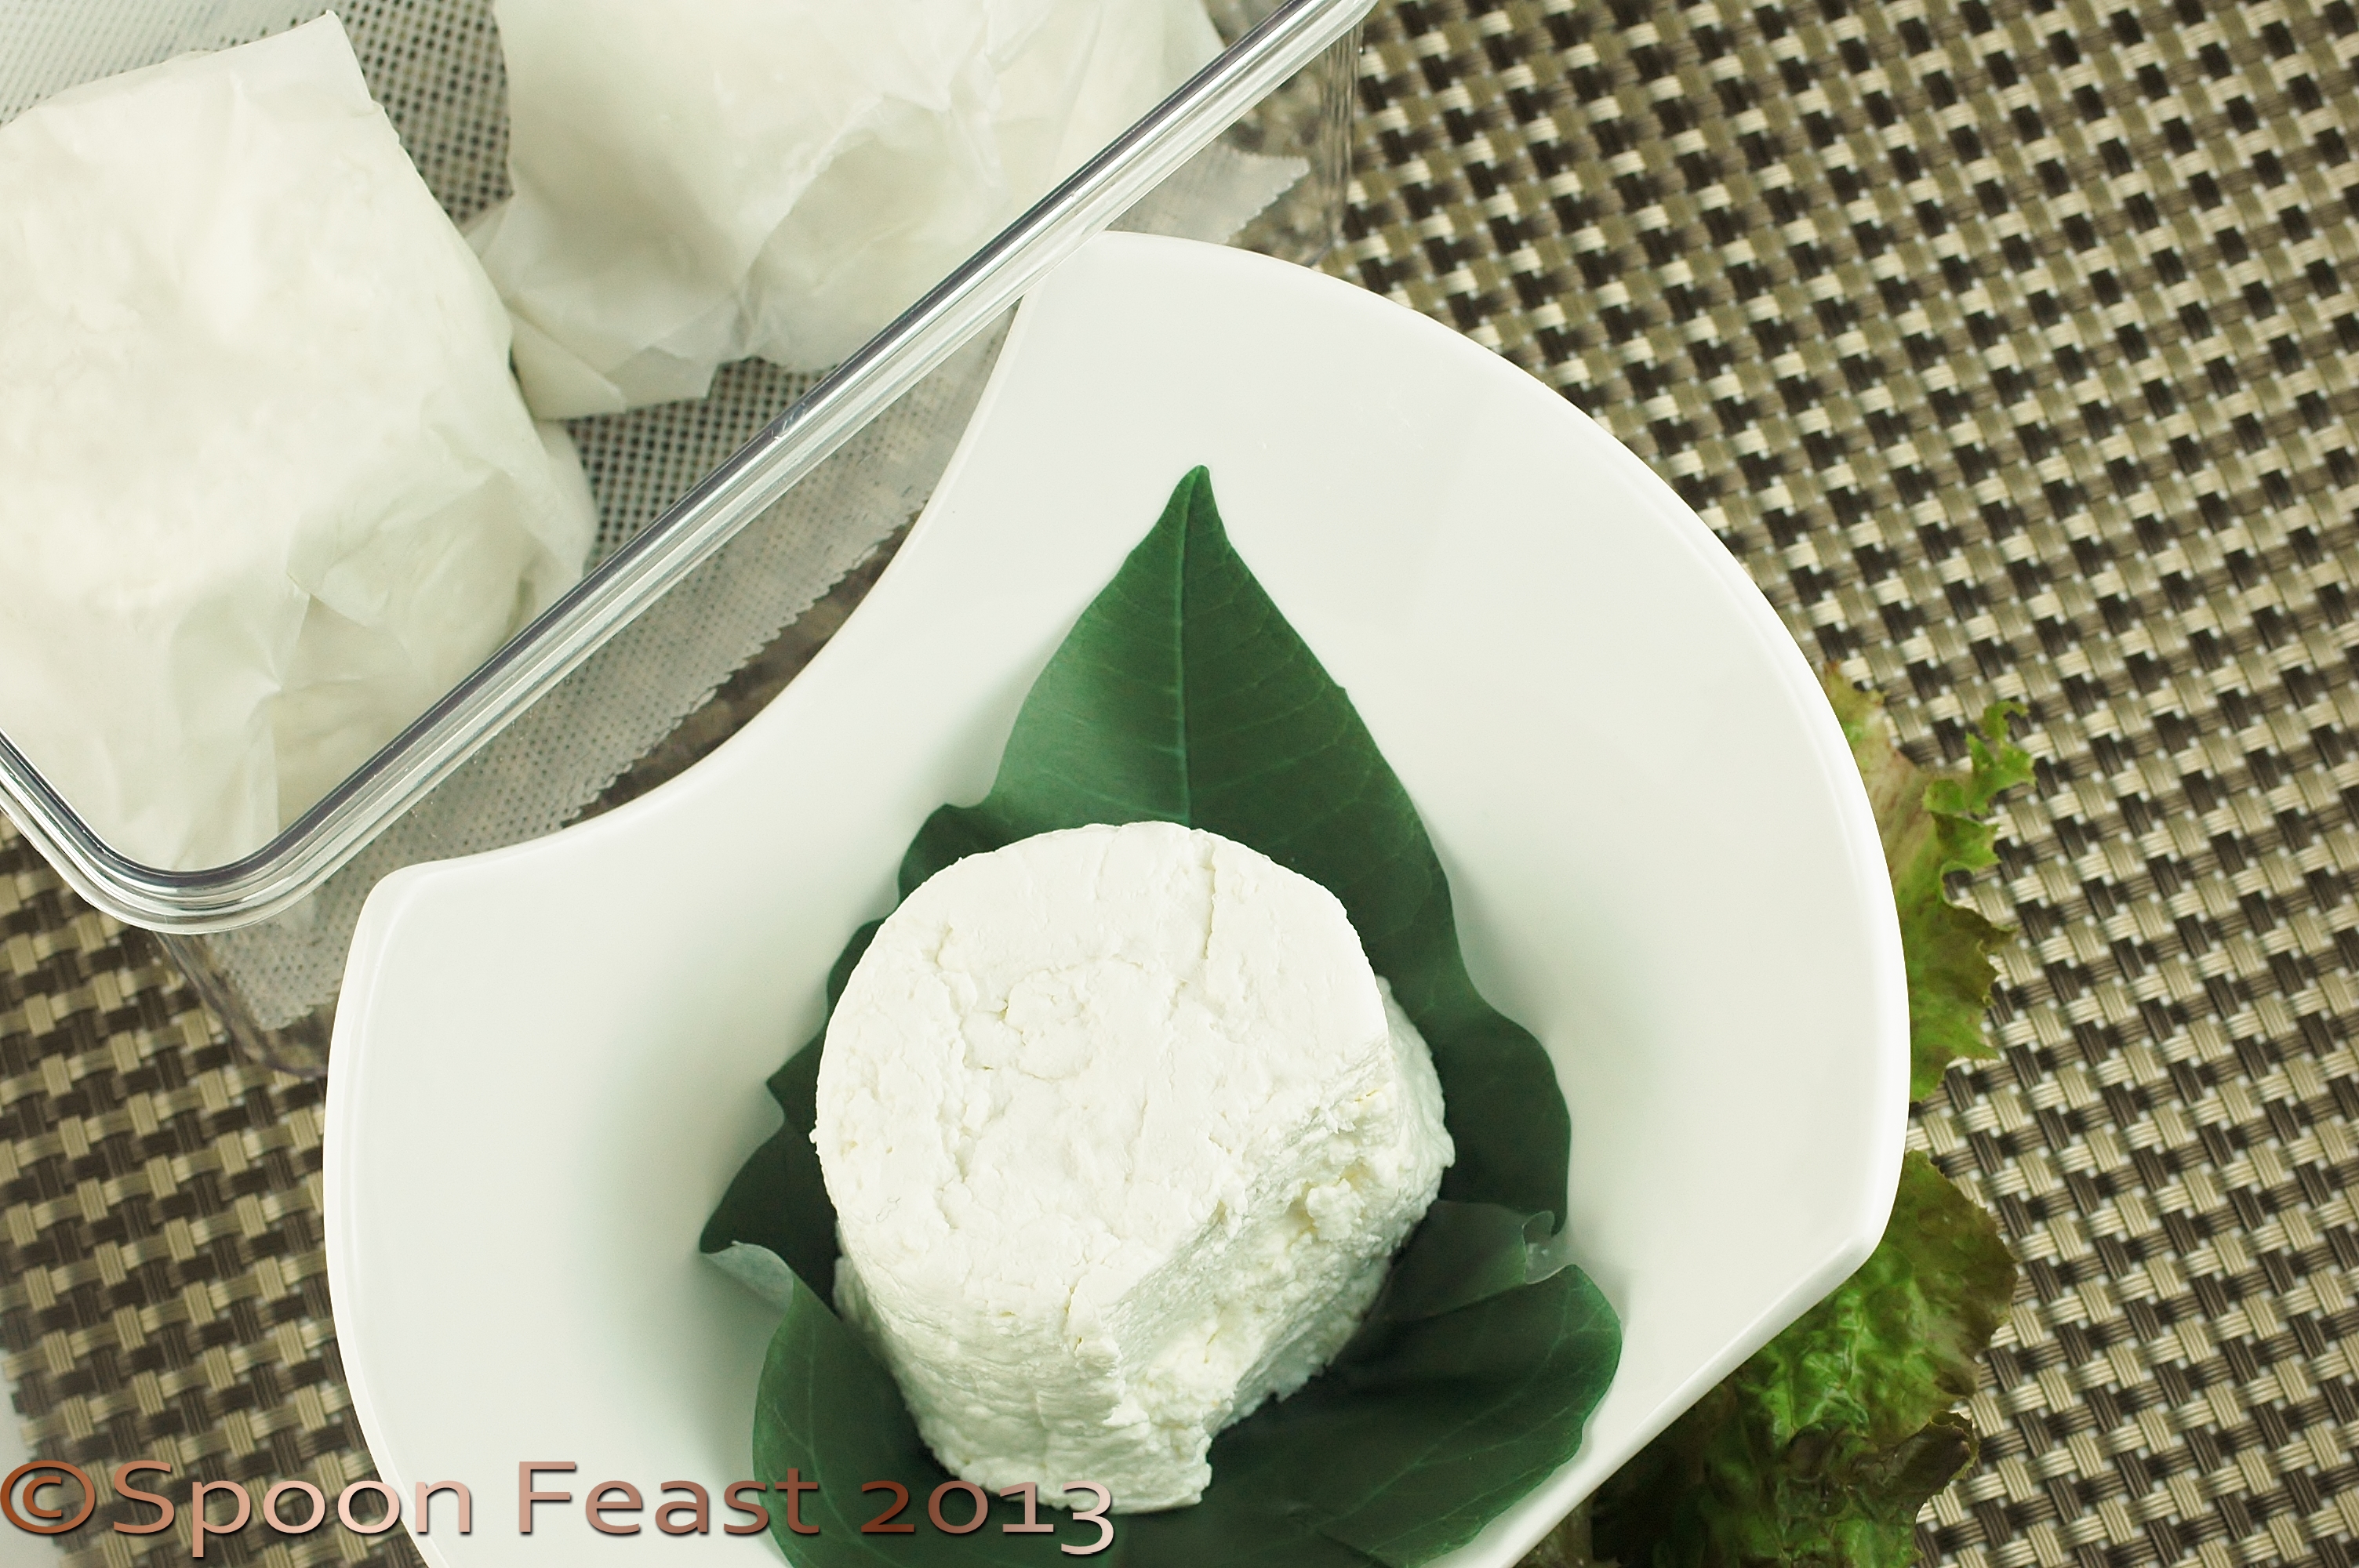
Unfold the cheesecloth and reveal your fresh cheese! Now it is time to salt. For this batch, 1.5-2 teaspoons of non-iodized cheese salt.
You can consider the cheese finished at this point but this is also where you can be a bit creative.
As you fold in the salt, also consider adding other flavors like herbs, minced garlic or shallots or onions, crushed peppercorns, ash, use your imagination.
Store your fresh goat cheese in a bowl or tub and consume within 10 days. Refrigerate the cheese, but allow it to come to room temperature before serving to allow all the wonderful flavors to come through.
A Word About Seasonings:
Please use dried seasonings and herbs due to the risk of bacterial contamination that may be introduced by using fresh herbs and seasonings. If you use fresh, be sure to eat the cheese soon. It can’t hang out for a while like plain cheese.
A Word About Food Safety:
The temperature the milk gets processed is in a temperature range that is smack dab in the extreme temperature danger zone. Everything you use needs to be “sterilized” in the boiling water bath before it comes in contact with the curds or milk. I cover my curd formation and the curd draining with a glass lid (so I can see what is going on!) to prevent anything falling or flying into the curd mass.
Since my kitchen is FULL of wild yeast from all the bread I make, the introduction of wild yeast is totally possible. This could have a spoiling effect on the curd. This is another reason I boil things before they touch the milk/curds.
The hardest part is WAITING! I strongly suggest you get to a farmers market and buy some goat milk and try this. It is easy, very tasty and you will feel so good about making a tasty goat cheese you’ll make more.
If you do make any cheese, take notes on the temperatures, conditions, milk etc so you can repeat successful processes. Most of all remember DO NOT USE Ultra-Pasteurized milk!
So that’s Fresh Chevre in a nut shell. There is a lot of information out there on making cheese. I’m really just starting and am looking forward to making more!
Please let me know how you do if you make some fresh Goat Cheese!
We learned about the processes of making Cheddar, Camembert and Vacha Toscana, about a lot of the science, theory and instinct involved in cheese making as well as an evaluation of the cheese each of us brought for him to trouble shoot.
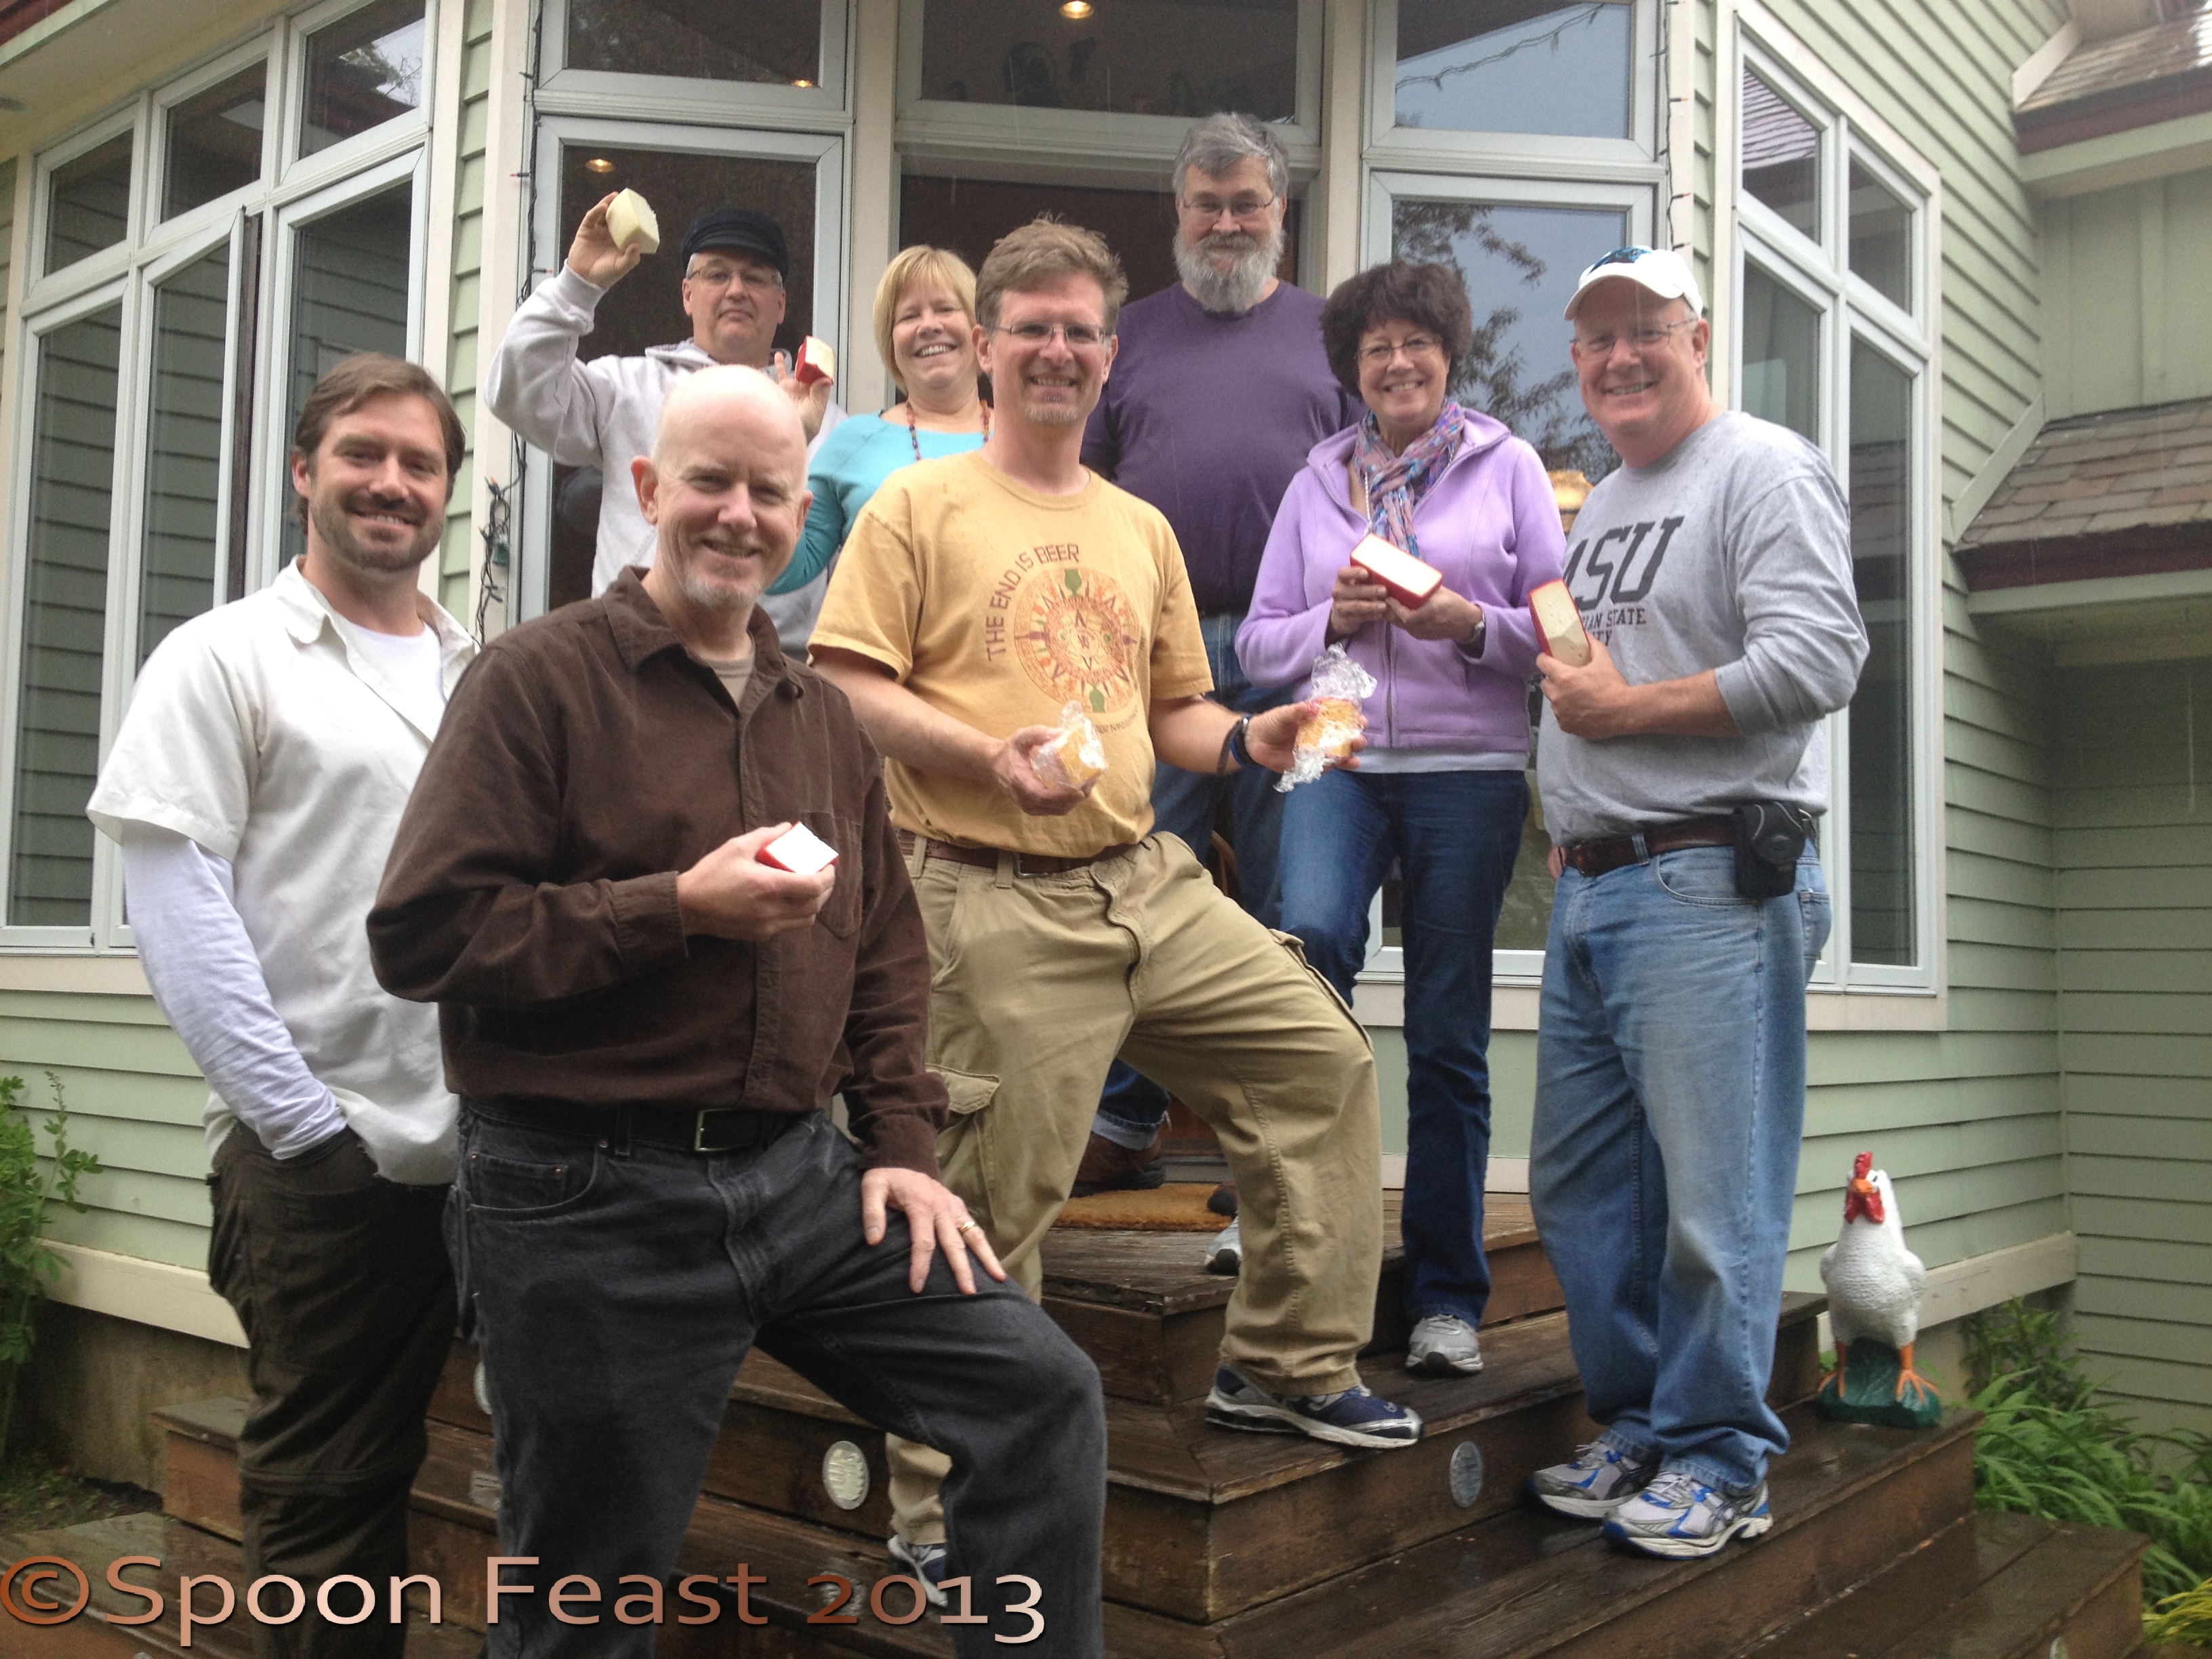
We had a great group: Seth from Vermont/New York, Martin from St. Augustine, Michael and Belinda from Pennsylvania who want to buy a boat soon and sail the eternal summer; two of my colleagues and myself.
Our Group
Each of us have tinkered with cheese for a few years and this workshop allowed us to take our skills to another level. I hope we can stay in touch somehow, I want to hear about the cheese making adventures at sea!
Jim’s cheeses are not only beautiful but very tasty.
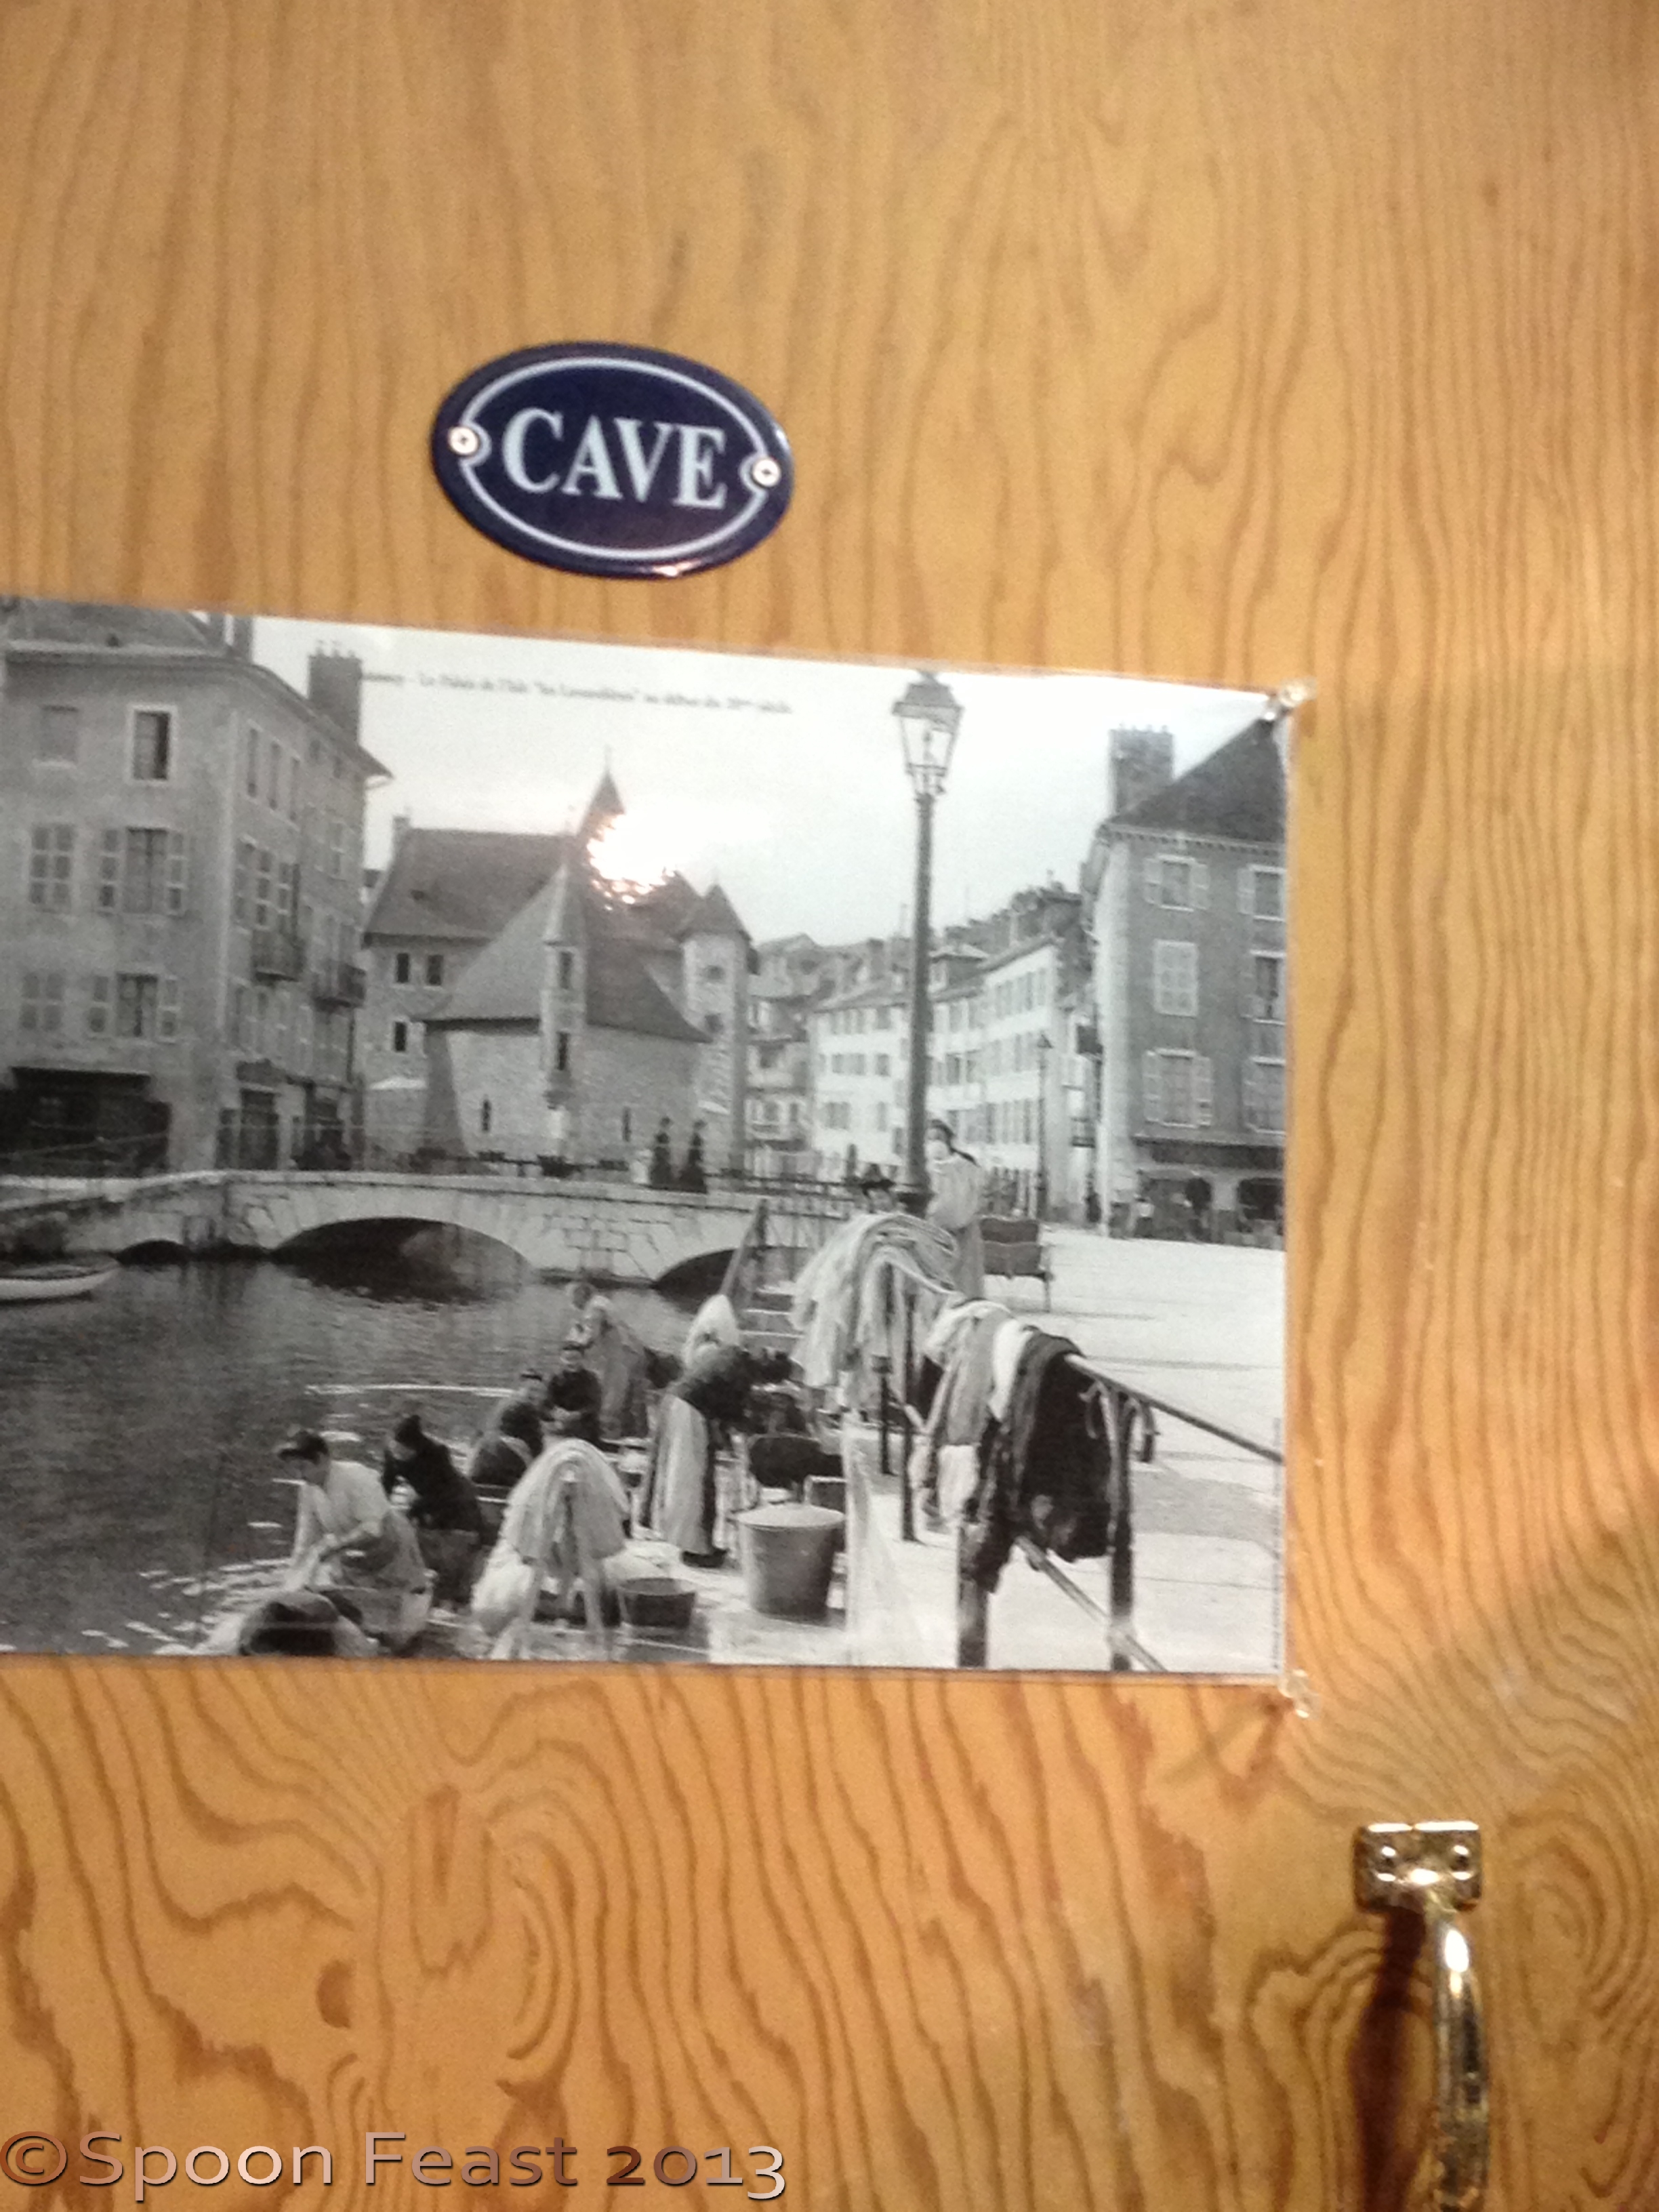
Cheese in the cave
His “Cave” and drying rooms are places I could spend hours.
Cave door
The drying room
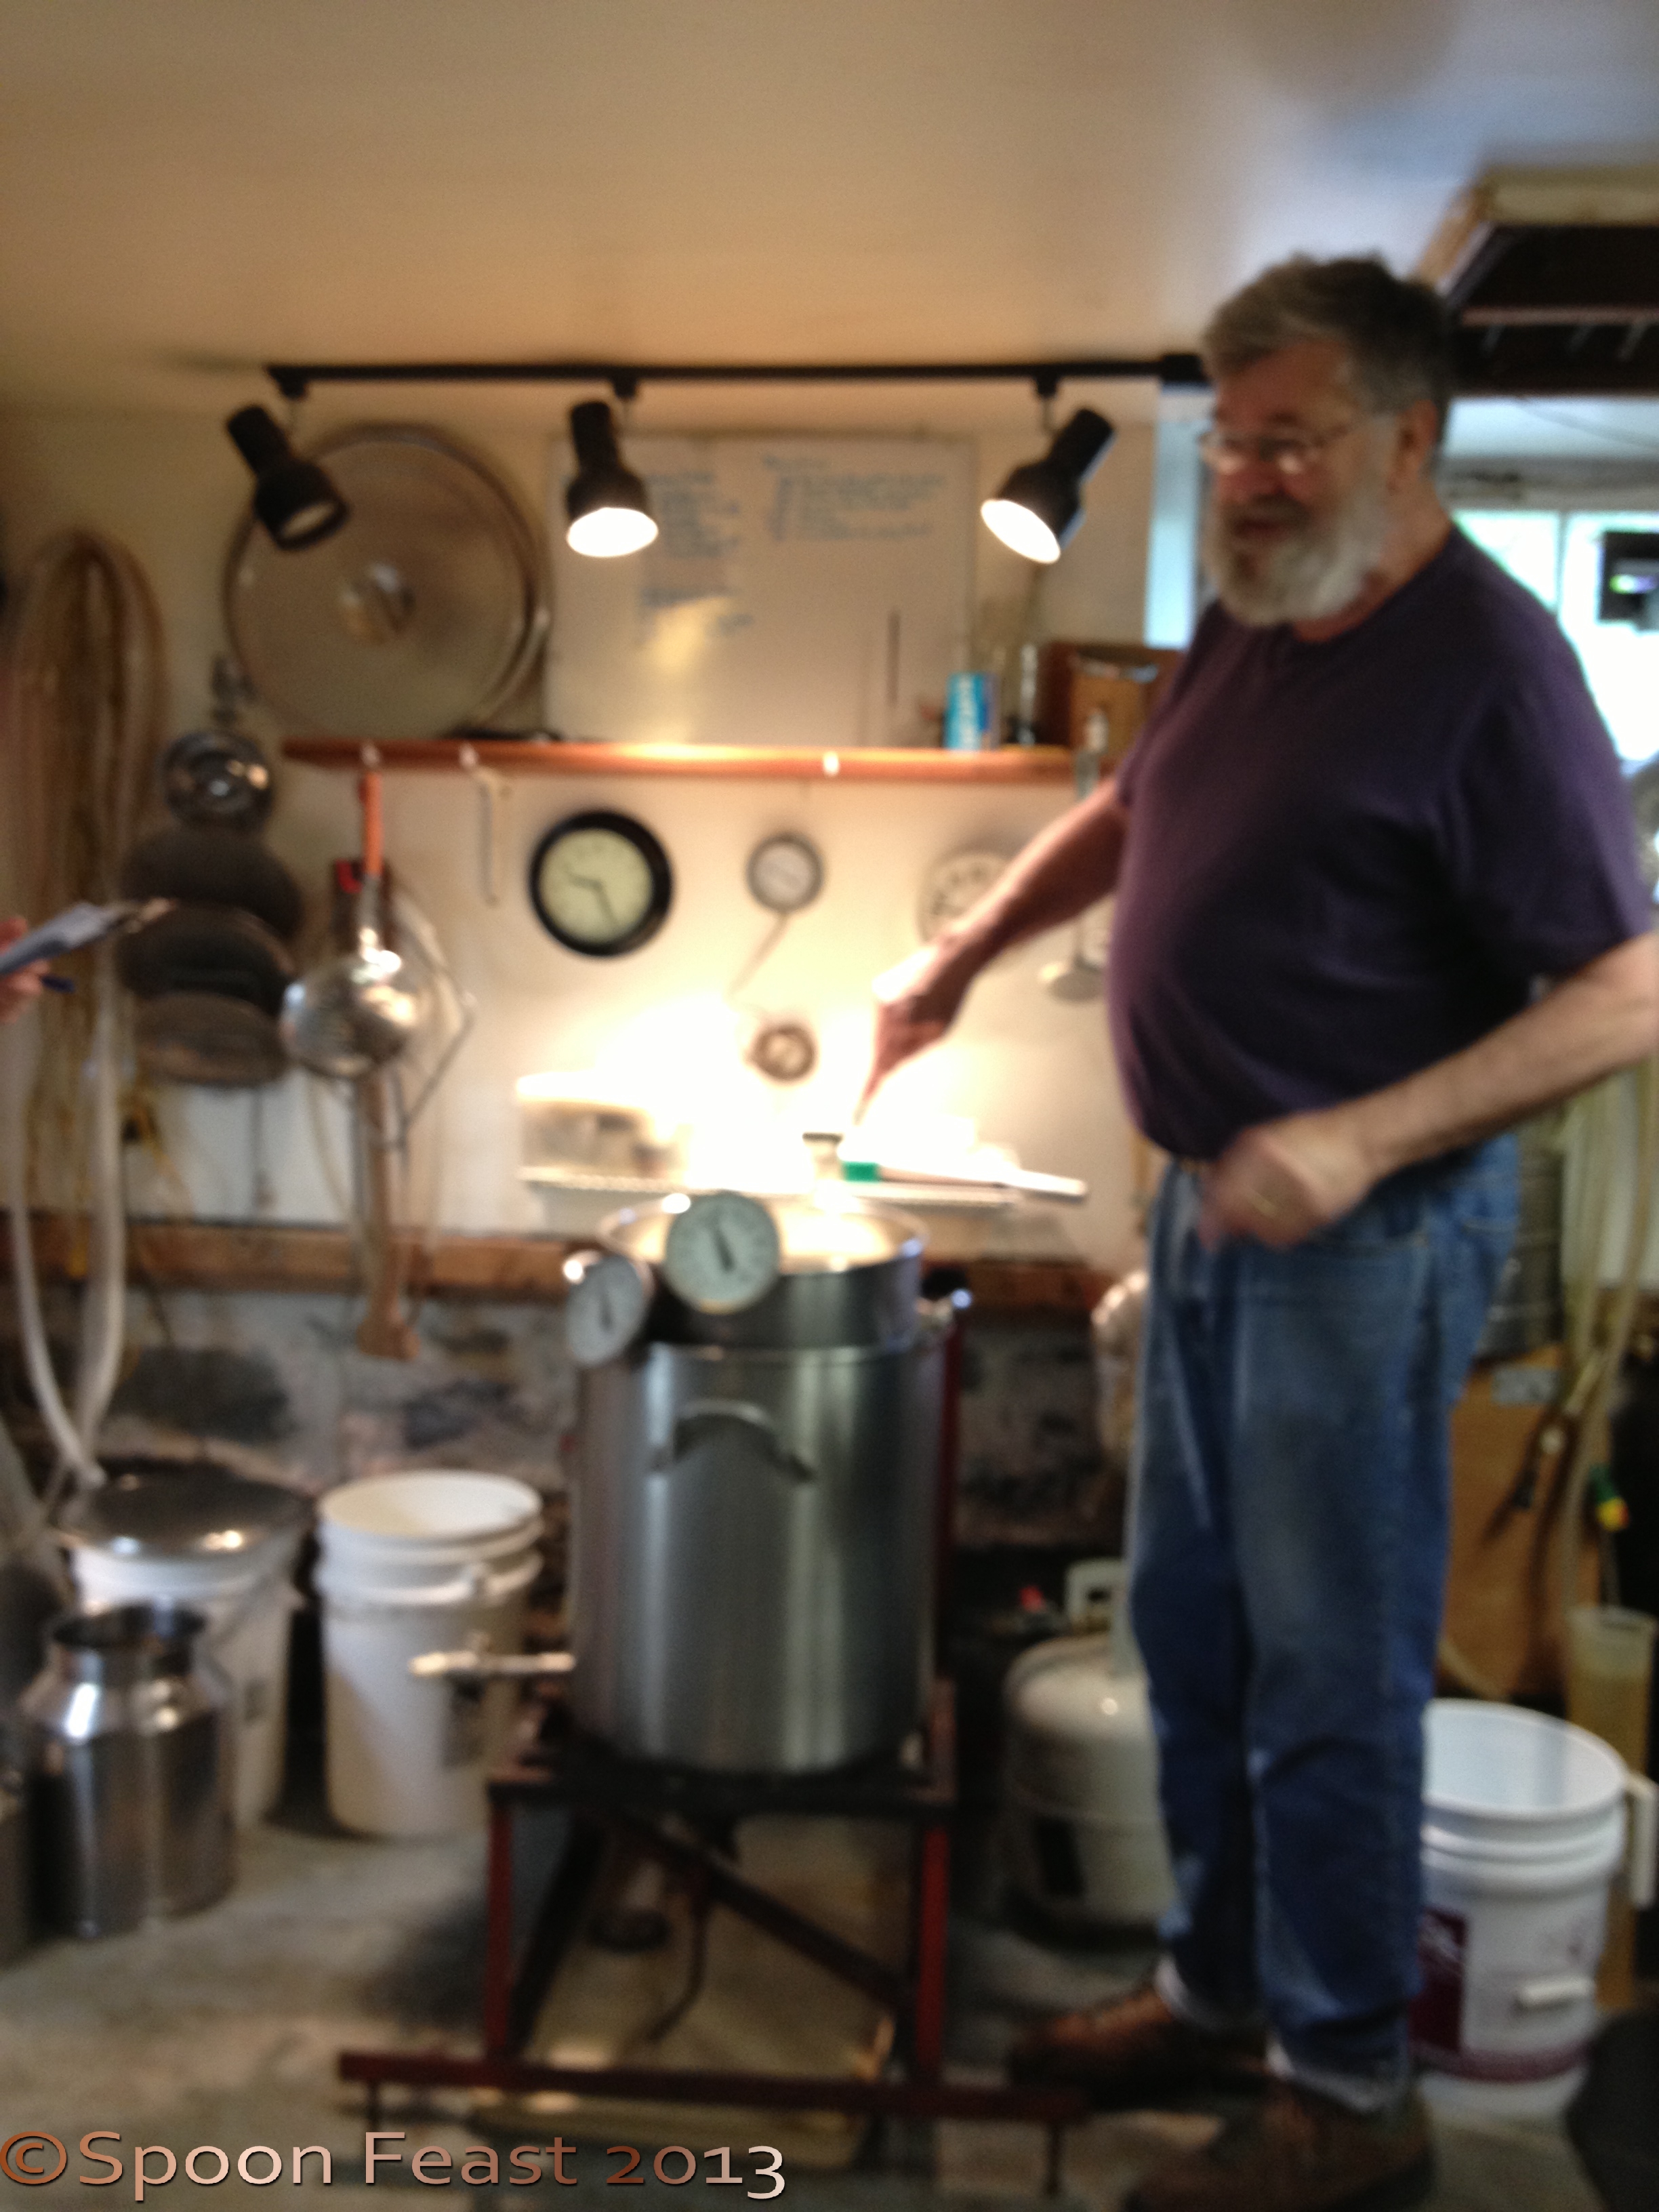
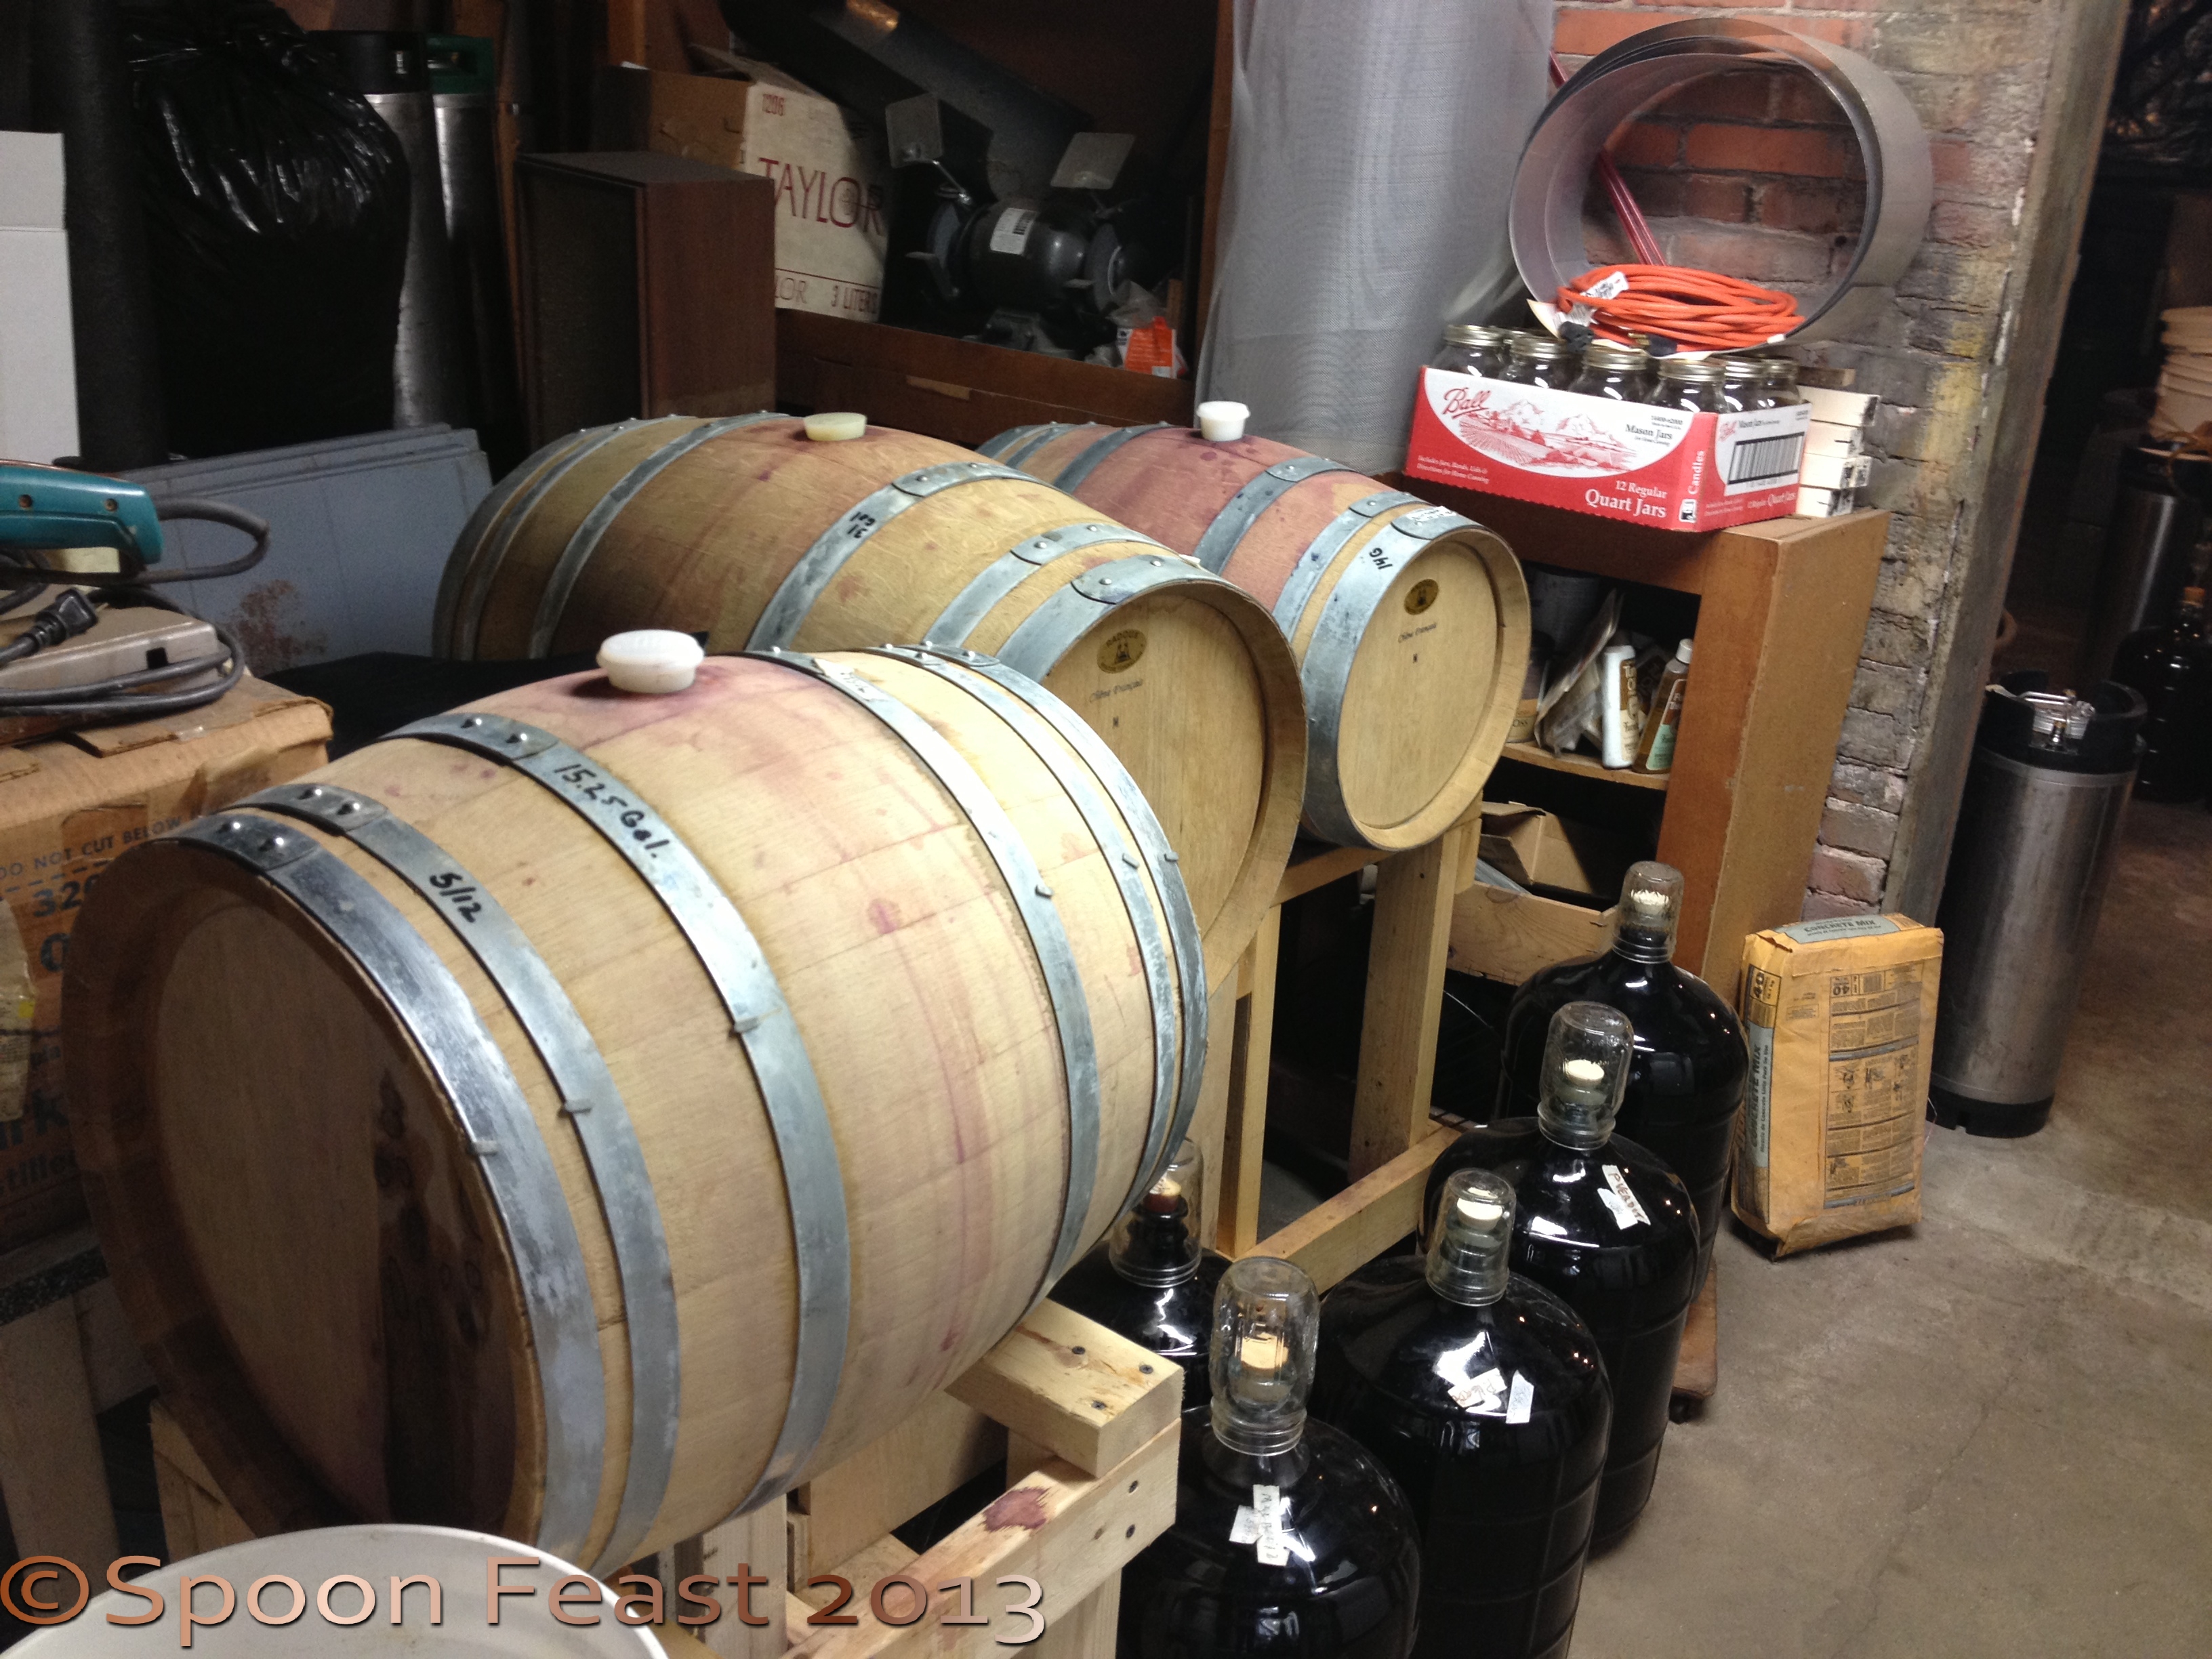
In addition to making cheese, Mr. Wallace also makes some lovely wine and impressive beer.
Wine making
The workshop began at 9AM with the introduction of milk, cultures, rennet, stirring, curd cutting,
PH lab
draining, molding and finally pressing.
I was amazed how easy it seems to be to make Camembert. Can’t wait to try it!
Jim’s lovely wife Robin made lunch for us both days. The table was full of lively conversations, great food, cheese, wine and beer. (Jim told us we must have been a special group as he doesn’t usually share his beer and wine with classes. So if you go, don’t expect it!)
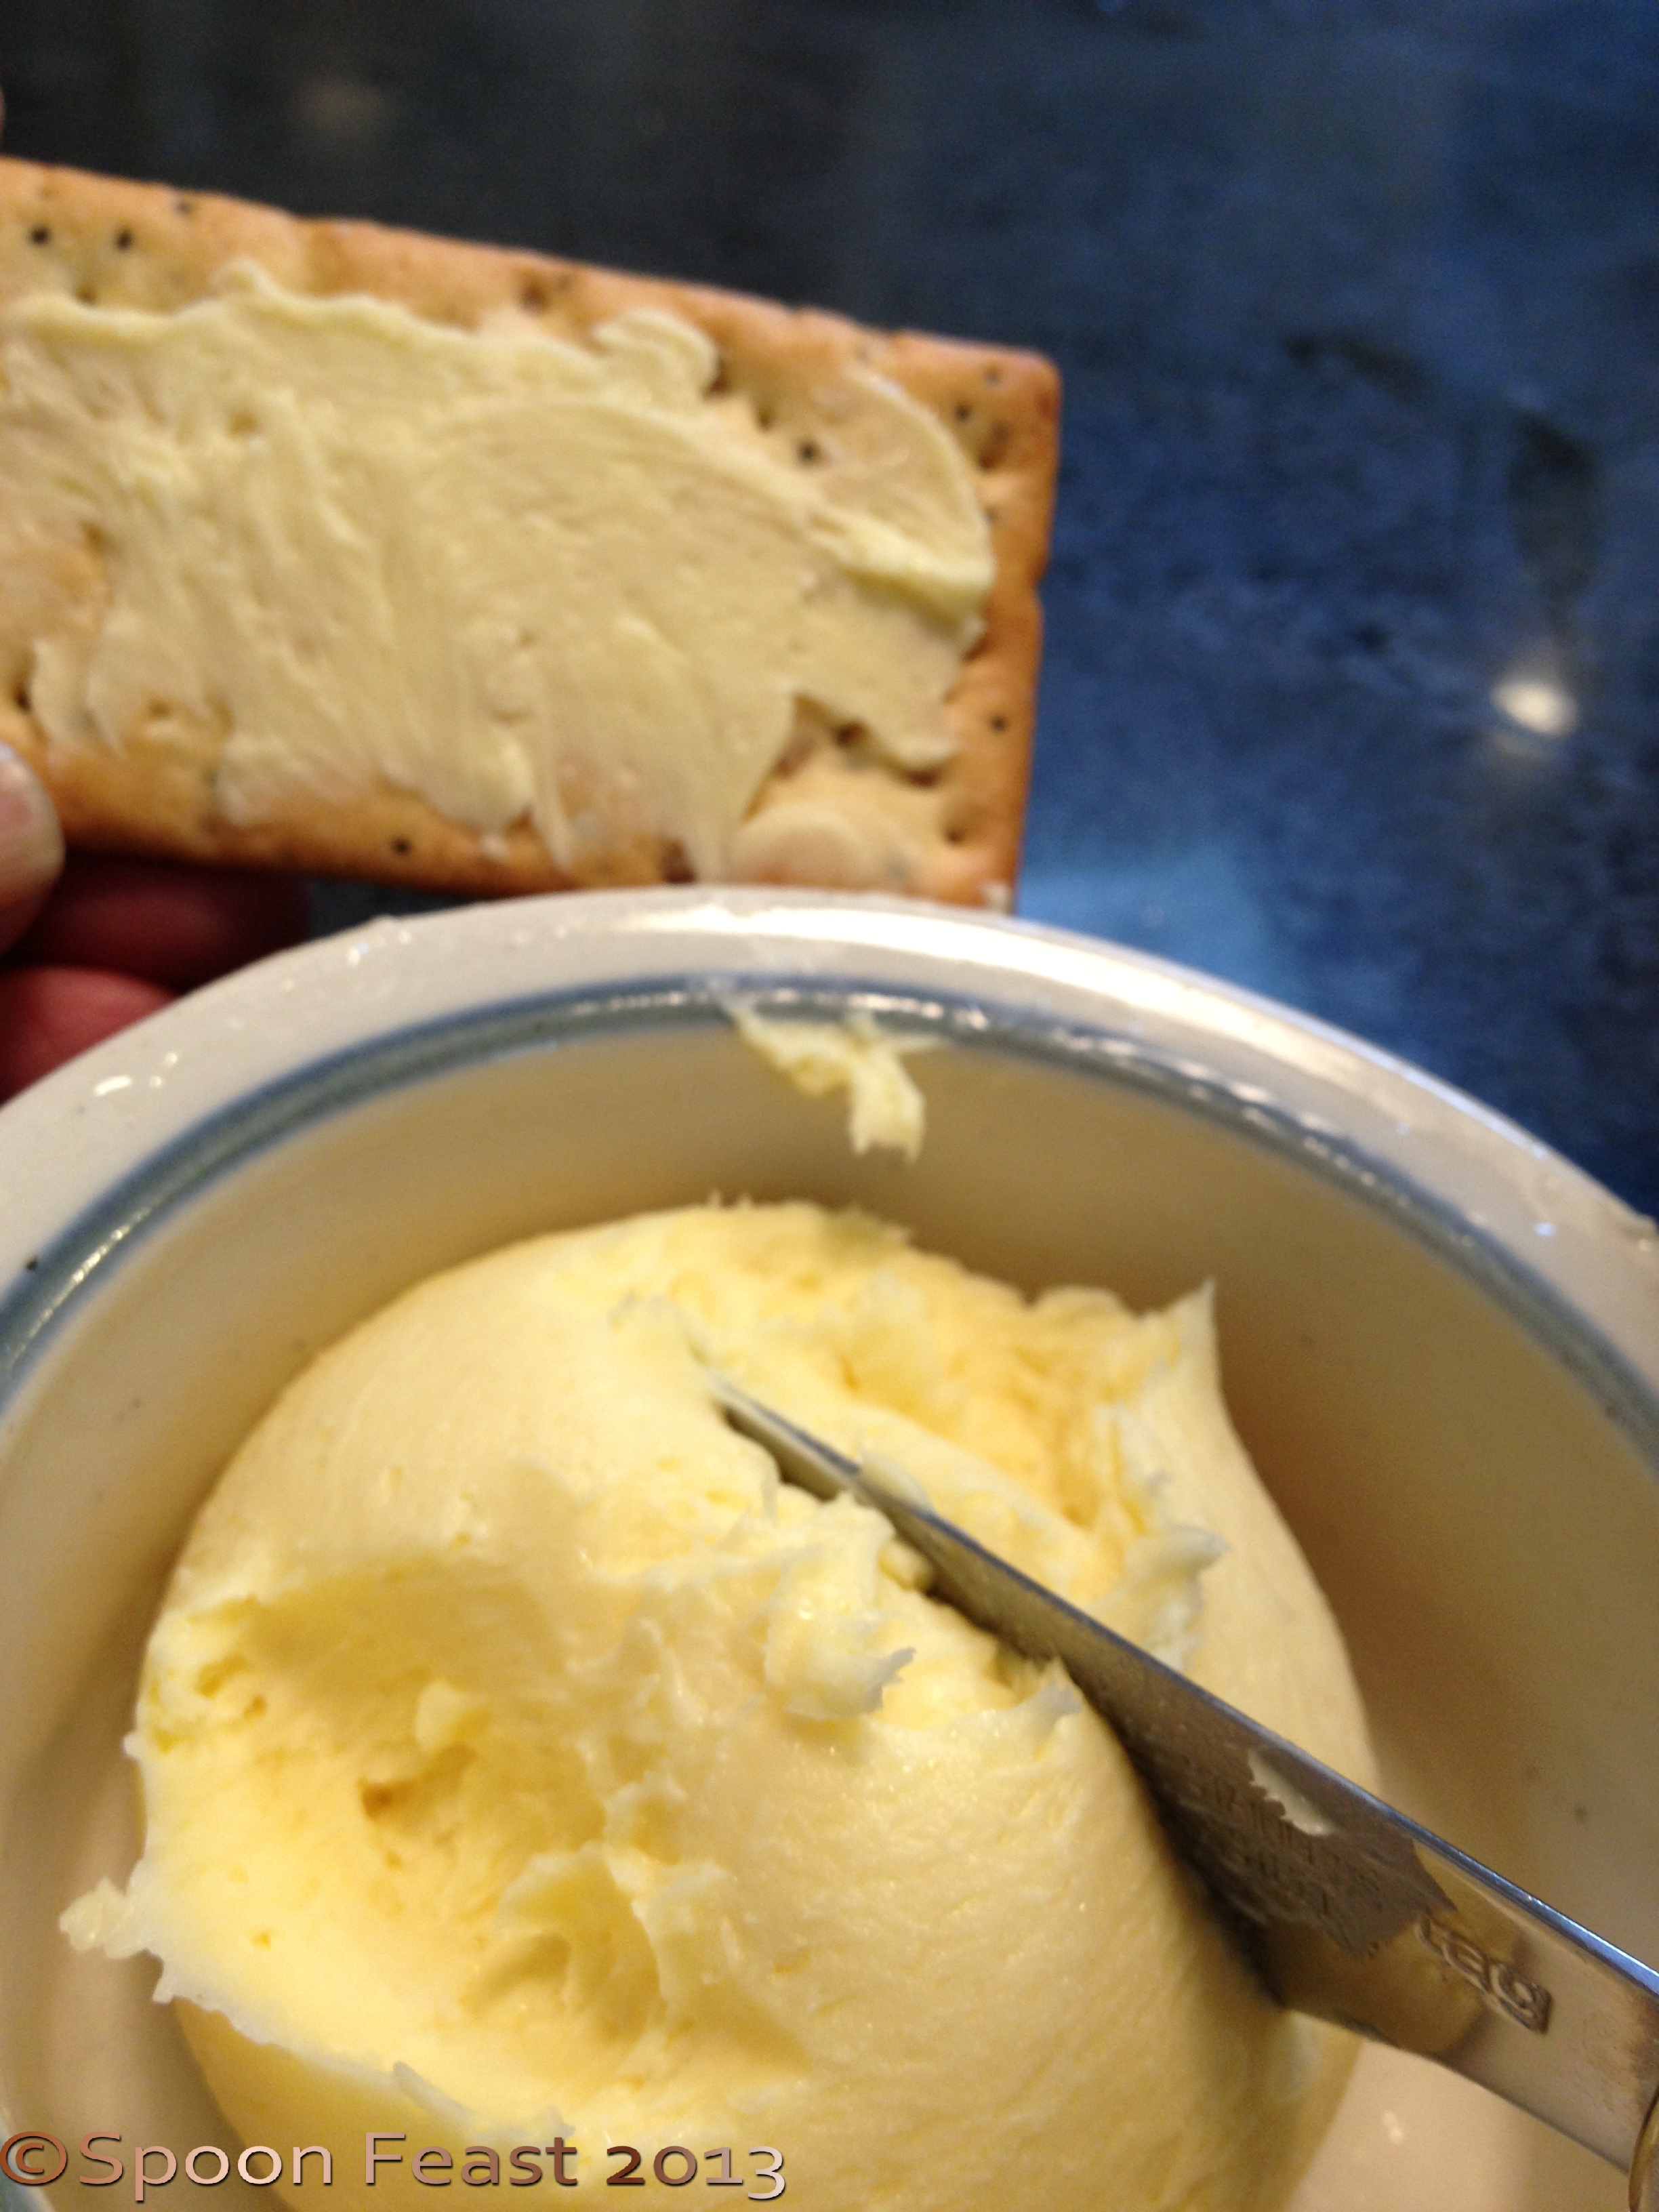
Sunday morning, Robin and Jim were making fresh butter from the butterfat that floated to the top of the whey from Saturdays cheese making.
Really fresh butter! Boy did that butter taste good!
Really fresh butter and you know how much I love butter!
Both Jim and Robin were professional photographers who traveled and sold their work at shows. This resulted in an amazing collection of original art work from photographs of their own and others, sculpted art pottery, bead work, and dinner/serve ware style pottery. It was great to be in the presence of so much creative energy.
If you have any interest in cheese making, I highly suggest you get in contact with Jim to see what he has coming up. He has limited space so make you plans early.
You can contact him at jim@cheesemaking.com.
He can give you the cost, dates and availability of up coming workshops. I would say these aren’t for someone who has never made cheese before because he gets quite technical. If you never made cheese before, find a local class that teaches mozzarella, marscapone, lemon cheese, cream cheese and other quick, easy fresh cheese.
If you like the process, play with making a couple aged cheese, THEN go take a workshop from Jim.
These are the cheeses that everyone brought for the evaluation session
Bring your cheese with you and he will tell you what you did right, what went wrong and give great advice about your cheese. Everyone got a lot out of this session.
I will create posts on the cheese we made and the cheese we make now that we are back from the workshop.
It will be quite fun and interesting to get to make these. The challenge will be in allowing them to ripen and age enough before cutting into them.
Some age for a couple of weeks, and others several months, We think once we get the process started, we can have a perpetual flow of amazing artisan and farmstead cheese.
Watch for these posts over the summer!
If you take a workshop from Jim, let me know what you get to make as his workshops are all different. We guess it depends upon what his cave needs and his social schedule as he always brings cheese.
You’ve got to pace yourself though, it is easy to get cheesed out if you don’t normally have a lot of cheese in your diet.
Let’s make some cheese!
Aged Cheddar
Almost ripe Camembert
Aging Vacha Toscana
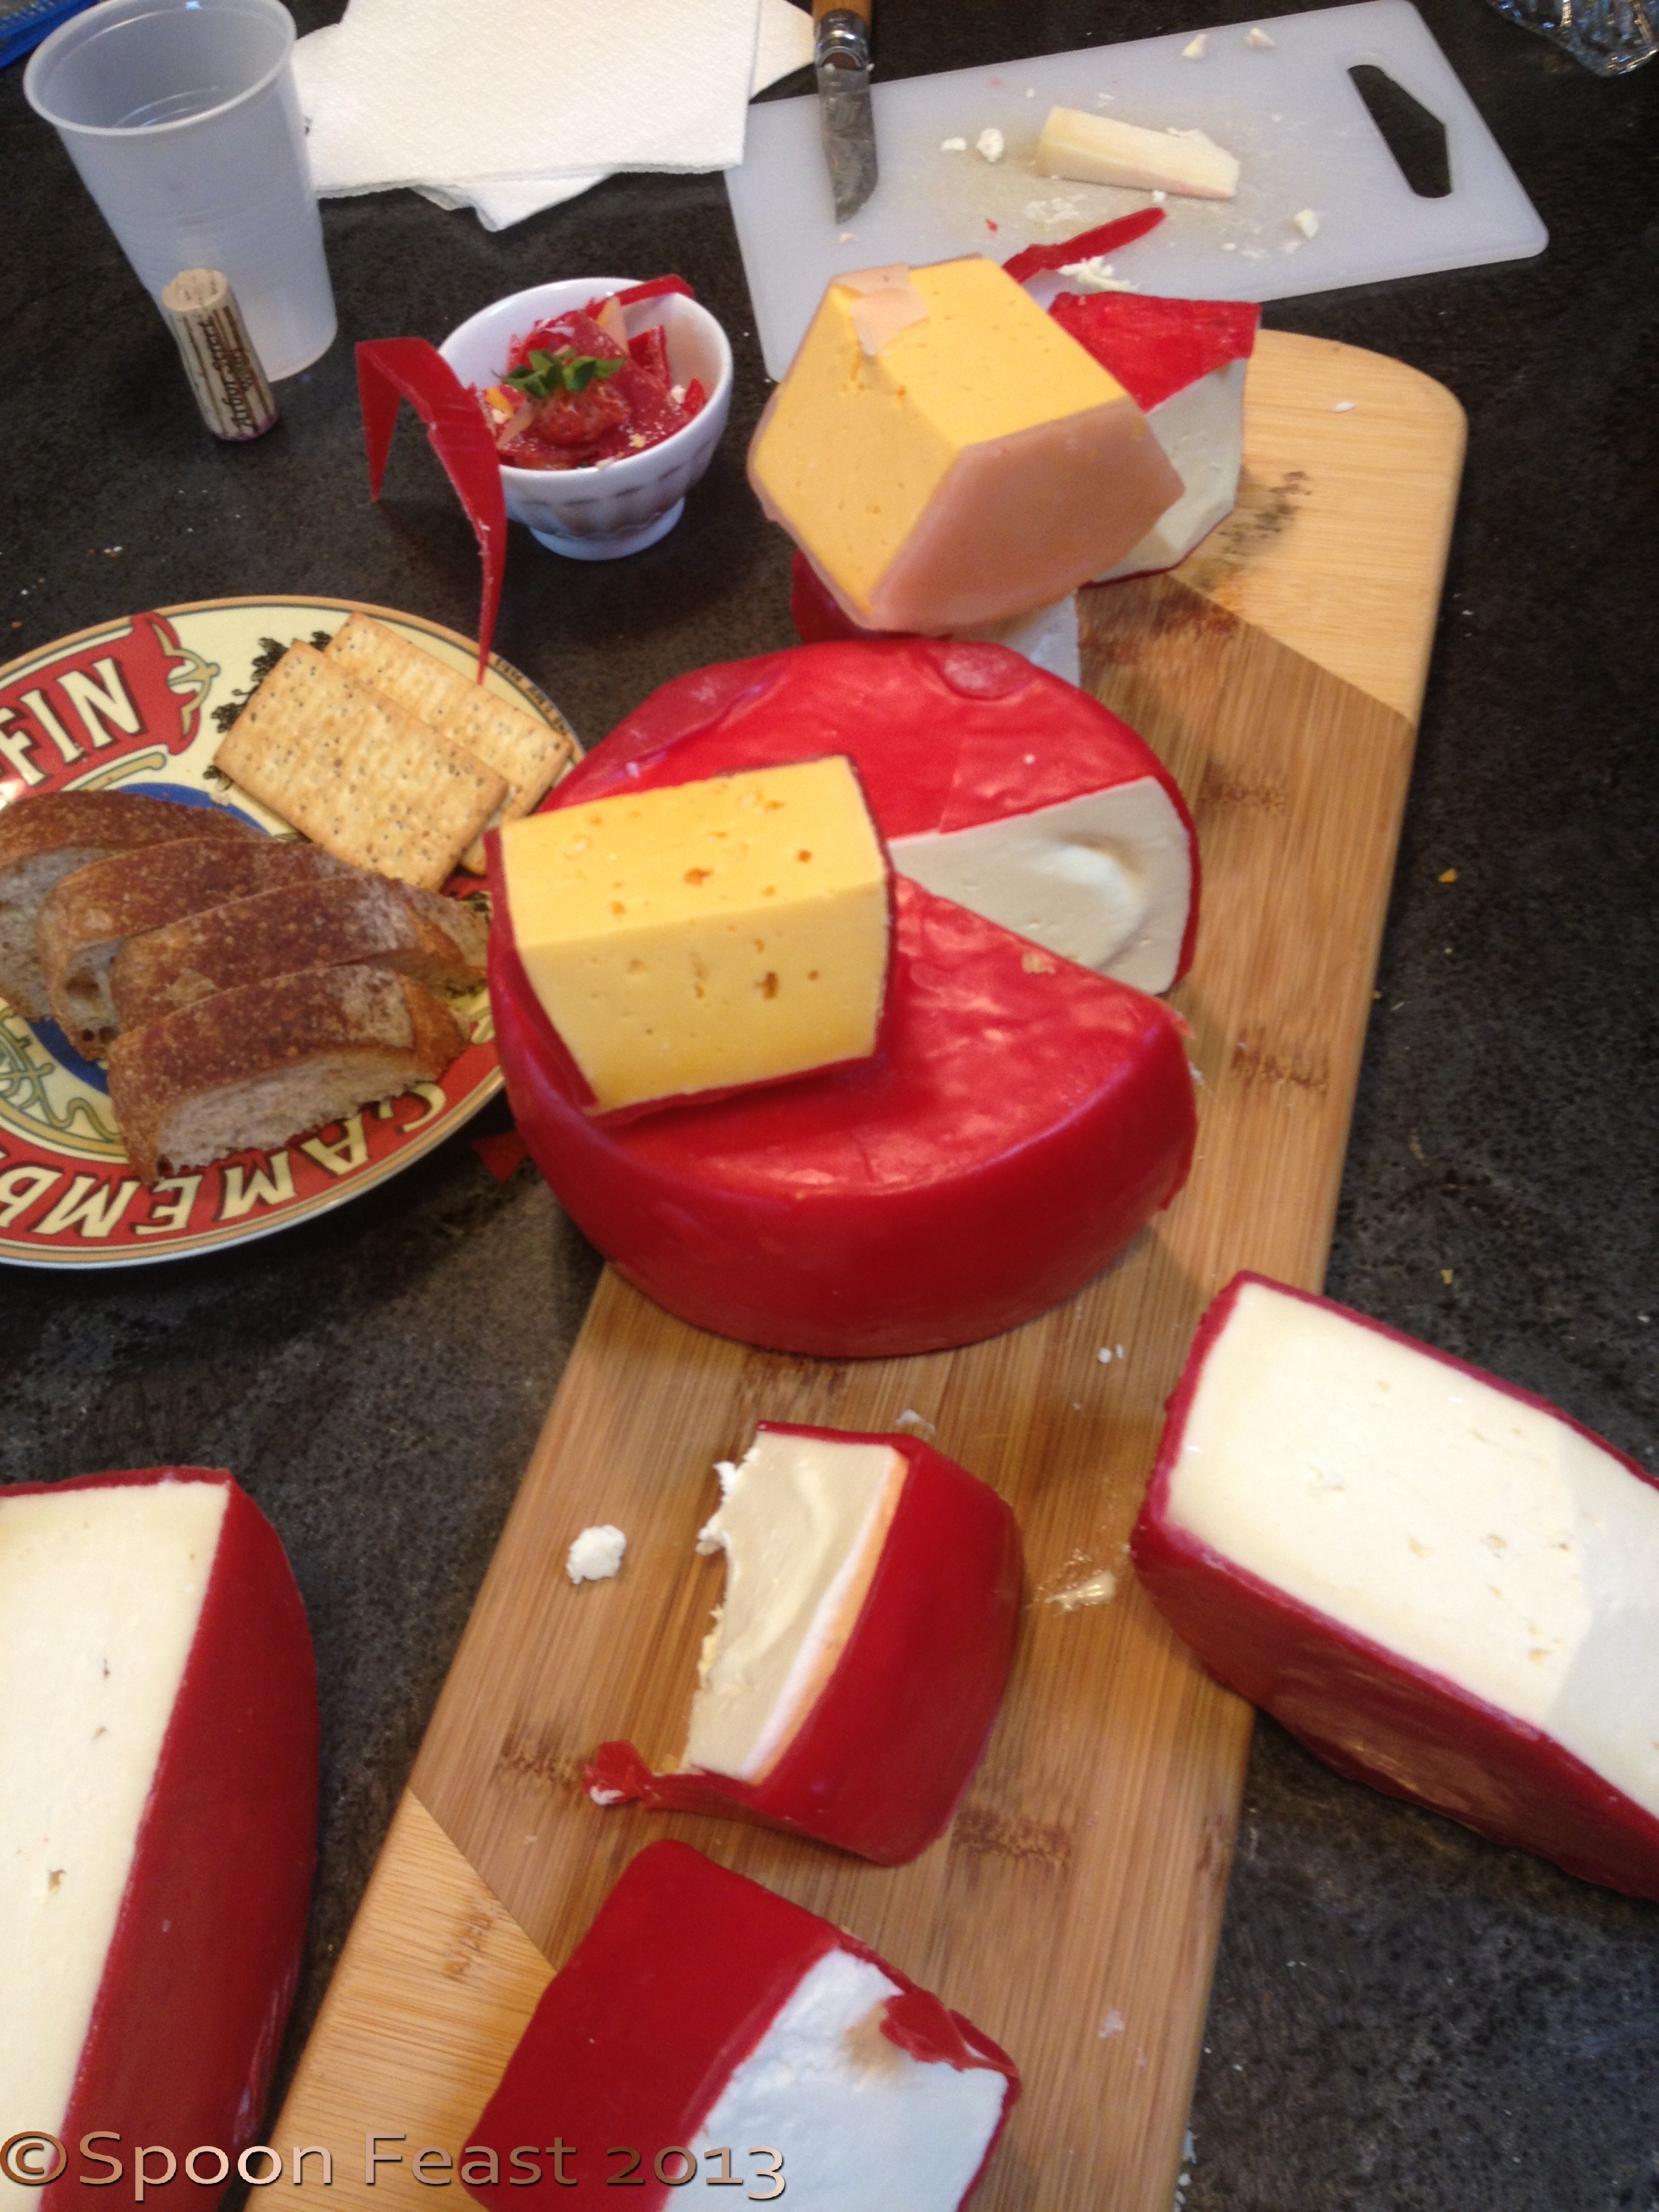
Jim’s cheese we tasted at lunch. The Bavarian Feta (rectangle cheese top left) is my favorite!