Happy Bees

I’ve never seen bees do this before!

While working in the garden this morning and I kept hearing a loud buzzing. When I looked for the source, I noticed there was a Magnolia flower that had bloomed at dawn and had dropped some luscious stamens on its outstretched petals.

Bees doing a Happy Dance!

Bees doing a Happy Dance!

The bees found the stamens and seemed to be quite happy, playing and rolling around. I’ve never seen bees this happy!


Onion Scapes

This post is about the beautiful onion scapes growing in my garden.

Enjoy the photos.

IMG_5639 IMG_5638

Sharing the Bounty

I love when people share the bounty.

At work, one of my colleagues is an avid gardener. He often brings in what he has an abundance, this week it was lettuce!

BIG bowl of fresh lettuce and chive flowers

Romaine, green leaf and lambs ear and as I walked past the herb garden at school, I clipped a handful of chive flowers. The huge bowl of greens motivated us to set a salad station and have a big fresh salad with dinner last night.

Instead of using bread for lunch, we wrapped tuna salad in lettuce leaves and felt like Peter Rabbit as we crunched away.

We went to the farmers market and bought some amazing sweet strawberries, radishes, new Vidalia onions, fresh ripe tomatoes and okra and Brussels sprouts and broccoli.

For dinner we grilled chicken and corn on the cob, steamed broccoli and crunched through an amazing fresh salad. We dressed the salad with Chive Blossom Vinaigrette made with Chive Blossom Vinegar.

Prepping Dinner

Another week in Garde Manger

Chilled Mussels with Miami Mustard Sauce

This week in Garde Manger we did a study of hors d’oeuvres and started to learn some basic vegetable carving.

We had one small event with 125 grazers, several evening events and now to work on a grand finale buffet the week after next.

Next week we focus on getting carving skills perfected and learning some molecular gastronomy elements for contemporary garnishing applications.

The most fun comes when the teams plan their final presentation that must incorporate everything we have covered so far in class.

This means I am expecting a spectacular centerpiece using carvings, sculpting vegetables, tallow or salt dough. One of the pieces I teach them is a carved daikon peacock. easy to do yet looks very complicated.

This slideshow requires JavaScript.

This Week in Garde Manger – Sandwiches

This week in Garde Manger class they learned about making pickles, condiments and sandwiches. While most people know what a sandwich is, very few can actually make a ‘really good’ sandwich.

Sandwiches draw odd emotions from people. Some love them and some actually get angry at poor little sandwiches. There is a blog where the host actually uses the ‘f ‘ word regarding sandwiches. He seems quite hostile towards them. Amazing.

Really? Get angry at a sandwich?

Some have sworn them off for life, some get sick of them after eating sandwiches day after day after day. (Remember, we always have a choice.)

Some eat the same one always. For instance whenever I go into a Subway or Quiznos, I always order the BMT or Italian, toasted. Hands down, that is my favorite sandwich where ever I go. At home I make a wide variety, but not the Italian ones. I buy those out. Why? I don’t know, it is just the way I do it. My sandwich quirk.

I love a good sandwich. Here is what makes up “good”.

The four sandwich elements:

  • Bread –  sliced varieties, artisan, rolls, buns, wraps, look around, choose what you love or looks great
  • Spread – mustard, ketchup, chutney, relishes, aioli, mayonnaise, dressings , tapenade, taziki
  • Filling  – sliced meats, cheeses, vegetables, bound salads, fruit, cured meats, tinned fish, fried chicken, fish or vegetables
  • Garnish – lettuce, sliced tomatoes, caramelized onions, sliced apples or pears, arugula, spinach

All elements contribute to either a great sandwich eating experience or one that simple stops the growling in your stomach.

Choose great ingredients from each category and you will end up with a nice product. Shake it up and do something different.

Personally every time I eat, I want it to be an experience. Even if it is a snack. Since I have no desire to be fat, overweight or insolent, and considering how much I love food, there isn’t any time for poorly flavored or poorly prepared food.

Student assignments included: muffuletta, gyros (with grilled lamb leg), Italian hoagie, Maine lobster roll, Rubens, open face French radish and ham, Cubans and more.

We did an “Ultimate Dog and Burger Day” but I forgot my camera that day so no photos, sorry. If anyone sends me some of the Dog and Burger Day, I’ll add-on to this post.

Students made mustard, different ketchup styles: mushroom, yellow pepper and tomato – none like Heinz, pickles, aioli, and side things like vegetable chips and Greek fries.

Turkeys and prime ribs were roasted, cooled and sliced. Lamb legs were roasted and grilled. Whole pork loins, seasoned, marinated and roasted for the perfect Cuban sandwich with ham, mustard and pickles. Students made pita for the gyros. (The week after next they start making their own cheese.)

Our kitchens smelled so good!

Next week they start hors d’ oeuvres, canapes and carving skills. Wait till you see what happens to simple vegetables. They also have their first event: “Grazing with Student Chefs” with 125 guests showing up to graze. Come back next week and see what happens.

The students did a fantastic job this week. See the photos of their work and tell me what you think!

This slideshow requires JavaScript.

This Week in Garde Manger I

This was the first full week of classes for Garde Manger.

What is Garde Manger?

“Garde” as we call it, is the art of the cold kitchen. In this class we learn all about cold food preparation and presentation.

Garde covers everything from condiments, salads, sandwiches, vegetable carving, garnishes, pickles, chutney, confitures, jams, buffet and grand presentation displays.

Each week I will post a gallery of our lessons and the students work while classes are in session.

This week the lesson was “Salads“.

Students learned about grain, legume, pasta and green salads; appetizer and entrée portions and buffet or family style presentations.

In addition they learned about oil, vinegar, dressing styles and techniques.

Students learned the nuance of different of vinegar by tasting them over vanilla ice cream. They learned about the different flavors of oils by dipping bread. (The vanilla ice cream makes tasting 20+ vinegar styles so much easier on the stomach at 9 AM.)

Enjoy this visual presentation of students work from “Salad Week”

This slideshow requires JavaScript.

The Beauty Of Pollination

The Beauty Of Pollination

This is spectacular! If you don’t know about ” TED Talks” this is a beautiful introduction.

Please enjoy this video.

Novice Blog Photography

I am well aware of being a total novice to photography.

Writing this blog has me realizing that unless I want to:

  • pay way too much money for photos or
  • see the images I use on other blogs or
  • have all images captioned “courtesy of Wikipedia”

then I had better learn something about how to take a picture.

There are many blogs out there with wonderful photos that are original and inspiring. Some bloggers are kind enough to share some of their processes for taking photos.

Here is my spin on photos for blogs:

  • There are many bloggers out there who would like to or already use photos to help tell their story.
  • Not everyone is going to go buy photo equipment so they can take a decent blog picture.
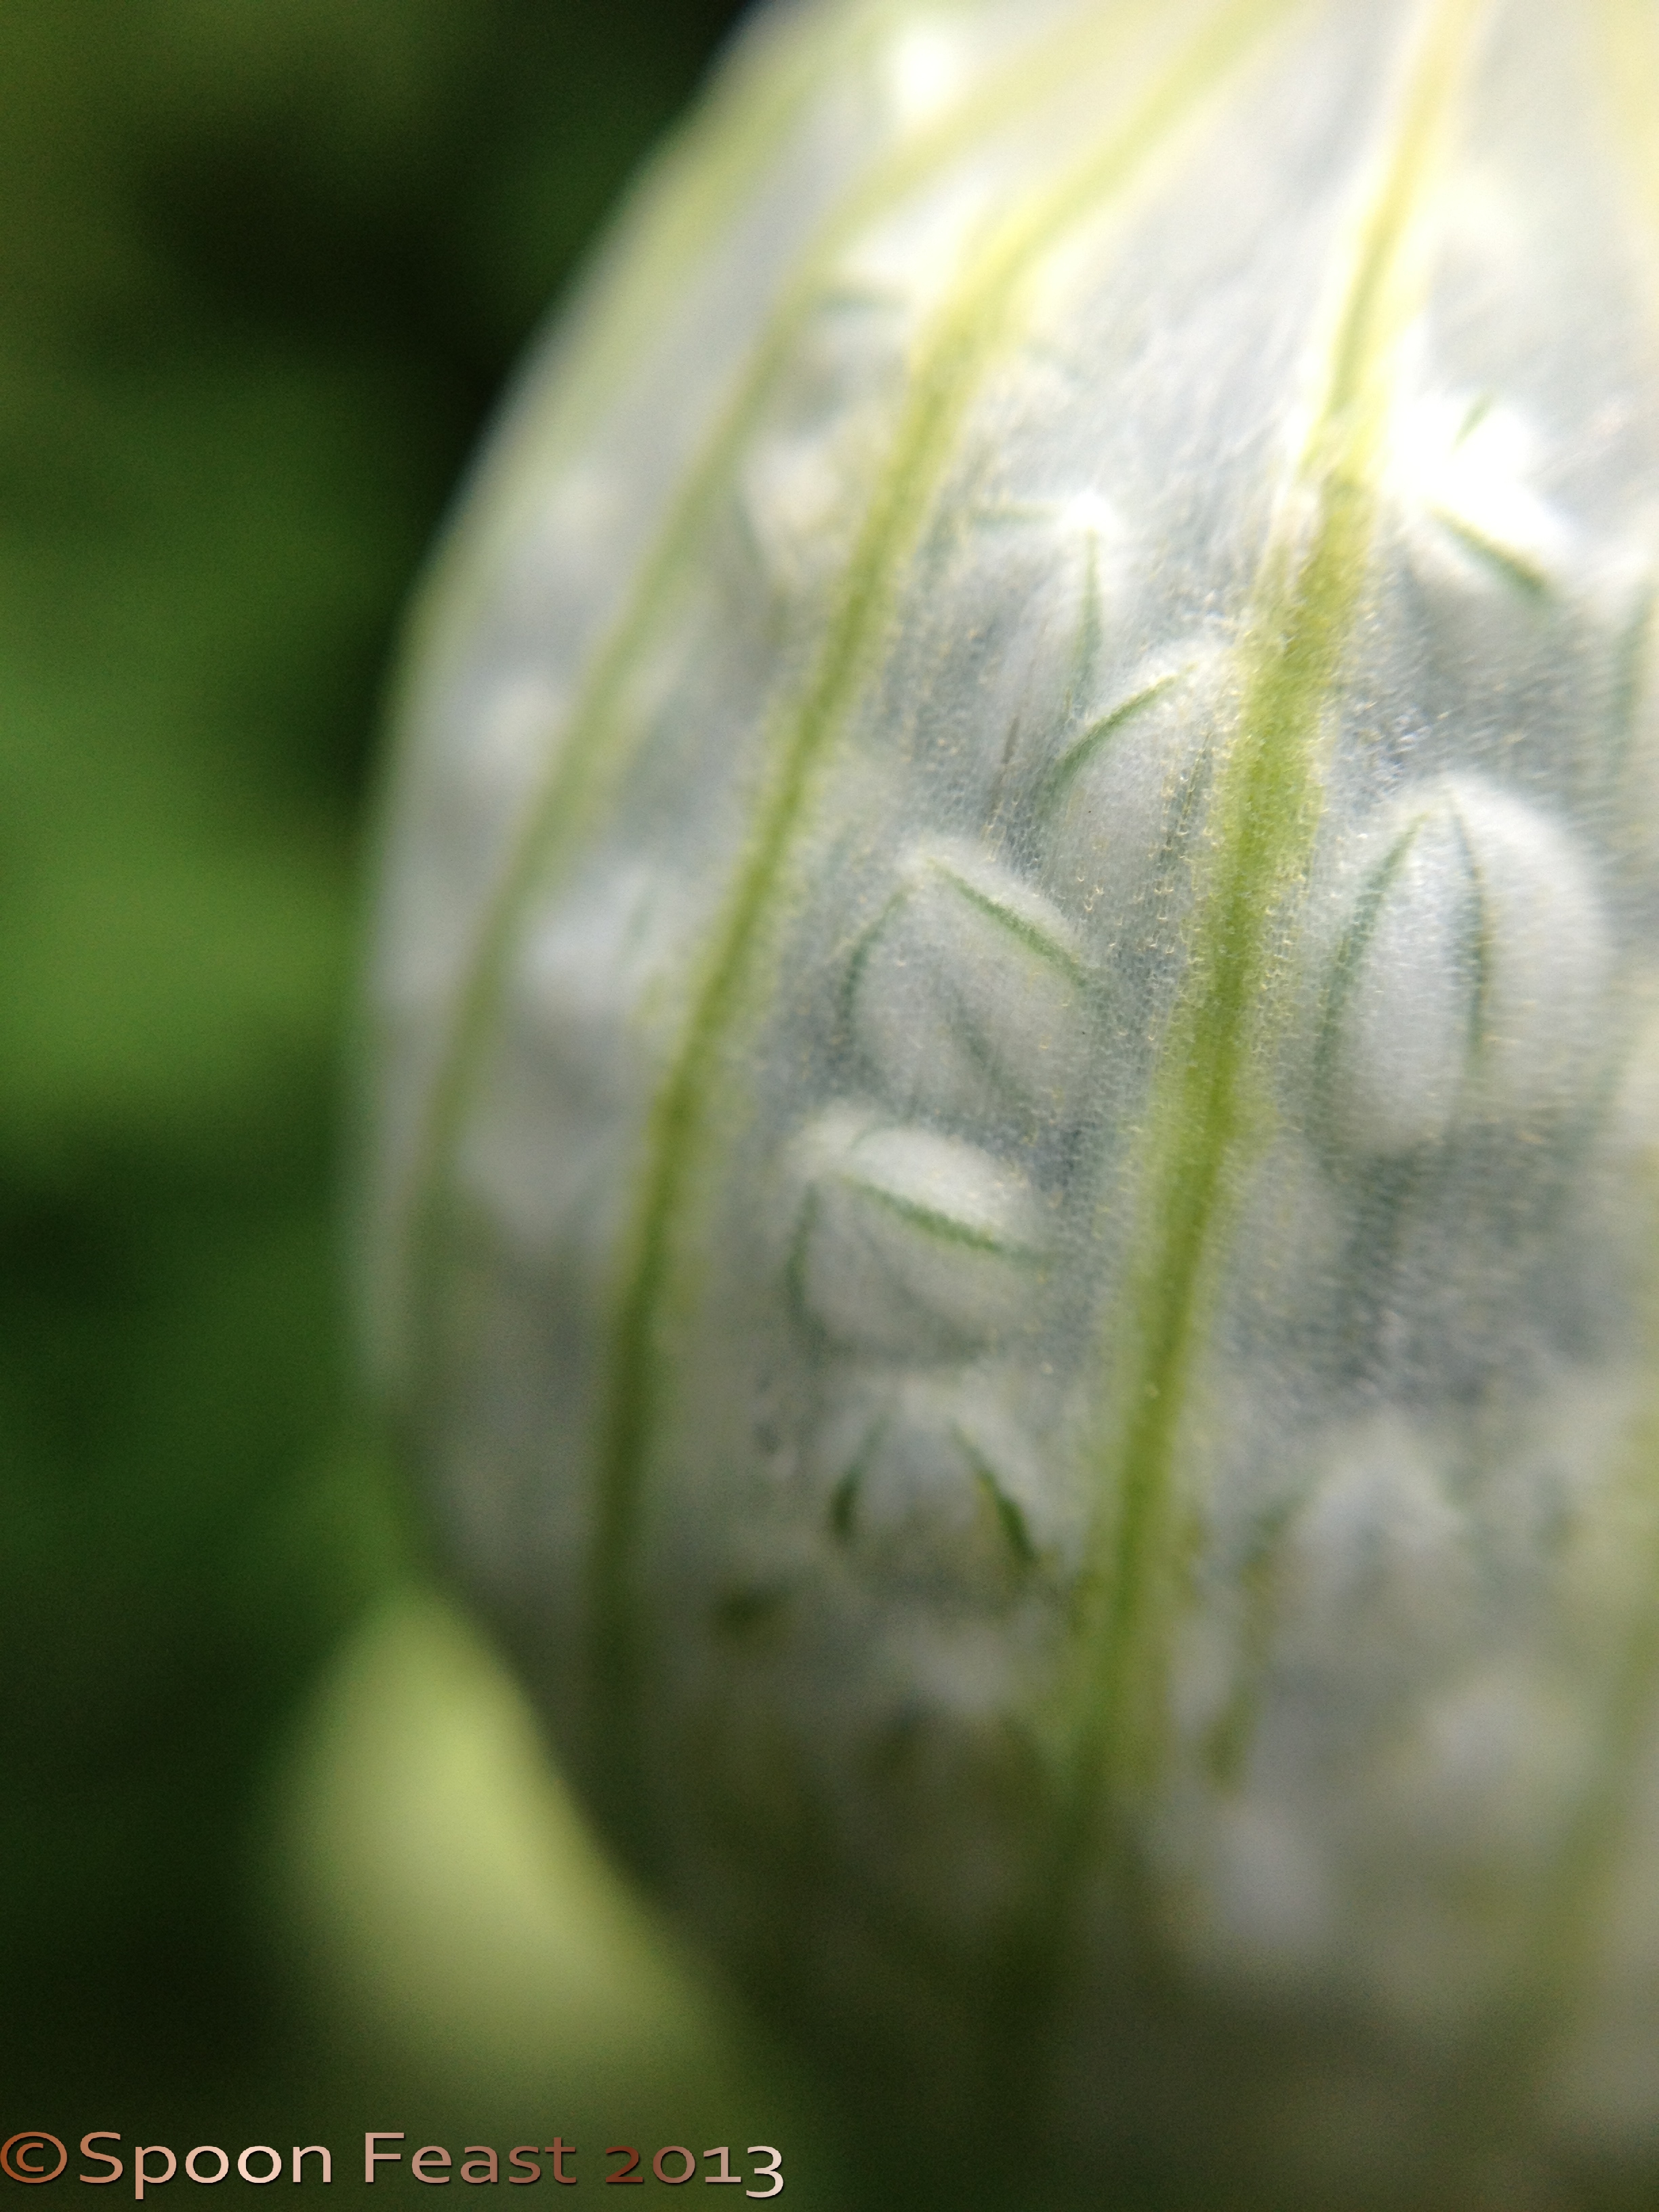
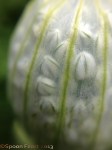
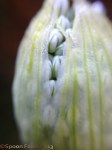
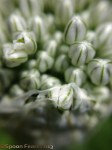
  • Just getting in close does not mean it is a good picture.
  • Good lighting helps.
  • Understand depth of field and focus as they relate to the story you want to tell.
  • You need to practice and be able to listen to feedback.

You can make an inexpensive photo studio with wrapping paper, bamboo garden stakes, straight pins and a science fair style tri-fold cardboard display and a folding table. Add a light and a reflector and you’ve got it.

I use my i-phone 4 as my camera and an older Nikon Cool Pix 4300. Until I really can justify spending $900+ on other camera equipment, this will do. Especially for a young blog.

Keep in mind, low light will produce grainy pictures. Sometime you want the grainy effect, sometimes you do not.

You need to learn how to use the light available to you.

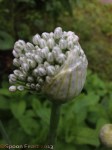
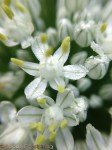
Look at the difference between an overhead accent light on the counter and the photography light in the photos below.

  • Photo 1-low overhead accent lights; grainy picture, yellowish color
  • Photo 2-1 Lowell Ego Digital Imaging Light; silver paper backdrop
    lighting needs adjusting but you can see a clearer image, truer color
  • Photo 3- Overhead accent lights on high, no back lighting results in black background, true color

Roses with low overhead accent lights

Roses with photo light

Roses with bright overhead light

Notice how in the low light, photo 1, the roses are grainy.

Pay attention to what is in the background. Notice the difference between pictures 1 and 3.

In 3, no background light, the overhead accent lights have been turned up to high.You get the idea these roses are actually white.

The center photo shows the same roses highlighted by the photo light. I purchased a Lowell Ego Digital imaging Light and now realize 2 lights would be very handy.

You need to play with the set up and your camera angles to work out ‘hot spots’ and shadows. All of these shots need serious lighting work. The point here is to notice the difference in the kind of light you shoot and use it as a tool and skill.

Now all you photo professionals out there, give me a break. I know these are not professional quality and I take them with my i-phone 4. This bit of information is for those wanting to take a picture for their blogs without huge expense. So bear with me. I am just starting to learn.

Here is the set up:

Set up the tri-fold on the dining room table or a 6 ft fold out table (so it can be left up for a few days).

Create the “infinity” background by draping paper across the back and curving it on the table so there is no angle where the paper meets the table, just a nice soft curve. I went to the craft store and found great colors of wrapping paper in the wedding section: silver, Kraft brown, oatmeal, and white. You can use what colors you want, I want the backgrounds to be somewhat neutral.

Insert a bamboo garden stake (or a dowel)  through the wrapping paper tube, place it on top of the tri-fold and pull it down to drape. Place straight pins on either side of the dowel to hold it in place.

You can make the reflector of white corrugated plastic or foam core. If you don’t have a photo light, use as much natural light as you possibly can.

Hold dowels in place with straight pins

Table top set up with tri-fold and paper rolls

The shooting area

Apples

Notice the background, how the angle curves, everything clean. No smudges, dust or particles. While the apples are not a perfect shot, you can see how easy it is to set up your own work area and play.

You will certainly be able to improve the pictures for your blogs and tell your stories better.

I hope this home-grown approach to taking blog photos helps. I find it fun to play with photography. Who knows, someday the photos will justify that camera expense.

In the meantime, here is a book  to read for more professional advice. Helene Dujardin has written Plate to Pixel Digital Food Photography & Styling ISBN 978-0-470-93213-1. She has fantastic explanations of how photography works. Even with my i-phone 4 I am able to use some of the information. By the way,  the focus of Helene’s book is food photography.

Another book on food photography is “Food Styling The Art of Preparing Food for the Camera” by Delores Custer ISBN 978-0-470-08019-1.

Roses

Have fun, share your photography journey. This is all one big learning curve!

Thanks for reading this post on novice blog photography.

Does anyone have a used D SLR camera for sale? Nikon, Sony or Canon?