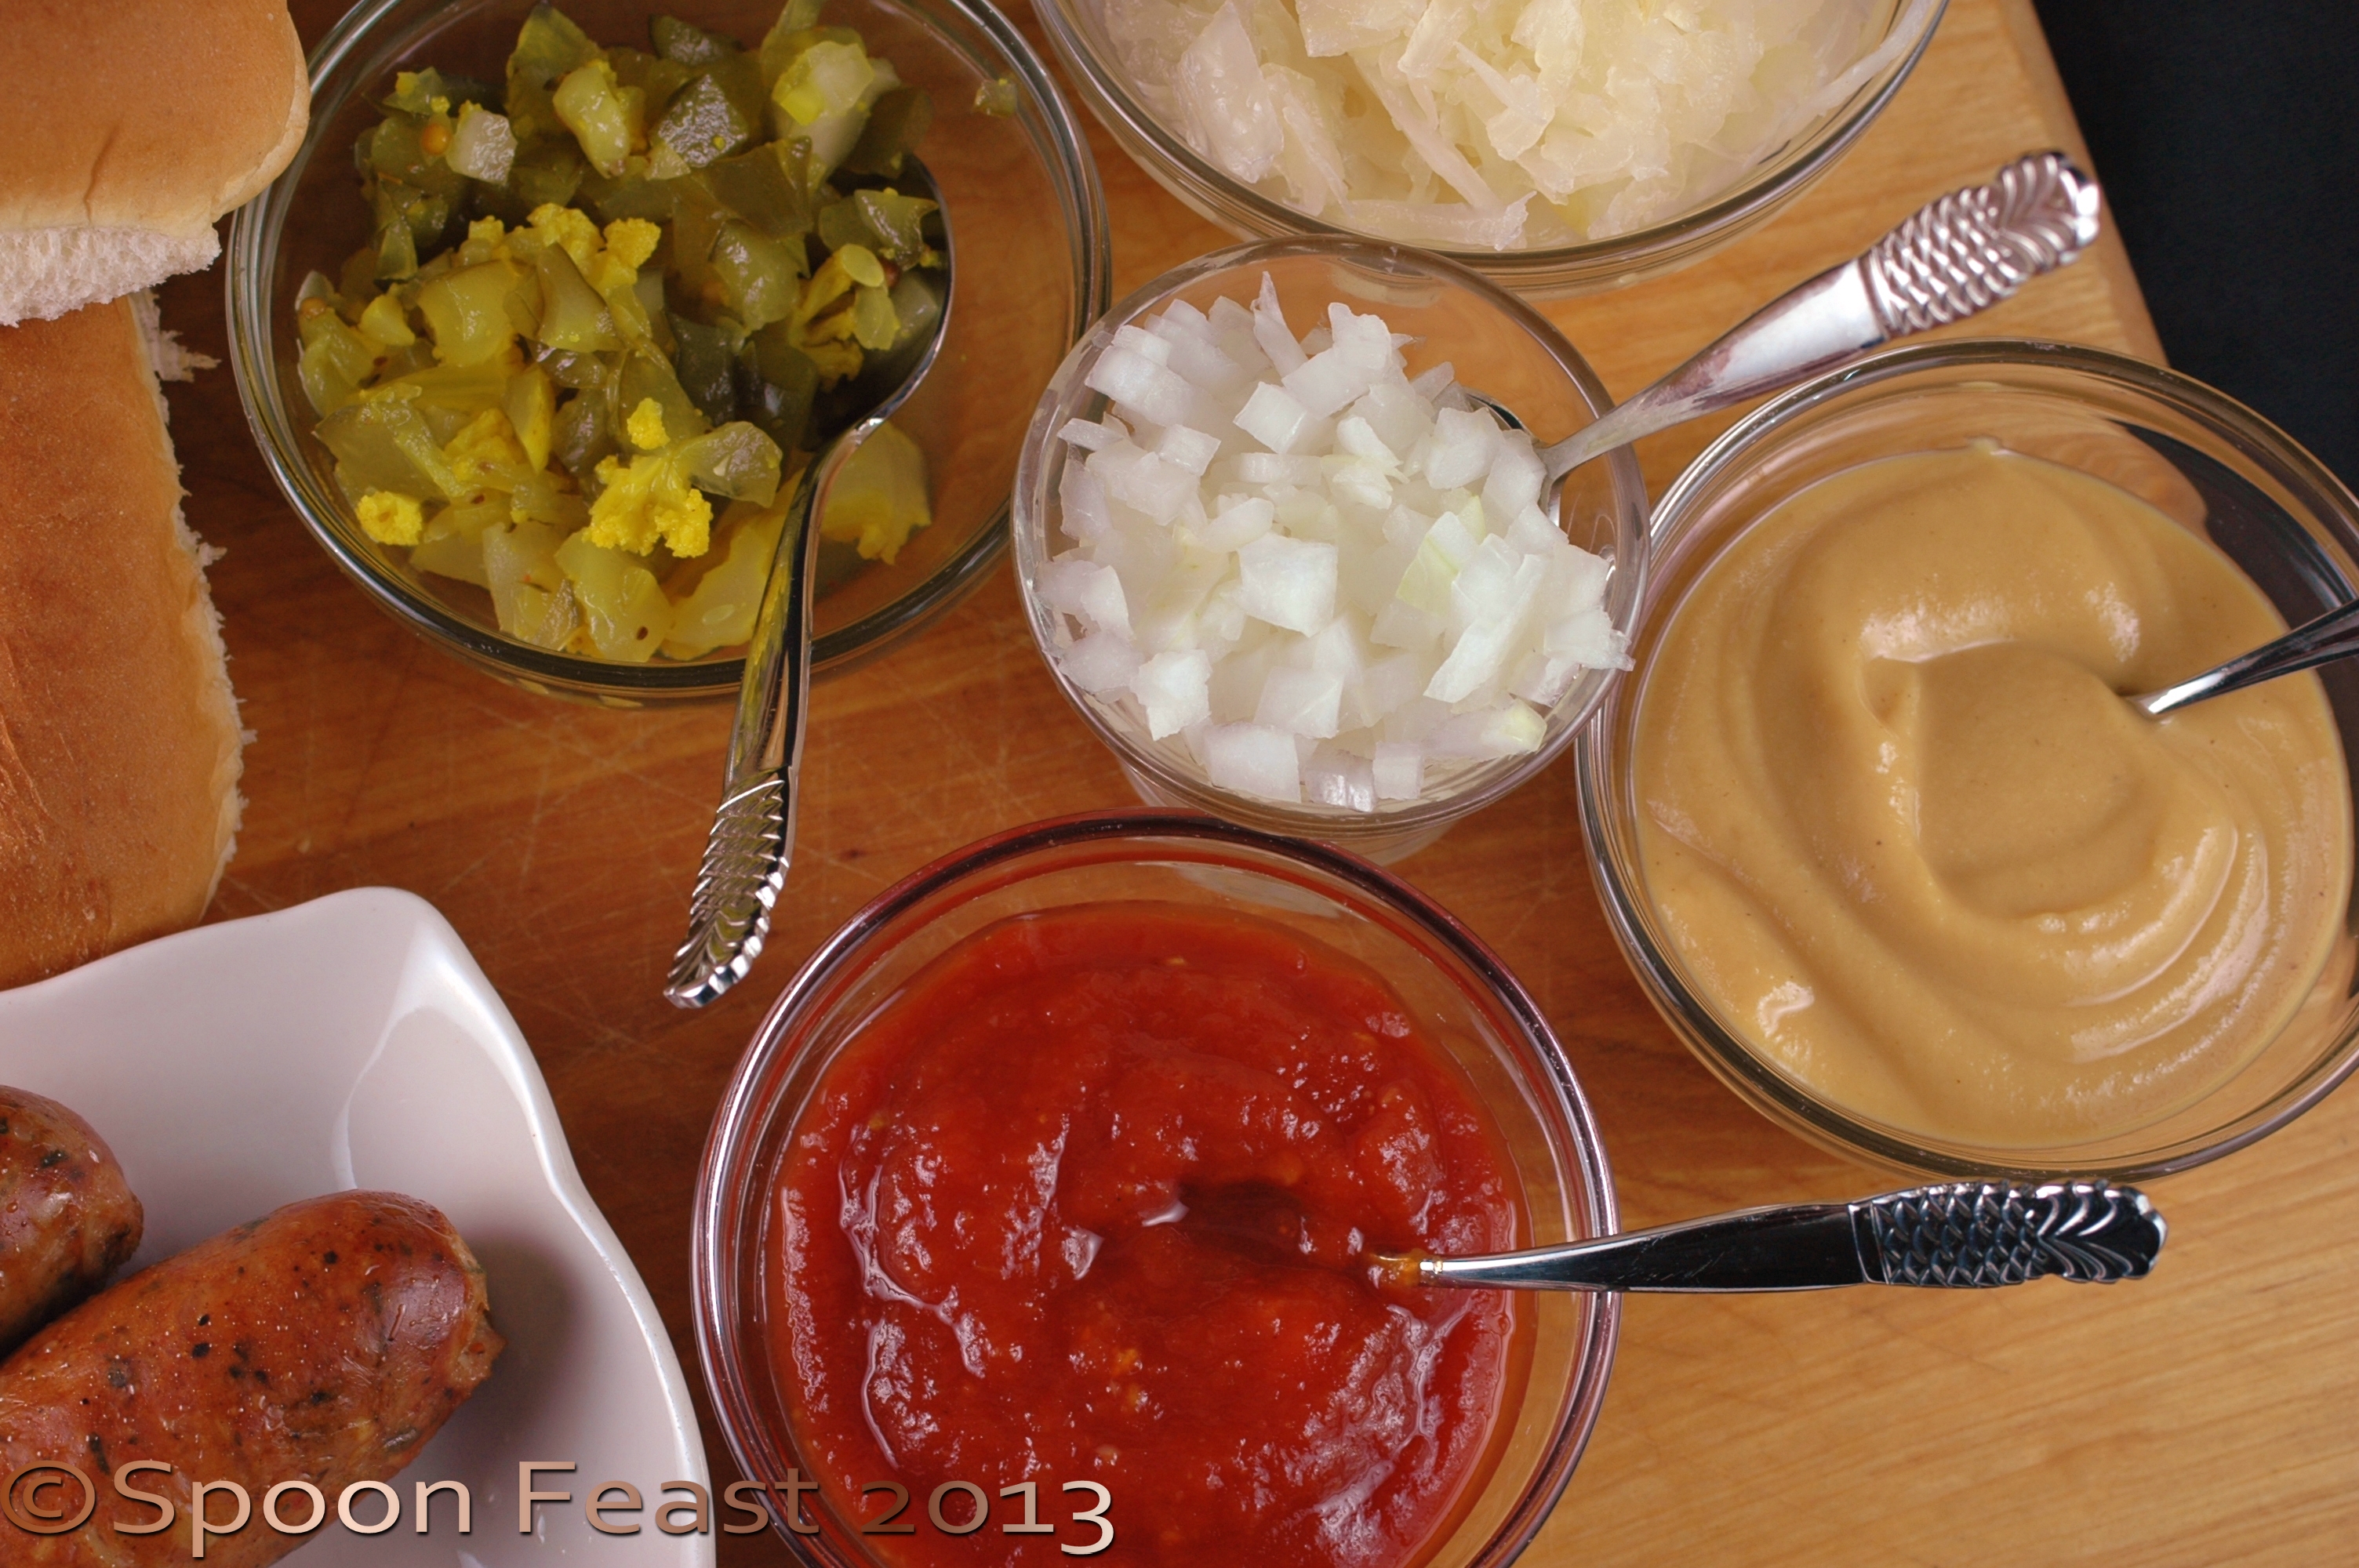
Whether you call it Ketchup or Catsup, we all love vibrant tomato ketchup for one reason or another. I can’t imagine eating pot roast without it, and it is divine with burgers and fries.
Did you know you can make it at home? Leave all the preservatives, artificial flavorings, high fructose corn syrups, red dyes behind you and follow this recipe. This looks vibrant, tastes great and your friends and family will simply LOVE it! Best of all, you know exactly what is in the food you are serving.

This is one small way we can take control of our food and avoid GMO‘s, high fructose corn syrup and other hidden sugars, fats, salts and preservatives. Take a stand against Big Food and learn to make your own ketchup! It’s small, but it will have a very healthy effect of your family!
Homemade Ketchup
For the spiced vinegar:
- 1-1/2 cups white distilled vinegar
- 2 teaspoons whole cloves
- 1 teaspoon broken stick cinnamon
- 1 teaspoon celery seed
For the ketchup:
- 5 ½ pounds tomatoes
- 1 cup granulated sugar – separated into two ½ cup measurements
- ½ medium onion chopped fine
- 2 cloves minced garlic
- ½ teaspoon cayenne pepper
- 1 tablespoon non-iodized salt
Method:
Combine the first four ingredients. Bring to a boil; remove from heat then set aside to cool.
Wash the tomatoes. Bring a large pot of water to a boil. Remove the core from the top of the tomatoes and cut a shallow X into the bottom end.

A “Tomato Shark” makes removing the blossom end simple and quick
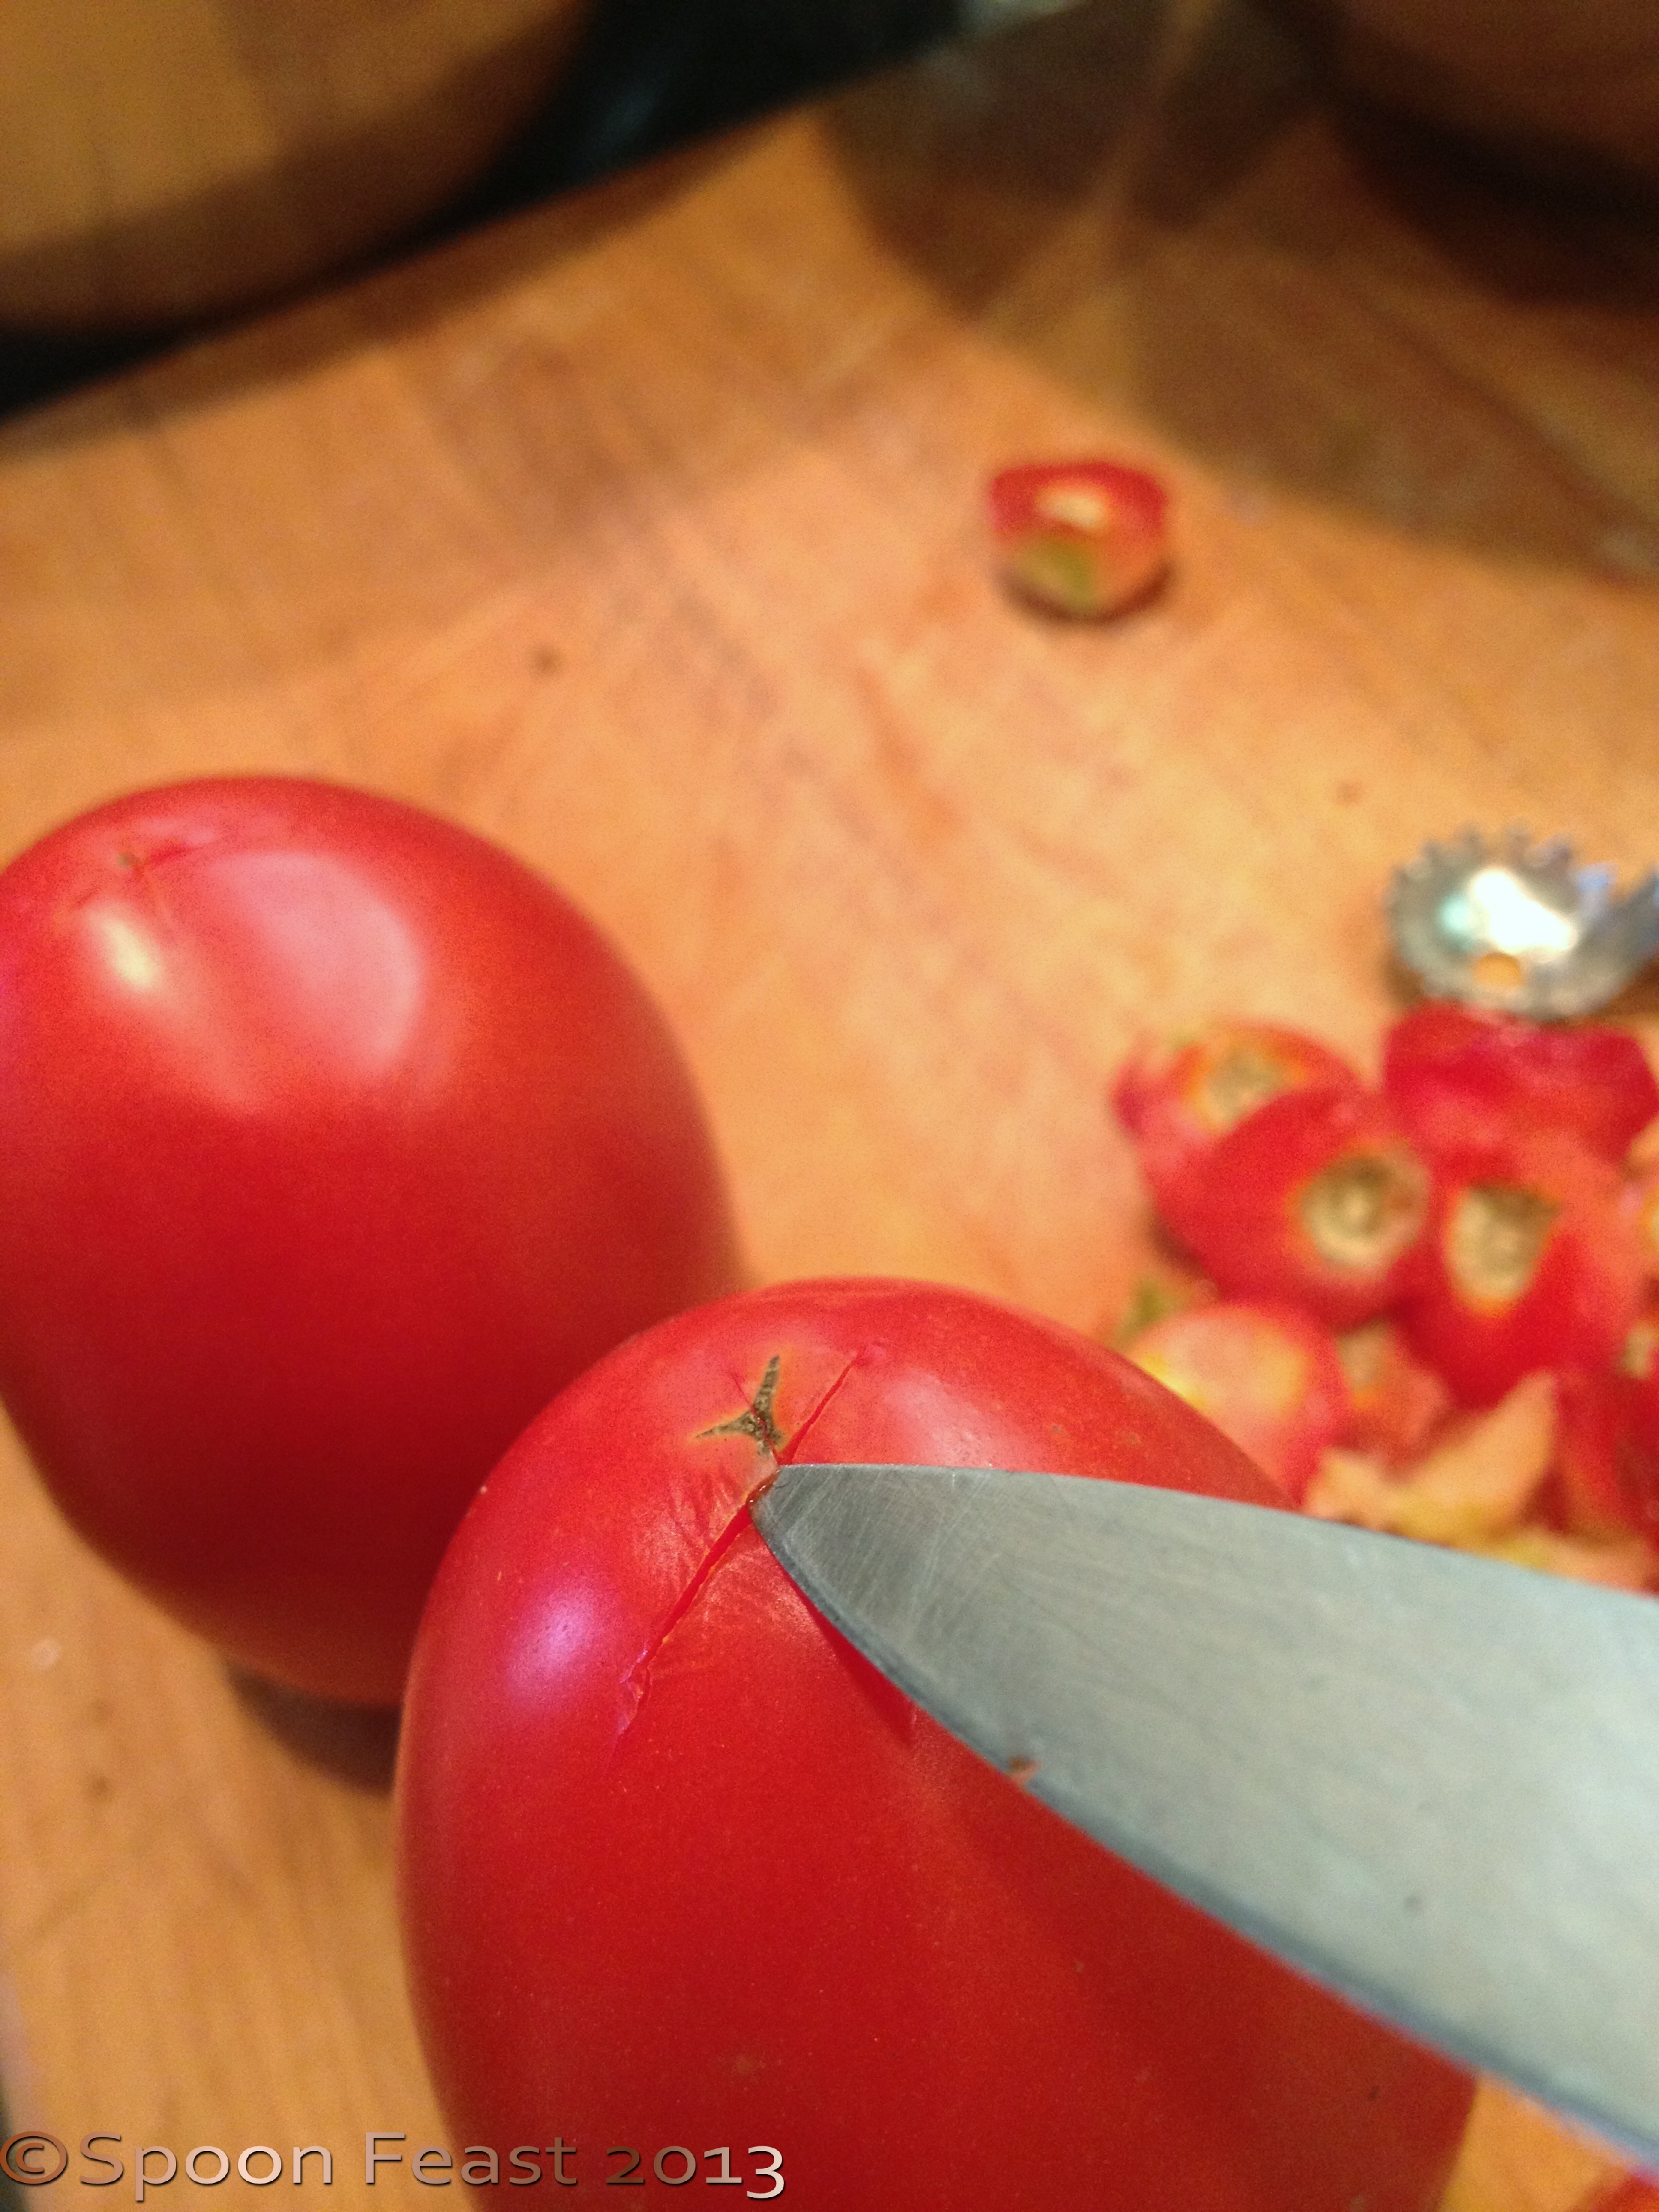
Scratch a shallow X on the bottom

The skin will split when ready, the more ripe the tomato, the quicker this happens.

When the skin splits, plunge into ice water to stop cooking.

Slip the skins off the tomatoes, cut and squeeze out the seeds.
Set a large bowl of ice water near the pot of boiling water. Place the prepped tomatoes into the boiling water. As soon as the skin splits, remove and place the warm tomatoes in the ice water to stop cooking.
Slip the skins off the tomatoes. Slice them in half around the center of the tomato, not from top to bottom. Squeeze gently to remove all seeds. Do this over a strainer that is over a bowl to catch the juices that come from squeezing the seeds out.
Cut the tomatoes in quarters. Combine half of the tomatoes with ½ cup sugar, onion, garlic and cayenne pepper in a deep stainless steel pot. Bring to a boil and allow the tomato mixture to boil vigorously for 30 minutes, stirring often to avoid scorching.
After 30 minutes, add the remaining tomatoes and sugar and boil for another 30 minutes. At this point you will need to stir it often as the mixture gets thick.
Strain the vinegar and discard the spices. Add the spiced vinegar to the boiling tomato mixture, stirring constantly for 15 minutes or until the desired texture is reached.
Test the consistency by placing a small amount of the ketchup on a small plate. There should be no watery run off. If there is, keep cooking.
For smooth ketchup, puree using a stick blender, or use a blender to puree the hot mixture. Bottle the hot mixture in sterilized jars or another non-reactive container.
Store under refrigeration unless processing in a water bath canner. An “Old Wives” trick is to wrap each jar in brown paper to protect the color during storage. Not necessary if you store the jars in the refrigerator.

A vibrant bowl of homemade ketchup
Related articles
- How to Peel, Seed and Dice a Tomato (williams-sonoma.com)
- Ketchup Recipe (maggiedvs.wordpress.com)
- Homemade Ketchup (bleubirdvintage.typepad.com)
- Tired of All the Corn Syrup? Here’s a fresh take on Ketchup. (tarolynfarms.wordpress.com)
- Smoked Chipotle Ketchup (hellohomebody.wordpress.com)
- Make your own Mustard (spoonfeast.com)