
Hoppin John
Hoppin’ John and Skipping Jenny are typical New Years food here in the American south.
In case you need a recipe, Here’s a convenient link to the post all about
Hoppin’ John and Skippin’ Jenny
Happy New Year!

Happy New Year!

Hoppin John
Hoppin’ John and Skipping Jenny are typical New Years food here in the American south.
In case you need a recipe, Here’s a convenient link to the post all about
Happy New Year!
1. Truly, what you focus on actually comes to happen. Your thoughts are things and can manifest that which comes to pass. Be careful. This basic principle has been demonstrated, quite vividly, over and over again, this past year. Good and bad.

When we fill our thoughts with right things, the wrong ones have no room to enter (Photo credit: symphony of love)
2. Horrible things happen, which have no words to describe, that can break your heart into a million pieces. And in spite of being broken into a million shards, you still have to carry on, smile and be pleasant. It’s not fair, it’s not right and it’s so hard.
3. I’m glad to see 2013 come to an end. I’m ready for a new year. It’s become very clear to me that I want my own business again. That happening is very exciting to me! Hum, What will it be? There are so many possibilities and that’s exciting!
4. Having something to do that you believe in is crucial to a happy life. It’s essential. Without it, life would be shallow, meaningless, hopeless, who wants that?
I love teaching and being around young adults entering the workforce. The energy that comes from my students is an amazing force. There is hope for the world.
5. Doing things for others outside of yourself does amazing things to the soul. Random acts of kindness, volunteer at a hospital or assisted living home, homeless shelter, or food bank. Count your blessings and give generously in return. Giving generously does not always mean money. Time and talent are commodities greatly needed. A little goes a long way. Once you start doing this, it becomes addictive and you won’t want to stop. I double dog dare you to try it!
6. Sometimes it’s just easier to give up and walk away. If it’s worthwhile, it will come back in a different, less stressful form. Stop fighting and wrestling with things. If it’s giving you a hard time, put it down and walk away. When you return, it will either be gone, calmer, seen from another perspective. Whether it’s installing a cabinet shelf, or a heated discussion with someone or anything at all. “Know when to fold ’em, know when to walk away. . .”
7. Loving someone does not mean they will love you back. You have to be OK with that. You cannot control anyone else’s emotions. Love fully anyway, love always returns, not through the same path sometimes, but it always comes back to you. Don’t be afraid to tell someone you love them, especially your parents and children, husband or wife.
8. You have no influence over what other people say or think about you; so don’t listen. Live your life anyway and have less and less to do with negative people. Get rid of Debbie downer, negative nanny, picky Paul, nasty Nancy, you get the idea. You can choose not to be around those who criticize your every move. To hell with them anyway, they are the ones who would keep you from reaching your goals. There isn’t time for that so don’t give them any energy. As the British said “Keep Calm and Carry On.”
9. Take a deep breath and know that everything, sooner than later, will pass. Then take another d e e p breath, and let it out very s l o w l y.
10. Even in the face of adversity, try to find the light. It may be hard, but it is always there, somewhere. Focus on the outcome and what you can do to achieve it. You can always ask, “What am I doing to contribute to this situation?”
The answer to that question will amaze you.
Another approach to dealing with adversity is to take on the perspective of considering yourself the source. With that perspective in mind, what would, could or should or will you do?
 So it is with these thoughts, I step into creating the vision of where I want to go for the next year.
Nut Crusted Fruit Tart Re-Visited was in the make as we ate the first tart.
So delicious, we started talking how we could modify the recipe.

The second Nut Crusted Fruit Tart
This is how we changed it.
Keeping in mind the ratio is 1 cup dried fruit to 1 cup nuts, the possibilities are limitless!
This time we used:

Look at that crust! I love how the cranberries and pistachios look!
This made a beautiful crust! Just process it all in a food processor and press it into your pan. The consistency should hold together when your squeeze a bit of the mixture in your hand. If it doesn’t, add more dried fruit until it holds together.
This time we had a bit of each of these fruits on hand:
This time I photographed how to lay in the bananas.
Tyler asked if the bananas could be substituted but the role they play is to provide a nice base for the fruit to lay on also, to absorb some of the juices. The bananas also mimic the custard, pastry cream or marzipan filling on traditional fruit tarts. Here’s how you lay the bananas in the pan.

Flatten the bananas into the pan, cut side down.
We were short on strawberries for the puree, so we pureed a mango instead. I think kiwi puree would look amazing!
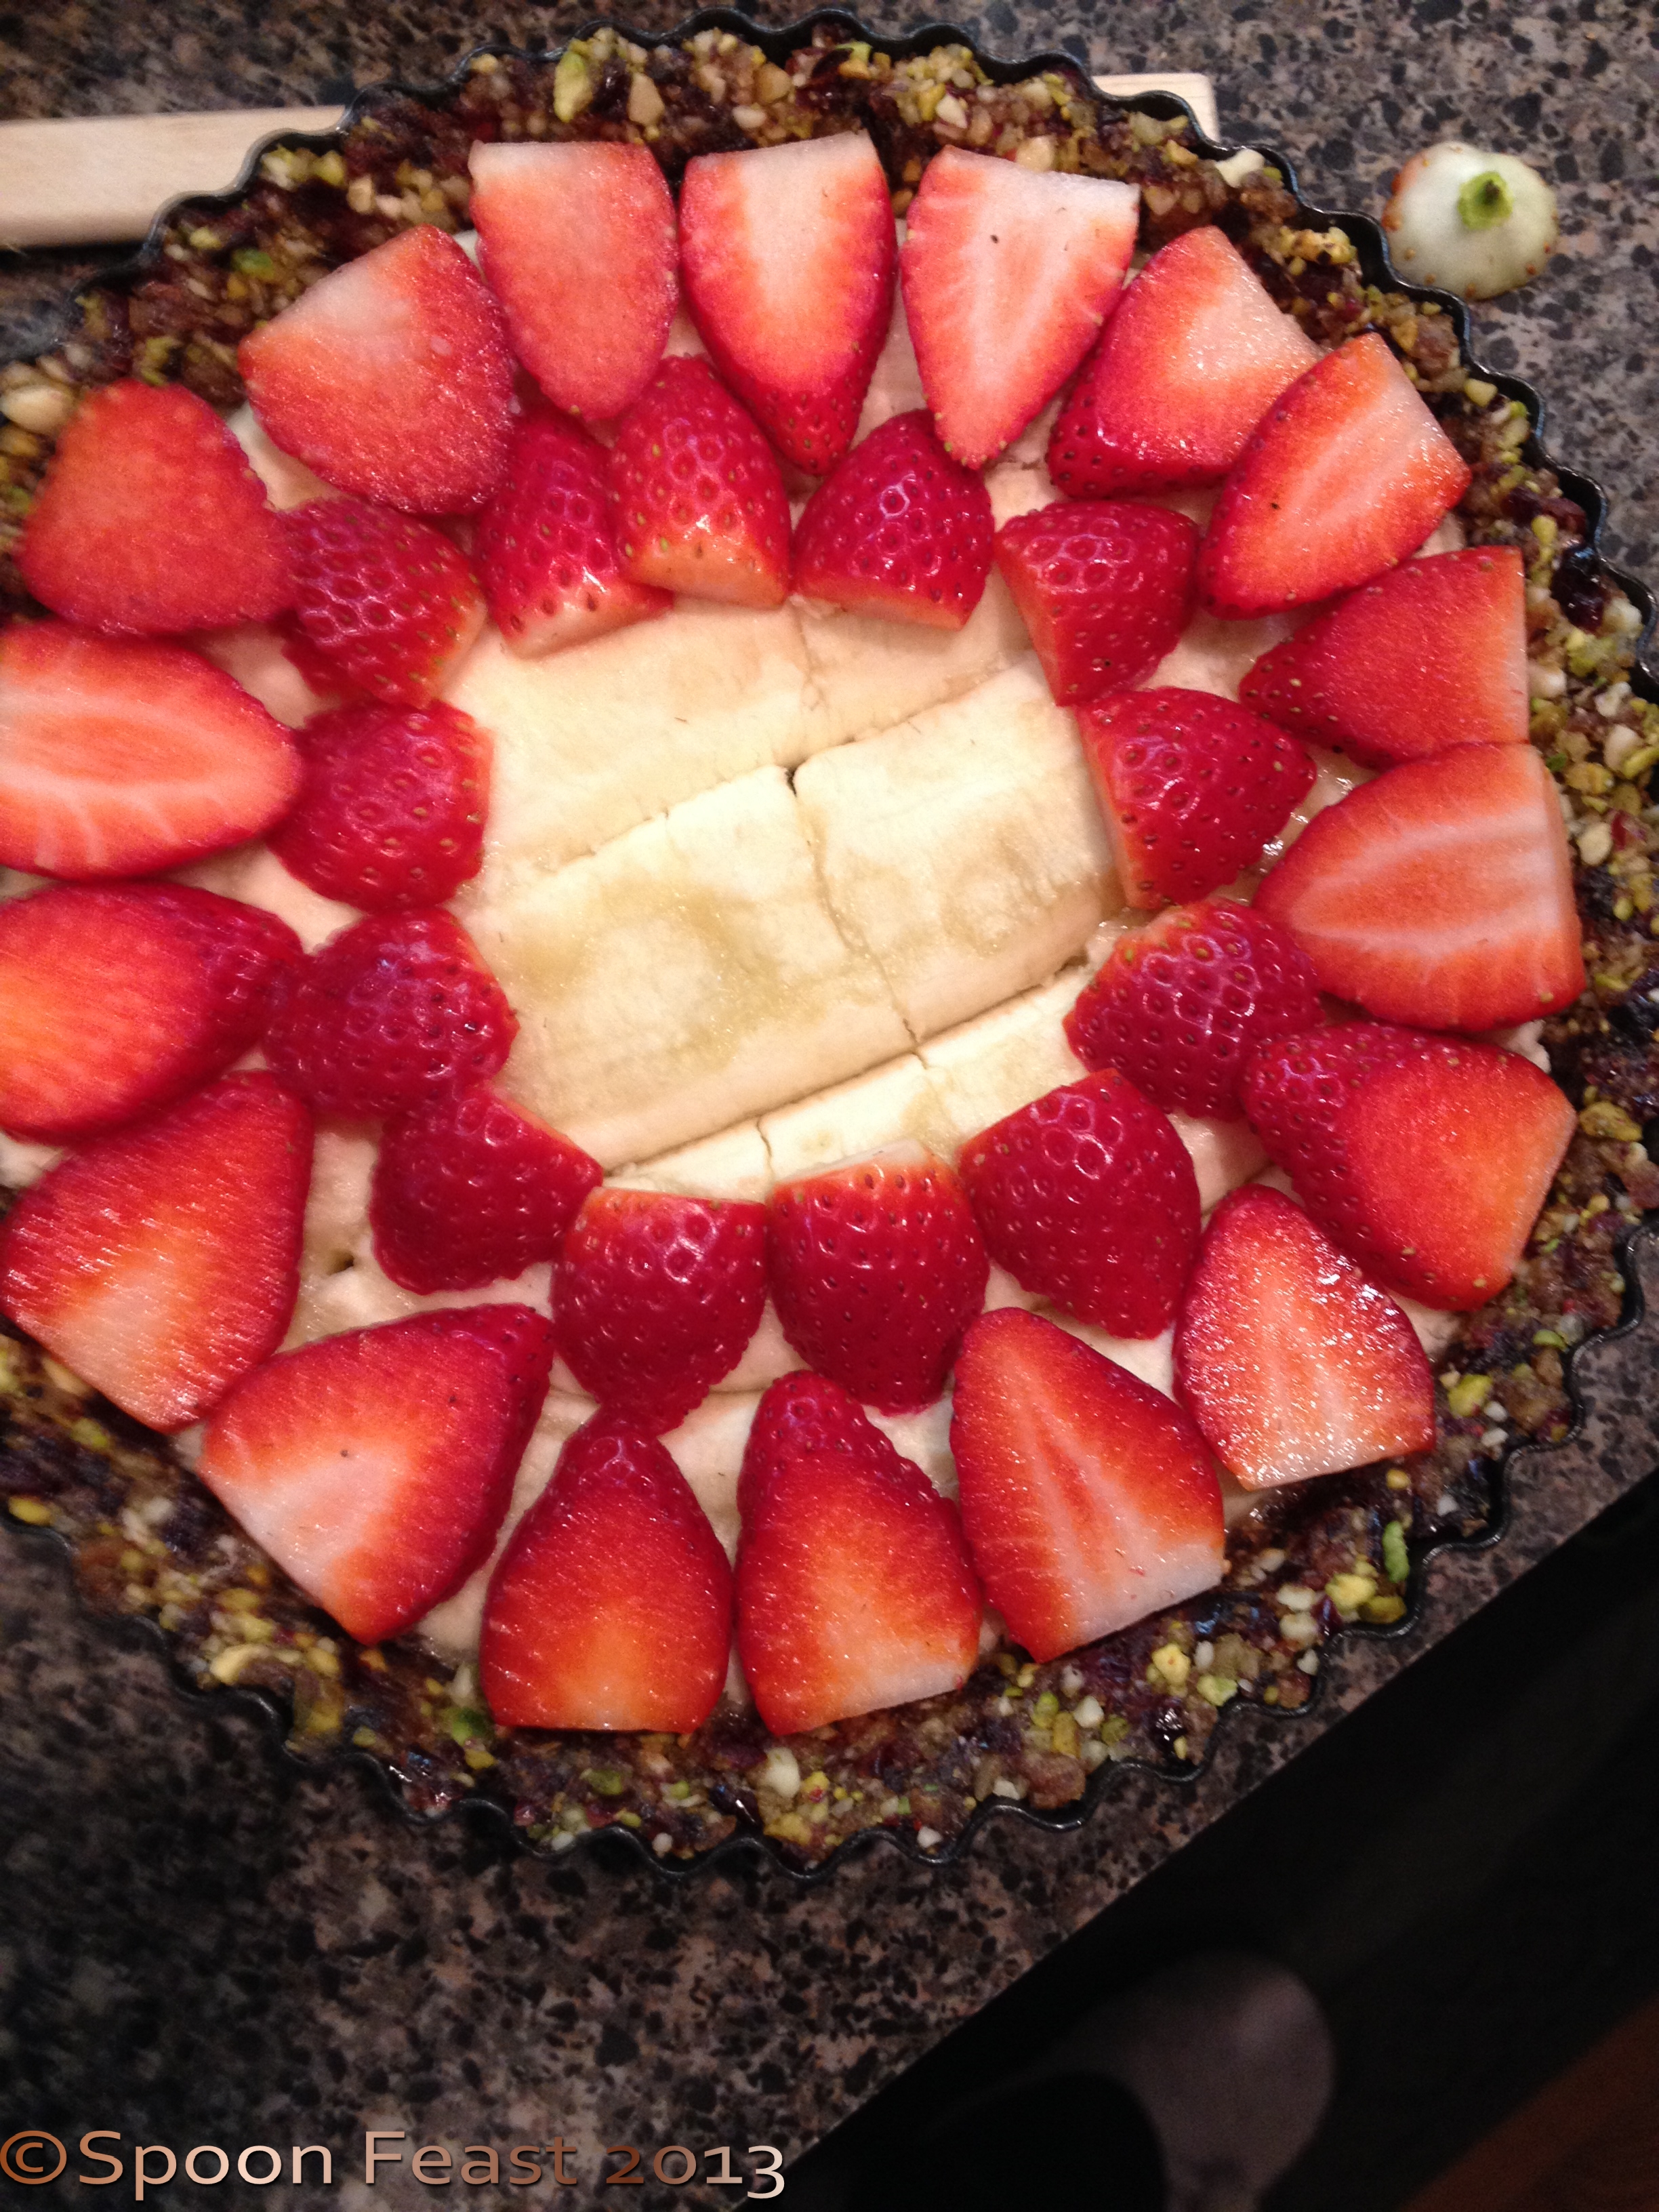
Place strawberries on top of the bananas

Add the puree the edge with raspberries and blackberries
On top of the bananas, we placed sliced strawberries, then poured the mango puree over the top of the tart. Then we placed raspberries and blackberries around the edge, a ring of blueberries, then a ring of blackberries, leaving the center open to show the brilliant mango color in the center.

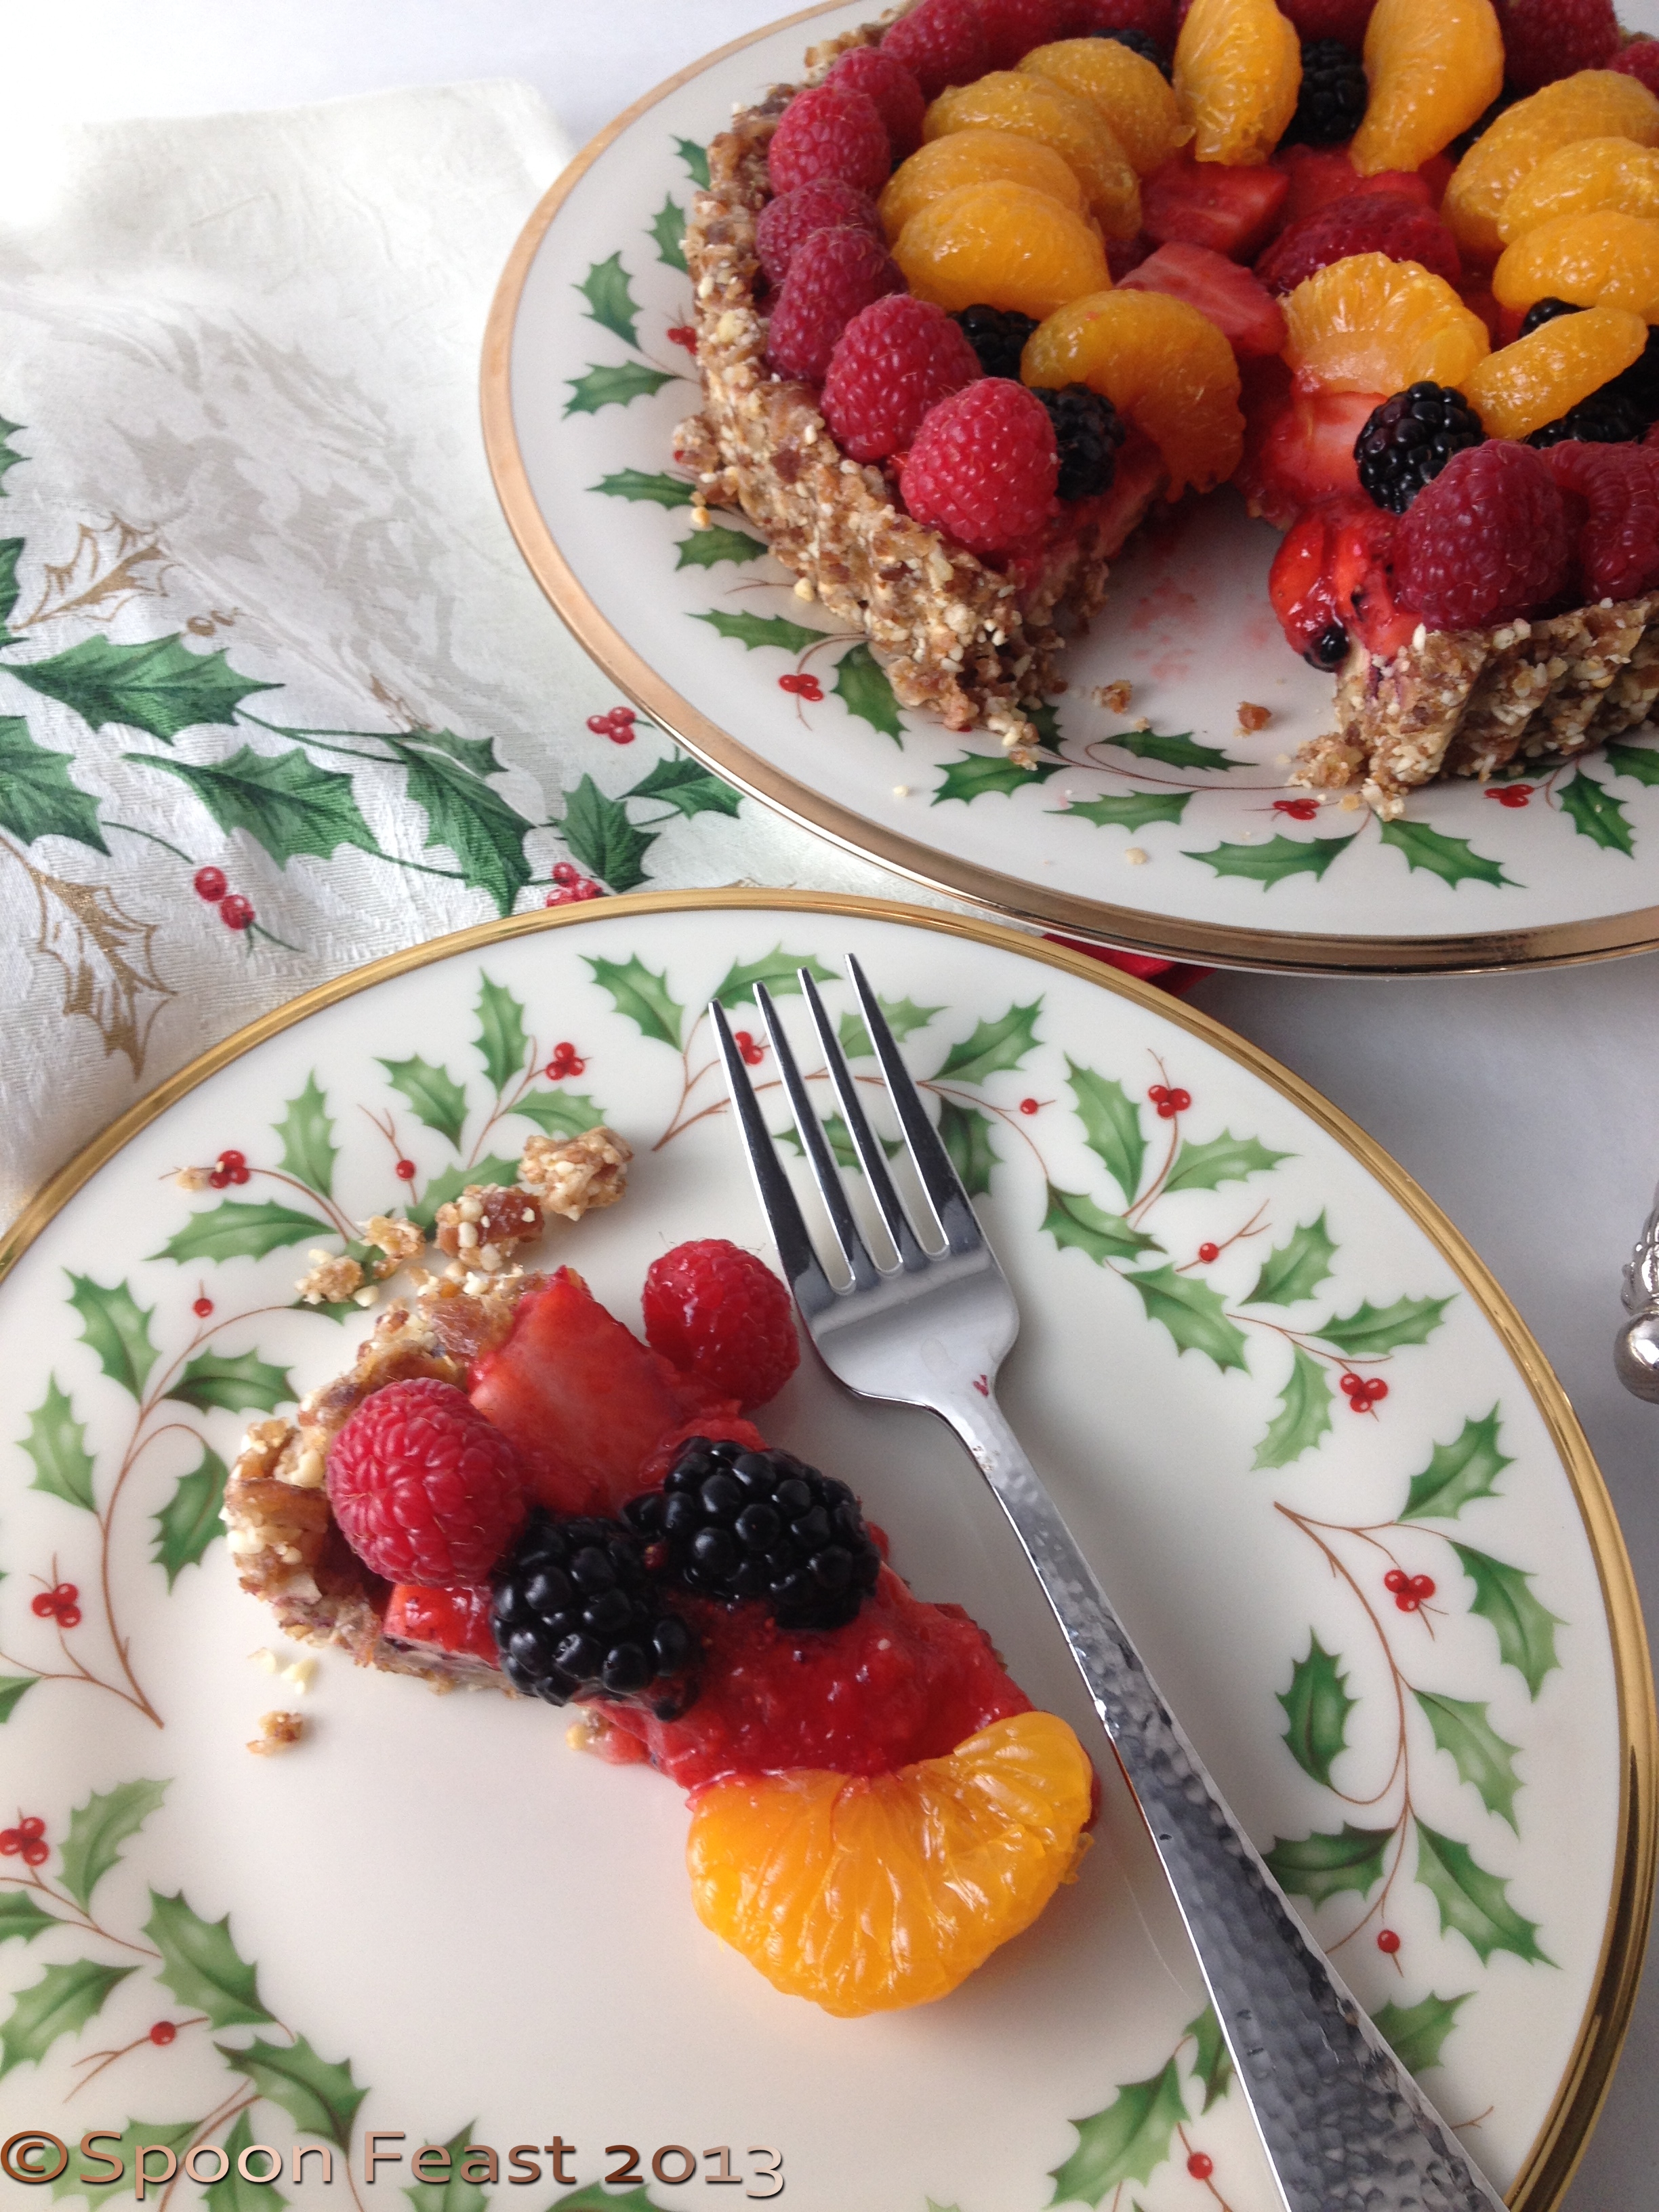
A nice slice!
To maintain a healthy dish, instead of adding that tempting dollop of whipped cream, use Greek yogurt flavored with honey and vanilla instead. And if mint was growing outside now, I’d also add a mint leaf or two.
Here’s the thing about this tart:
No cooking! All you need to make this is a knife, cutting board, a food processor large or small, a tart or pie pan.
Since Tyler is moving back on campus next semester, he will use his Kitchenaid “Handy-Chopper” which is a nice small convenient unit.
Tyler has decided to use this as his signature go-to dish. I think his roommates will be impressed.

Nut crusted Fruit Tart with Mango Puree

Nut Crusted Fresh Fruit Tart
This Nut Crusted Fruit Tart was presented to me by my son who is home for the holidays; “Hey, Mom, I’d like to make this!”
“Did I mention I was dairy, fat, meat and caffeine-free in my diet now?” he asked. Alrighty now, time to adapt and modify the menus .
This is a tart he wanted to make for a while now, but lacking a food processor, he brought the recipe home so he could finally make it. Well actually, “we” made it. I helped with the crust and he did the rest.
It is quite simple and goes together rather quickly. It chills for at least an hour, overnight would be best. If you can wait that long.
We used a fluted tart pan with a removable bottom, but you can use a pie tin as well.
You will also need a food processor. There isn’t enough “stuff” for a blender to function properly, especially when pureeing the 4 ounces of strawberries.
 Nut Crusted Fruit Tart
Using a food processor, process the crust ingredients until chopped fine and sticky. After processing the crust, use the same bowl and blade to puree the strawberries. (Saves clean up!)
Press the crust into the pan, press firmly along edges and into the curve of the pan. Make sure the sides are thick enough to 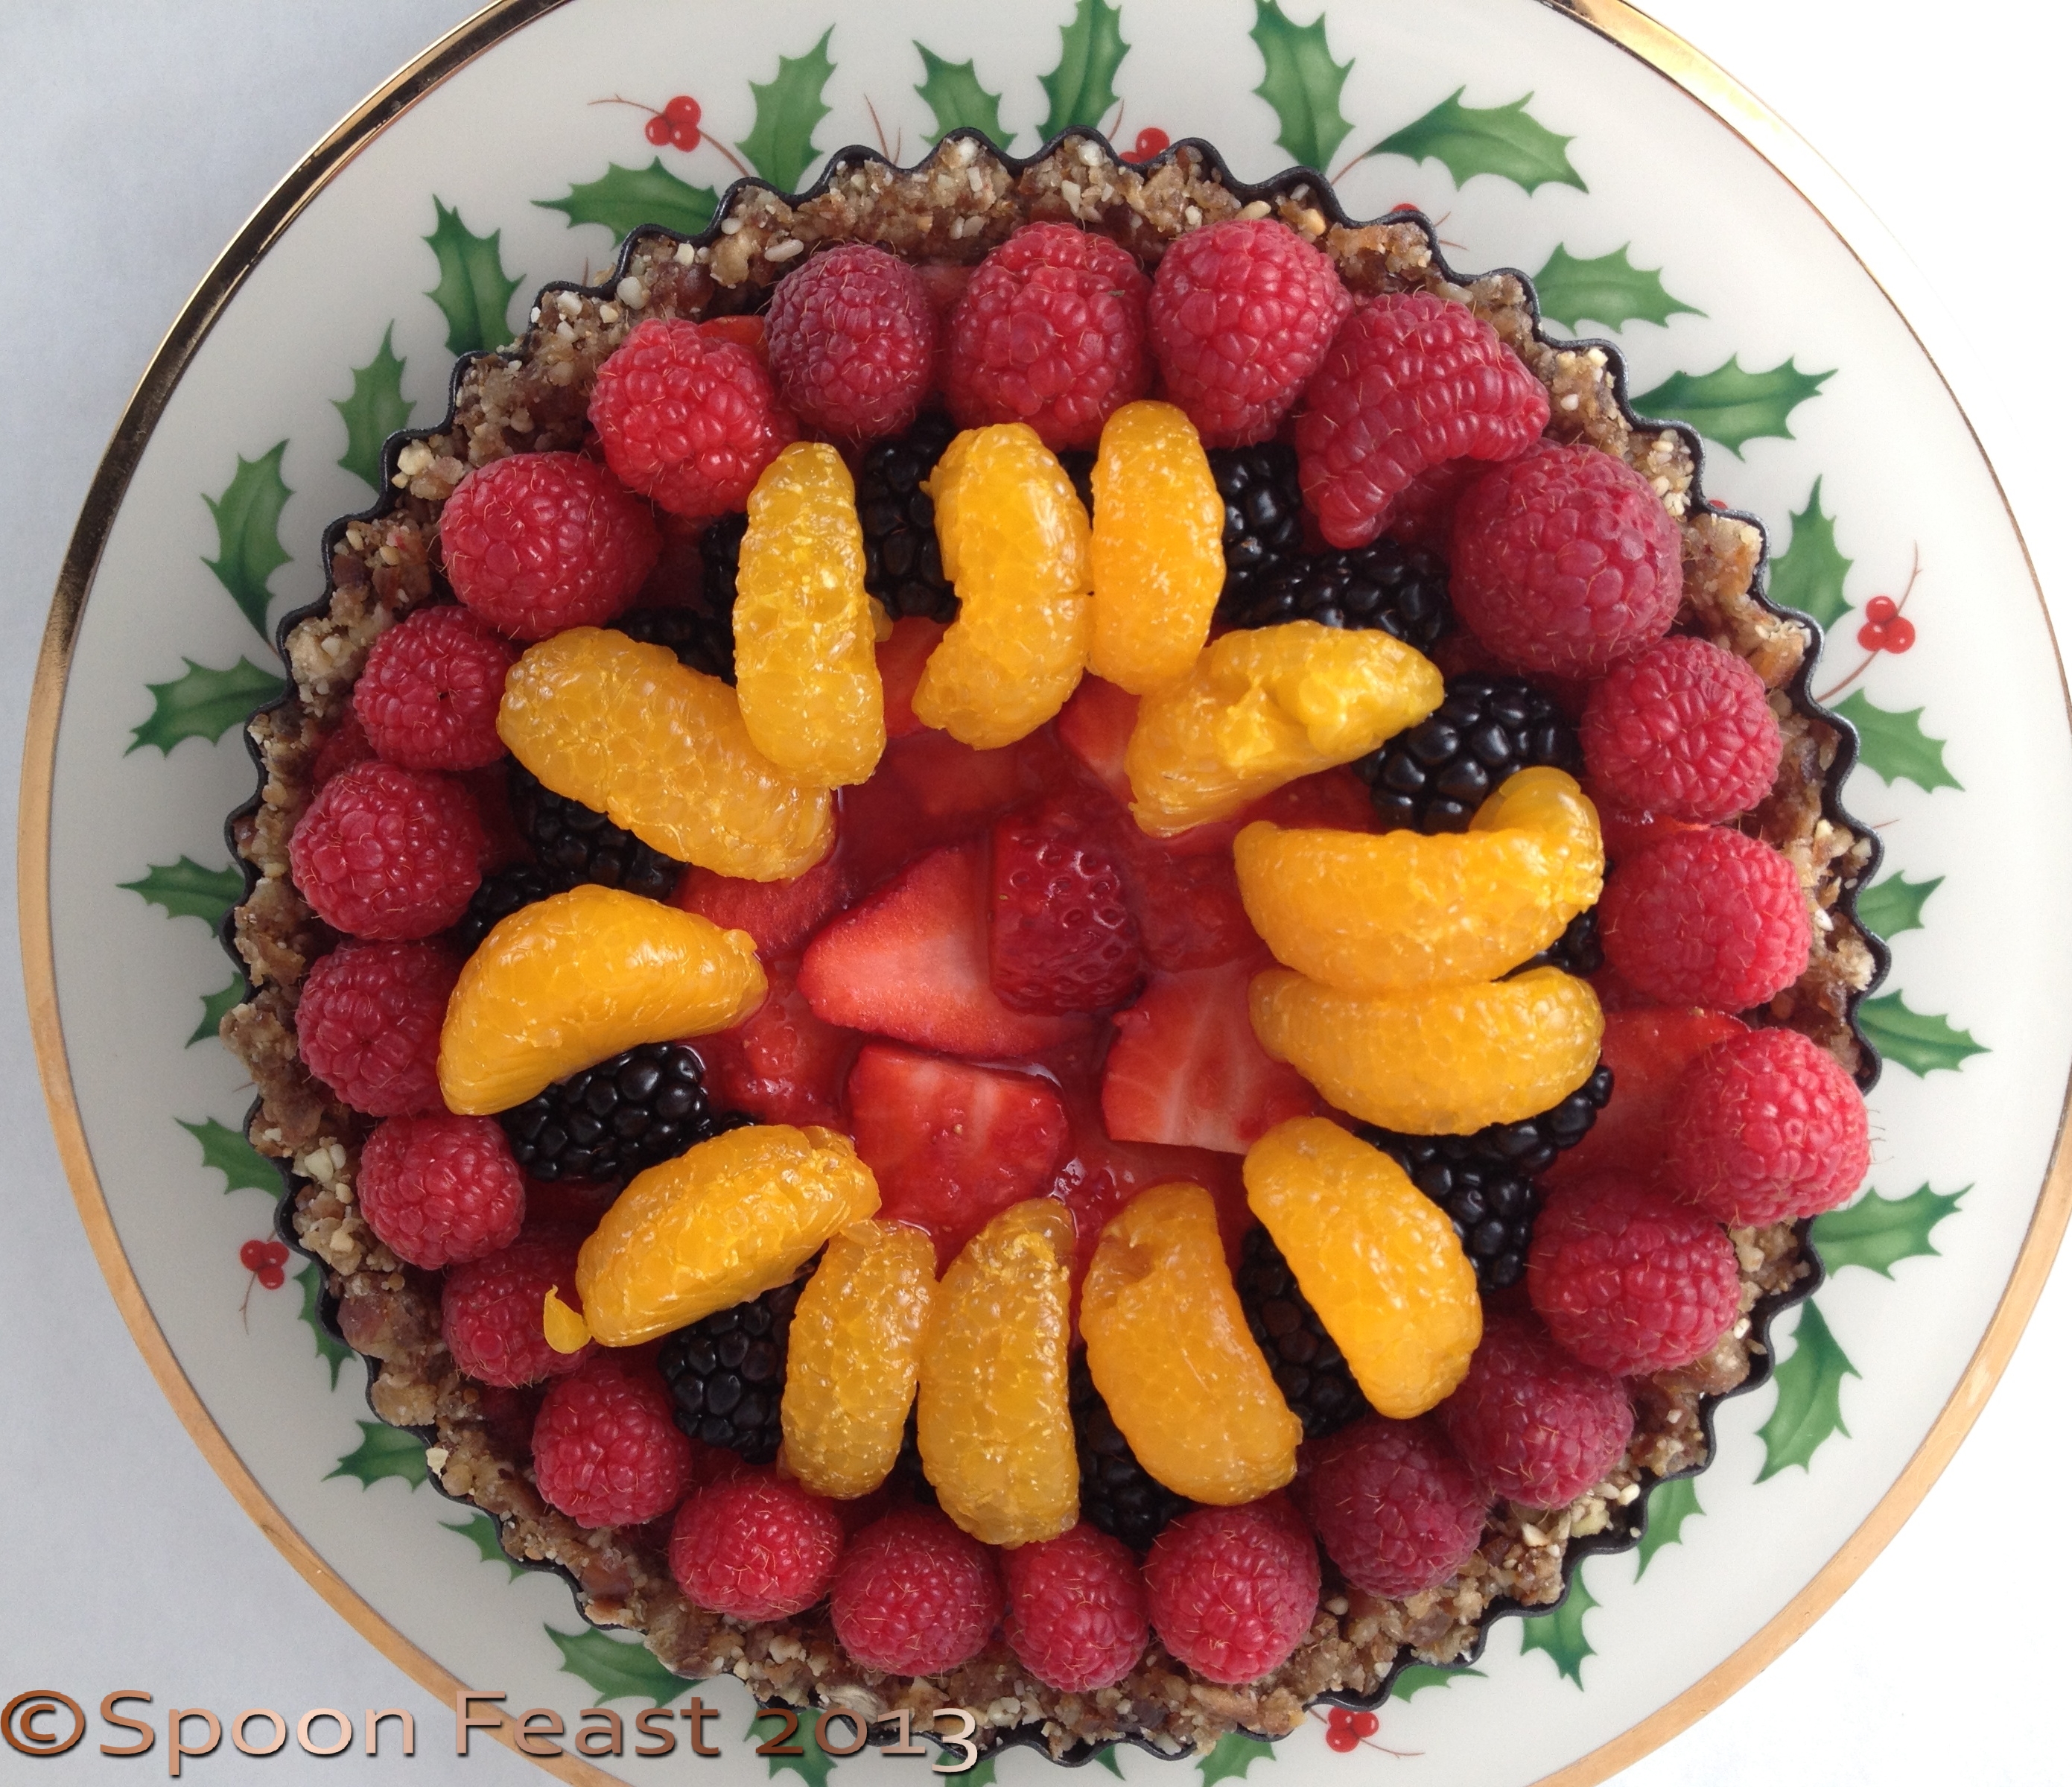 support themselves when removed from the pan.
Line the bottom of the crust with the bananas cut lengthwise, cut side down. Gently press the bananas into place along the edge and bottom.
Top bananas with sliced strawberries, then pour the strawberry puree over the top, filling in any spaces or gaps.
Place fresh raspberries along the entire outer rim of the tart; then place halved blackberries and mandarin oranges in a decorative manner.
Cover with plastic wrap and refrigerate at least one hour, preferably overnight, before slicing and serving.
This is fast, easy, delicious and makes an impressive dessert for anyone, even vegans. It might work for those on a raw food diet as long as the friction from the food processor doesn’t count as “heat”. I don’t think it gets hot enough to qualify for that.
No added fat except what is naturally found in nuts, no added sugar, no baking! And it tastes delicious.
Please let us know what you think.
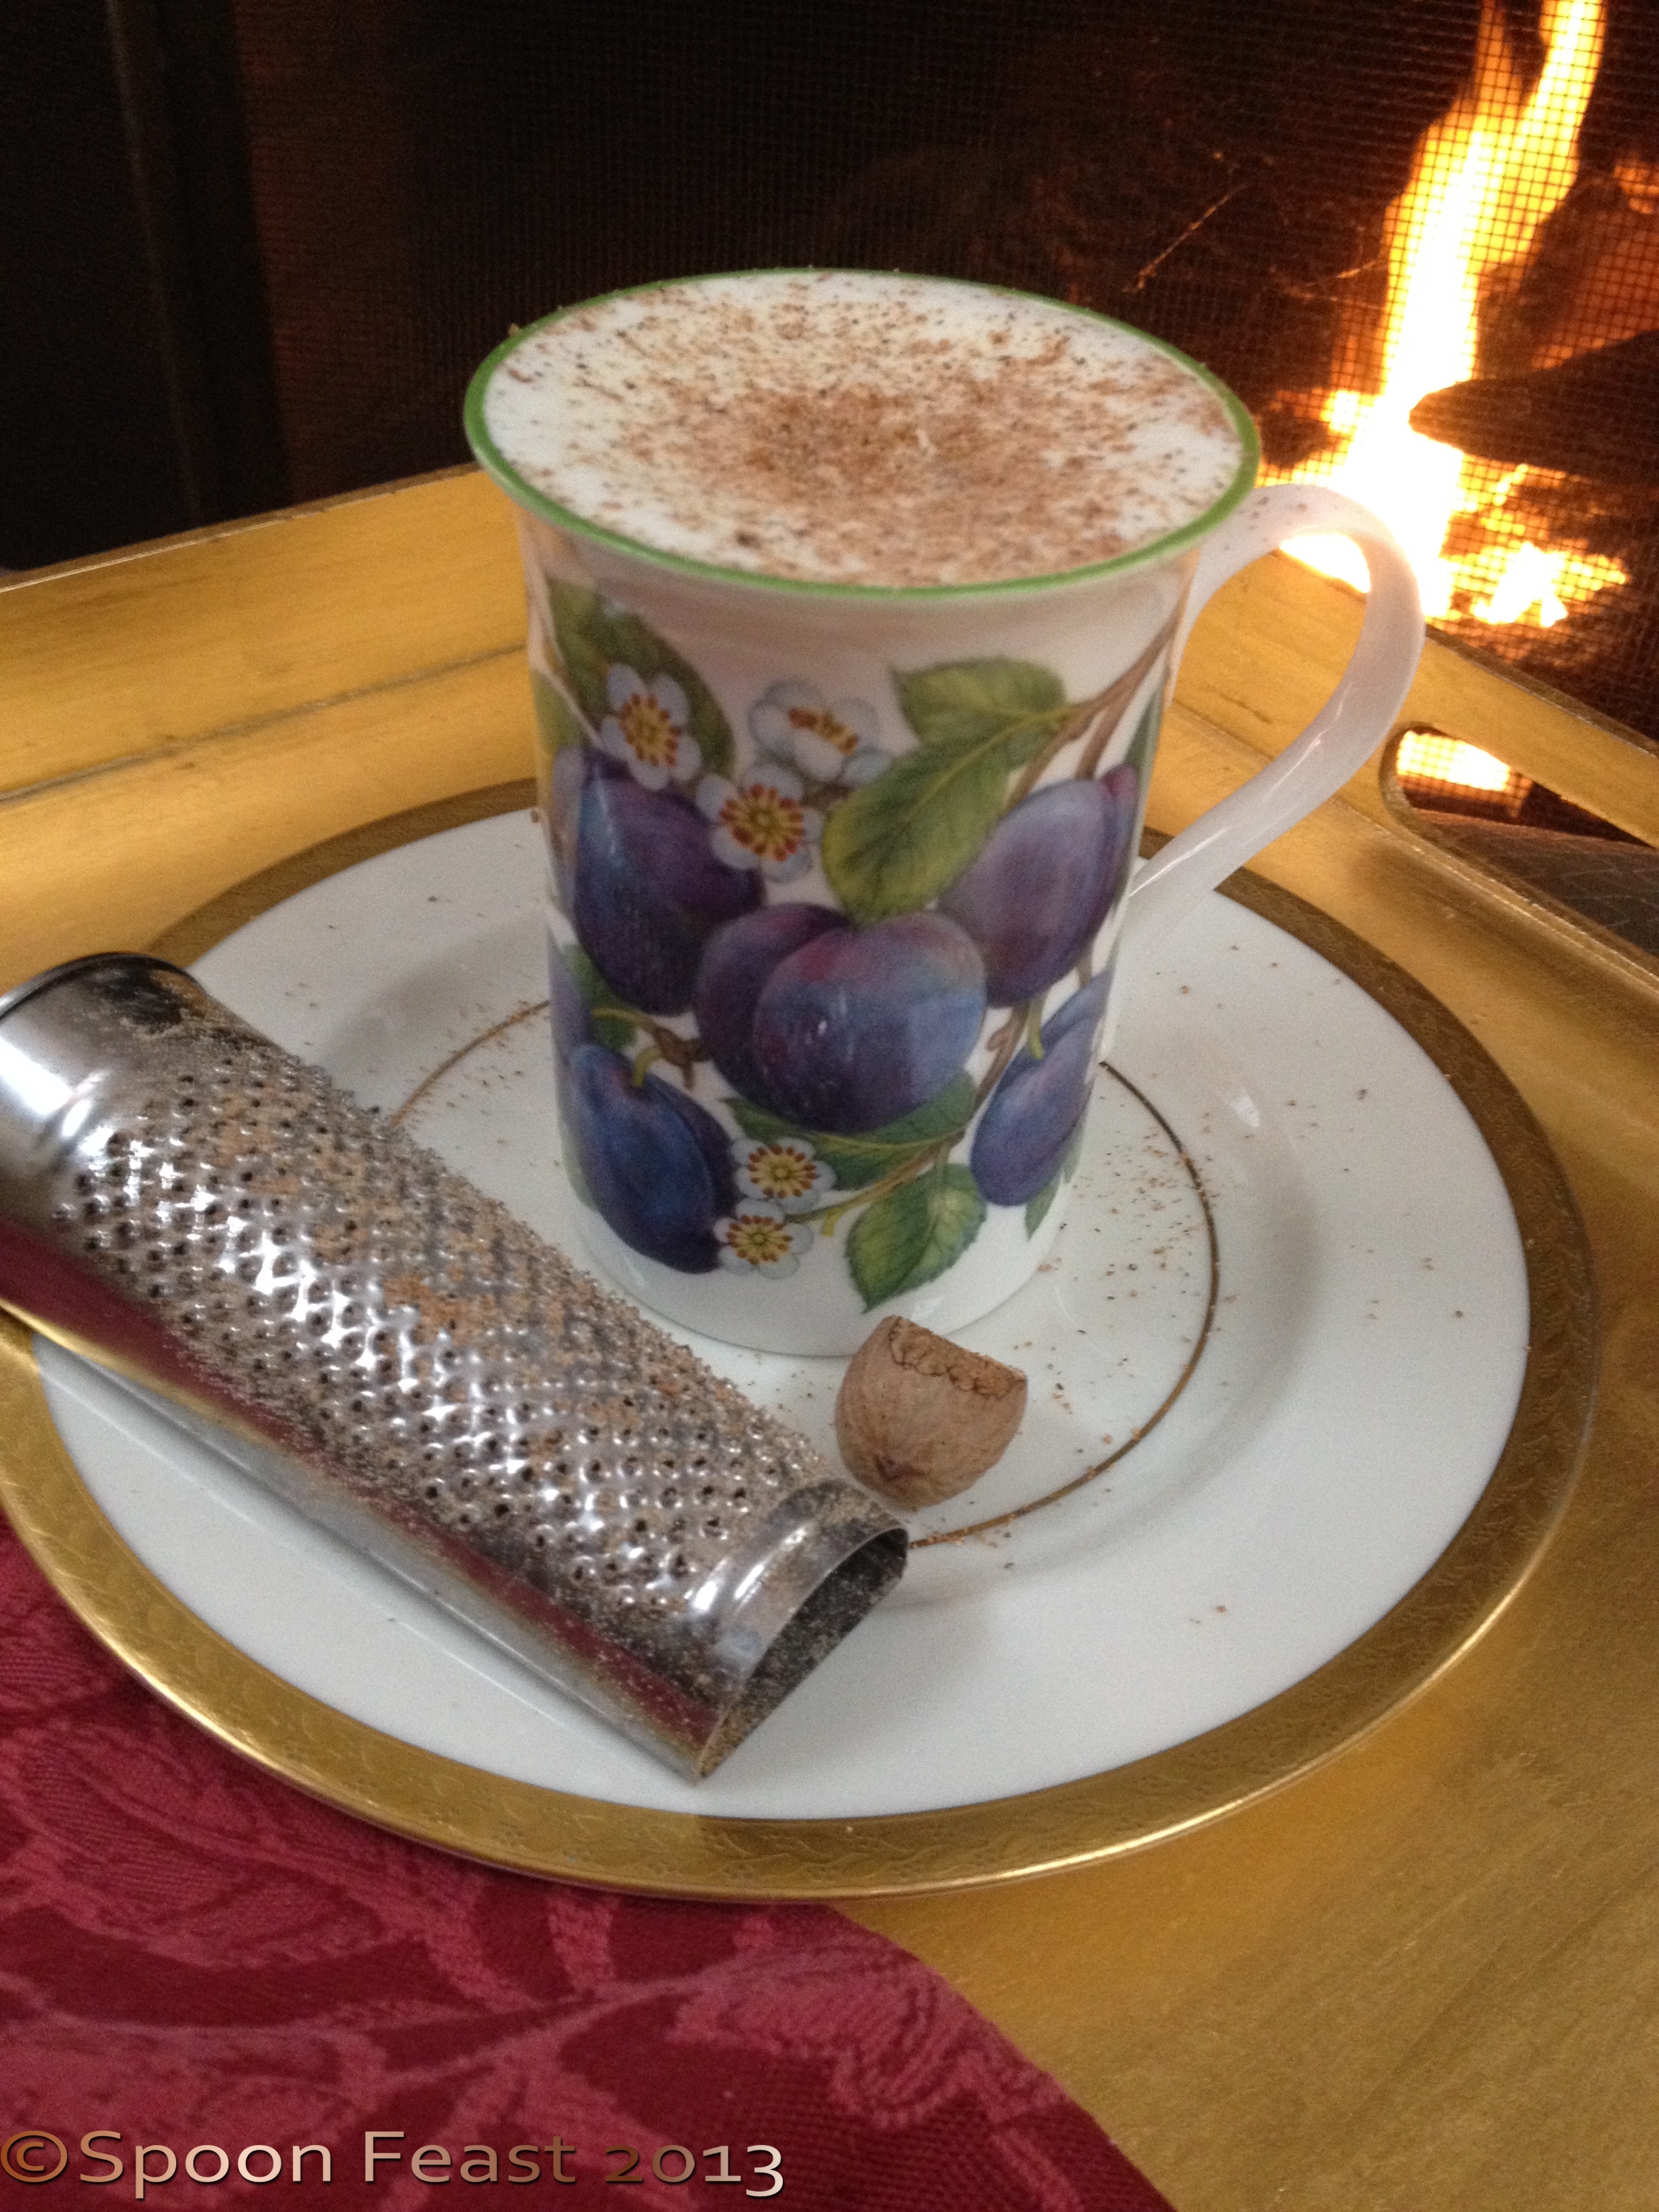
Warm and cozy Nutmeg Milk
This warm and cozy bedtime beverage is quite lovely. It is only warm milk, honey and nutmeg. The nutmeg encourages a comforting sleep and the warm milk envelopes you in warming coziness that allows you to fall asleep easily.
Nutmeg is a relaxing nervine in the herbal world. Caution must be used as too much nutmeg may leave you groggy in the morning. Nutmeg has a way of “time-releasing” some of its qualities so it is best to use less than more.
The best nutmeg to use for this drink is, of course, freshly grated from a whole nutmeg nut.

Myristica fragrans Nutmeg. The picture was taken in Zanzibar. (Photo credit: Wikipedia)See that red bit? That’s called Mace and can be used like the nutmeg nut found underneath. It’s just a bit stronger and usually comes ground.
Lets talk a bit about nutmeg. We may know it from being sprinkled over the top of holiday eggnog and that might be about it. However, nutmeg is a spice we should be aware of for many qualities. Add a pinch or two to tomato sauce to add a complex sweetness; I add it to my pepper mill for a great depth of flavor.

Take a sip!
Personally I love the aroma and flavor of fresh nutmeg. You can use a nutmeg grater or in the absence of that, the smallest side of a box grater or a fine microplane will work to grate the fresh nut.

Nutmeg grater
To make this cozy bedtime beverage, simply warm a cup of milk to warm, add a spoonful of honey and grate a teaspoon of fresh nutmeg over the top. For added luxury, steam the milk with a cappuccino steamer for lots of froth on top.
Sit back and sip, you’ll be yawning and heading for bed before you can finish the cup.
A nice benefit of nutmeg is that it also encourages sweet dreams and reduces stress.

Sweet Dreams!
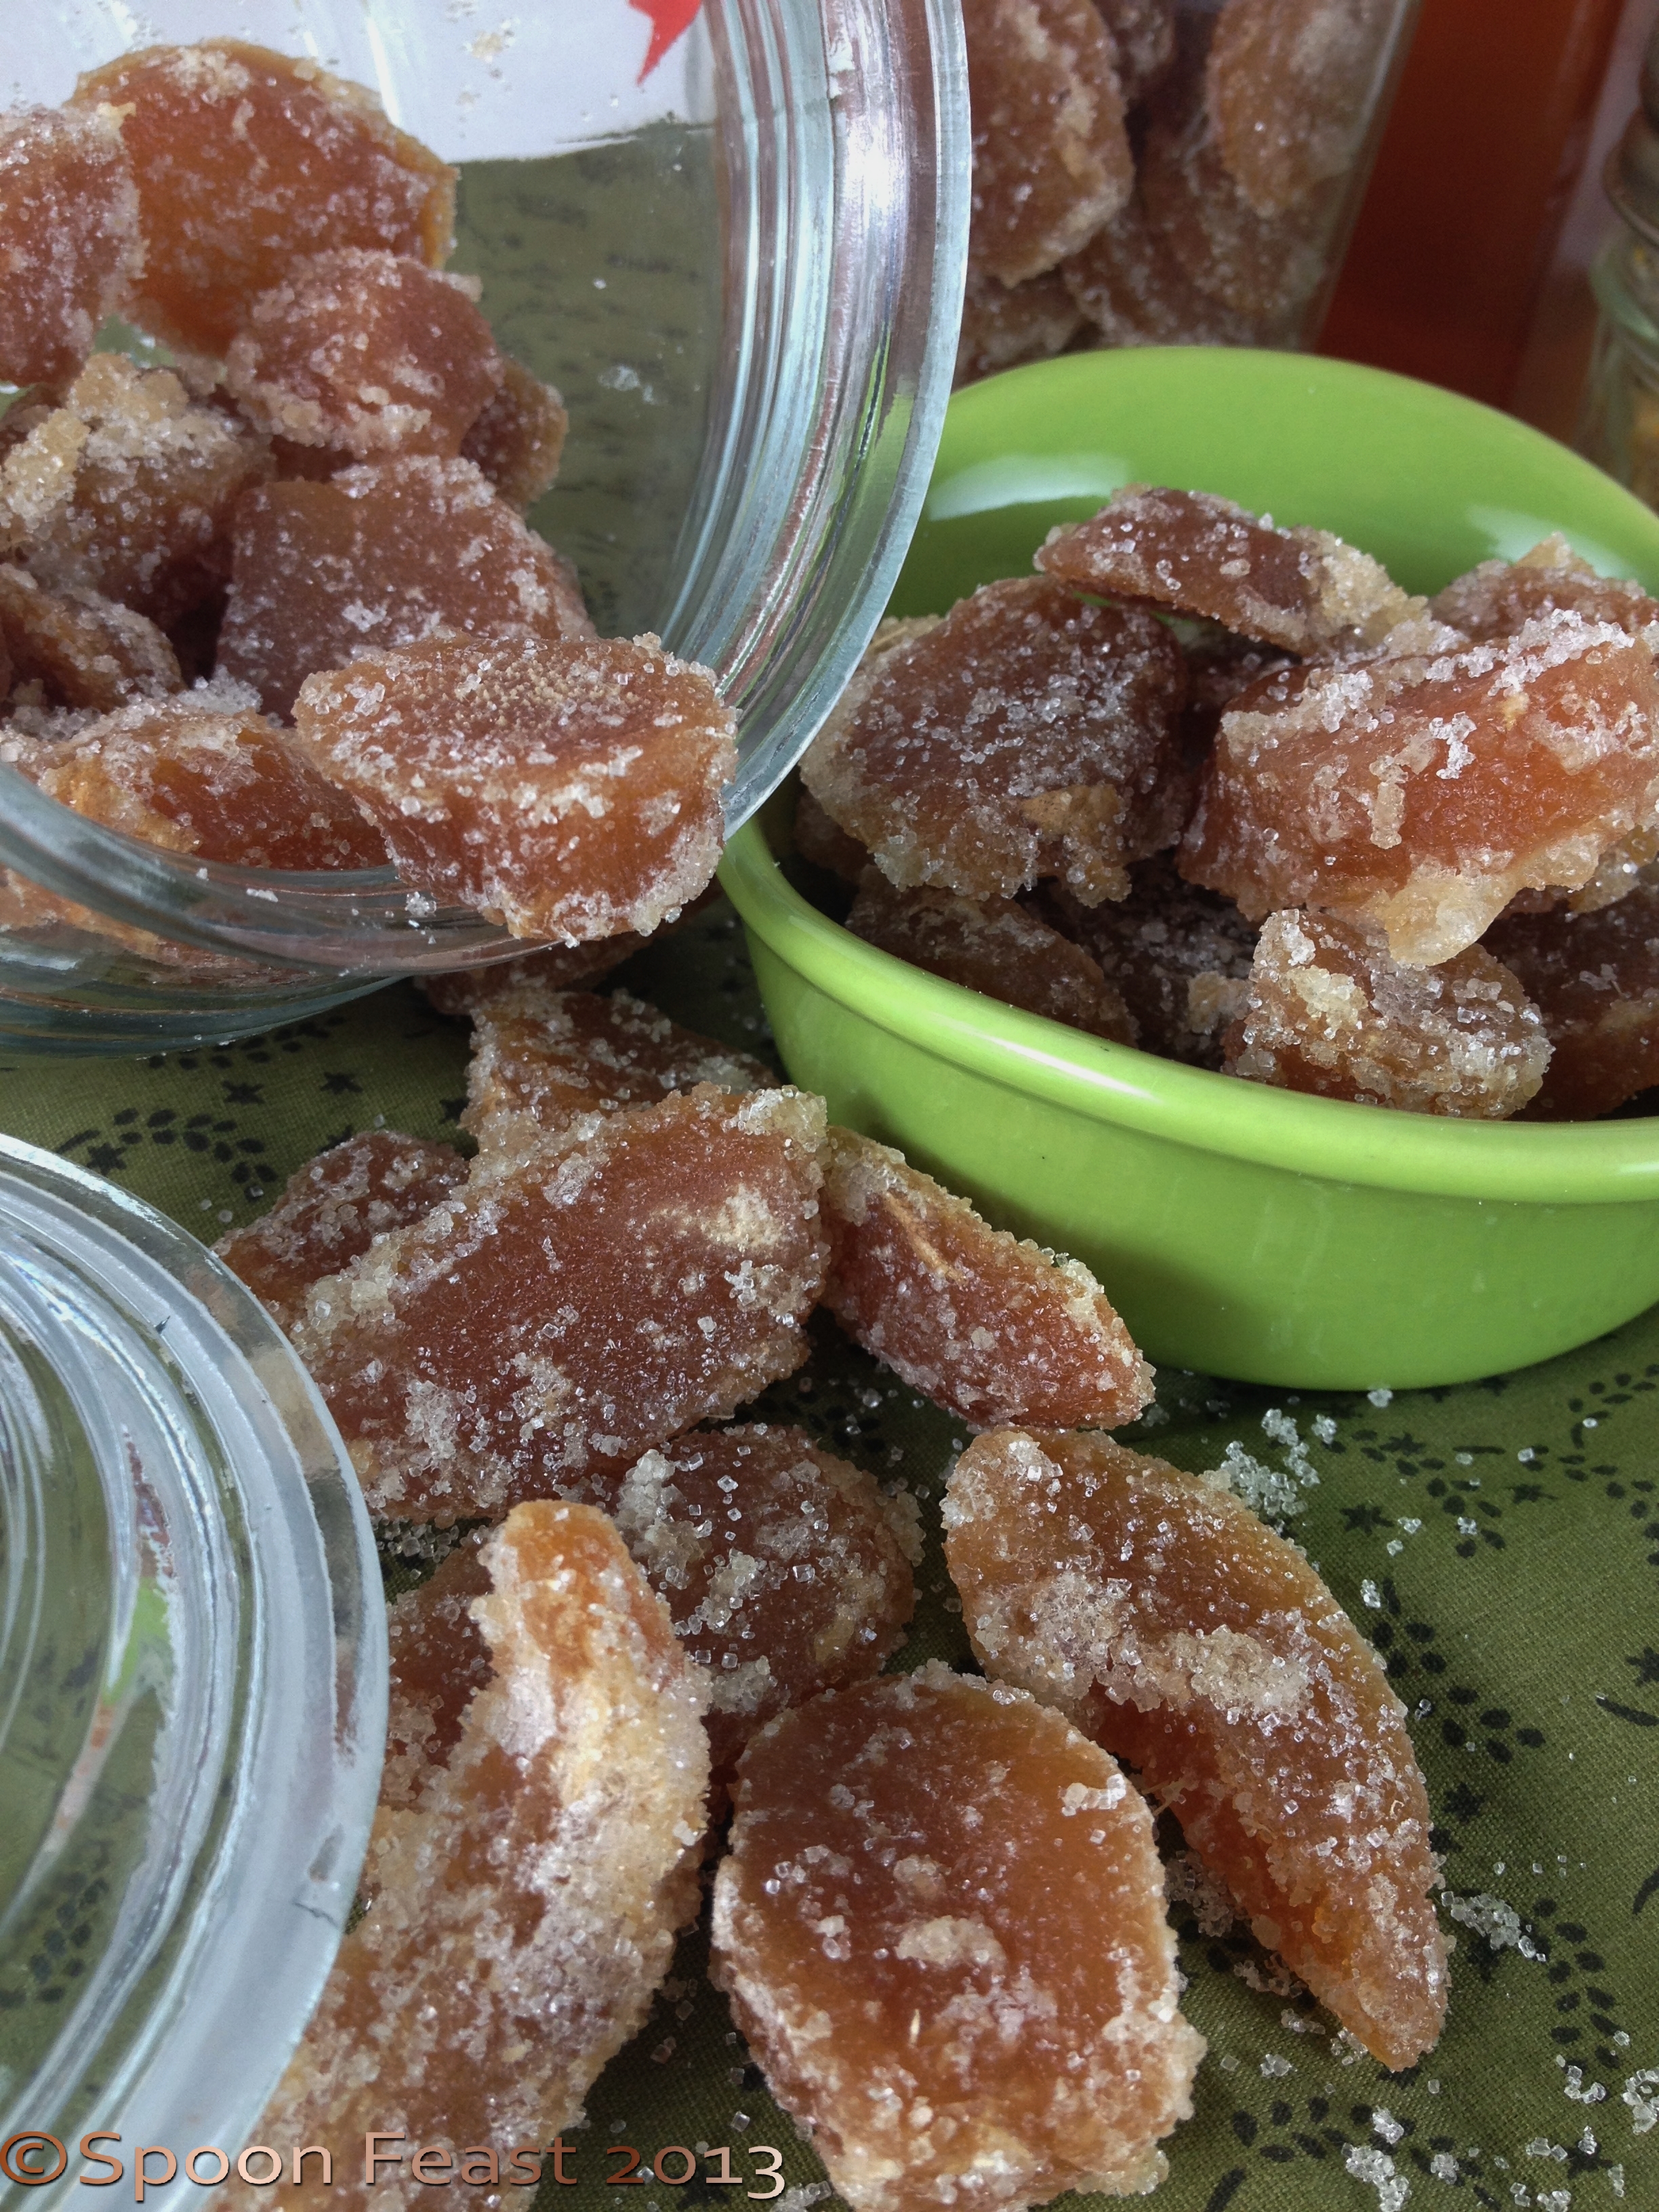
Crystallized Ginger
I love anything ginger and when it is crystallized ginger and ginger syrup, I can go overboard.
This is an easy way to make this as it is done in a crock pot, on low for 24 hours. There’s no chance of burning or scorching, just slow tender transformation of simple syrup and ginger into an amazing restorative treat.
Peel and slice the ginger into 1/4 inch slices. Cut it any way you want.
Make a simple syrup using equal parts of water and sugar. When the syrup comes to a boil, add the ginger and simmer for 3-4 minutes.
Then transfer the entire contents of the pot to a crock pot, set on low. Cover and let the magic take place for the next 24 hours.
Strain the ginger through a wire mesh strainer over a bowl to catch the syrup. Save that syrup!
Toss the drained ginger slices in granulated sugar,then spread it out on a cookie sheet lined with parchment. Place into a 200°F oven for a couple of hours to “dry” the ginger. If you don’t do this, the ginger will be wet and melt the sugar it gets rolled in to be stored.
Once dried, roll the ginger in granulated sugar to coat, cool completely. Once cool, bottle, label and store.
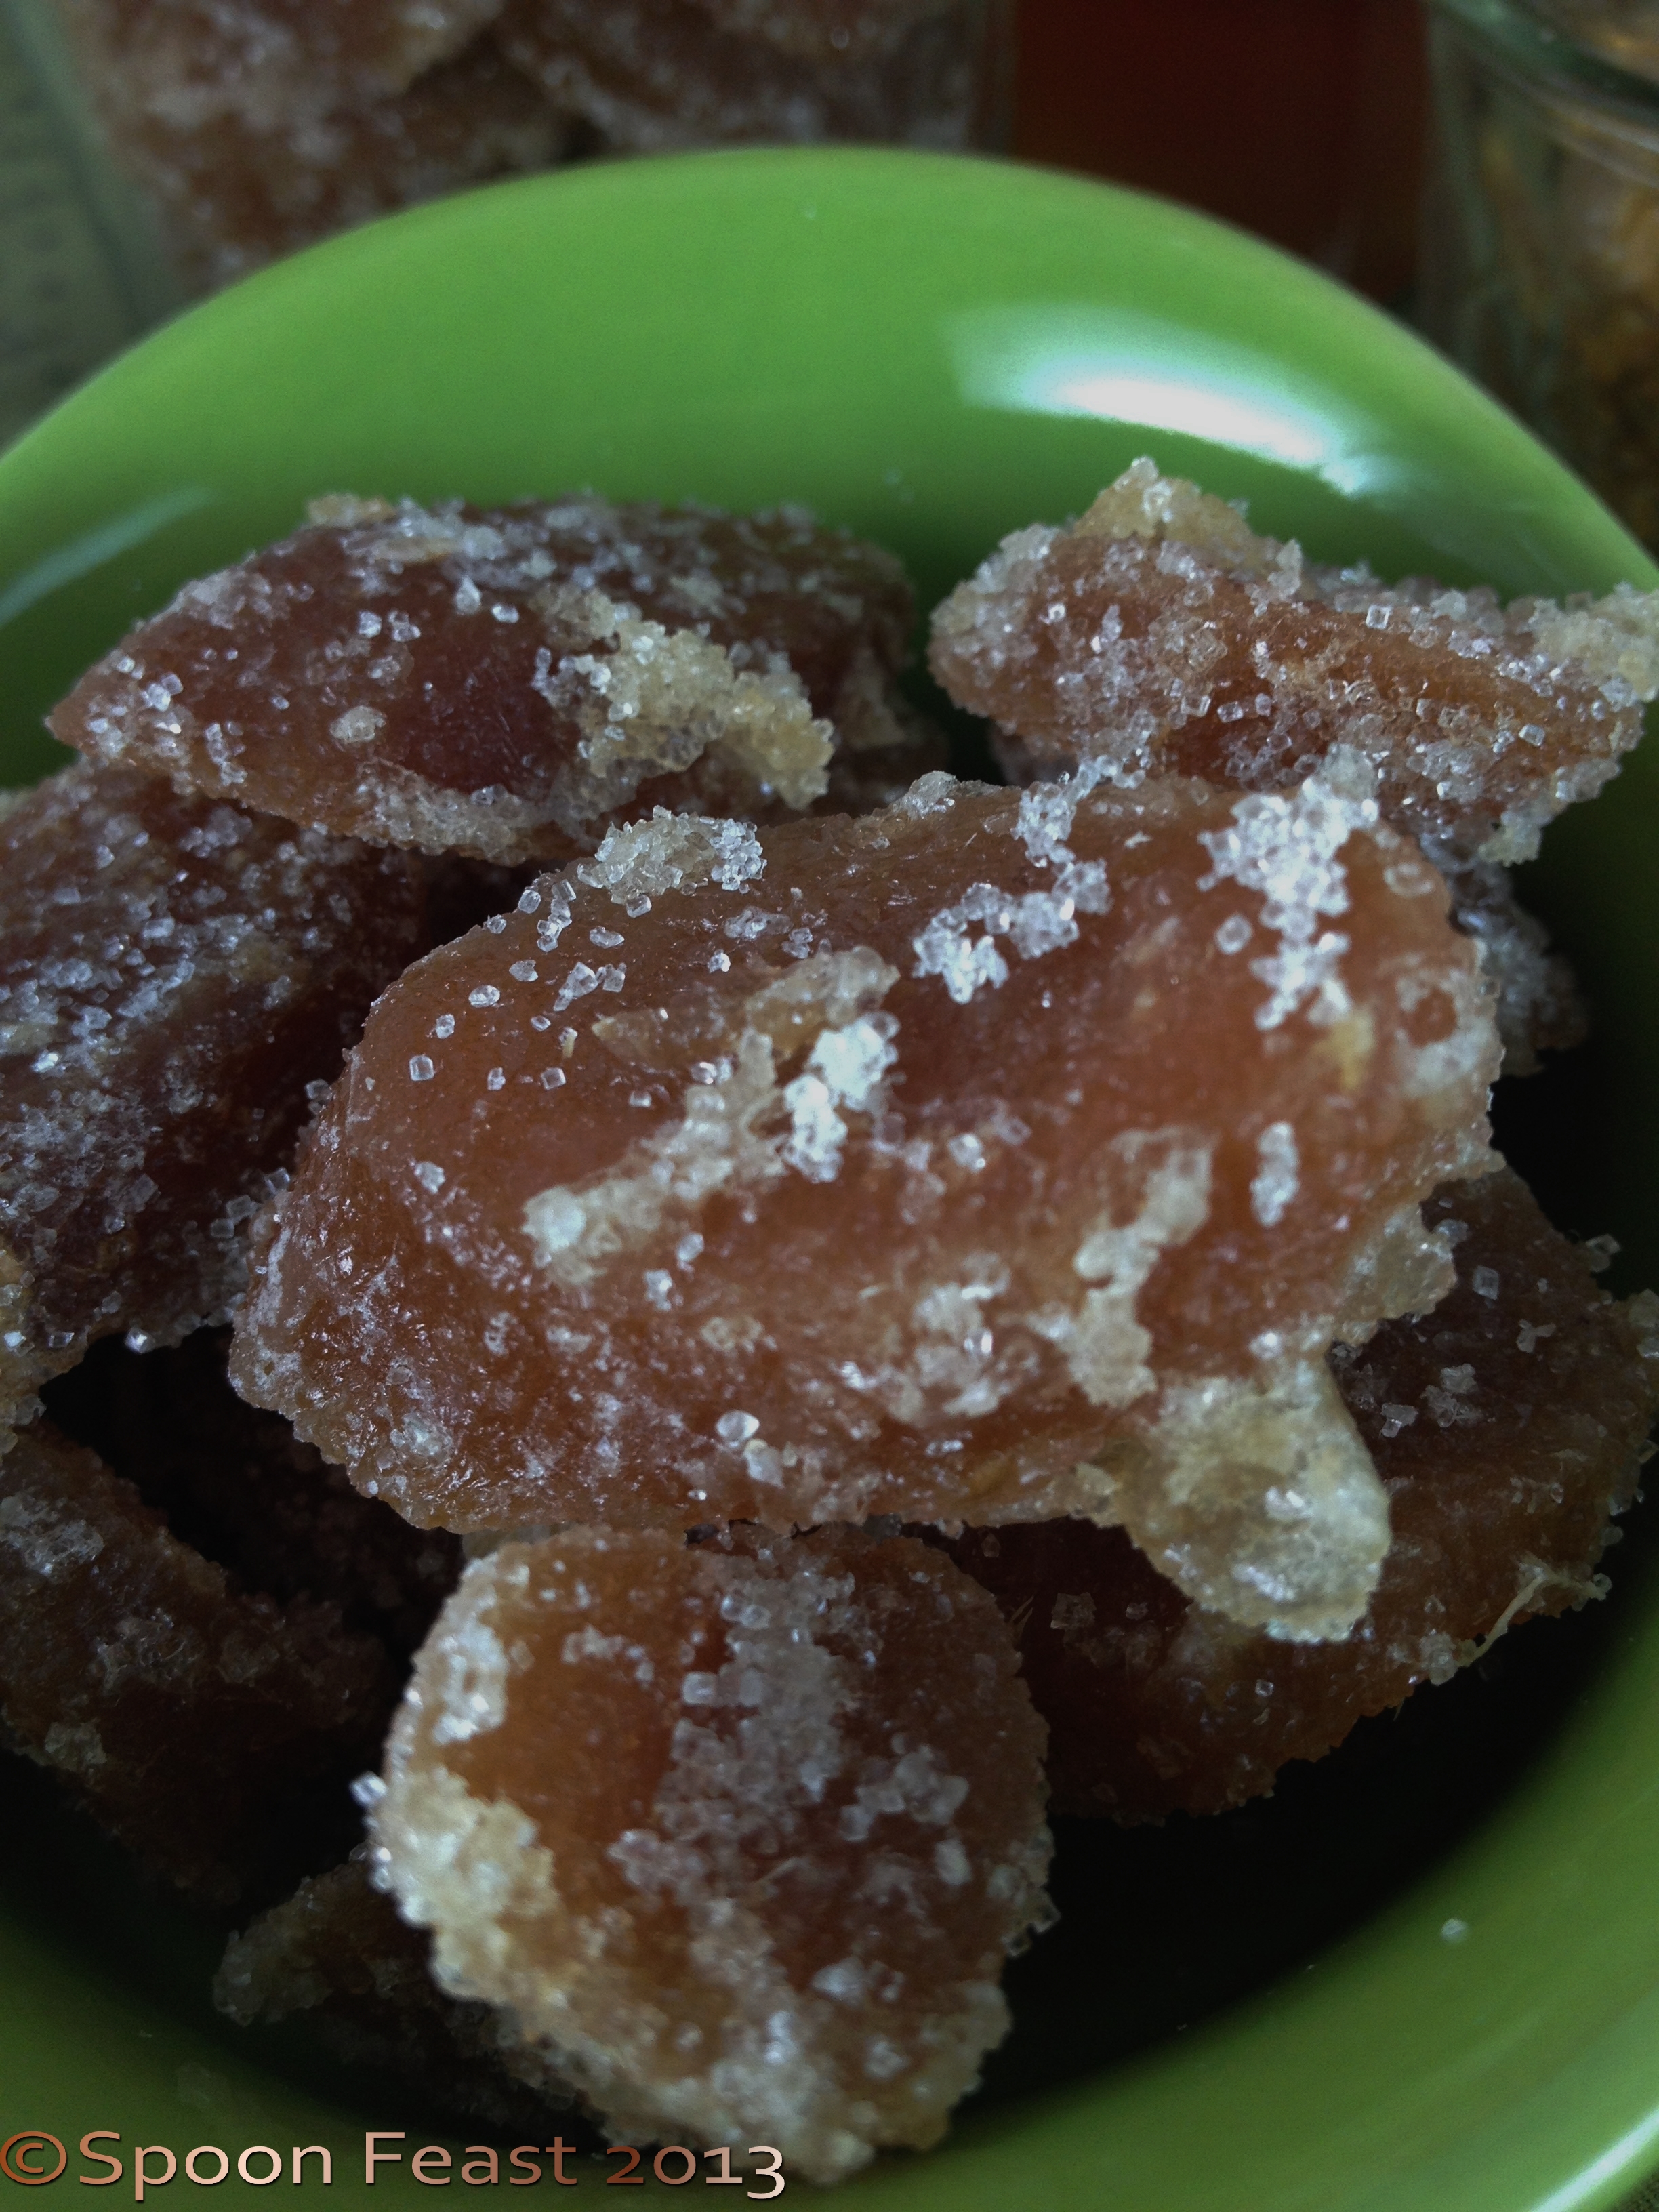
Crystallized Ginger is great for nibbling after a big meal
Cool the syrup and bottle it. Use it to make soda, pour over ice cream or flavor tea. One of my favorites is chamomile tea with ginger syrup. Try it! Ginger Martini, Ginger Champagne Cocktail. . .
Dice the crystallized ginger into small bits, add fennel seeds and dried organic orange peel (powder it) for a nifty digestive.
Nibble in a piece of crystallized ginger just before a trip where you may get queasy. (I always carry some when traveling!)

Digestive Blend is a combination of dried orange peel, powdered,fennel seeds and diced crystallized ginger
Use the ginger in cookies and baked goods; use it in a sauce for chicken or pork.
Crystallized ginger can be a bit on the pricey side and often, it’s not soft and tender. Make your own and not only save money, but have better quality crystallized ginger too.
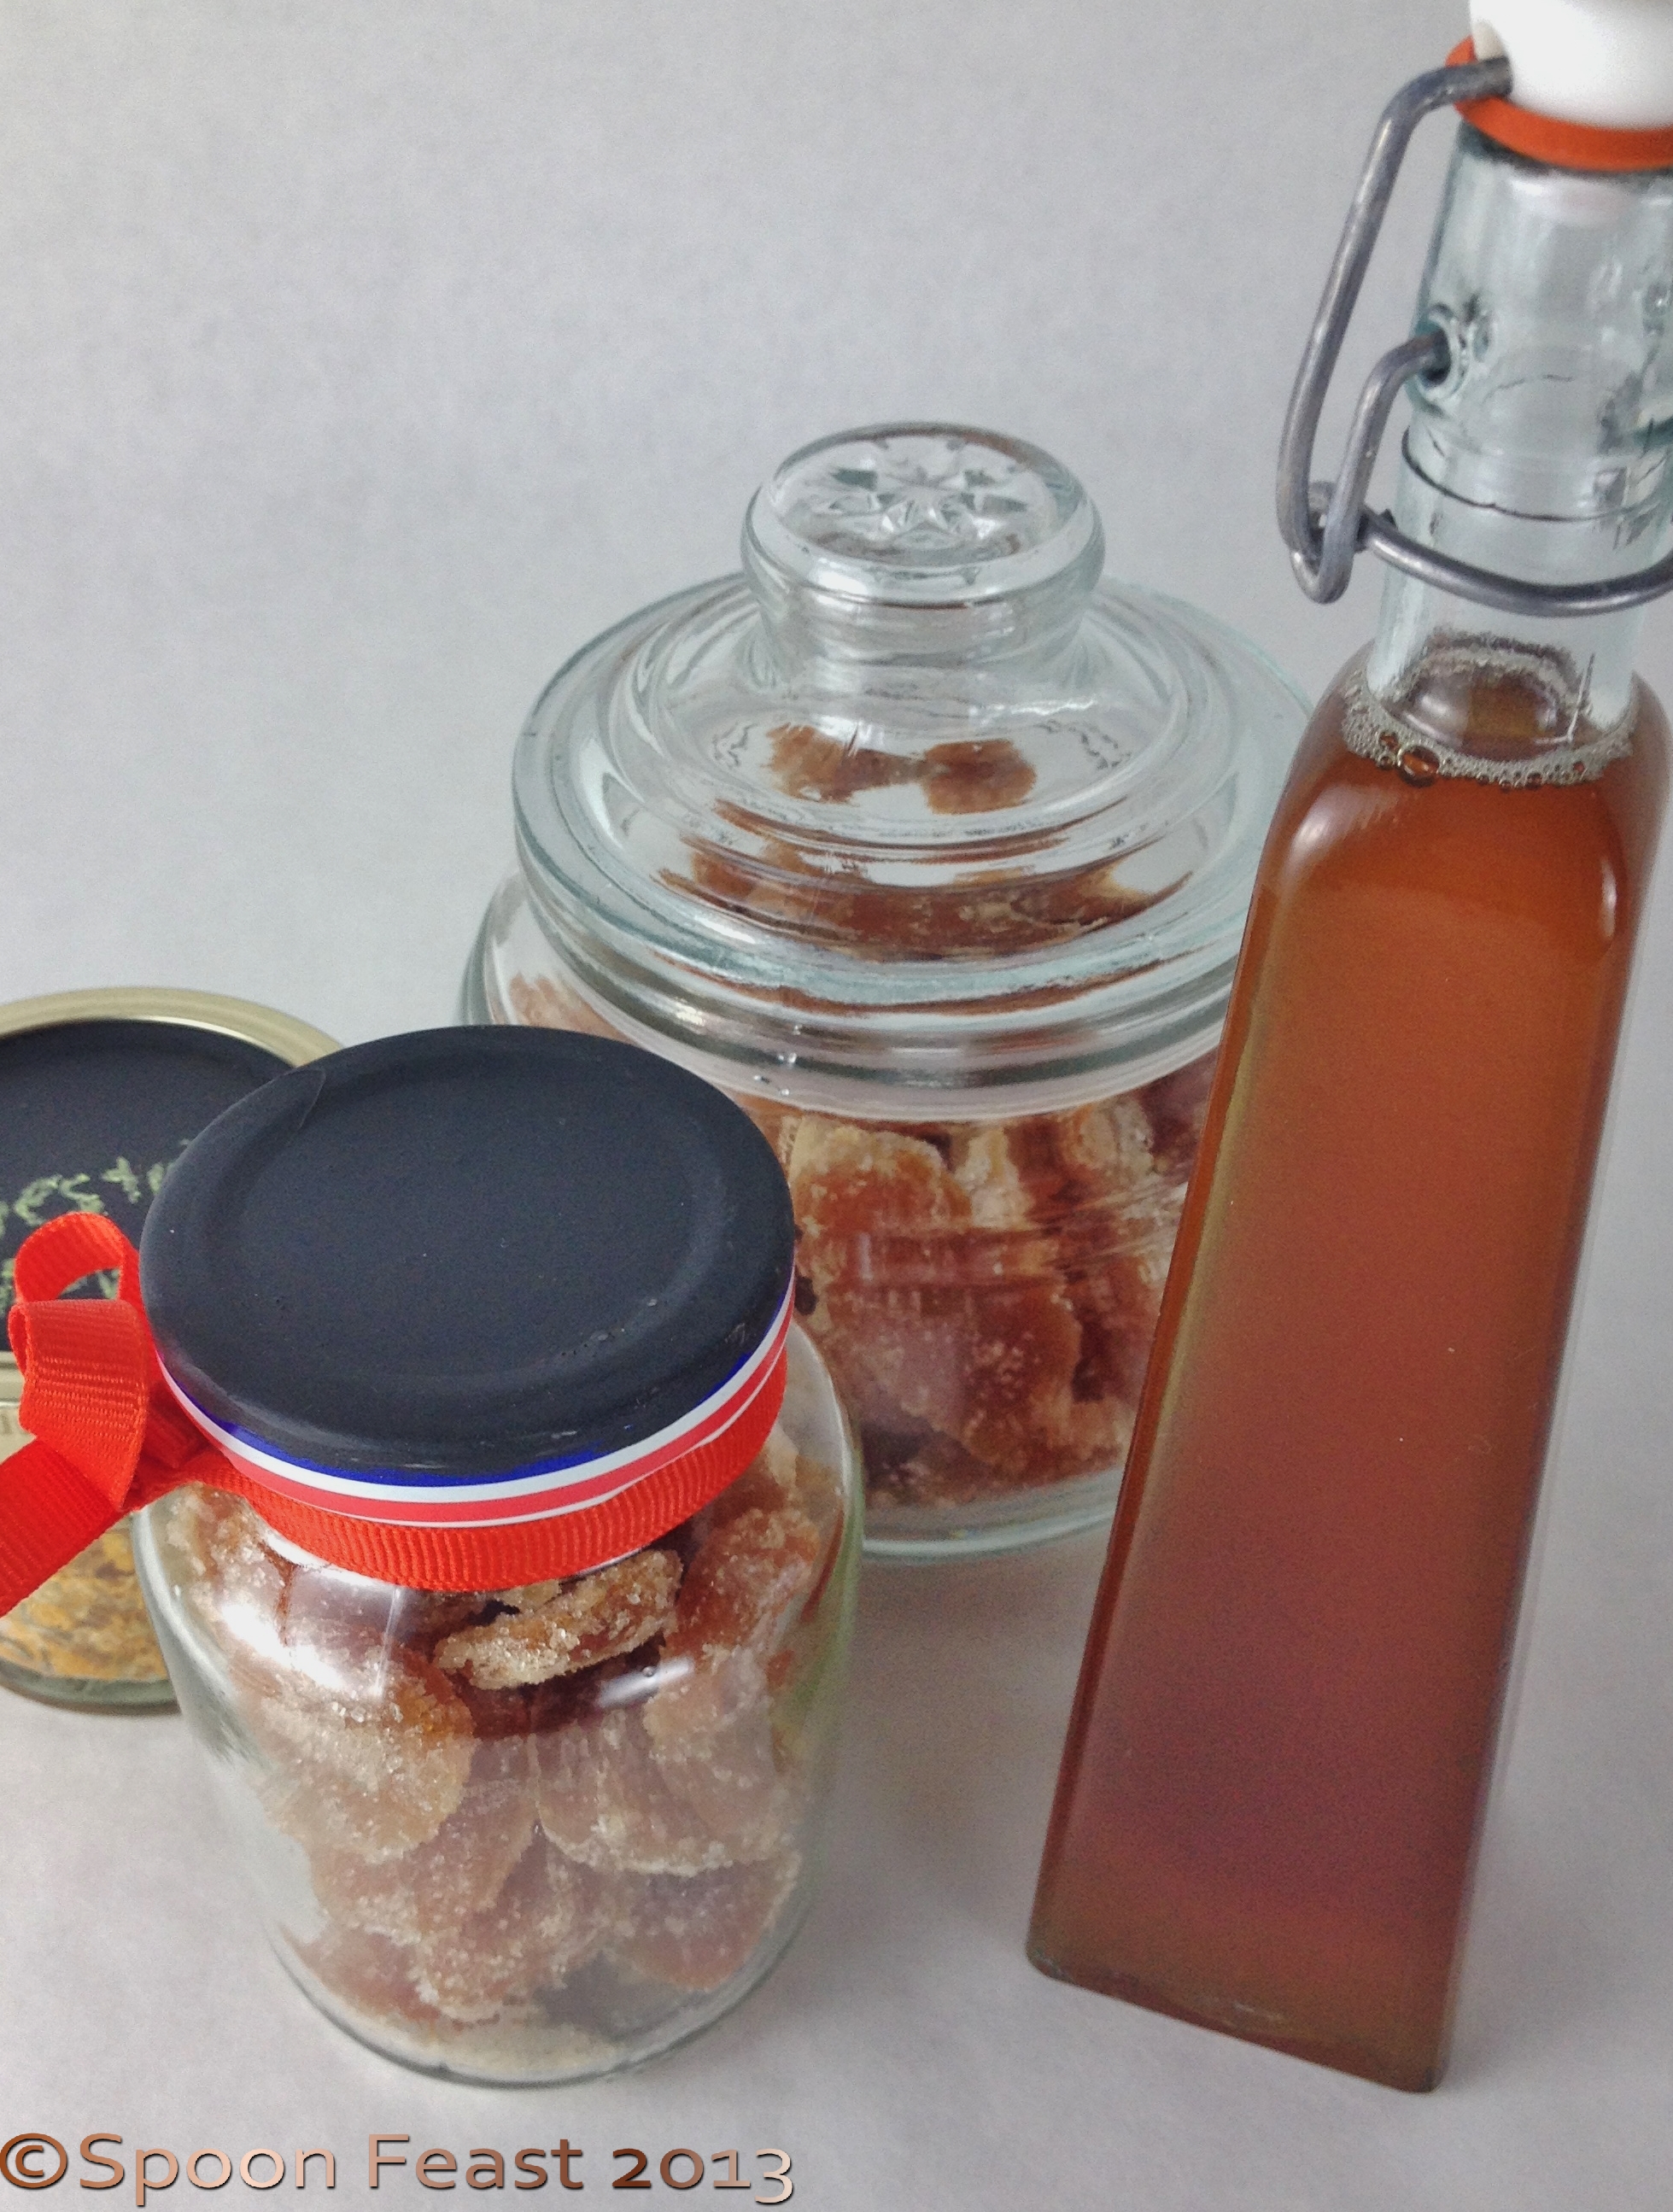
Save the syrup! It’s great to add to tea, pour over ice cream or make you own ginger ale

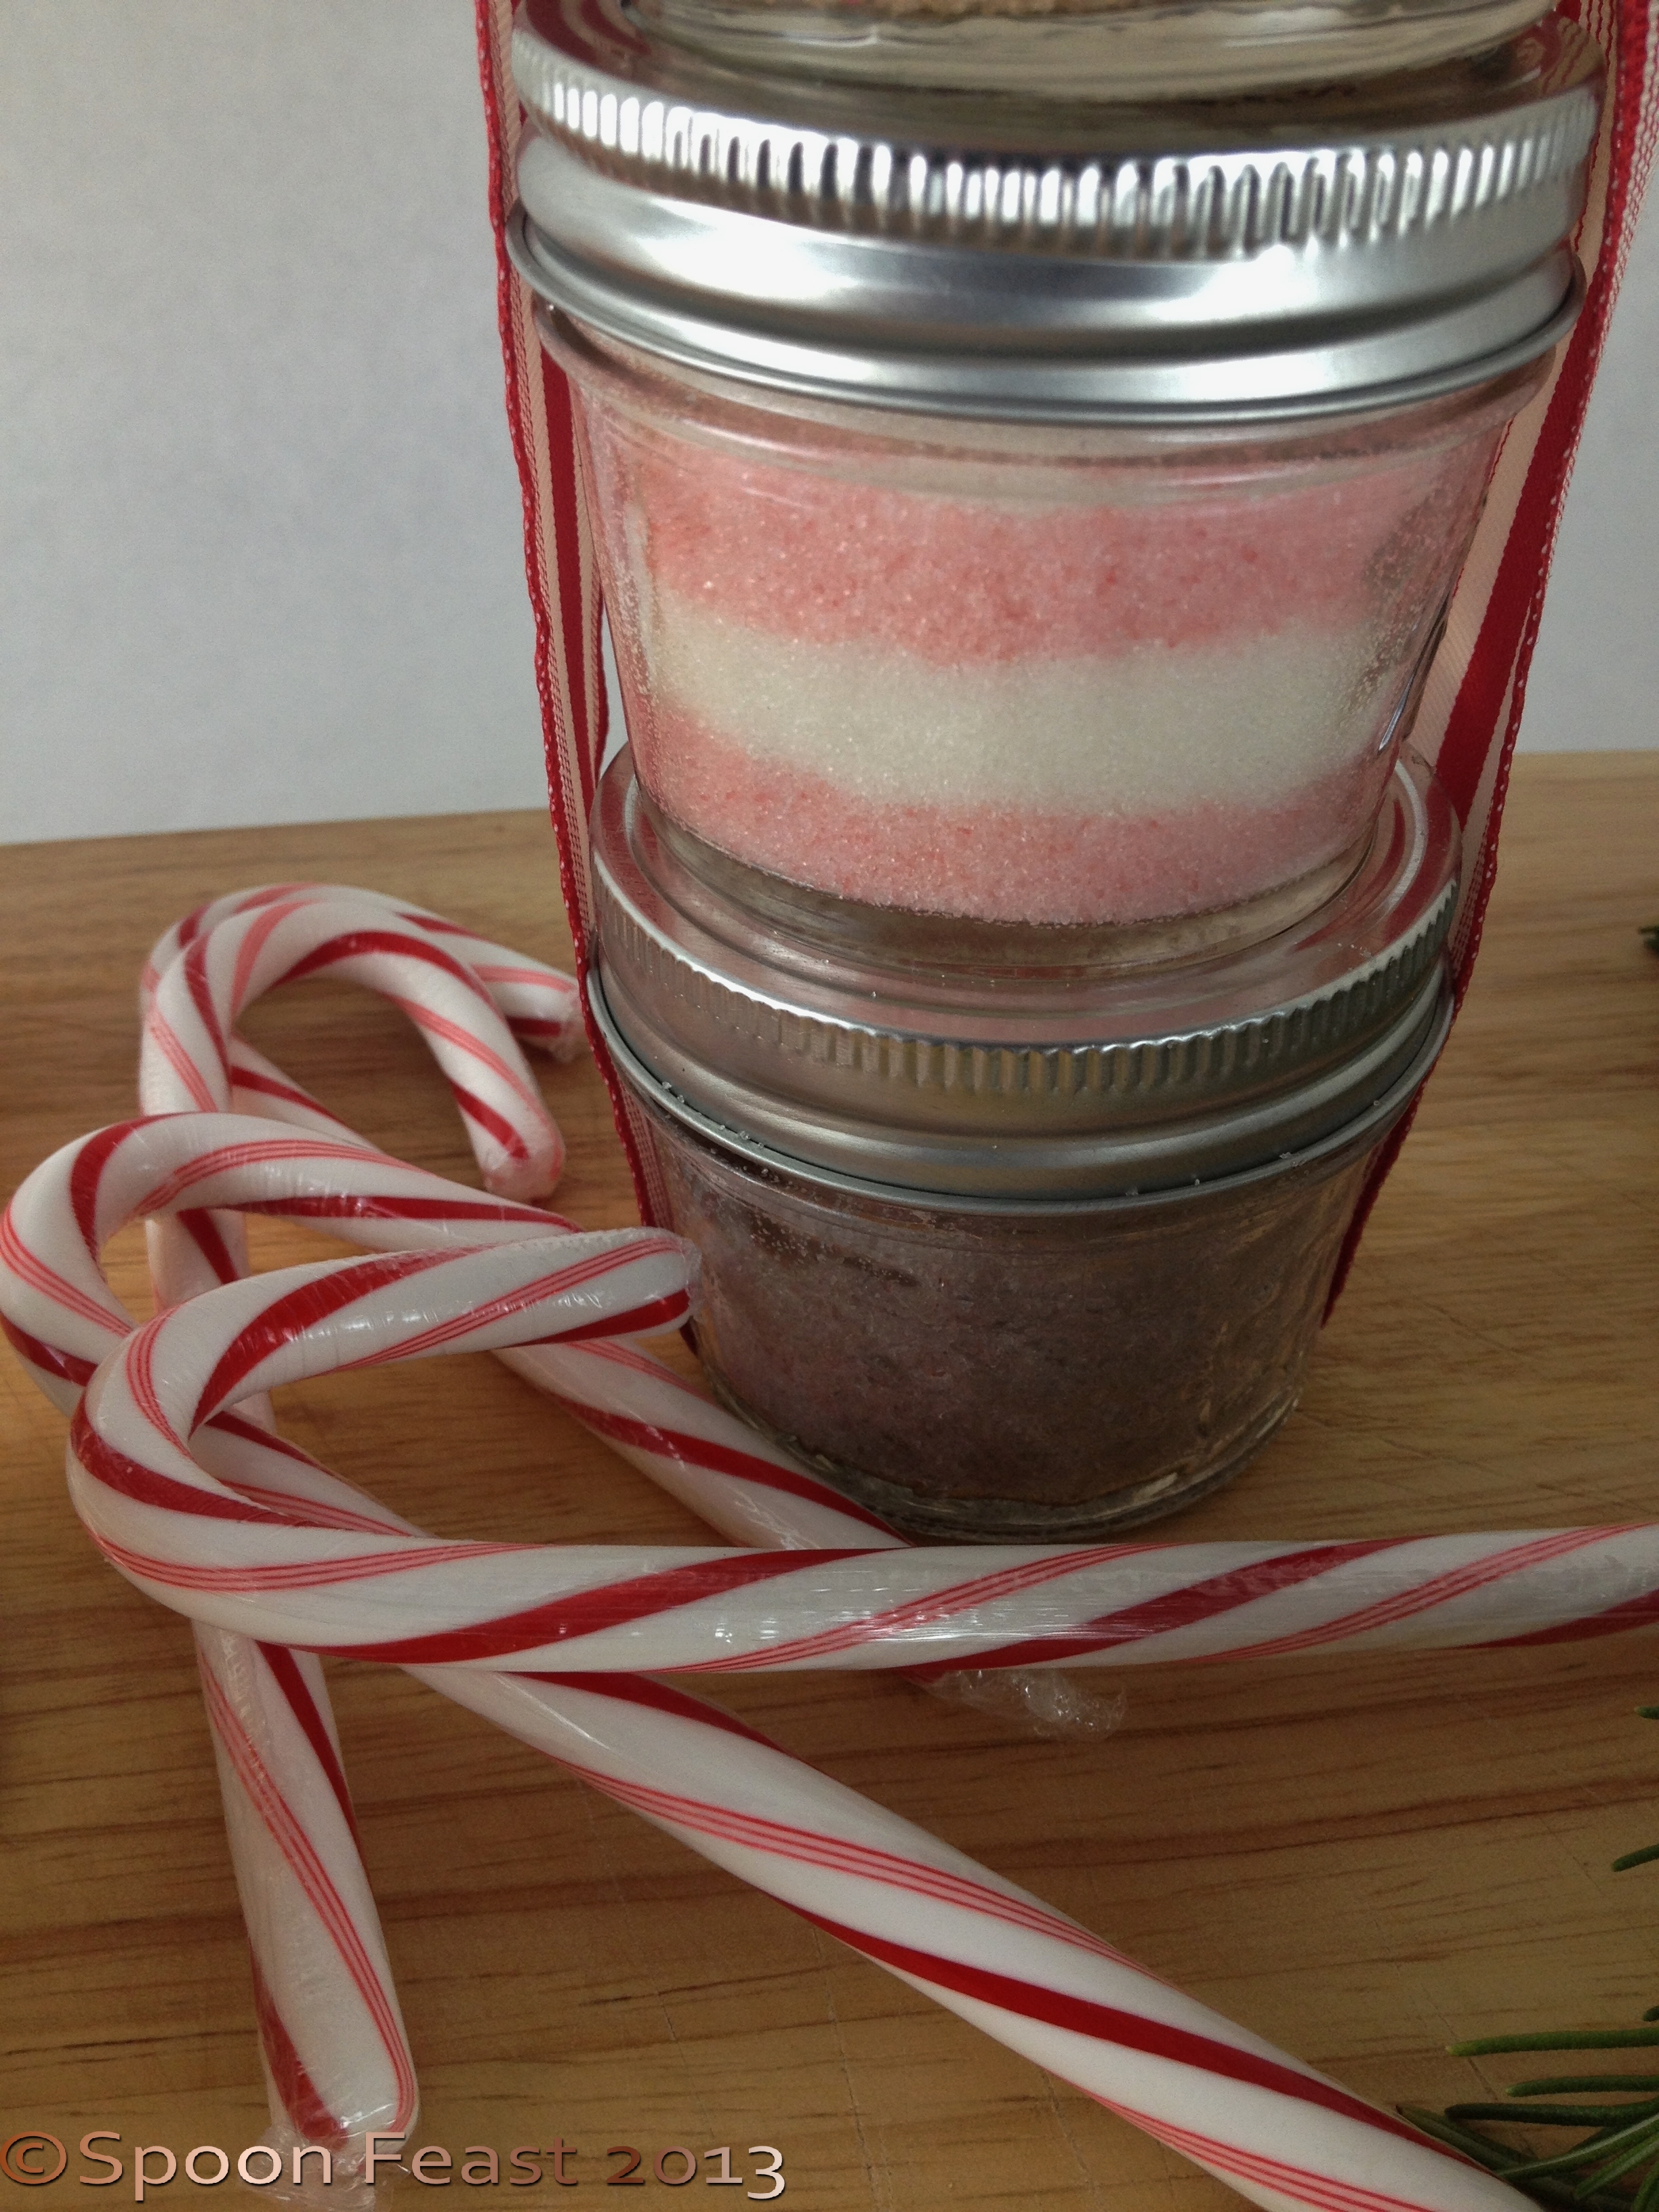
Sugar Scrub Stack
Gifting doesn’t get any easier than this: Sugar Scrubs!
They are super simple and quite inexpensive to make. Choose some nice jars to put them in, create a nifty label and you have a great thoughtful gift. Be sure to make a few extra for you to use too!
Use grape seed, almond, olive or jojoba oil. Don’t use coconut oil as it solidifies in the drain as it cools. Grape seed oil isn’t as “oily” as the others, with olive leaving the “oiliest” feel, which can be quite pleasant on dry skin.
Use your personal preference as to how much oil to add. I prefer only using enough to make the sugar damp and start to hold together as opposed to swimming in oil. I prefer the drier side.
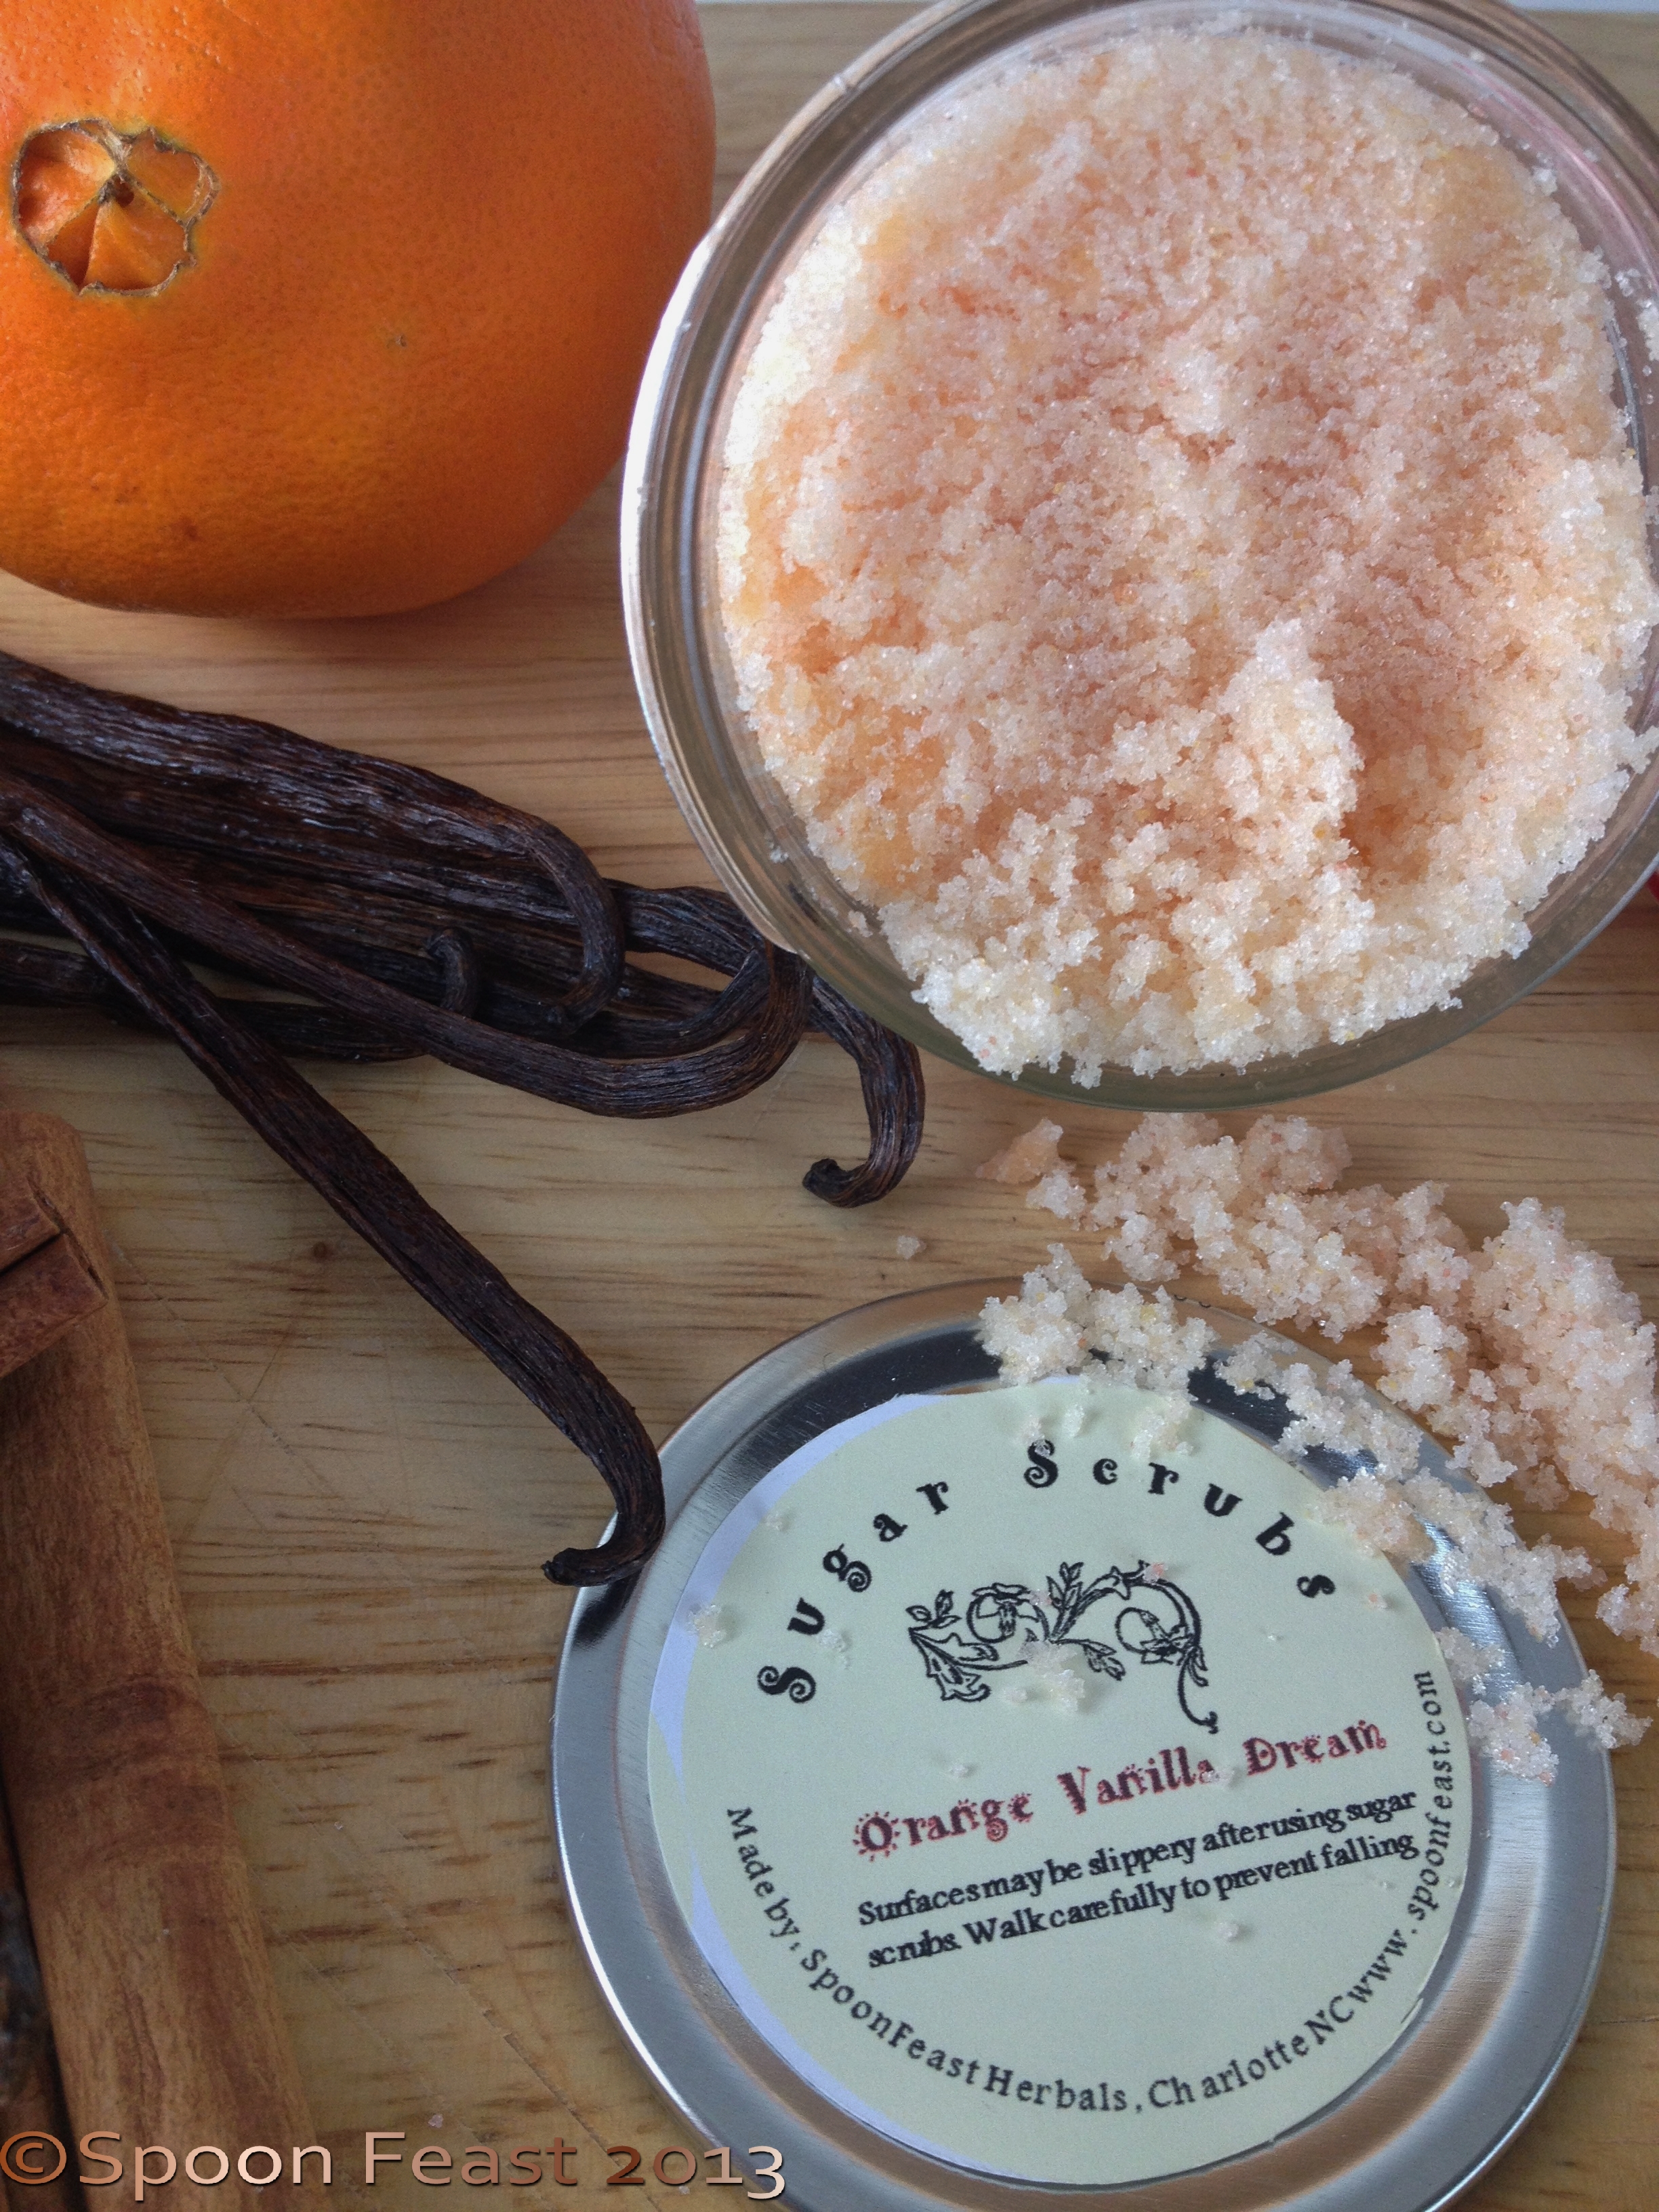
Orange Vanilla Dream Sugar Scrub
When adding peppermint oils, be careful about the scrubs coming in contact with sensitive skin, eyes and private parts. It can sting.
Don’t use more than 3 drops because you don’t want to color your skin! Other choices for colors are raspberry juice, beet juice for a natural product.
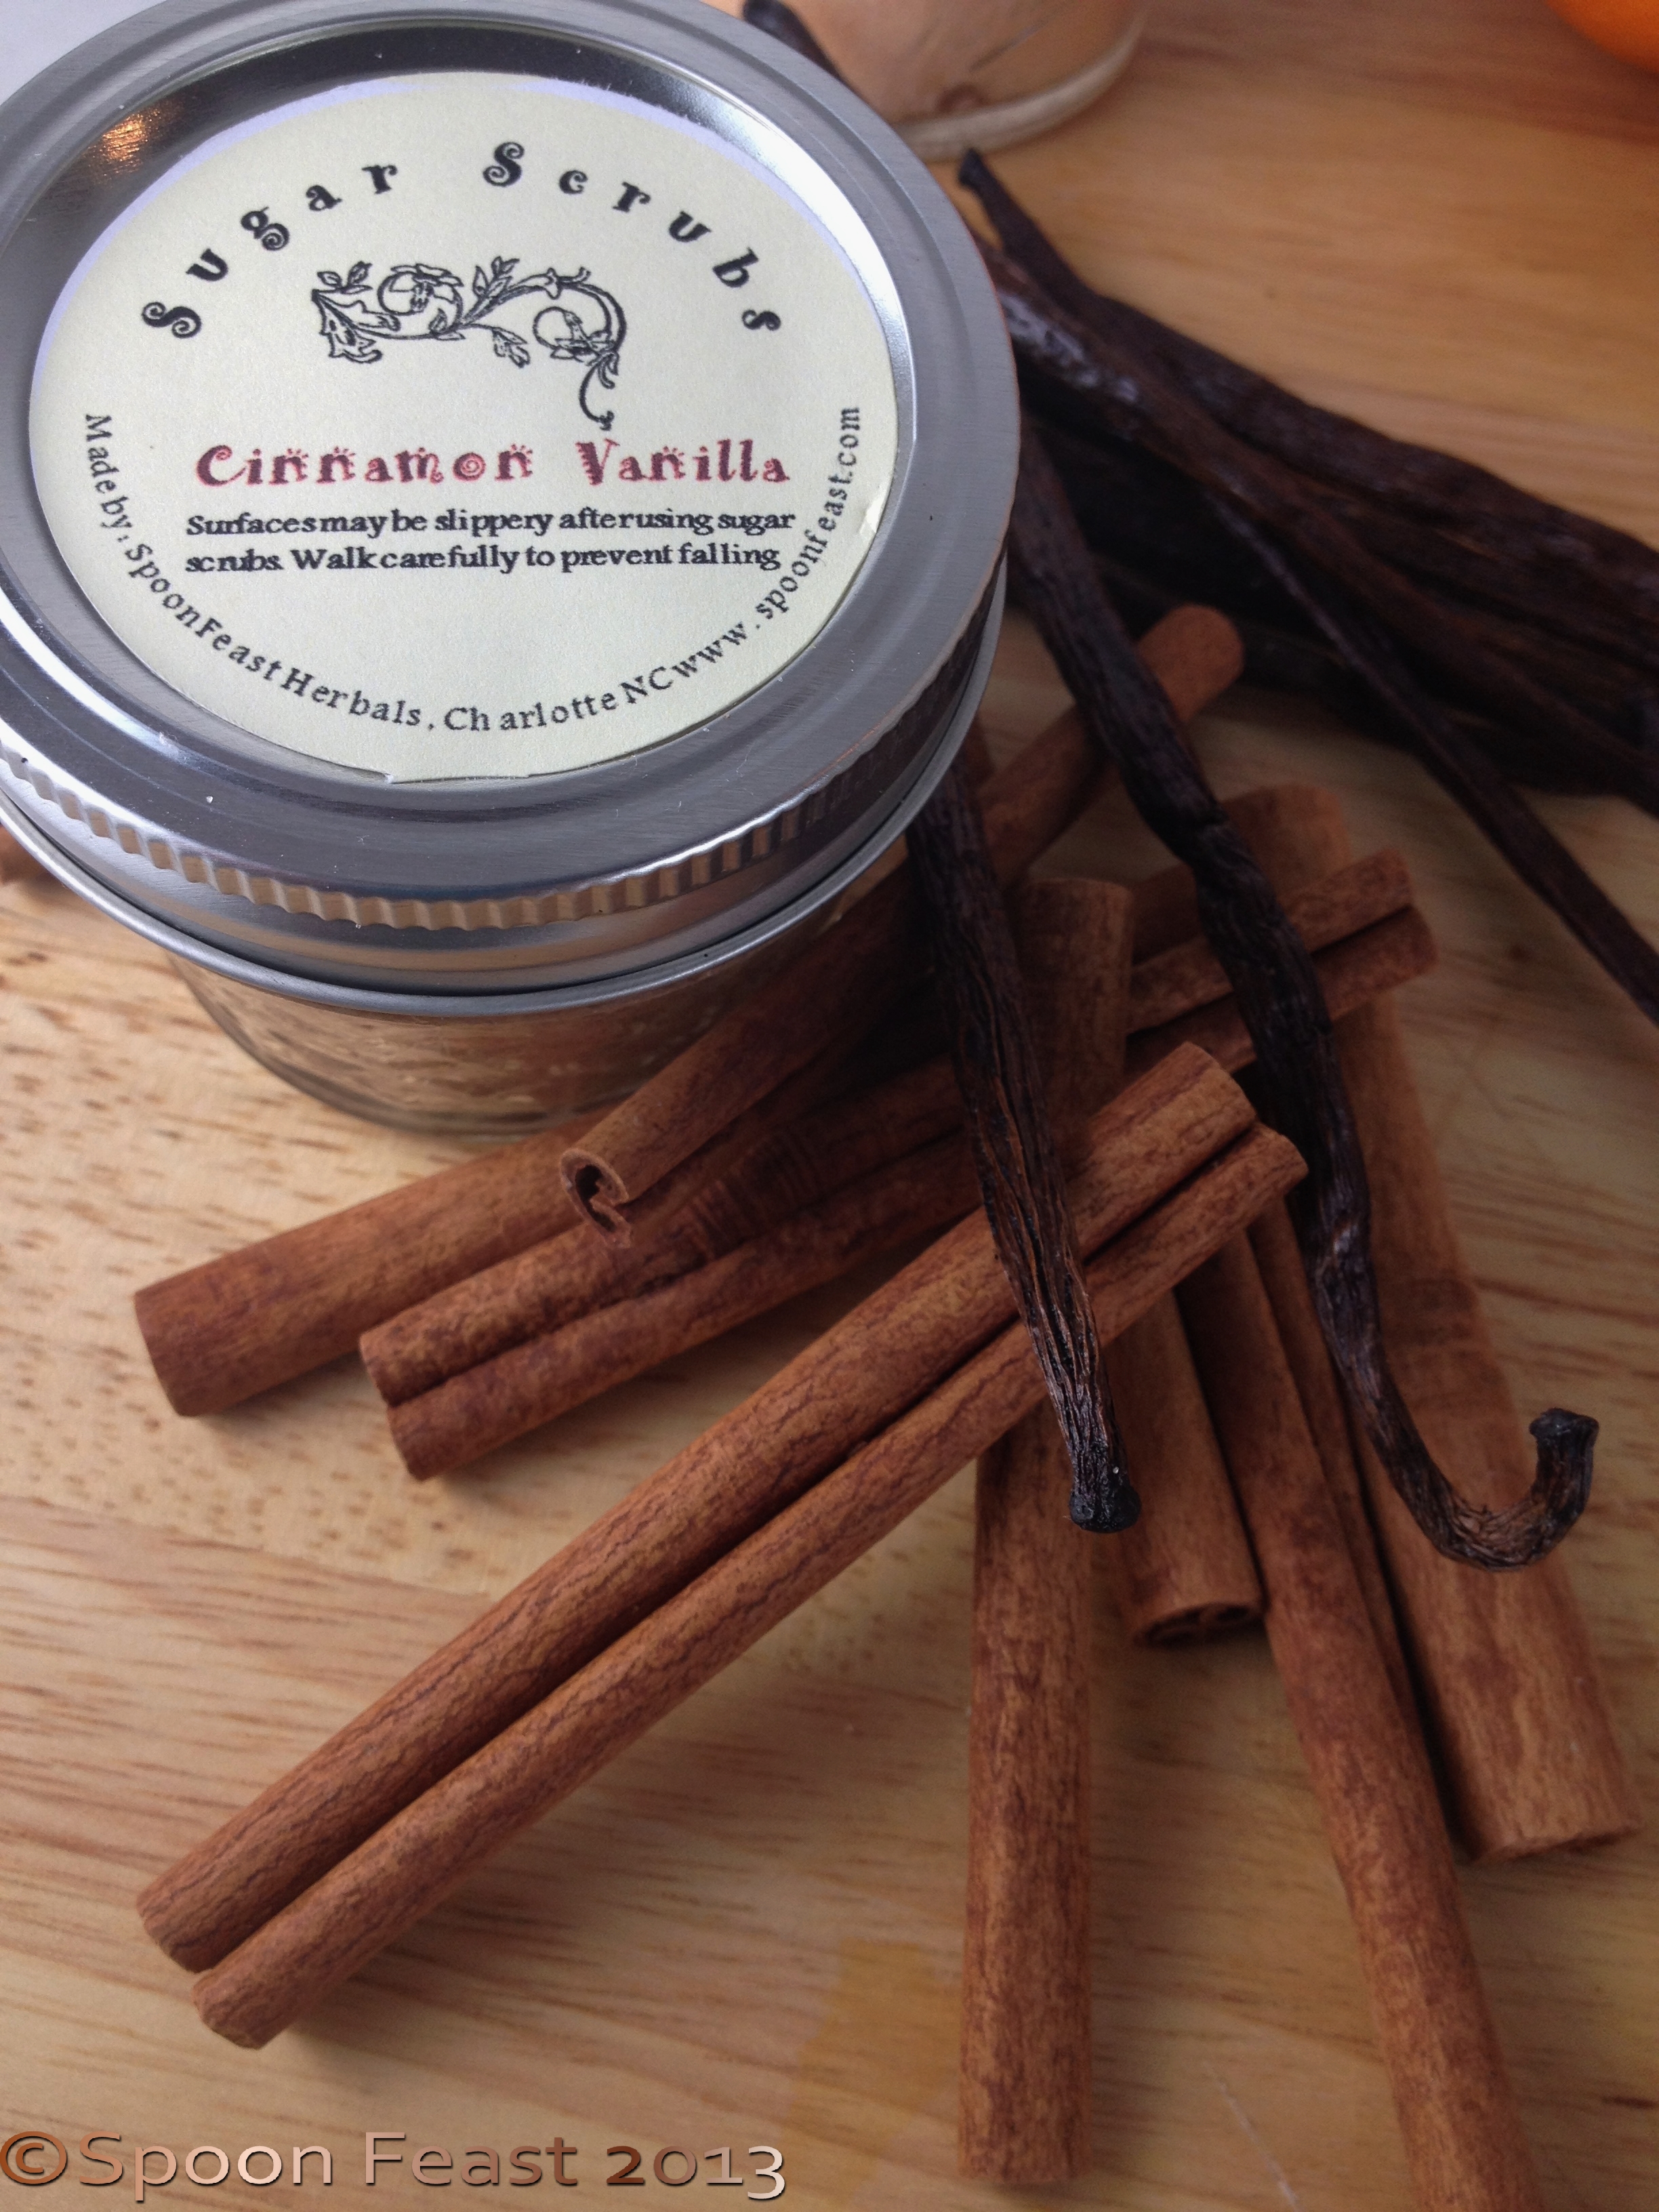
Cinnamon Vanilla Sugar Scrub
Add the sugar to a bowl, add the oil, fragrance and color. Mix and bottle it up in pretty containers.
Make some labels, glue them on, tie some ribbon and you’ve got a lovely gift. I have several jars wrapped under the tree in “Stacks of Sugar Scrub” ready for the last-minute. Teachers, neighbors, hair stylists, manicurists, hostesses, dog walkers, your mail carrier, cat sitters, even baby sitters would enjoy a sugar scrub.

Lavender Rosemary Sugar Scrub
These are the scents I made:
What’s wonderful is the scent lingers on your skin.
Easy , fun, and any leftovers, you get to use!
Peppermint Lift Sugar Scrub
These make great additions to the Spa Basket you have in mind and make nice little thoughtful ditty for those people in your life who could use a little “Thinking of You” gift.
What kind of sugar scrub will you make?

Solid Perfume Lockets
Solid perfume lockets are a beautiful fashion accessory that the women in your life will certainly enjoy.
These are quite easy to whip up in your kitchen too.
I first heard about making these lockets from Rosalee de la Foret in the Learning Herbs Course I’m taking. It was a gift suggestion she thought would be better received than burdock tincture.
I fell in love with the idea and thought it would be rather hard to find lockets.
If you look around flea markets, yard sales and craft stores, you can find a variety of old and new lockets. I was lucky enough to find six of them! These are all new, but now I’ll be keeping my eyes out for lockets everywhere, especially when I get to hit the Parisian flea markets in May.
Oh, did I mention, I’ll be going to Paris in May? I’m taking students, but still, it’s Paris! I’ll have to take a perfume locket so I can smell Parisian and look fashionable too.
Making the solid perfume inside is easy. You can scent the base with your favorite perfume or scent. I like to use essential oils and included in this post is the formula I used to make these solid perfume lockets.
That’s the base. Melt it together over a double boiler.

Melting beeswax and jojoba oil
Once melted add the essential oils or your fragrance.
Here’s the formula I used:
OR
Add 65-70 drops of your chosen fragrance. Yes, you have to use a dropper to measure accurately. So if you don’t have a dropper or plastic pipette, go get some.
Open the lockets and lay them out for easy and fast filling.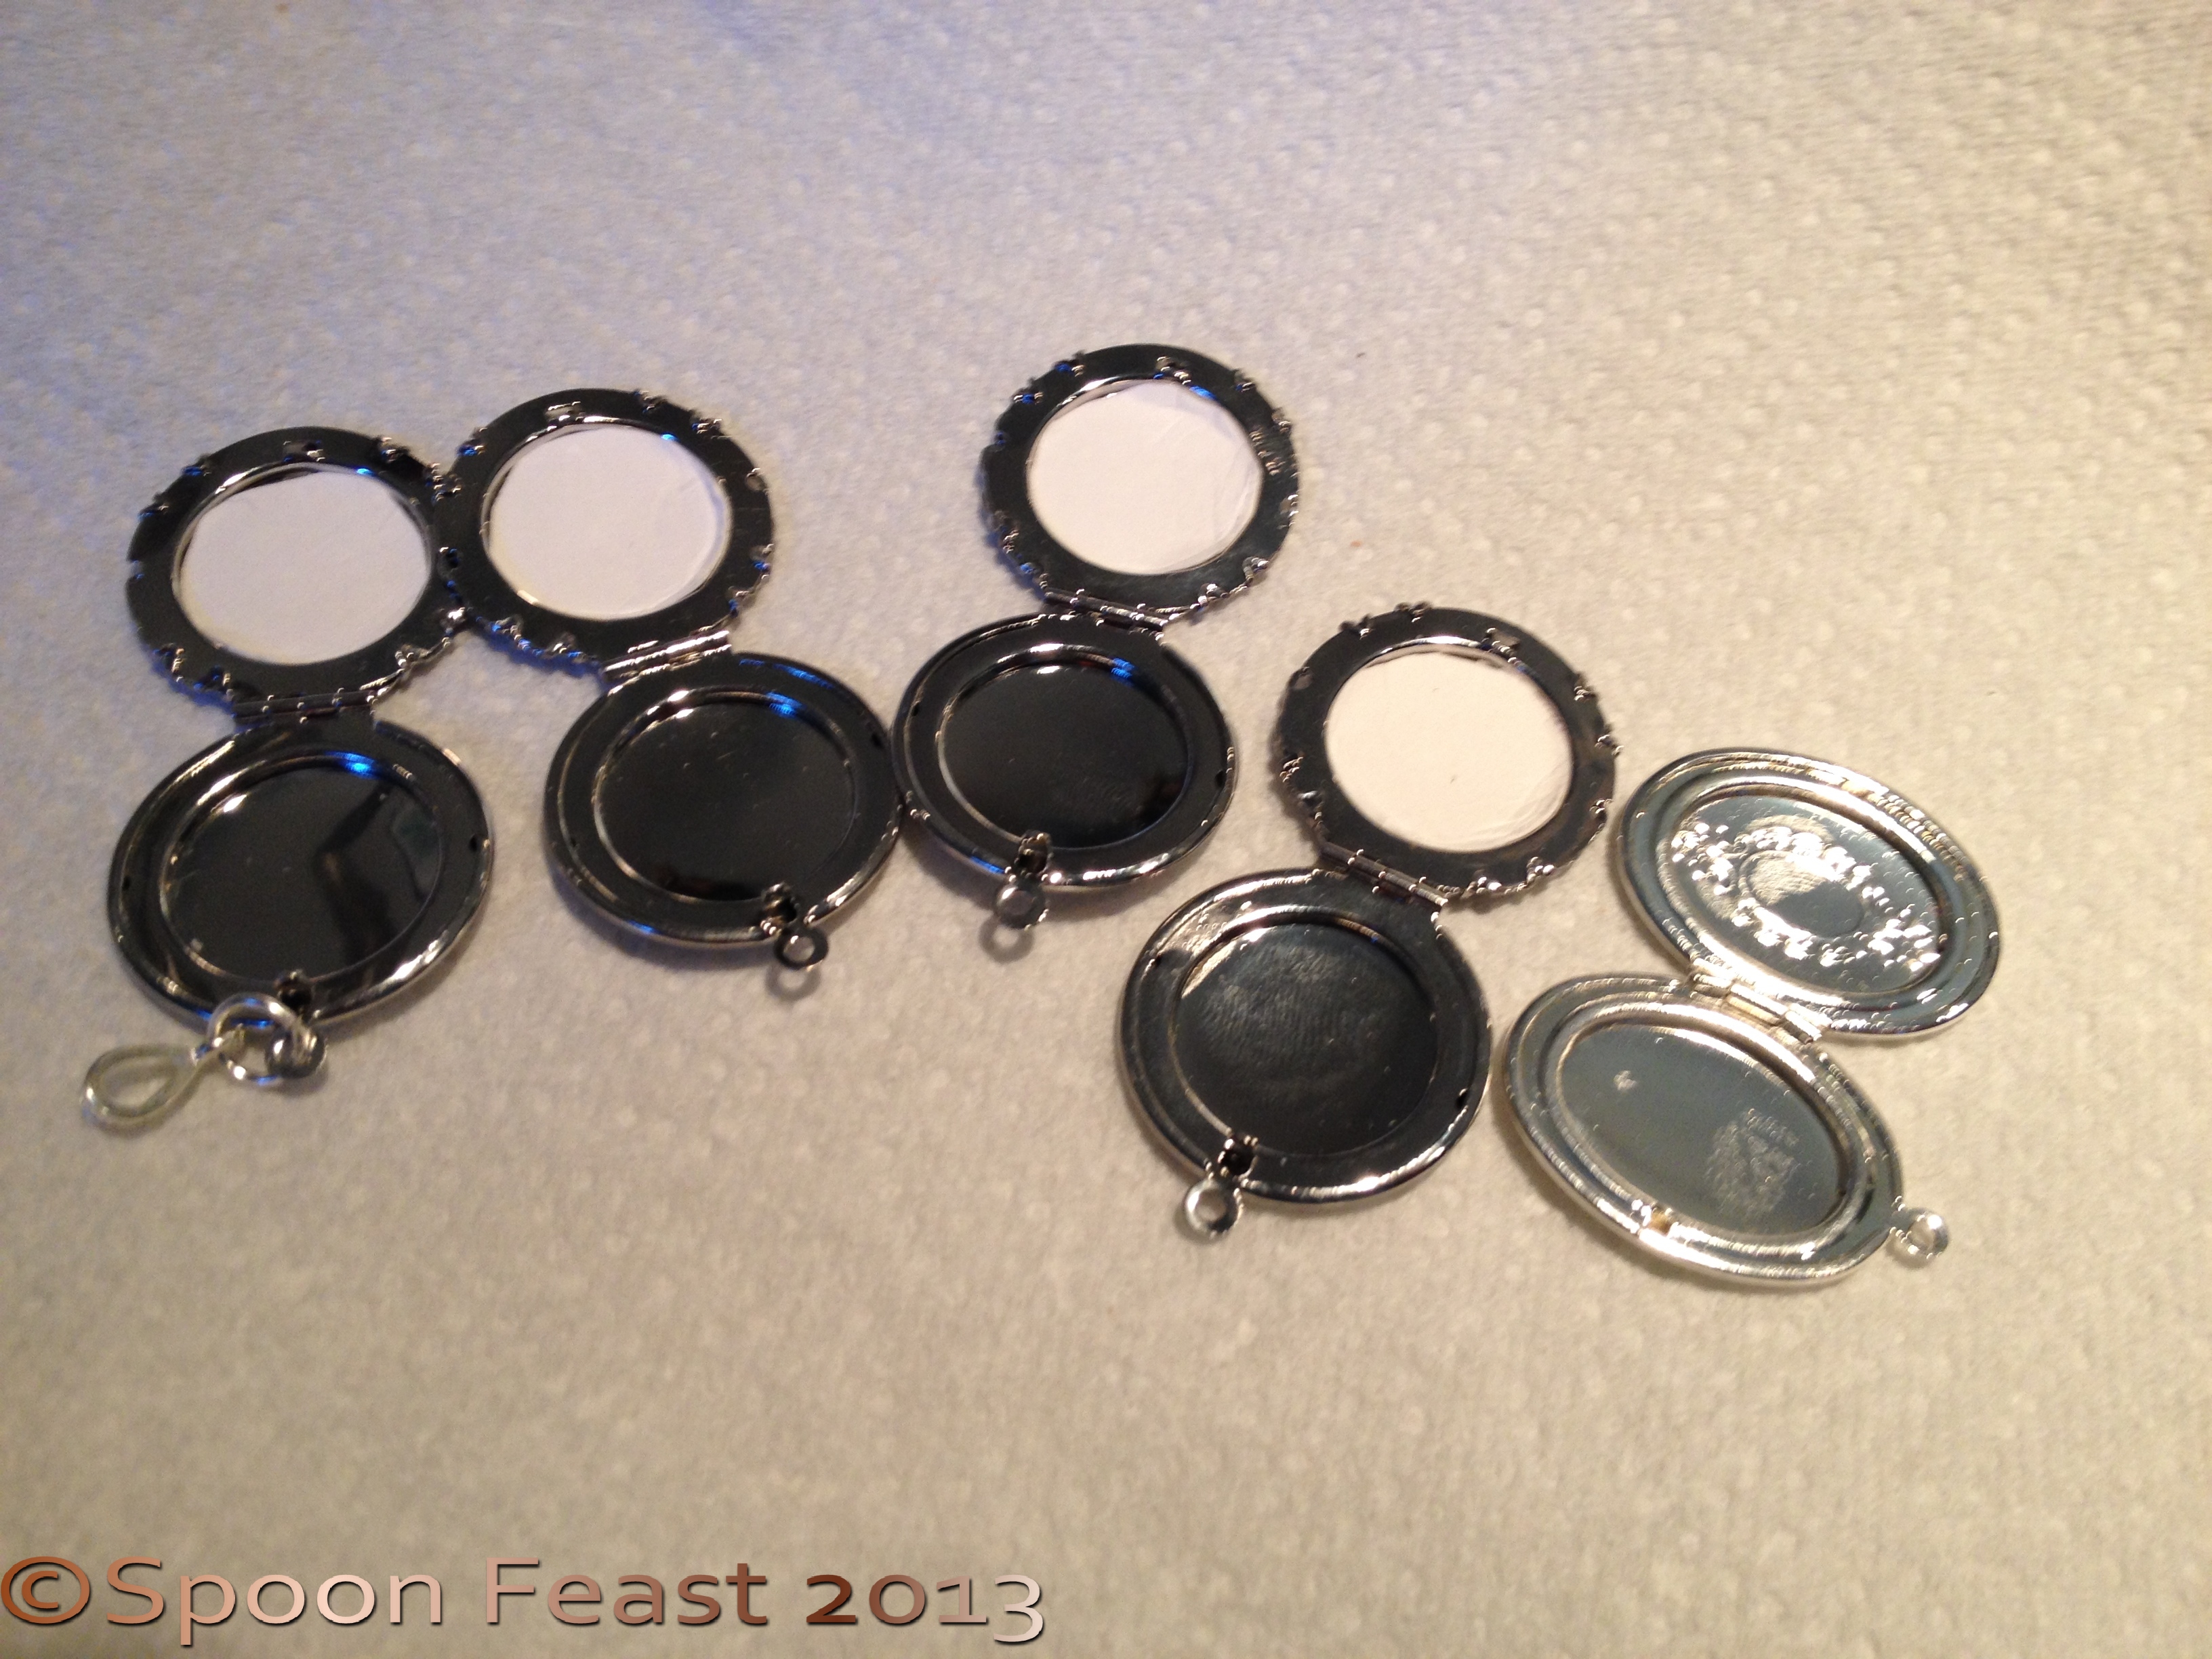
Once the oils have totally melted and the fragrance added, work quickly so the mixture won’t harden before you can pour it. (If that happens, re-warm it!)
Once poured, allow the perfume to solidify before moving, usually 15-45 minutes.

Allow to solidify before moving the lockets
Once the perfume is solid, you can find something to hang it on and enjoy it!
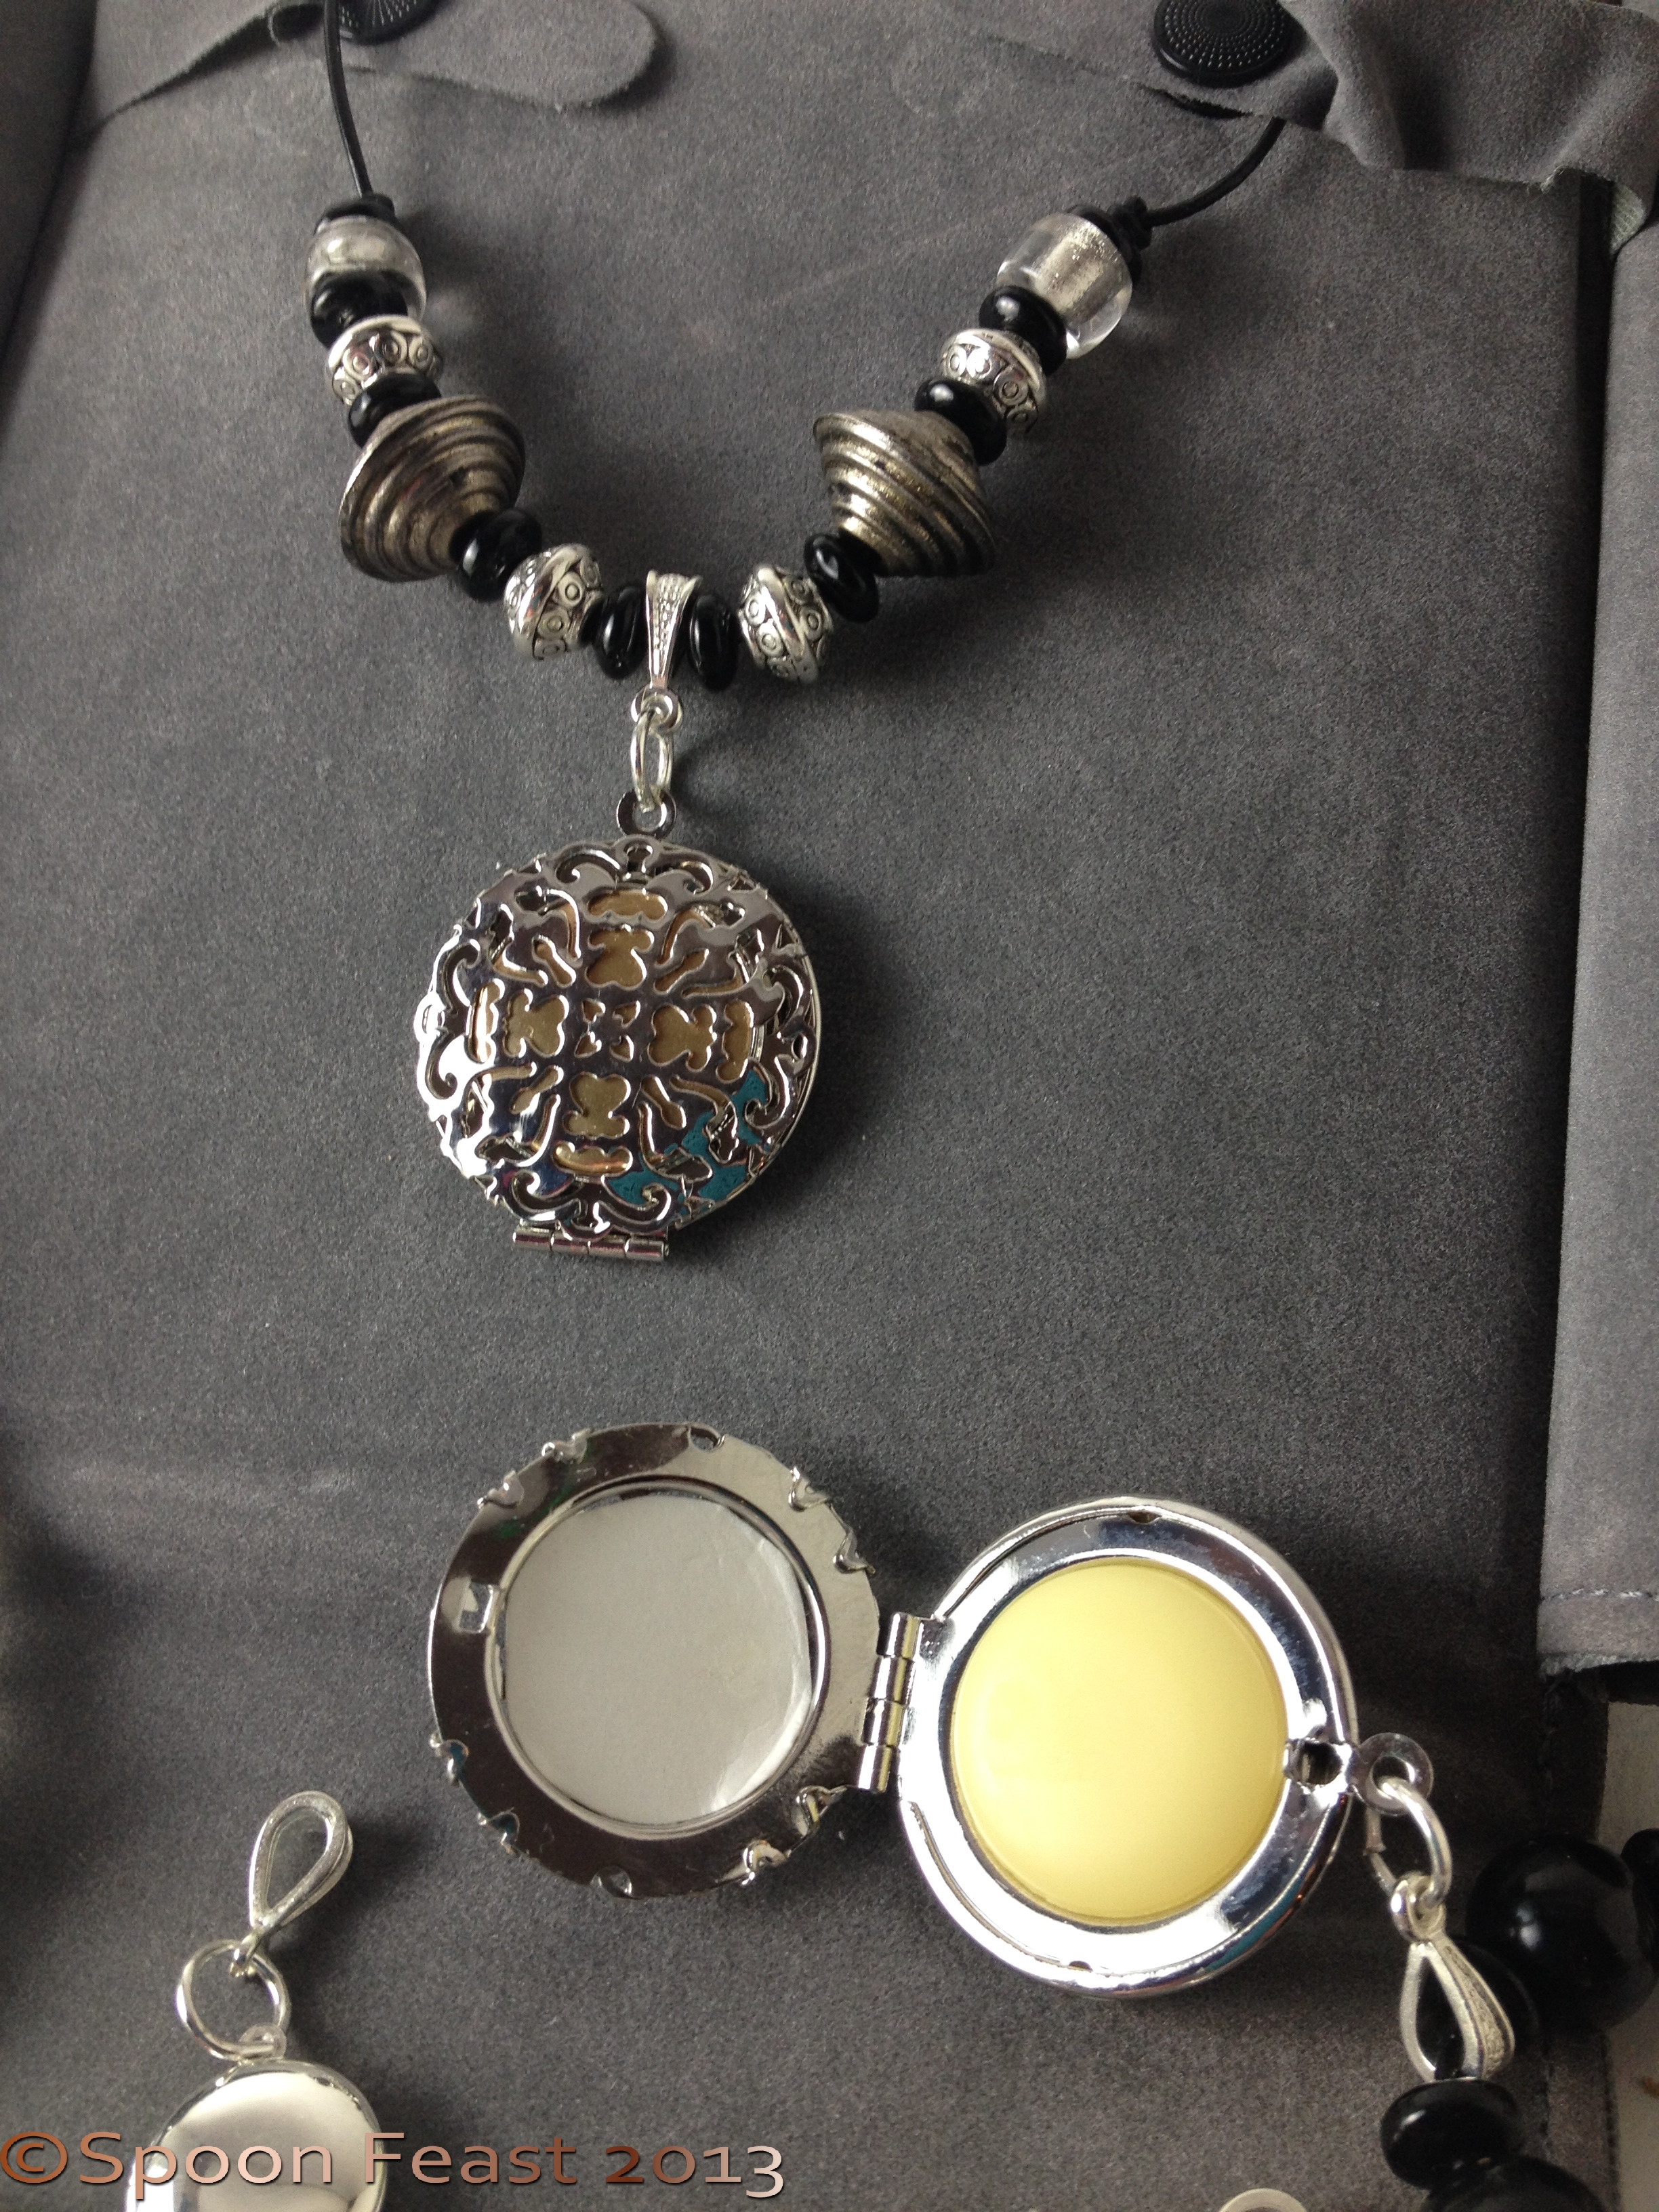
Perfume lockets strung on leather cord with black and silver beads
I’m giving these as gifts to some friends this year. I hope they like them.
Essential oils also have an aromatherapy effect and may not last as long as traditional perfumes. Being a natural product, if you use essential oils, you’ll just have to re-apply it more often.
So wear it around your neck and take a whiff when you feel stressed or want to refresh your mind.
The above formula encourages feelings of well-being and optimism. I encourage you to try it or make up your own. Lavender Rosemary smells real nice too; there are thousands of options.
I think this is a nice idea, thanks Rosalee!
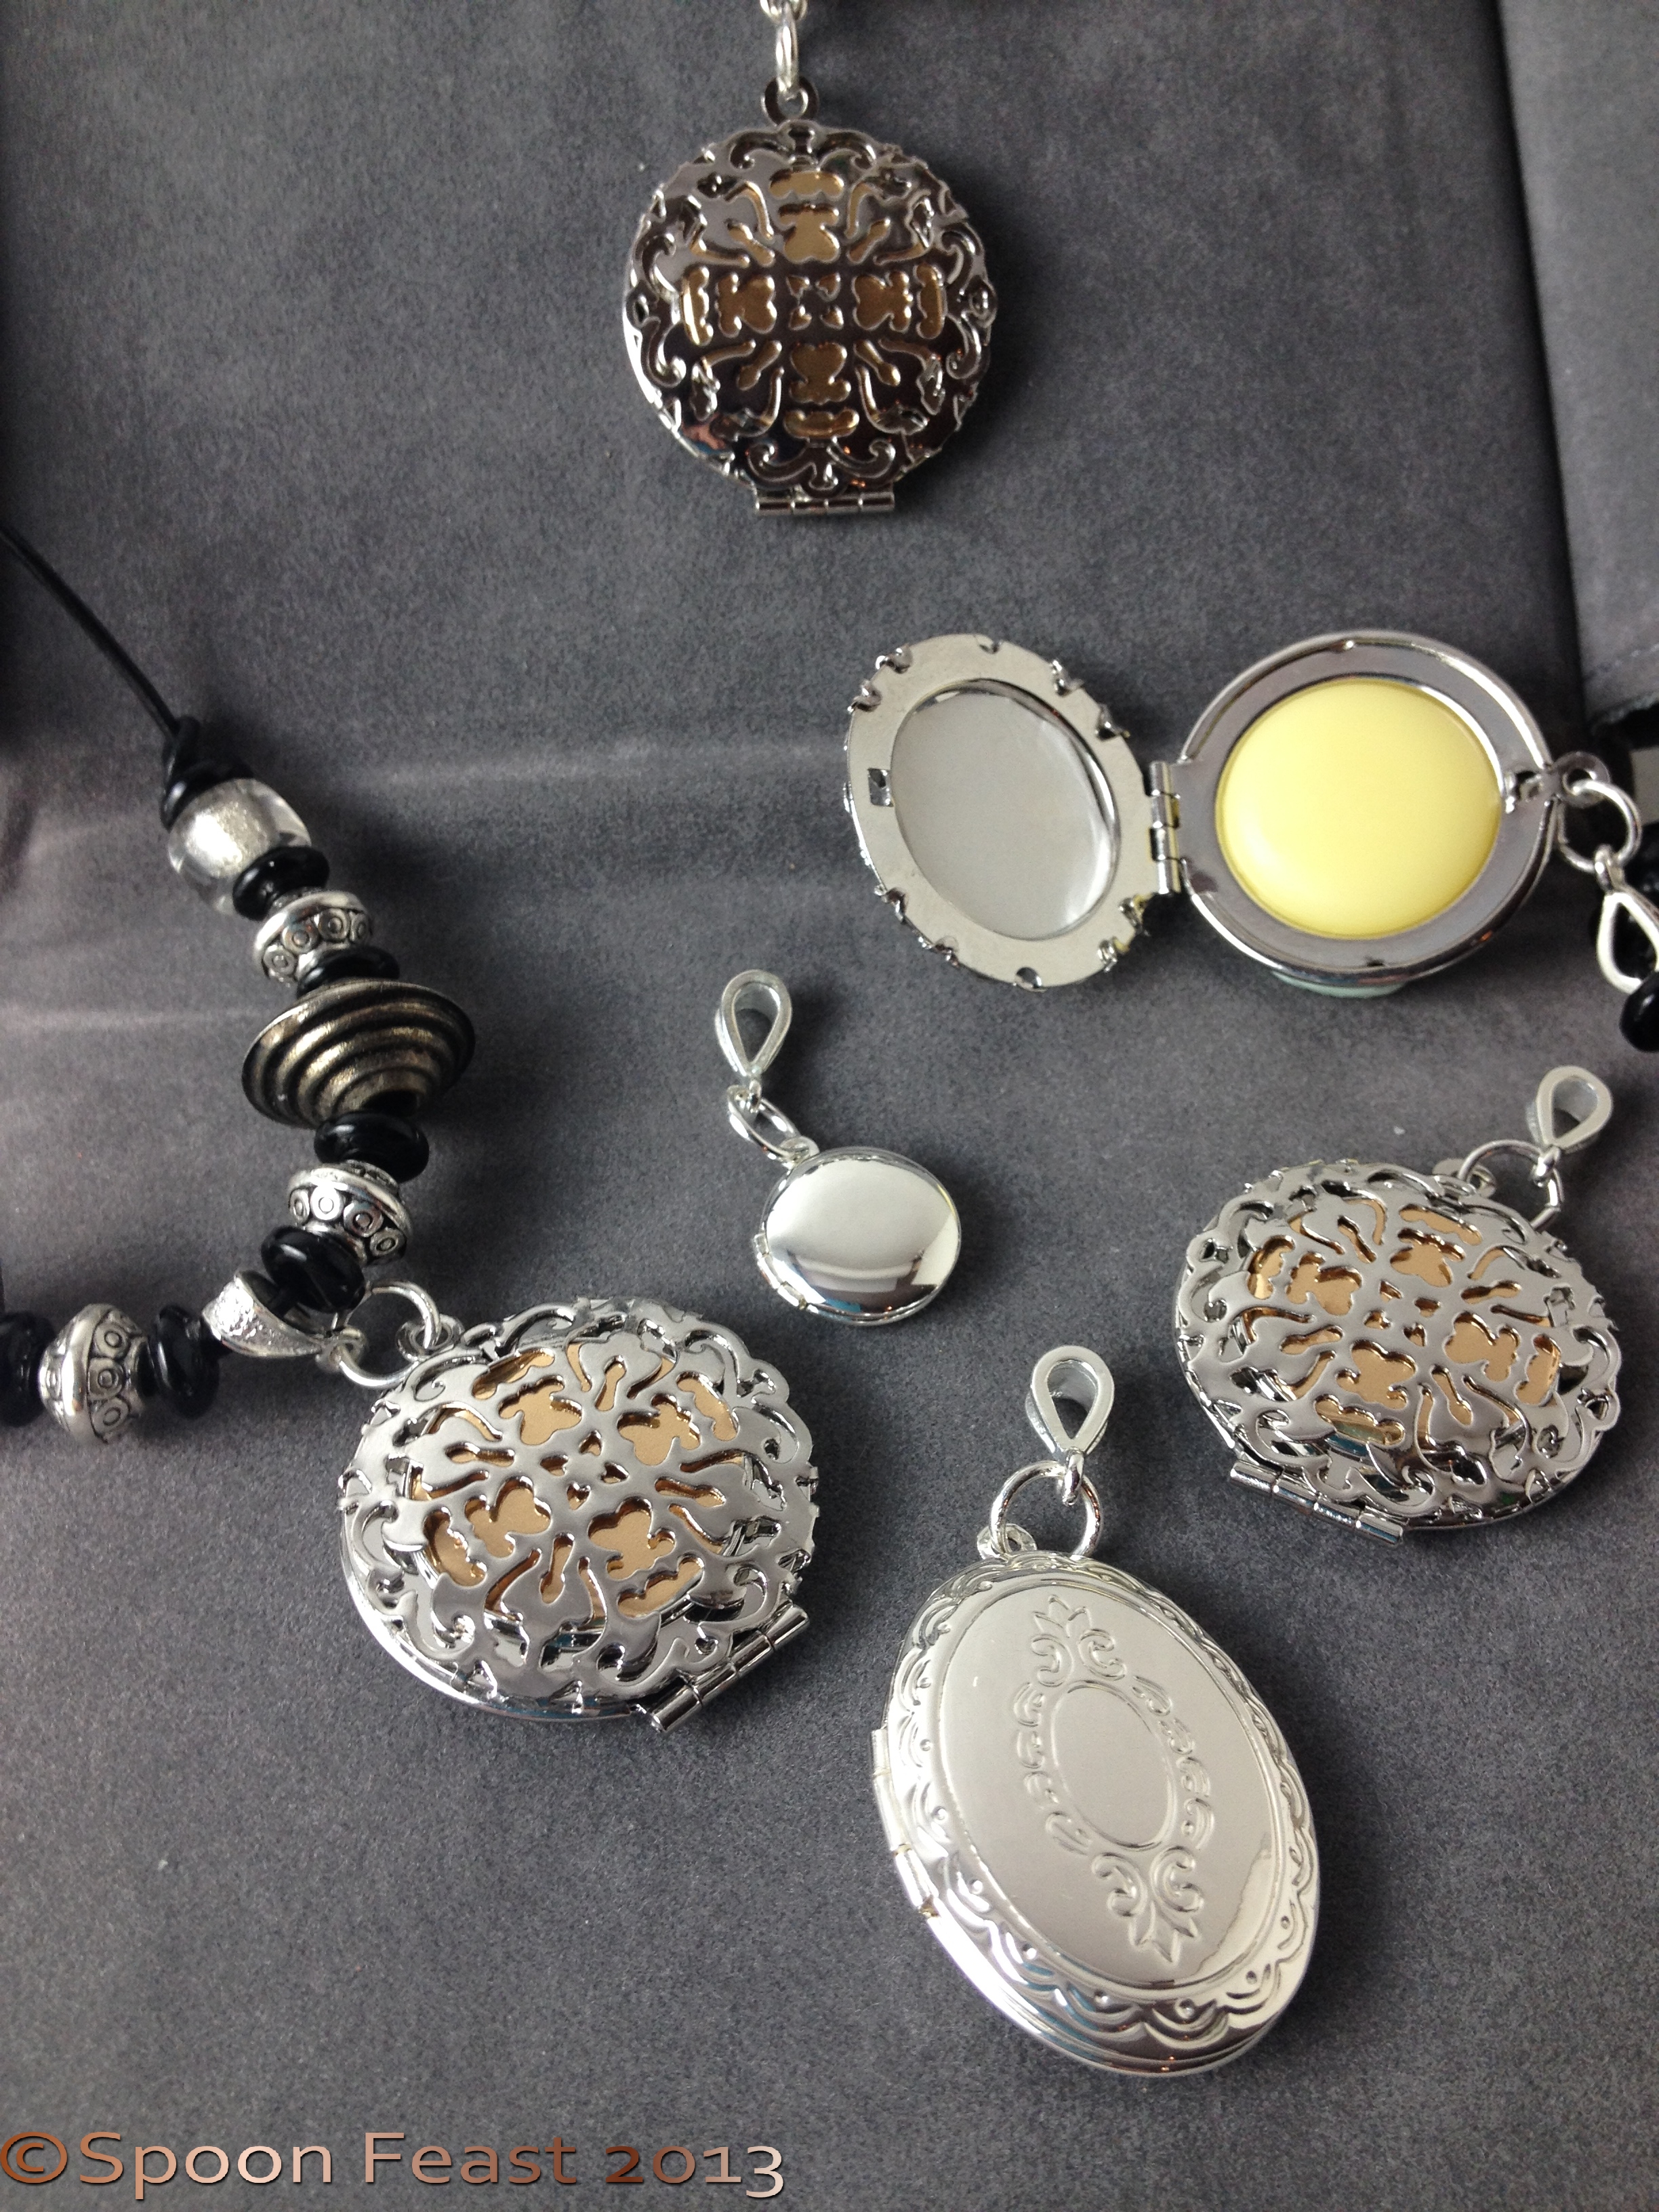
The lockets, the tiny one only took 3 drops to fill
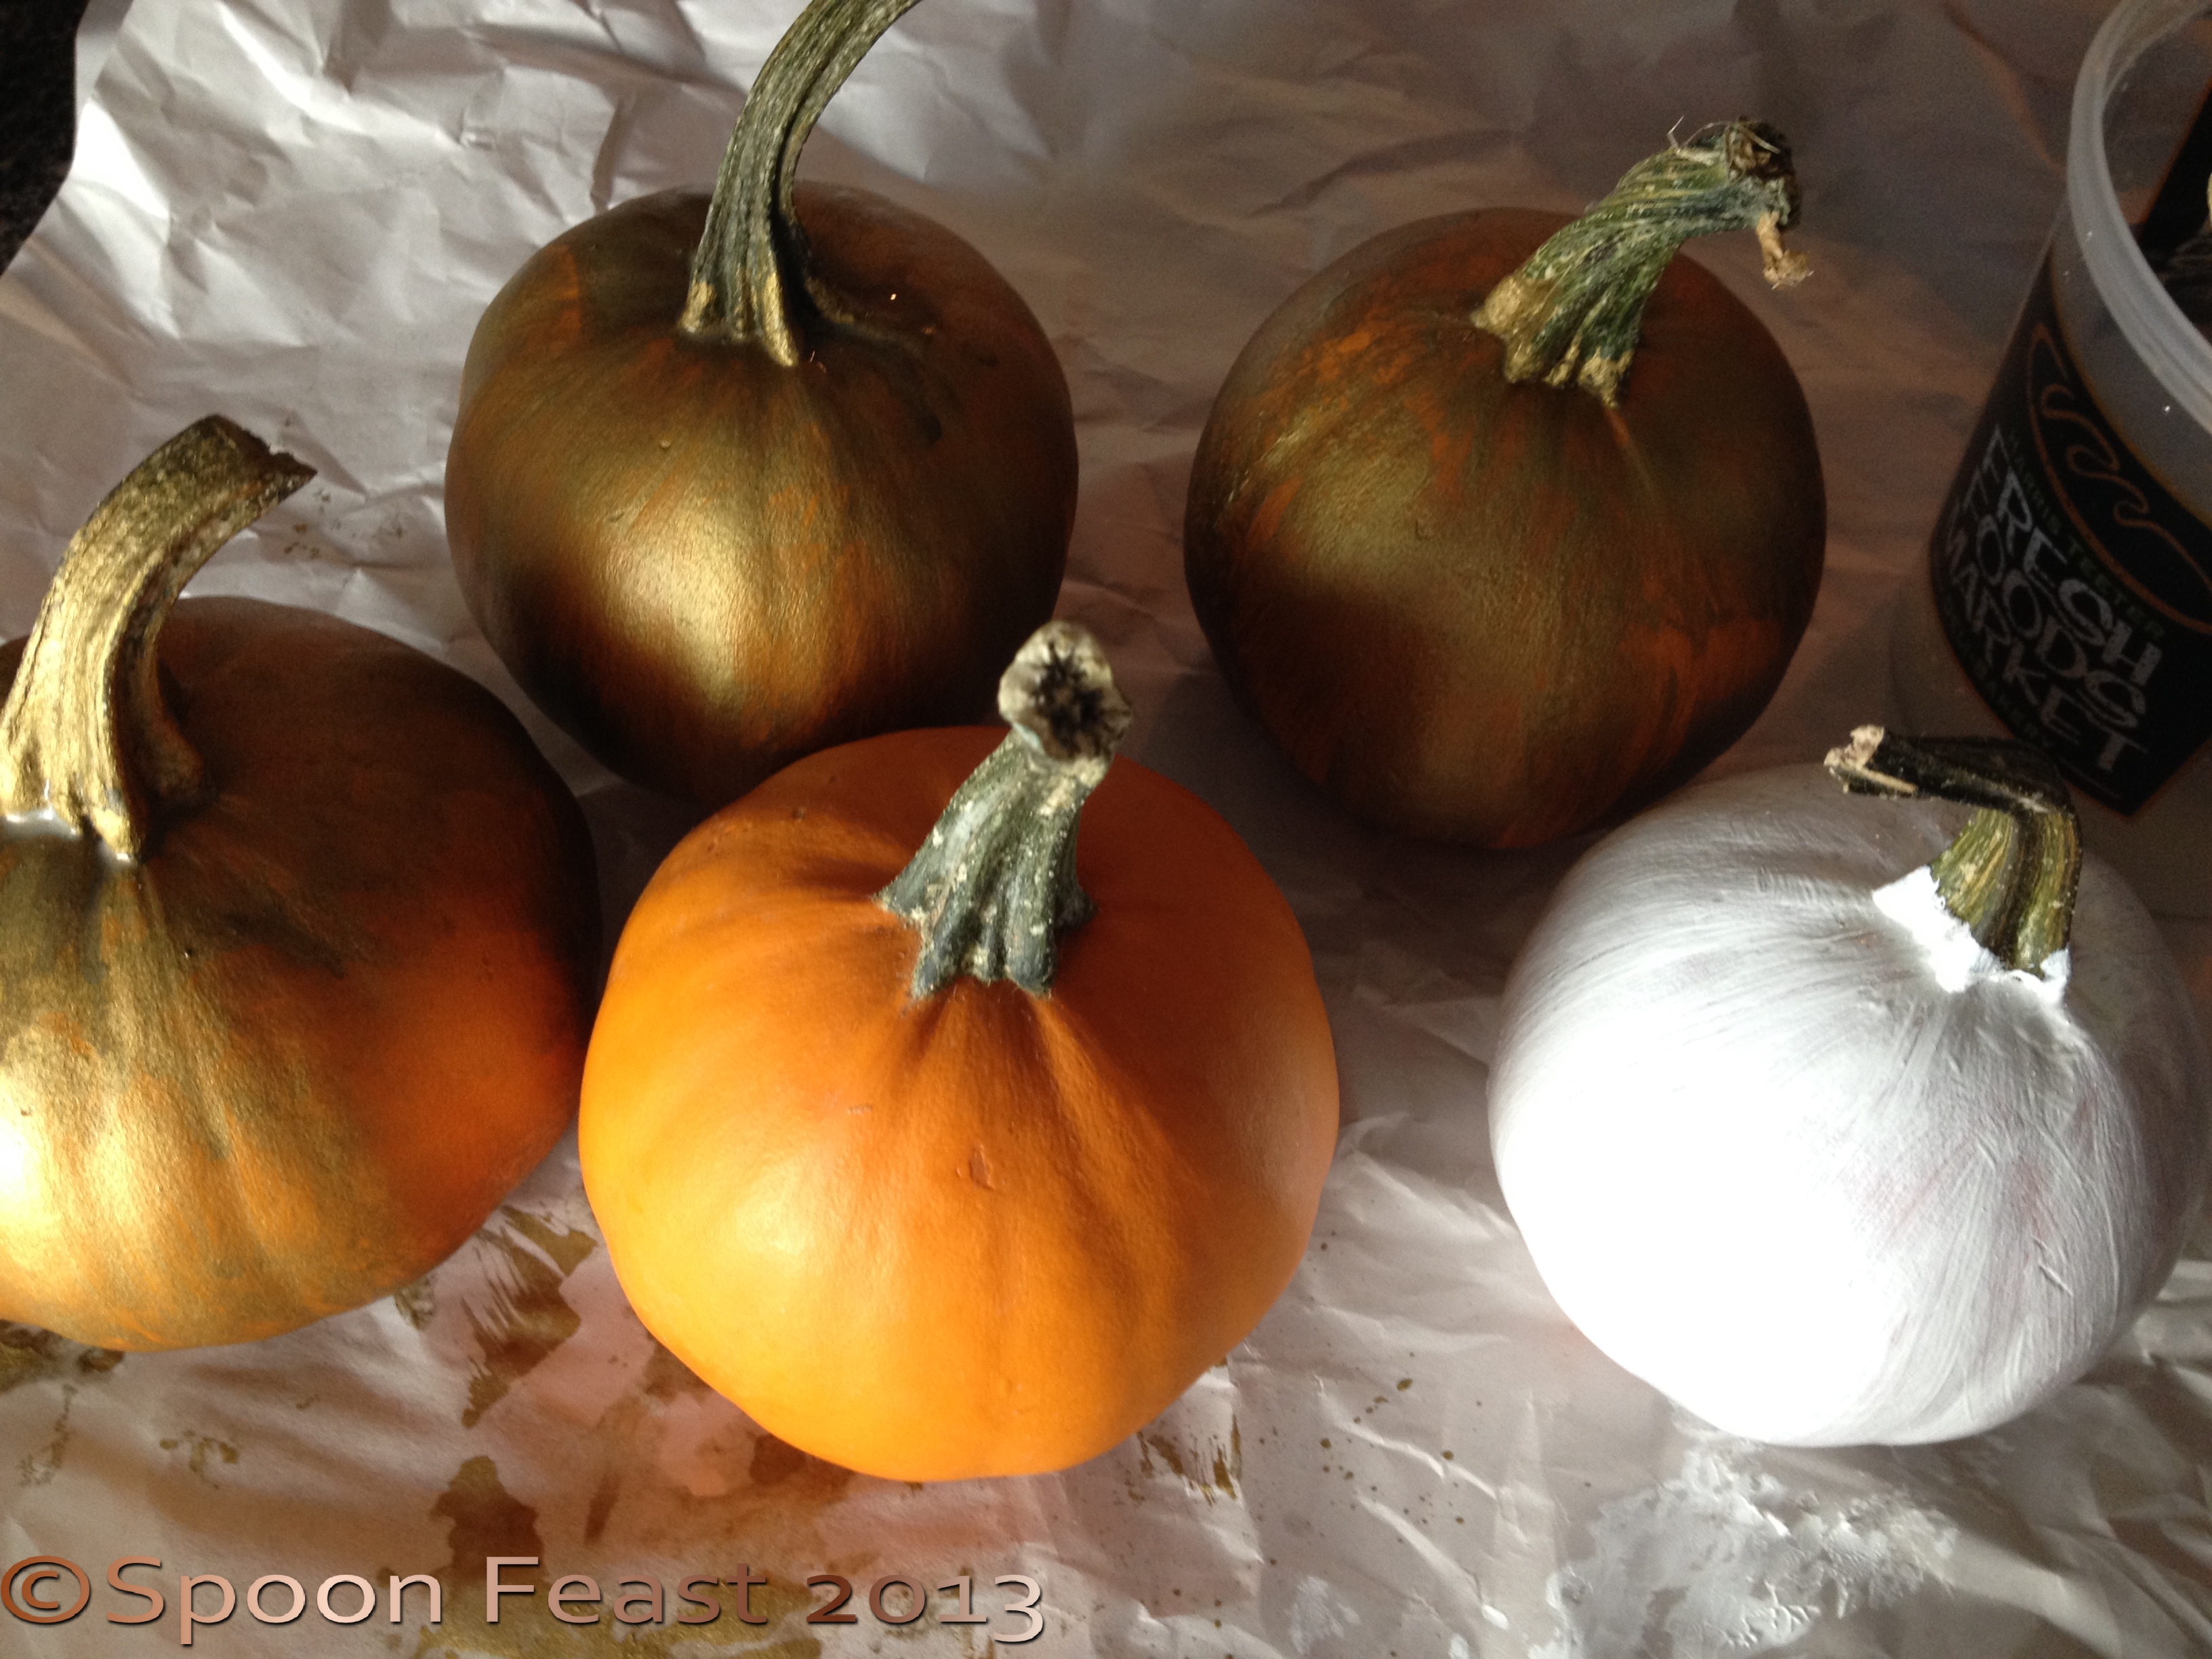
It’s so Orange
So by now, anything orange is out. In decorating for the holidays that is. I bought an armload of pumpkins with the intention of eating them before Christmas decorating began.
Lo and behold, I found five mini pumpkin stragglers stuck in on a side table centerpiece. They were so, well, orange.
My colors this year are lime green and burgundy. Quite traditional, don’t you think? These pumpkins, while still nice shapes, firm and pleasing to look at, they were still so orange.
So I painted them. I painted them gold and silver. The silver required a white base coat to cover the orange but the orange on the gold ones became an “inner glow”.
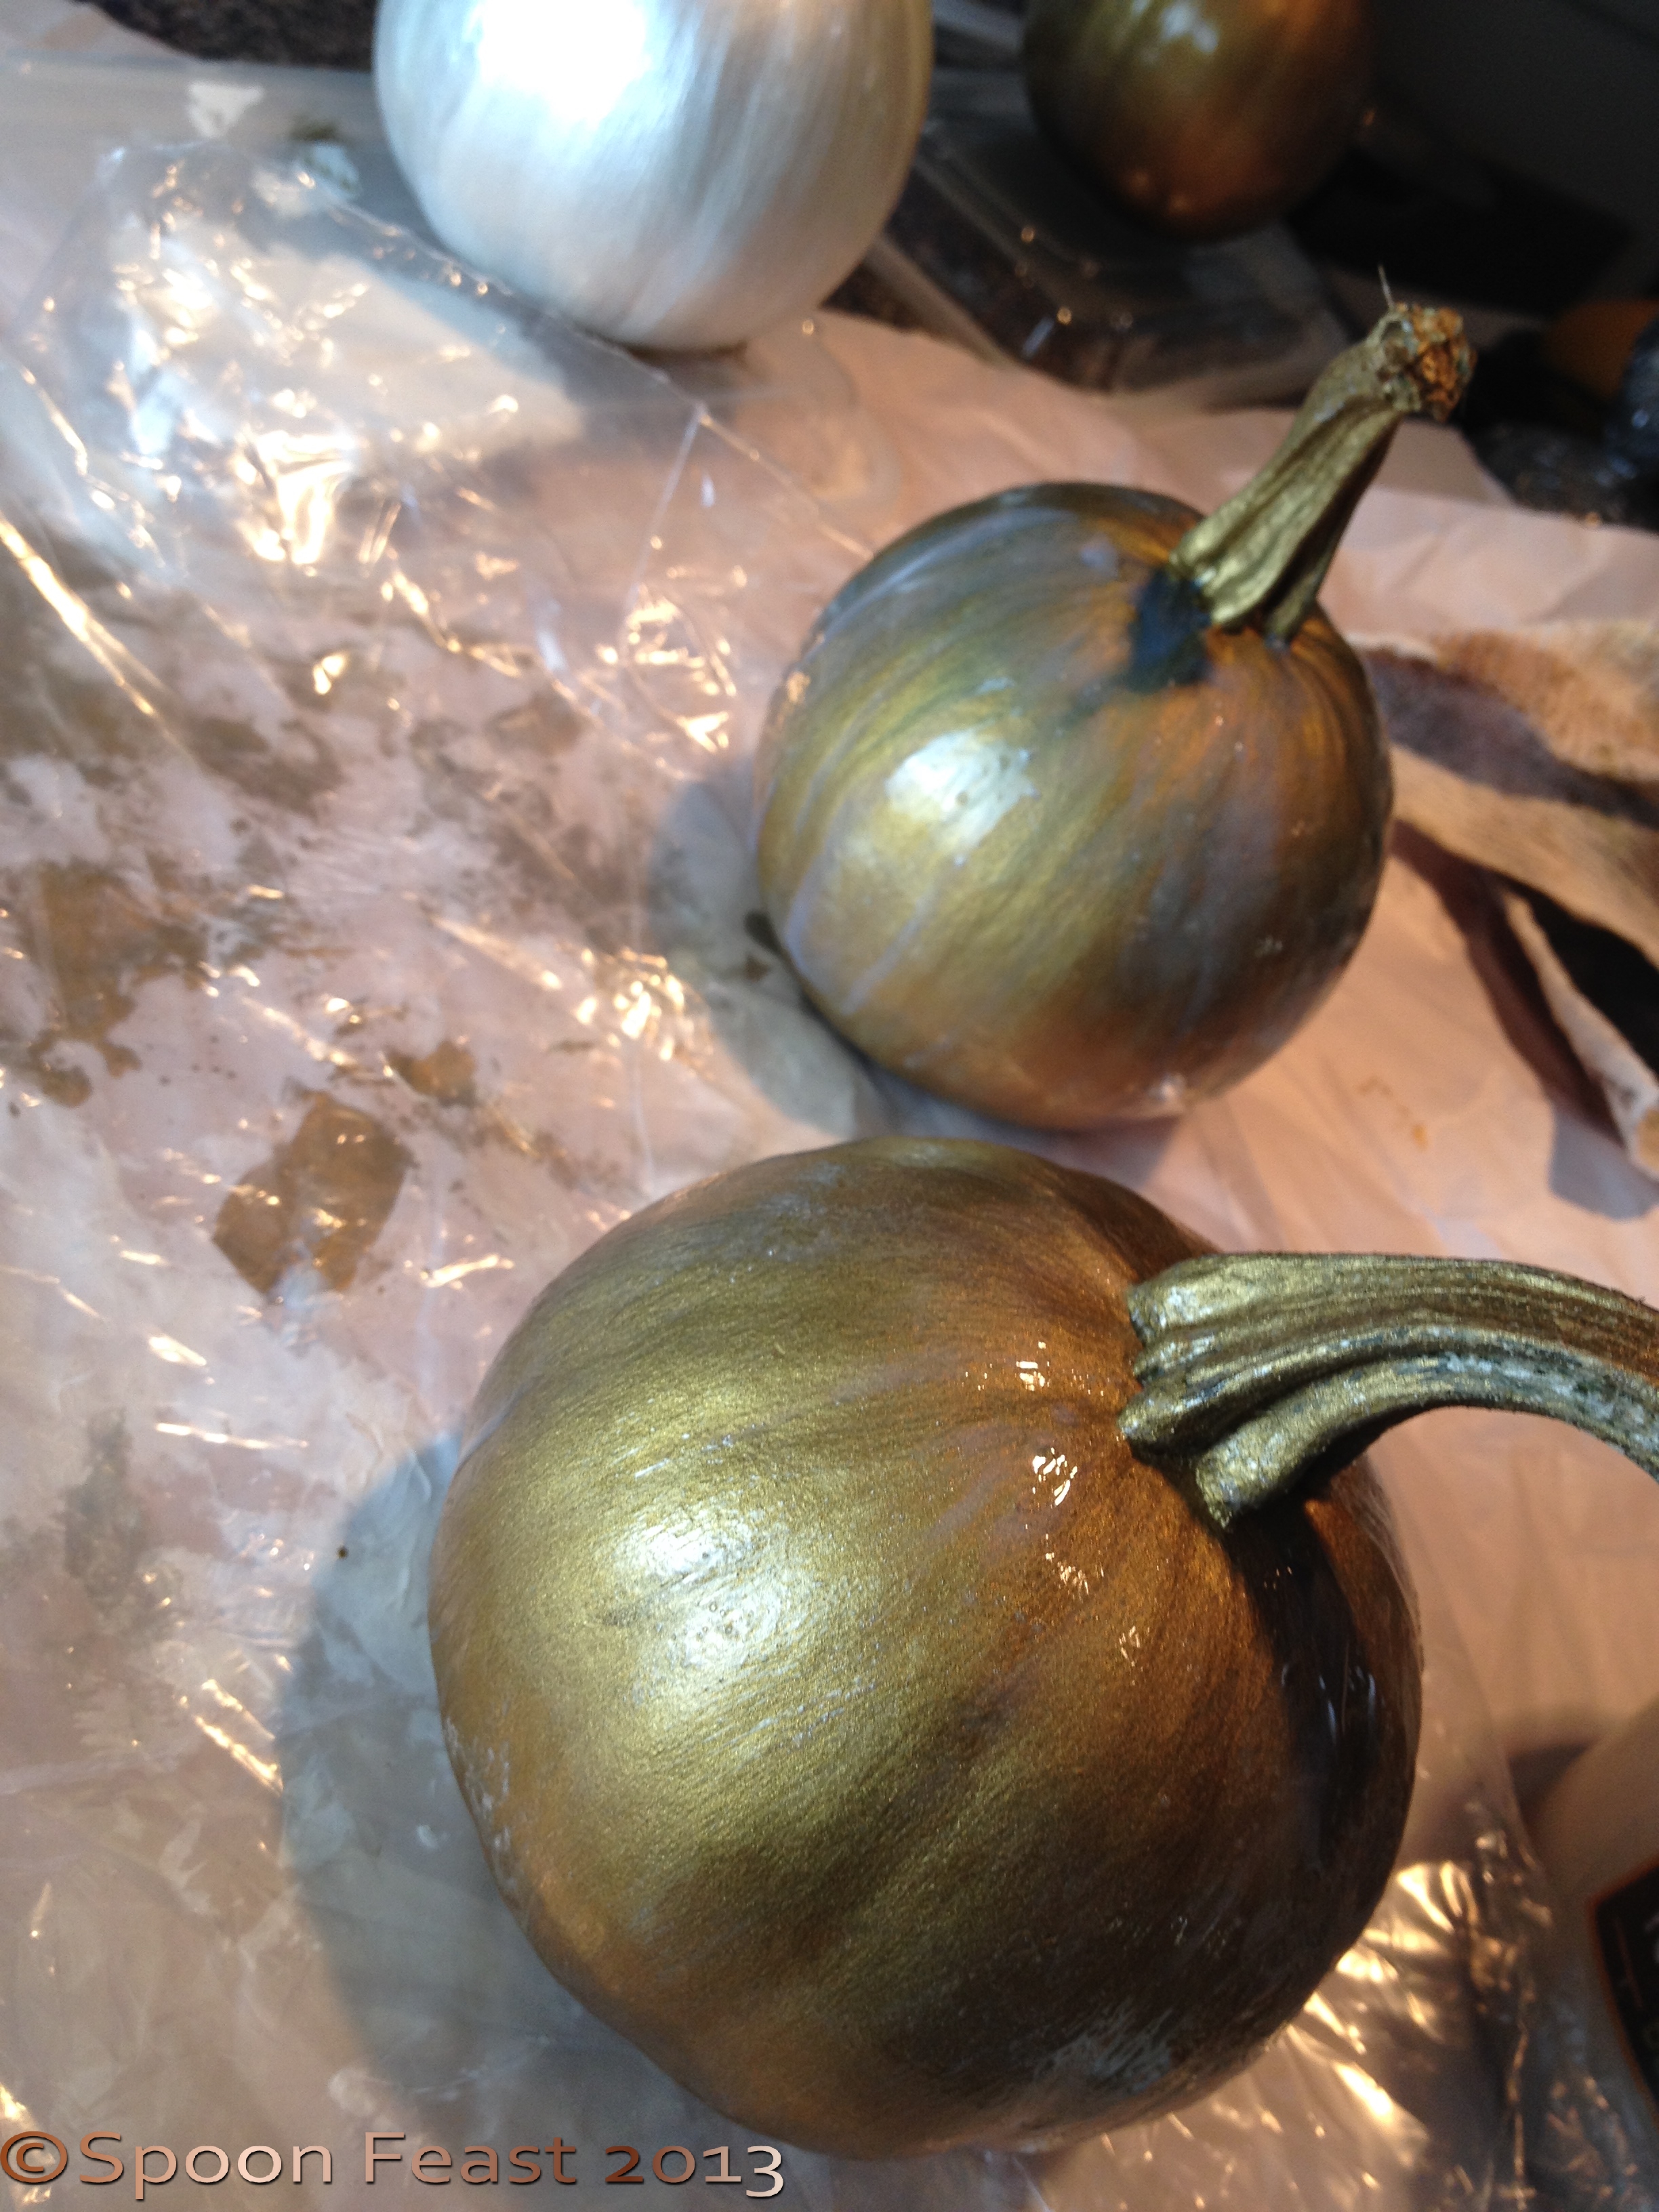
Getting the paint job
After the paint dried (three coats, thin ones) crackle glaze was applied and allowed to dry overnight. Then the next morning, I smothered them with Mod-Podge Gloss Medium to make them shine.
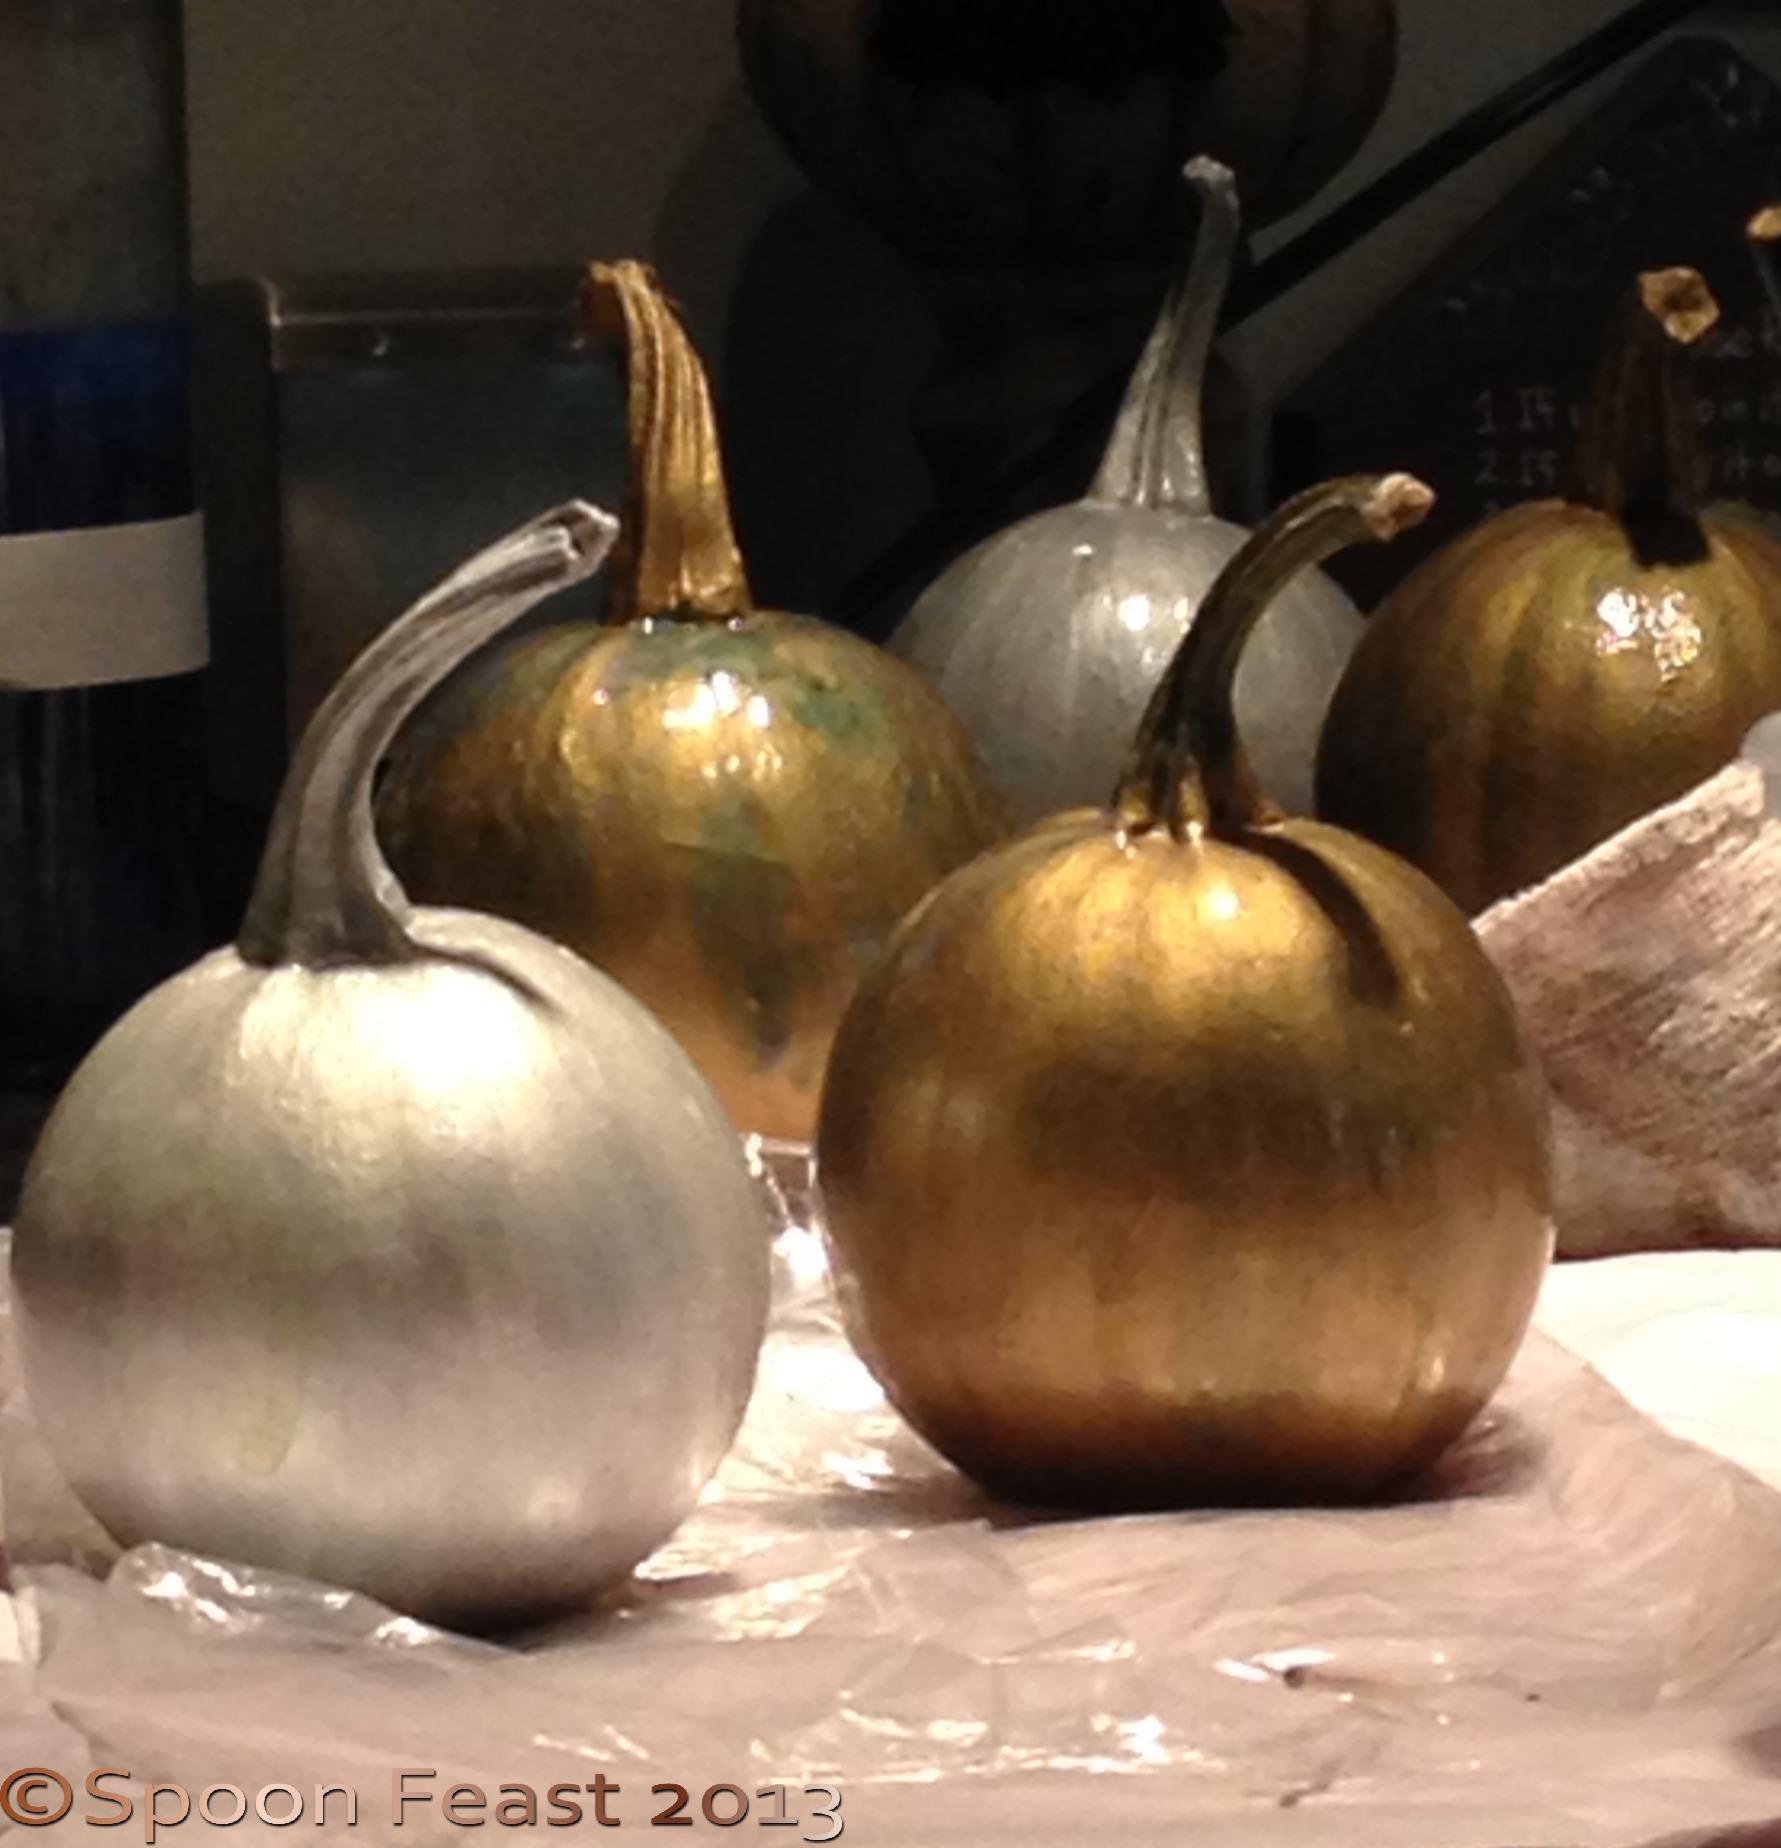
Painted Pumpkins Lined up to dry
After they were dry, I put them in the middle of another table arrangement.
Personally, I think they dress up nicely for the holidays!
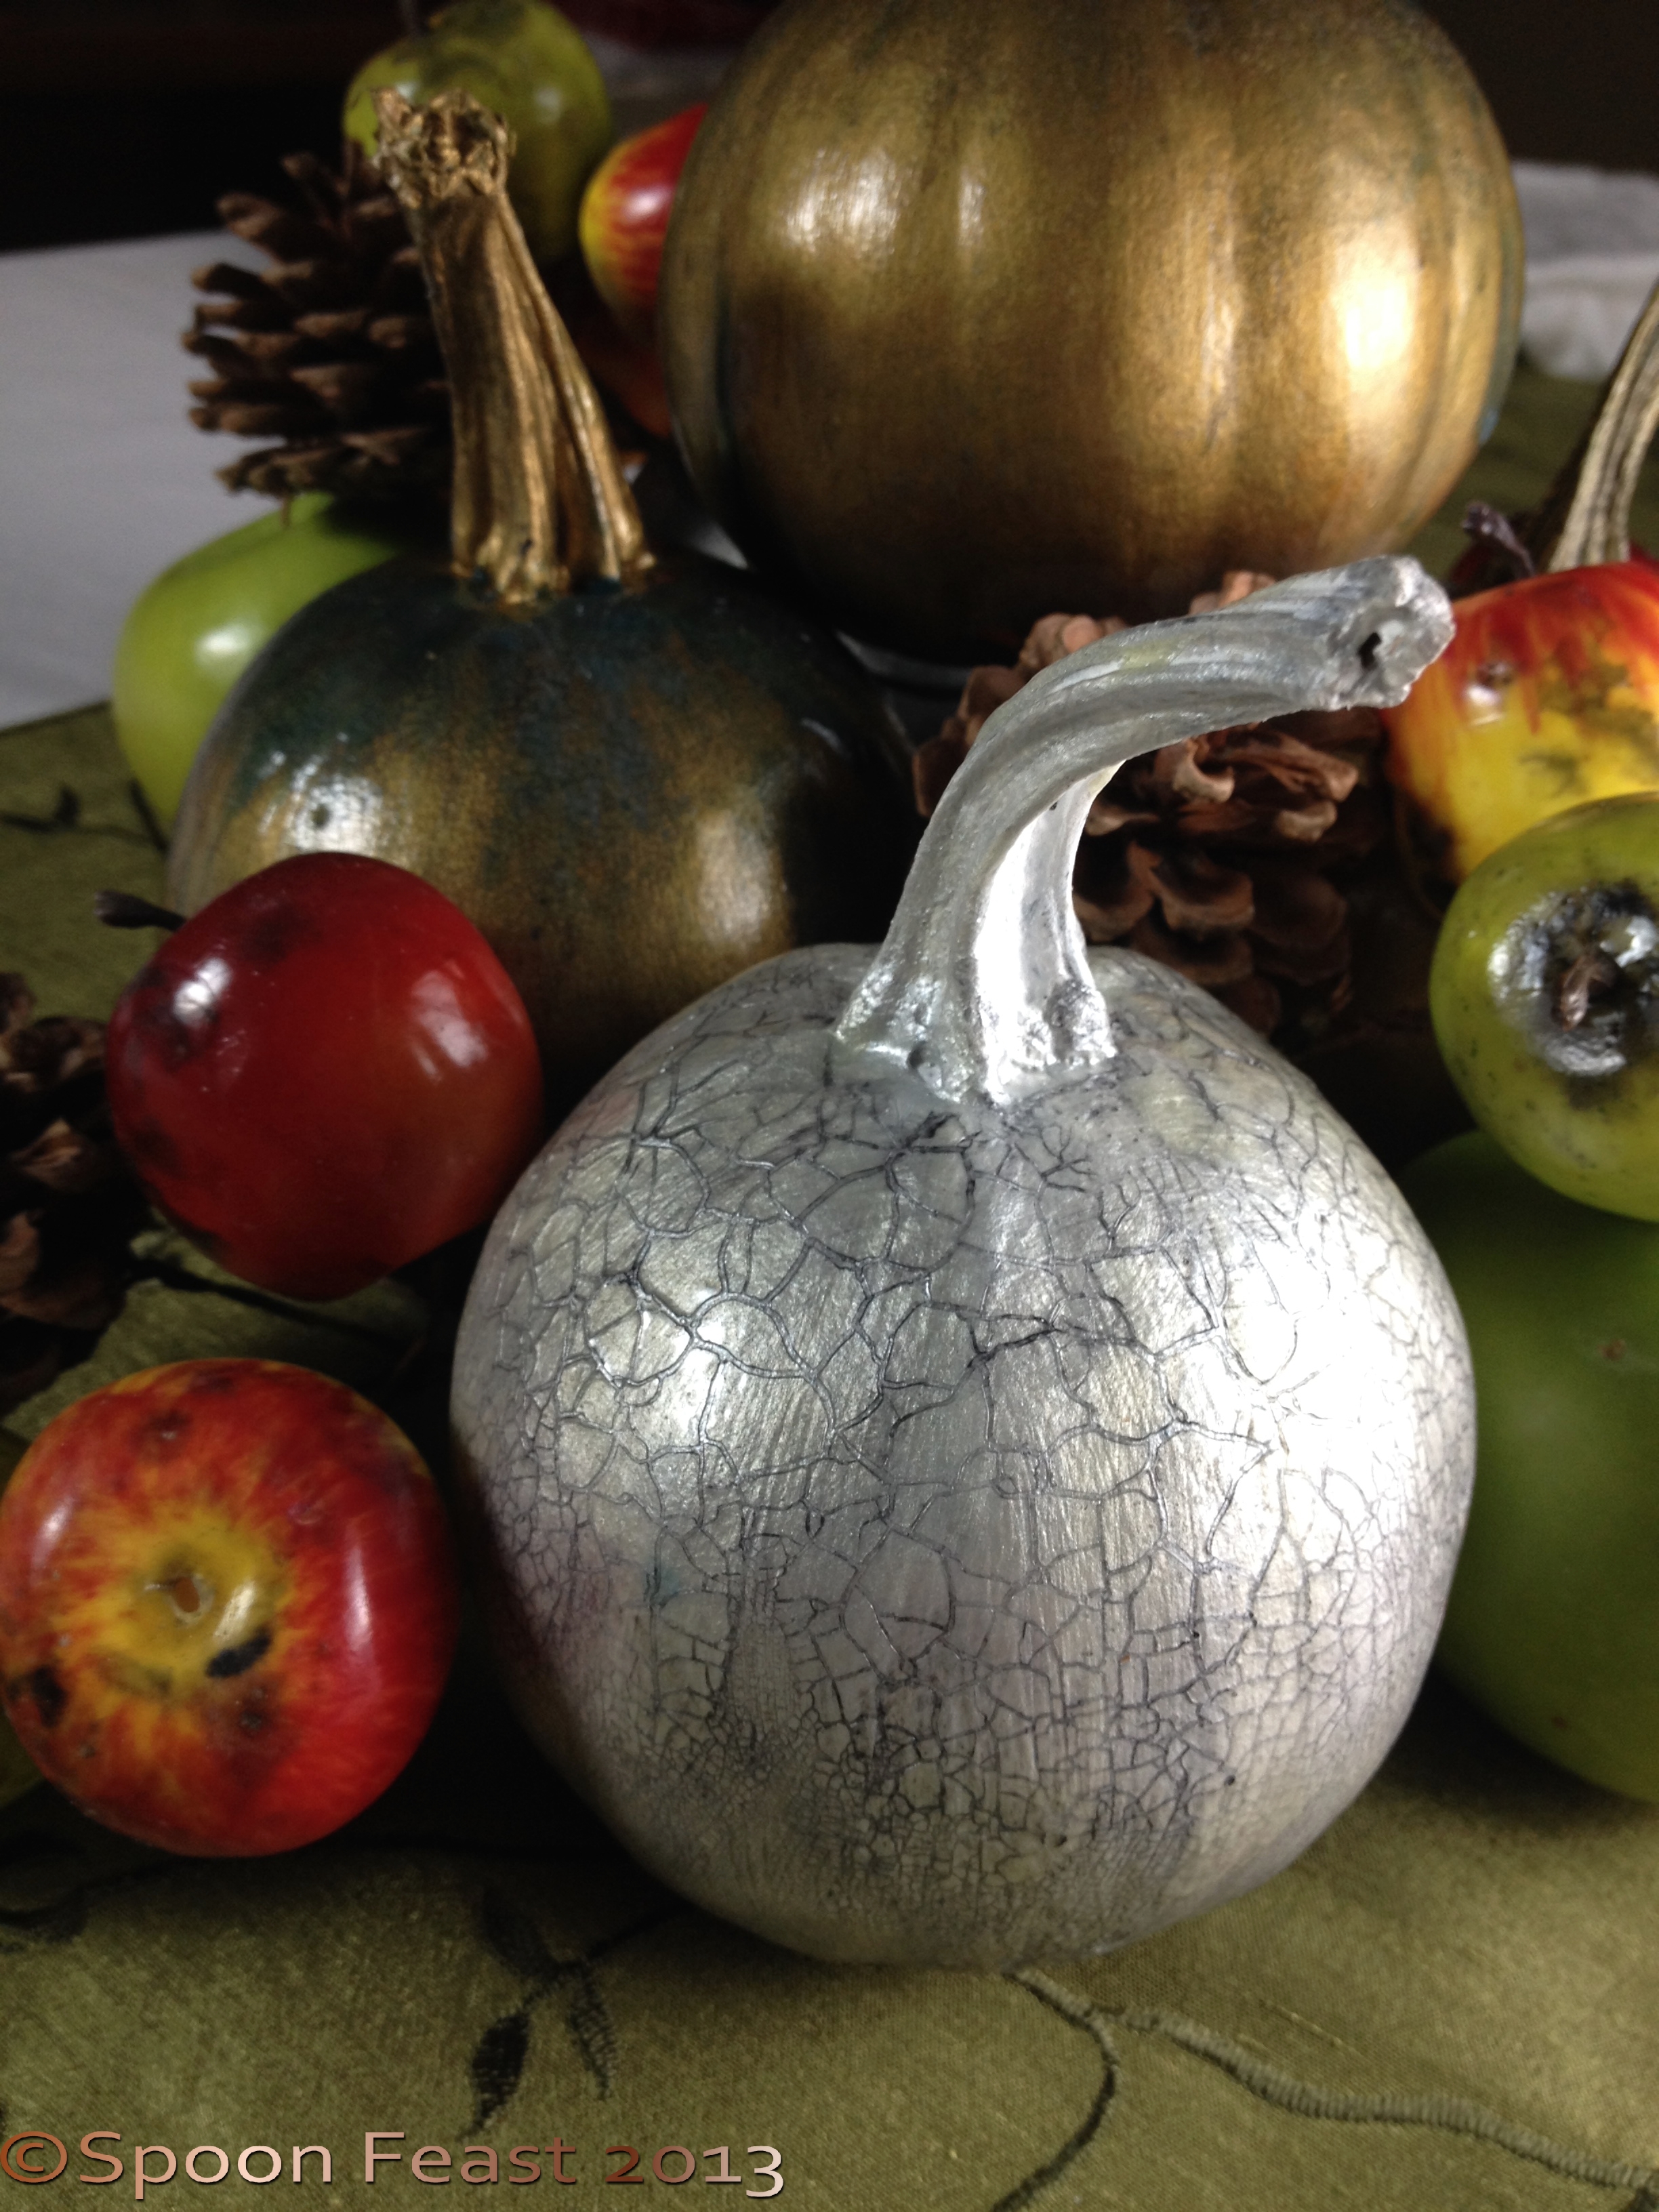
Silver Painted Pumpkin

Part of the Painted Pumpkin arrangement

Peppercorn Blend in a jar
Putting together a peppercorn blend is an easy and thoughtful quick gift for the holidays. You can add a peppercorn grinder and other bits and pieces to round out the gift also. But a nice jar of peppercorns is a nice small gift on its own.
Head out to your big box store and buy large containers of black, pink, white, Szechuan and air-dried green peppercorns. equally measure some of each into a large bowl, mix it up.

A variety of peppercorns
Add a unique element by choosing whole allspice berries, whole cloves, crush a bit of nutmeg or star anise with a mallet and mix this in with the peppercorns for a unique blend.
Package the peppercorns into a nice jar or container, make a cute label and attach to the jar.
There you have it, a quick, simple useful gift.
