I missed out on last months post, mainly because I ran out of time and the other was due to being “suspended “ on WordPress. (Yeah, I’m such a bad girl!)
This In My Kitchen posting neatly summarizes what has been happening in my kitchen over the last month.
At Soup in Sunday I bought another bowl, for condiments this time.

The new bowl
There has been lots of information going around on how to grow things from kitchen scraps. I love scallions and have a hard time getting them to grow. My dad on the other hand gets things to grow for him just by thinking about it.

“Hydroponic” Scallions; They will need dirt soon!
So scallions are now growing in vases for easy clipping and almost instant regrowth. They will need soil soon, I’m sure
In my kitchen this month are these lovely measuring cups.

Hedge Hog measuring cups

You can use them as scoops too
How cute are these? They were a Christmas gift from Robert’s daughter Kim. Aren’t they adorable!
I started taking a class (just because) on Nutritional Concepts and Medical Nutritional Therapy so the awareness of what we eat has been in the spotlight. Eating/using a lot of butter (I love butter!) is one thing that has changed. I used to keep at least 5# of butter on hand for baking but now, I hardly have any. If I want to bake, a to run to the store would be required. This step alone has really put a damper on the treats available in my kitchen.
So now baking sweet treats involves some actual thinking about it rather than just jumping in and baking my heart out.
I am teaching a baking class this semester so the advantage of this is I get to play with tons of dough and make all kinds of things all day long. When I come home, the treats aren’t staring me in the face demanding “eat me!”
However, Celia’s Chocolate Nutella frogs had me locating the jar of Nutella and slathering it on to a Trisket and topping that with a few pistachios. Thankfully there are no incriminating photographs!
In my kitchen this month is a new (to me) book, The Bread Baker’s Apprentice authored by Peter Reinhardt.
I find it fascinating. Additionally, I bought a couche for when I make bread. the need has been there for a while, I’m just getting around to buying one.

Bread Baker’s Apprentice and floured couche
One of our friends is a friend of Peters. I am hoping to get the book signed one day.
In my kitchen are some great new lenses for the i phone!

i Phone lenses
There are three of them, wide-angle, fish eye and macro lenses. I am really looking forward to having the time to really learn how to use them effectively.
I’ll do a post on the shots the camera makes with the different lenses.
Here is a shot using the macro lens
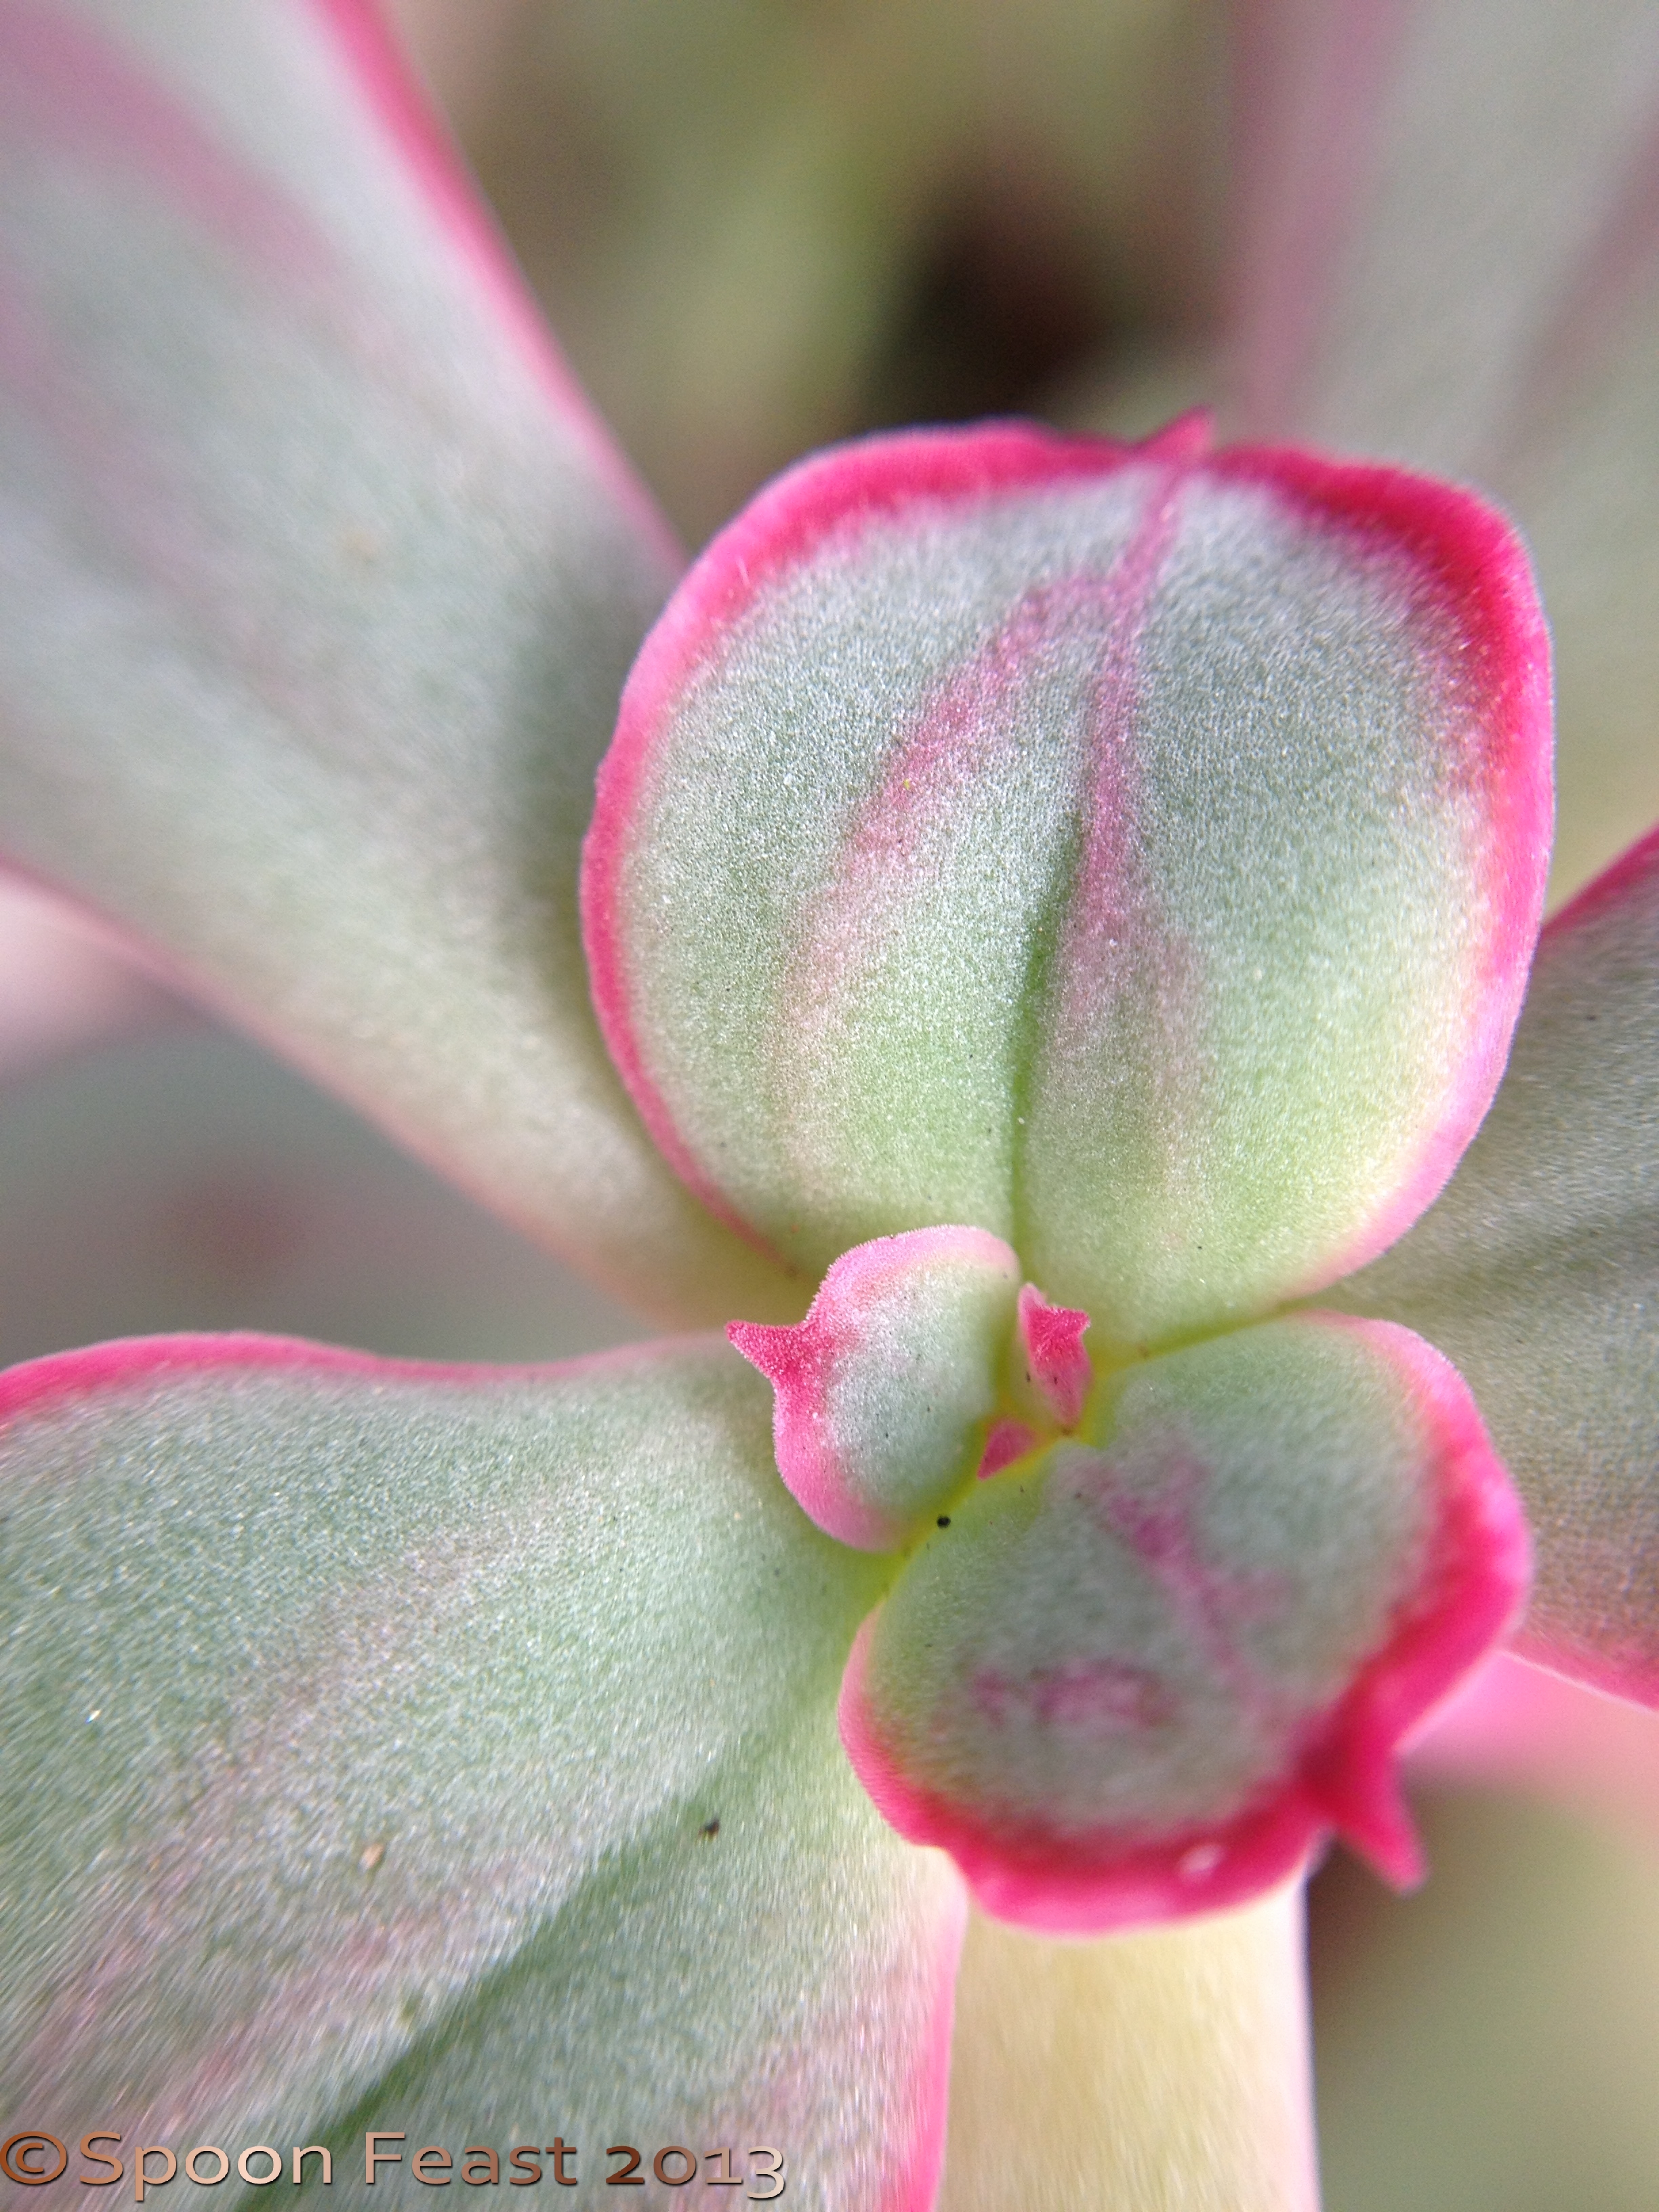
Using the i phone macro lens
So, now it is time to go make bread for the week. Celia’s pain-viennois and Richard Bertinet’s method of kneading the sticky dough mass until smooth and elastic seems just like the therapy I need today.
I’ll make some with chocolate!
Gratitude goes out to Celia of Fig Jam and Lime Cordial for hosting this fun series of peeking into one another’s kitchens each month.
Promise, I’ll get back on track and not be so late submitting next month.

Pain Chocolate
Related articles
- Steak House Yeast Rolls (spoonfeast.com)
- Chocolate Chip Nutella Banana Bread (sweetheatchefs.com)
- A European Culinary Essential: 5 Recipes To Celebrate World Nutella Day On February 5 (gadling.com)
- Baking Day (whimsicalwhimsies.com)


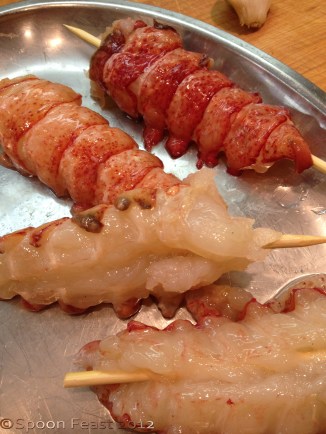
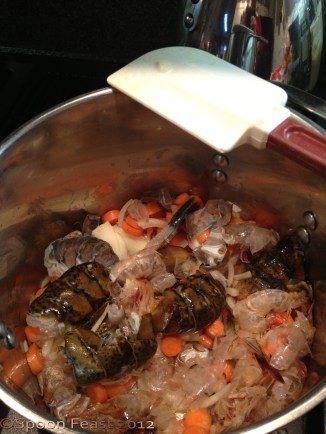
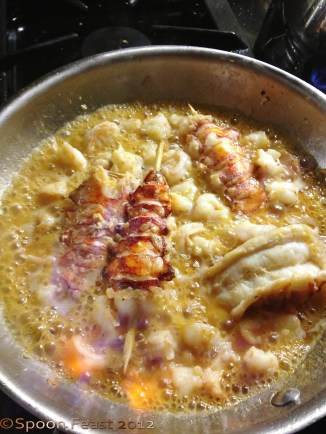
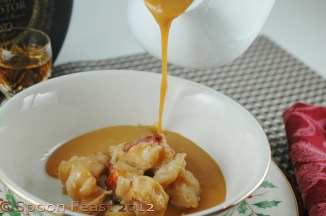
 1# fresh wild-caught shrimp, any size (I used 26-30’s for this recipe)