Is everything you buy from the farmers market from a local farm? If you think so, I hate to tell you, but in some cases, you would be wrong.
As with every industry, business and activity, there are those who will jump on an opportunity for a quick buck.
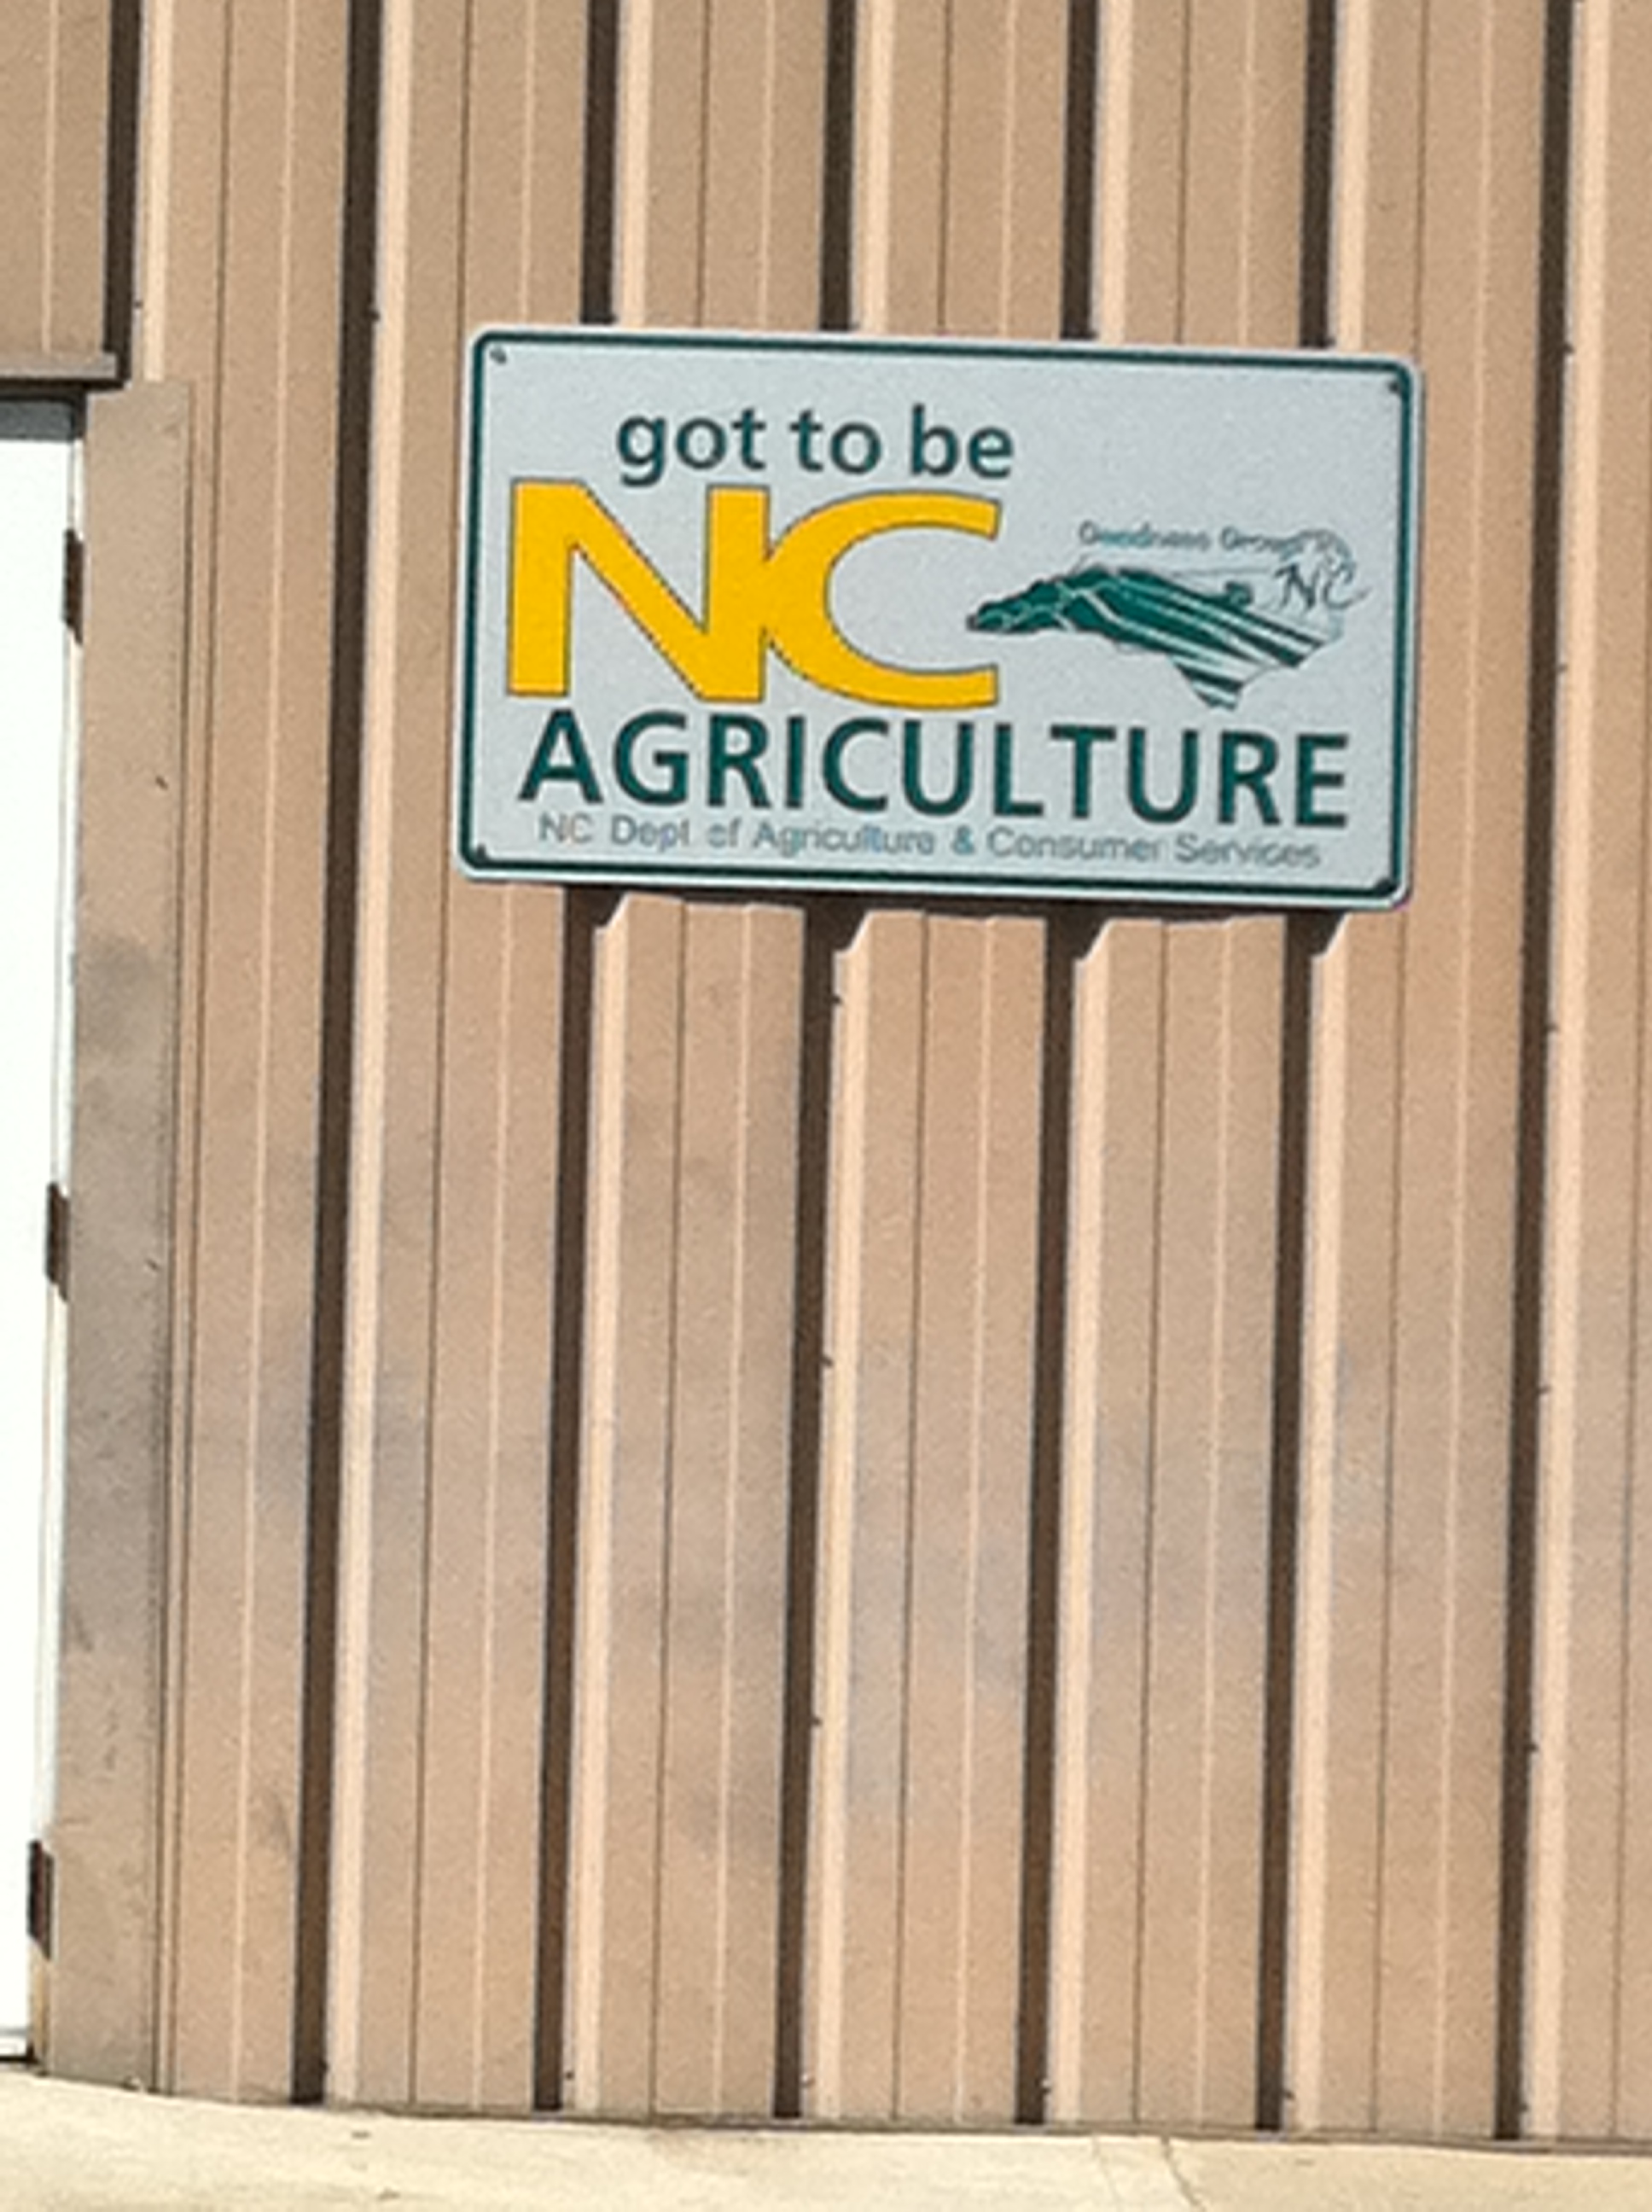
Got to be NC Agriculture
There are ethical markets that vet their vendors to prove the products they are selling are indeed from the local area. Locally, the Matthews Farmers Market, Atherton Mills Market and Yorkmont Markets are truly farmers markets. Then there are others.
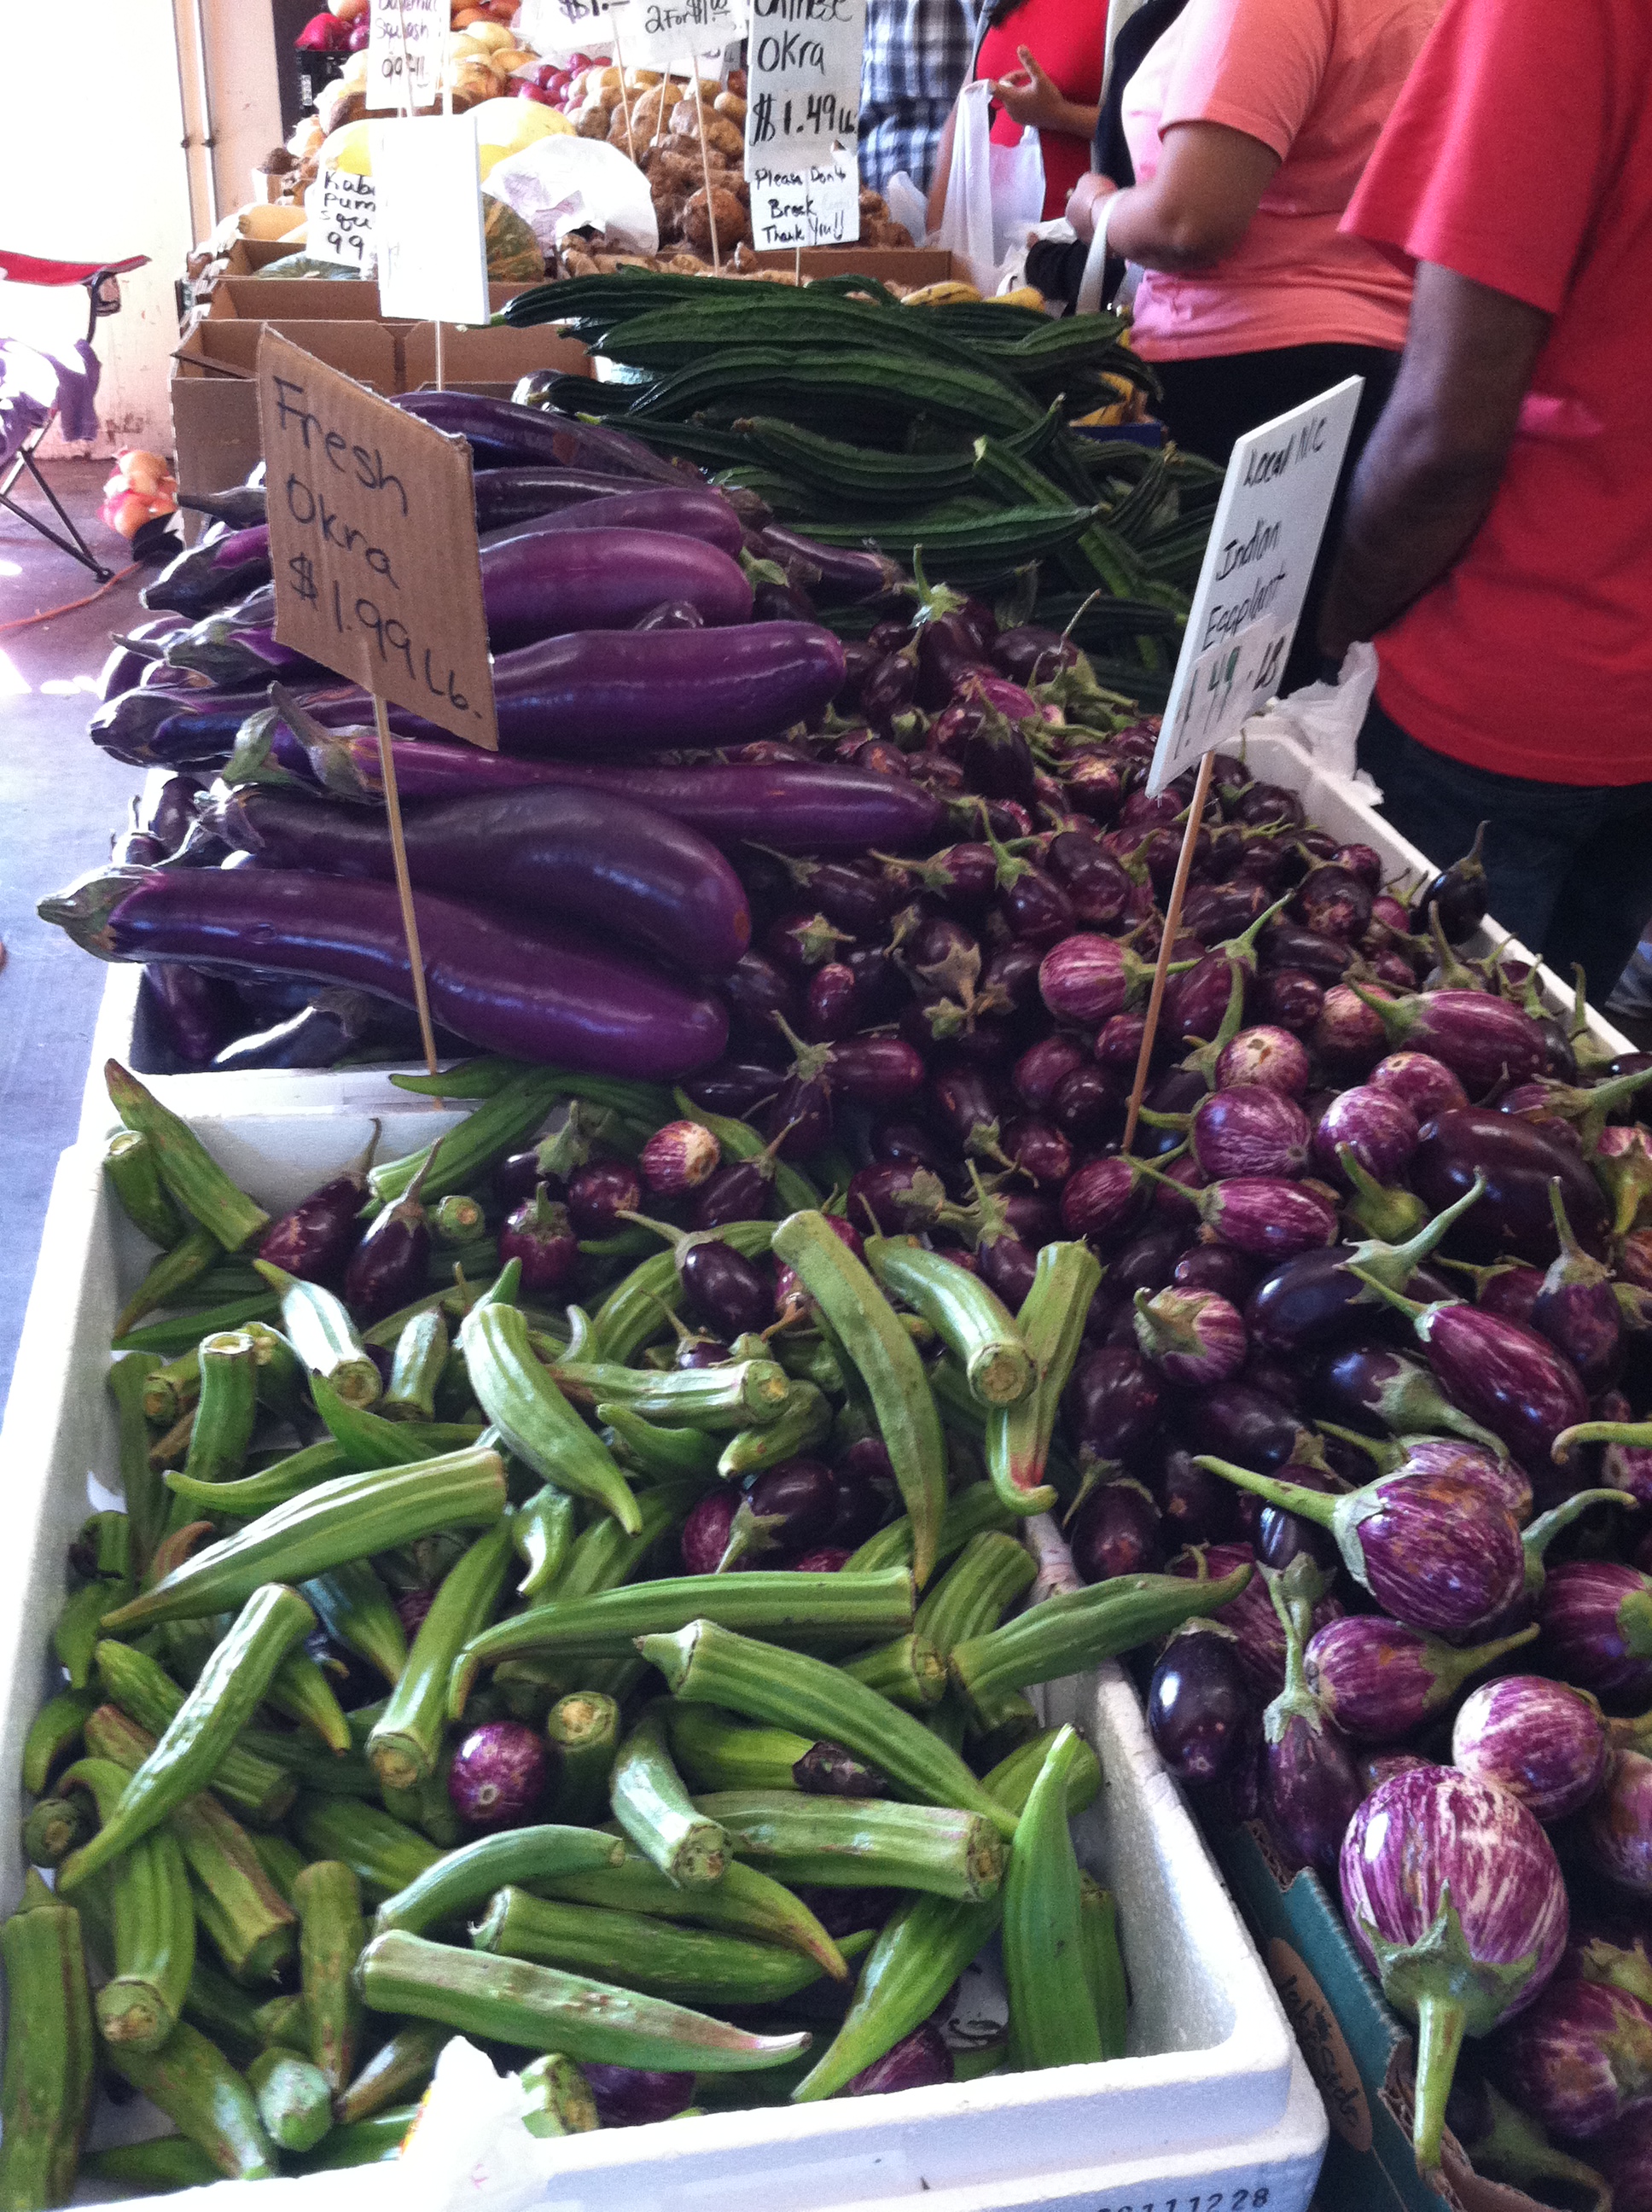
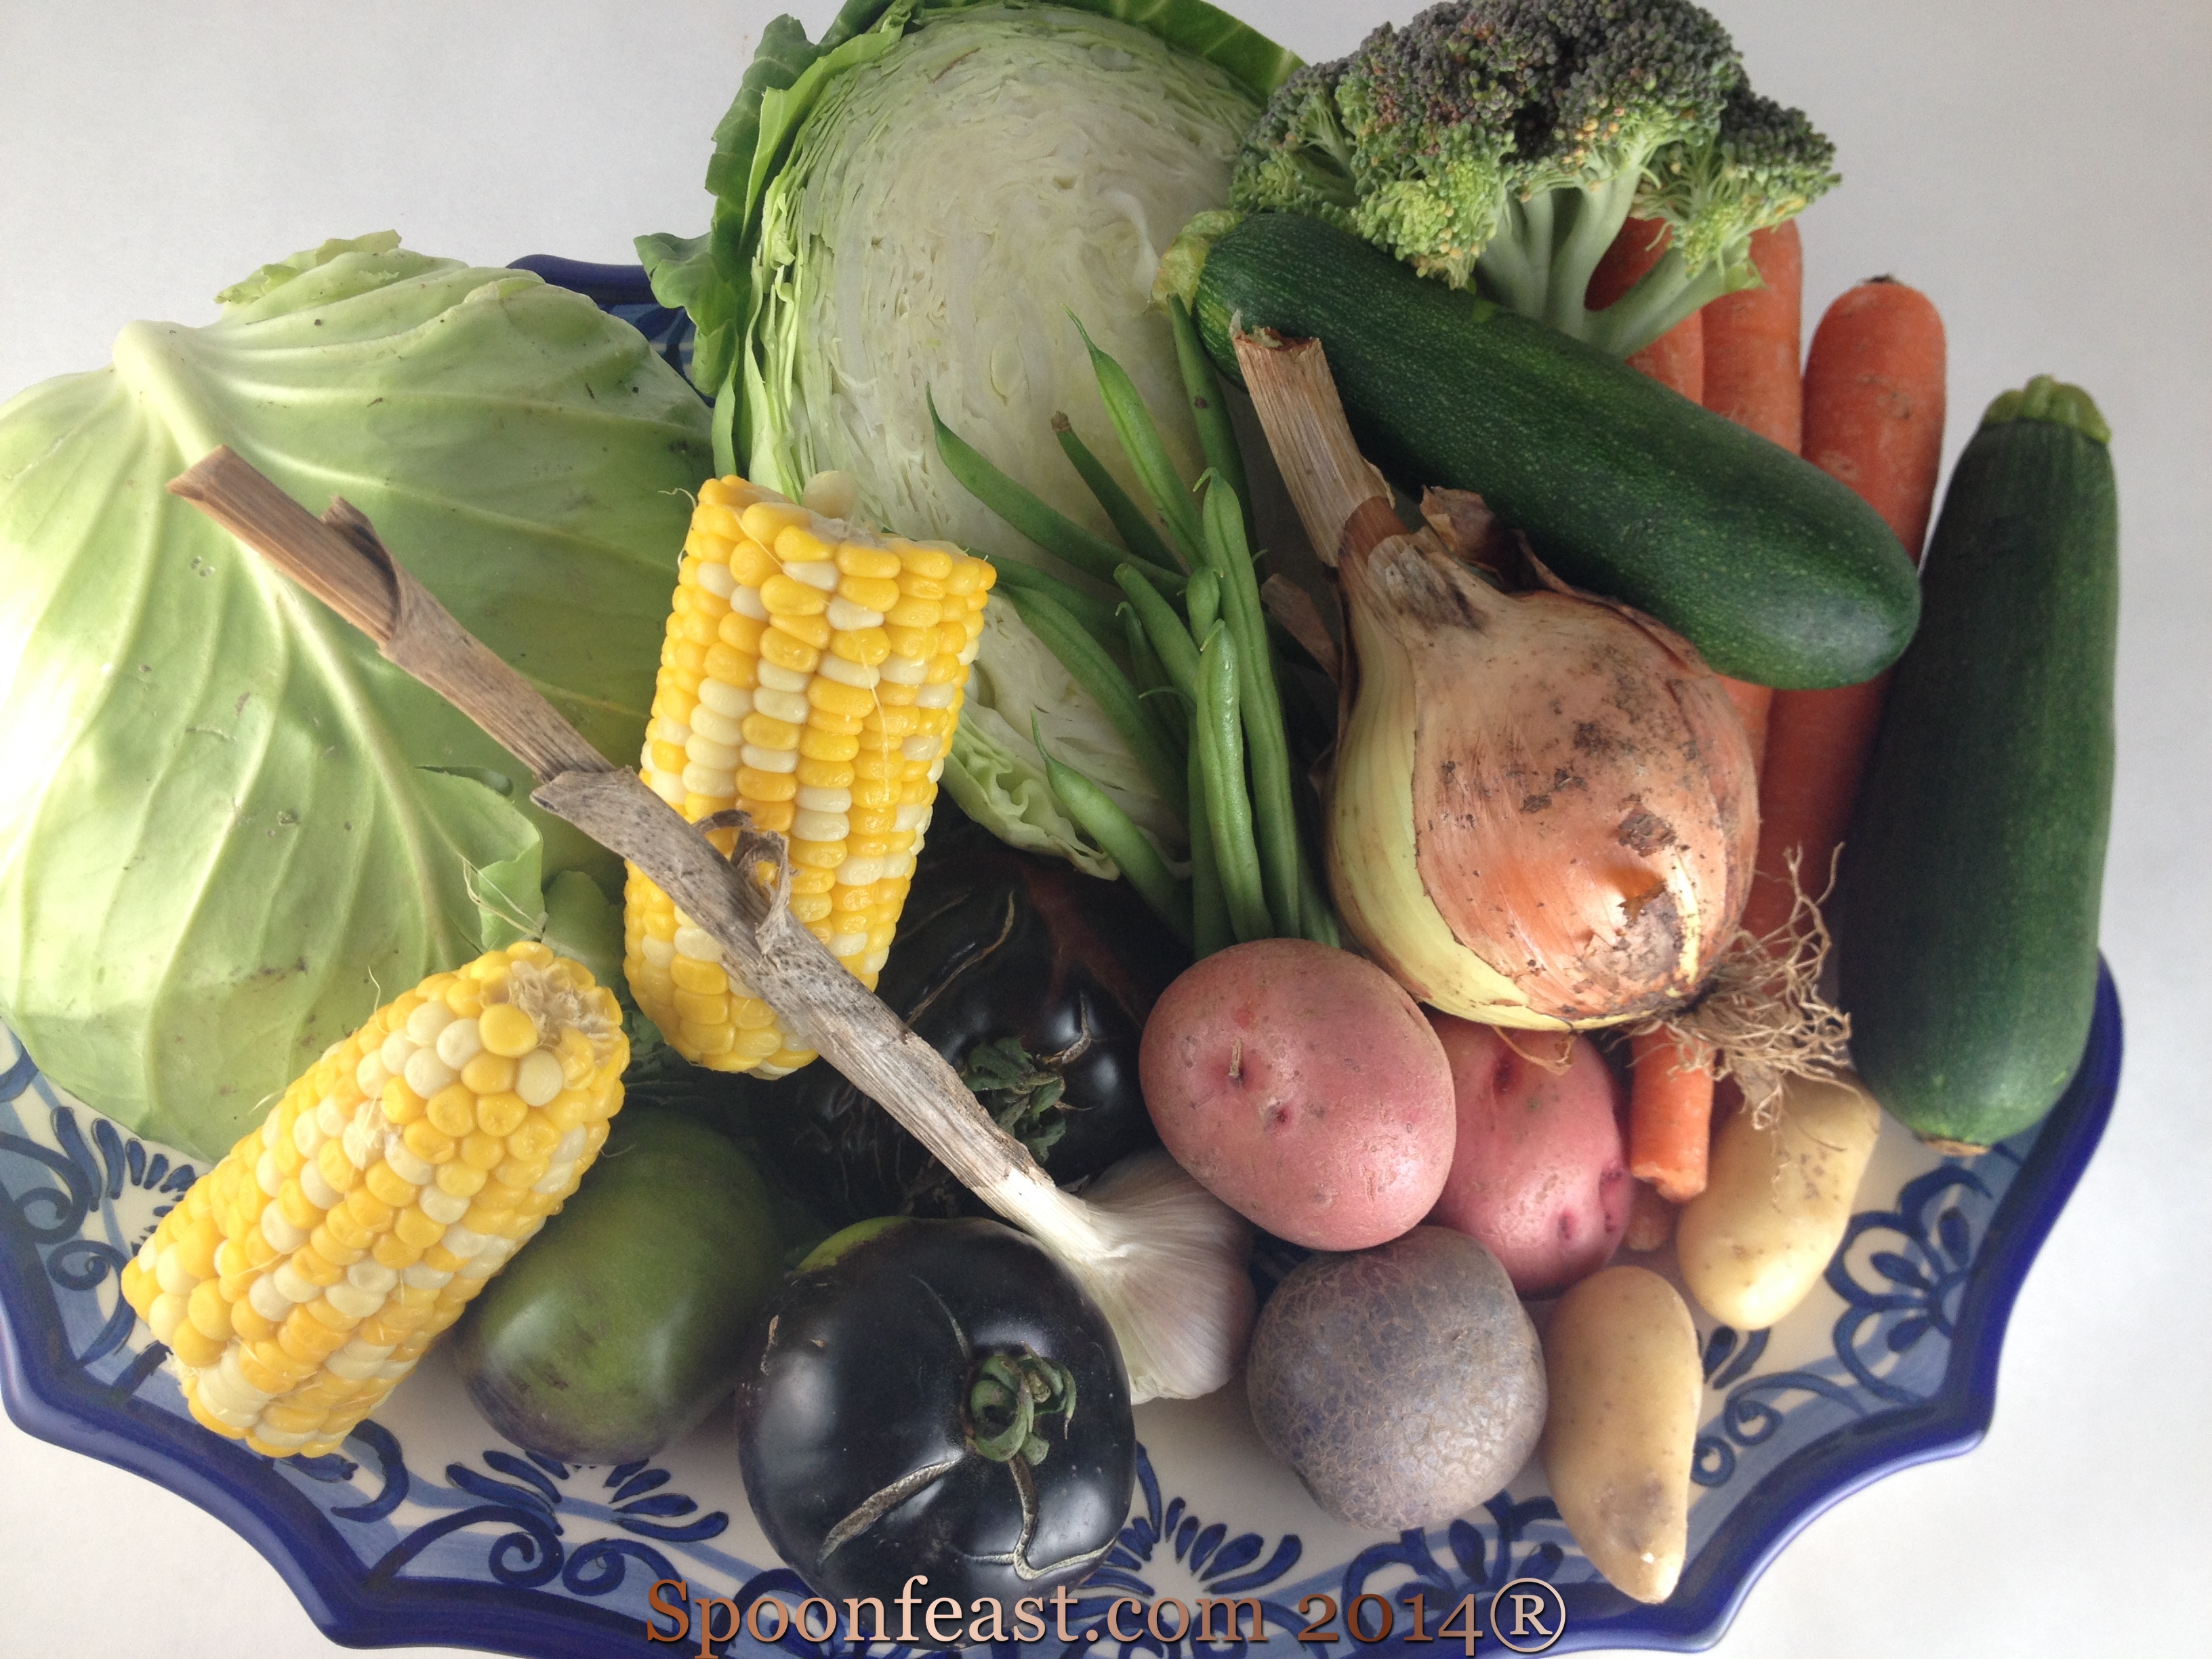
It really irks me when I see opportunists take advantage of trusting customers. Our local Farmers Markets sell produce, hoop cheese and country ham; primary season is from April through October 31; adding pumpkins and squashes as the season comes to a close. The markets are extremely busy.

Ask about how the animals are raised
People buy there thinking they are in some manner, doing better for their families, communities and supporting farmers.
I remember when Robert used to tell me of the farmers market on the corner near his house. I lived in the mountains of North Carolina at the time and walking to a weekly farmers market painted romantic dreams of urban living.
There is a corner market nearby that I have been observing for years. It is a family run business, they own a nice block or two of land in what would be considered “prime commercial real estate” for mid-town Charlotte.
On market days, there are often traffic jams which require hiring off-duty police to direct traffic. People pile in and load up their baskets with whatever produce they find; feeling good about feeding their families on fresh “farmers market” foods.
They don’t ask questions, they just flock in and buy.
 Early in the morning, restaurants show up at the market to buy the produce at wholesale prices. In turn, the restaurants go back and advertise on their menu’s that they offer “local vegetables bought from the farmers market.”
The biggest buzzwords in food lately are “local, sustainable and organic.” Claim that and you gain an easy audience in your marketing; your marketing image leans towards a caring business who supports the local community.
However, the public is being duped.
People don’t ask questions!
On my visits to the market, I noticed they would have the same bagged greens that we could buy in the grocery store.

Locally grown? Chiquita, really? Mangoes? Pineapples?
I noticed they always had corn. Always have corn, from April through the end of November. And the corn has a sign on it, written with highlighter, “Non-GMO.” Somehow I don’t believe it. I’d like to ask for proof.
What really caught my attention and lit my fire was the last time I was there. Each check out station was surrounded by pulp baskets of strawberries with signs on them declaring “Sweet Strawberries $3.99 qt.”
Being July and knowing it is well past strawberry season here, I asked:

Commercially grown strawberries dressed up to look like farm-fresh. These “local” berries are from California and sometimes Driscoll’s grows in Mexico too.
“Where the berries were from?”
“California. . .”
“Are they organic?”
“No, they are Driscoll’s.”
This makes them no different from what you buy in the grocery store! Driscoll’s just happens to be a huge mono-culture farmer of commercial berries.
Commercially grown strawberries are sprayed and hold residue of many different chemicals. Here is an in-depth article you can read here:
Pesticides are a Danger to Health and the Environment – Choose Organic!
The article will tell you about the research and how dangerous chemicals are being used on commercially grown strawberries and other produce and best of all, what you can do about it!
So when people buy the berries from this market, they are not getting an organic berry but commercially grown berries instead. The berries are packaged to look like farm fresh; the hand written signs are casual and fit the marketing image.

Muscadine grapes
I looked around and saw shoppers scarfing up the berries and other produce thinking they are in some way or another doing good because they are buying their food from the farmers market.
The problem is, they are buying the same as they would get from the grocery without it being disclosed! They are buying the same stuff commercial restaurants buy from commercial broadband vendors and smaller vendors like Restaurant Depot.
The are buying the commercially grown food they are trying to avoid by shopping at the farmers market in the first place.
This is the kind of food we try to avoid for better health.
I think all markets should be required have signage on every product that says where it was grown and by whom. All items should be labeled how it was grown and be able to provide the paperwork to prove it, if asked.
Full Disclosure!
Let us have the right to make a choice and they should be prepared to provide the proof. I’ve lost my trust in our corner farmers market. They may have a few farmers but I don’t believe their corn in Non-GMO, I don’t believe their claims. Broccoli is not coming out of any local garden at this time of year, yet they have a table full of it.
The public needs to be aware of this practice so they can actually support the real farmers; go to a real market.
At this time of year, you won’t see any strawberries because they aren’t in season.
California has passed a bill to crack down on Farmers Market Fraud. See the article below for information.
In the meantime, when you go to a market, ask questions. If they can’t or won’t tell you, don’t buy it! They are probably a commercial enterprise posing as a farmers market for easy money.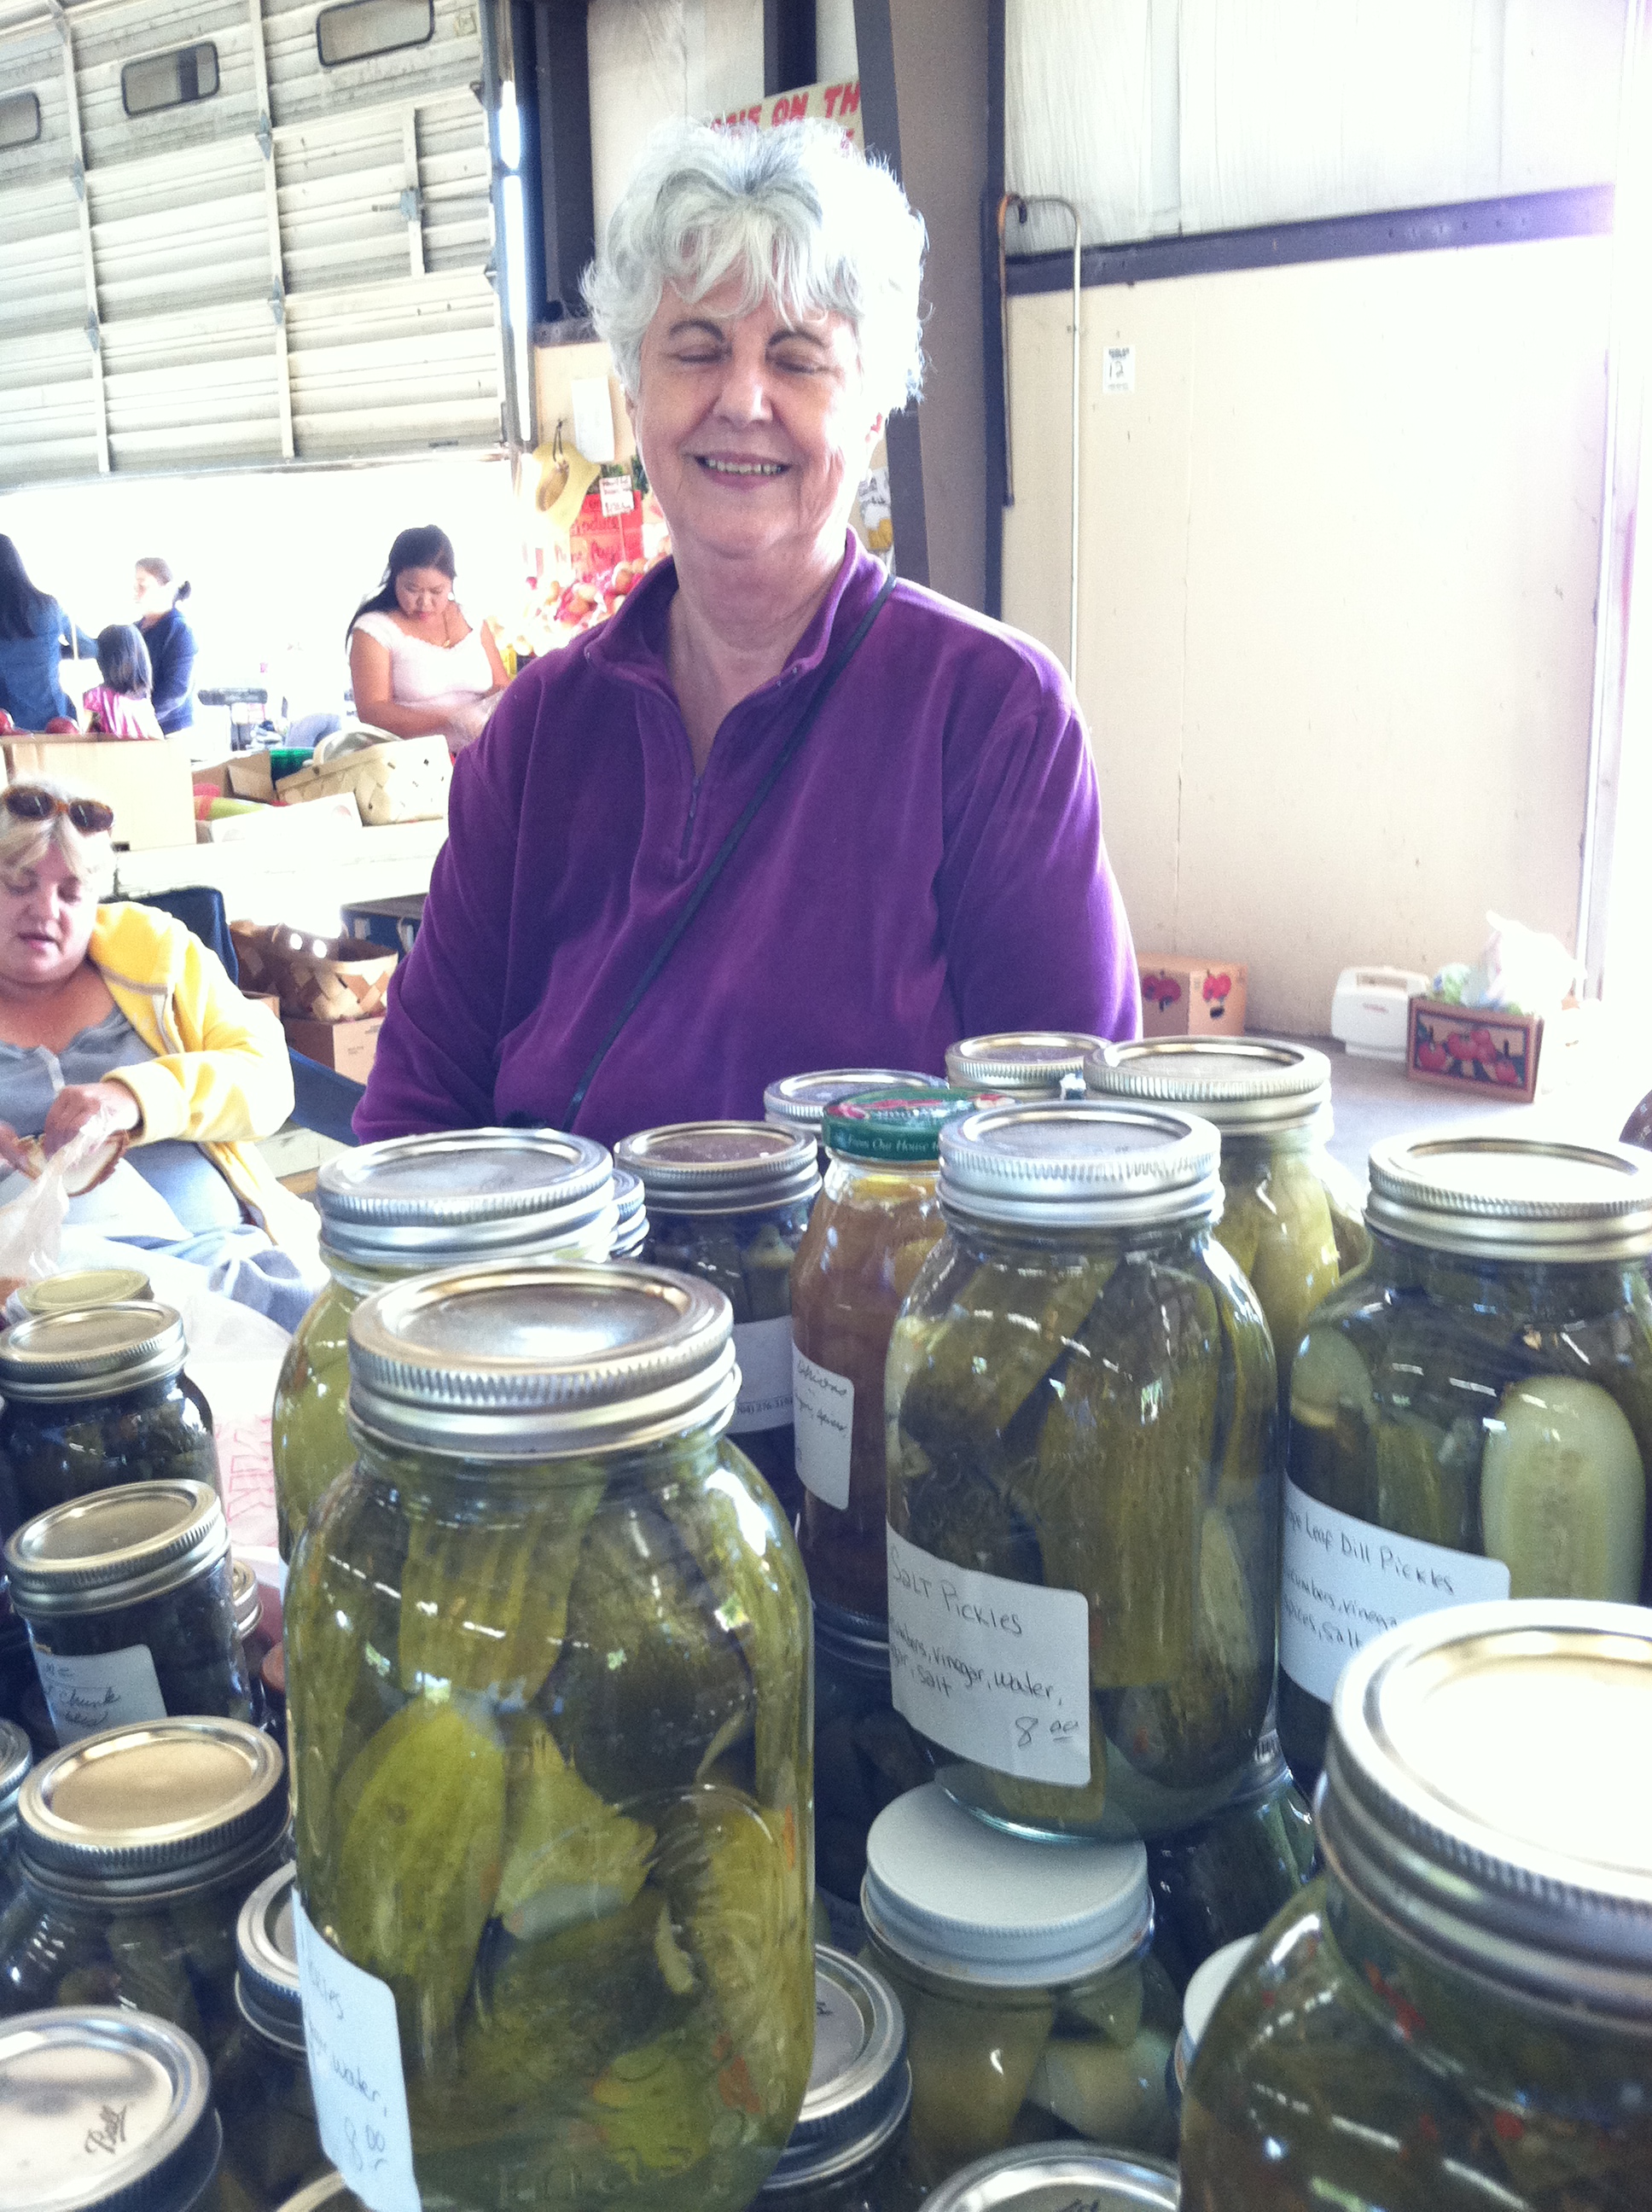
Here are some easy questions to ask:
- “Where are these (insert whatever fruit or vegetable) from?”
- “Are they organically grown?”
- “Does the farm have a website?” Then use your phone and look them up. You’ll know if it is a commercial farm or a local farm.
- “Why do you have broccoli in August? Where is it being grown? and how far did it travel to come to be here?” [To people wanting to reduce their carbon footprint, this matters!]
The Farmers Market industry currently has few regulations. Some require you to apply and be approved before you can sell there. They actually verify you are truly a local food producer.
However, if you own a few acres of vacant land, you can throw up some awnings, spread tables with produce you bought at the broad distributor food service uses, invite a few folks to sell grass-fed beef, home-made cakes, pies, flowers, and you too can be in the Farmers Market business as long as you have a business license.
I think this is scandalous and it really makes me quite angry.
Don’t Assume!
We’ve all got brains in our heads, it’s time to put them to use. This is something everyone who goes to a farmers market should be aware of.
Do some research, find out what kind of farmers market you patronize.
Be sure you are actually getting what you think you are getting. Ask a few questions. The answers may surprise you.
Don’t be duped!
#eatfresh #farmersmarkets #ethicalfarmersmarkets #Knowyourfood #wheredoesyourfoodcomefrom #eatwell #freshfood #fruit
#vegetables #freshproduce #healthyfood

Support your Local Farmer!