Baked Crispy Kale Chips

If you love potato chips, you will probably love baked crispy kale chips too.

They are so simple to make, quick and nutritious, and you can’t stop eating them!

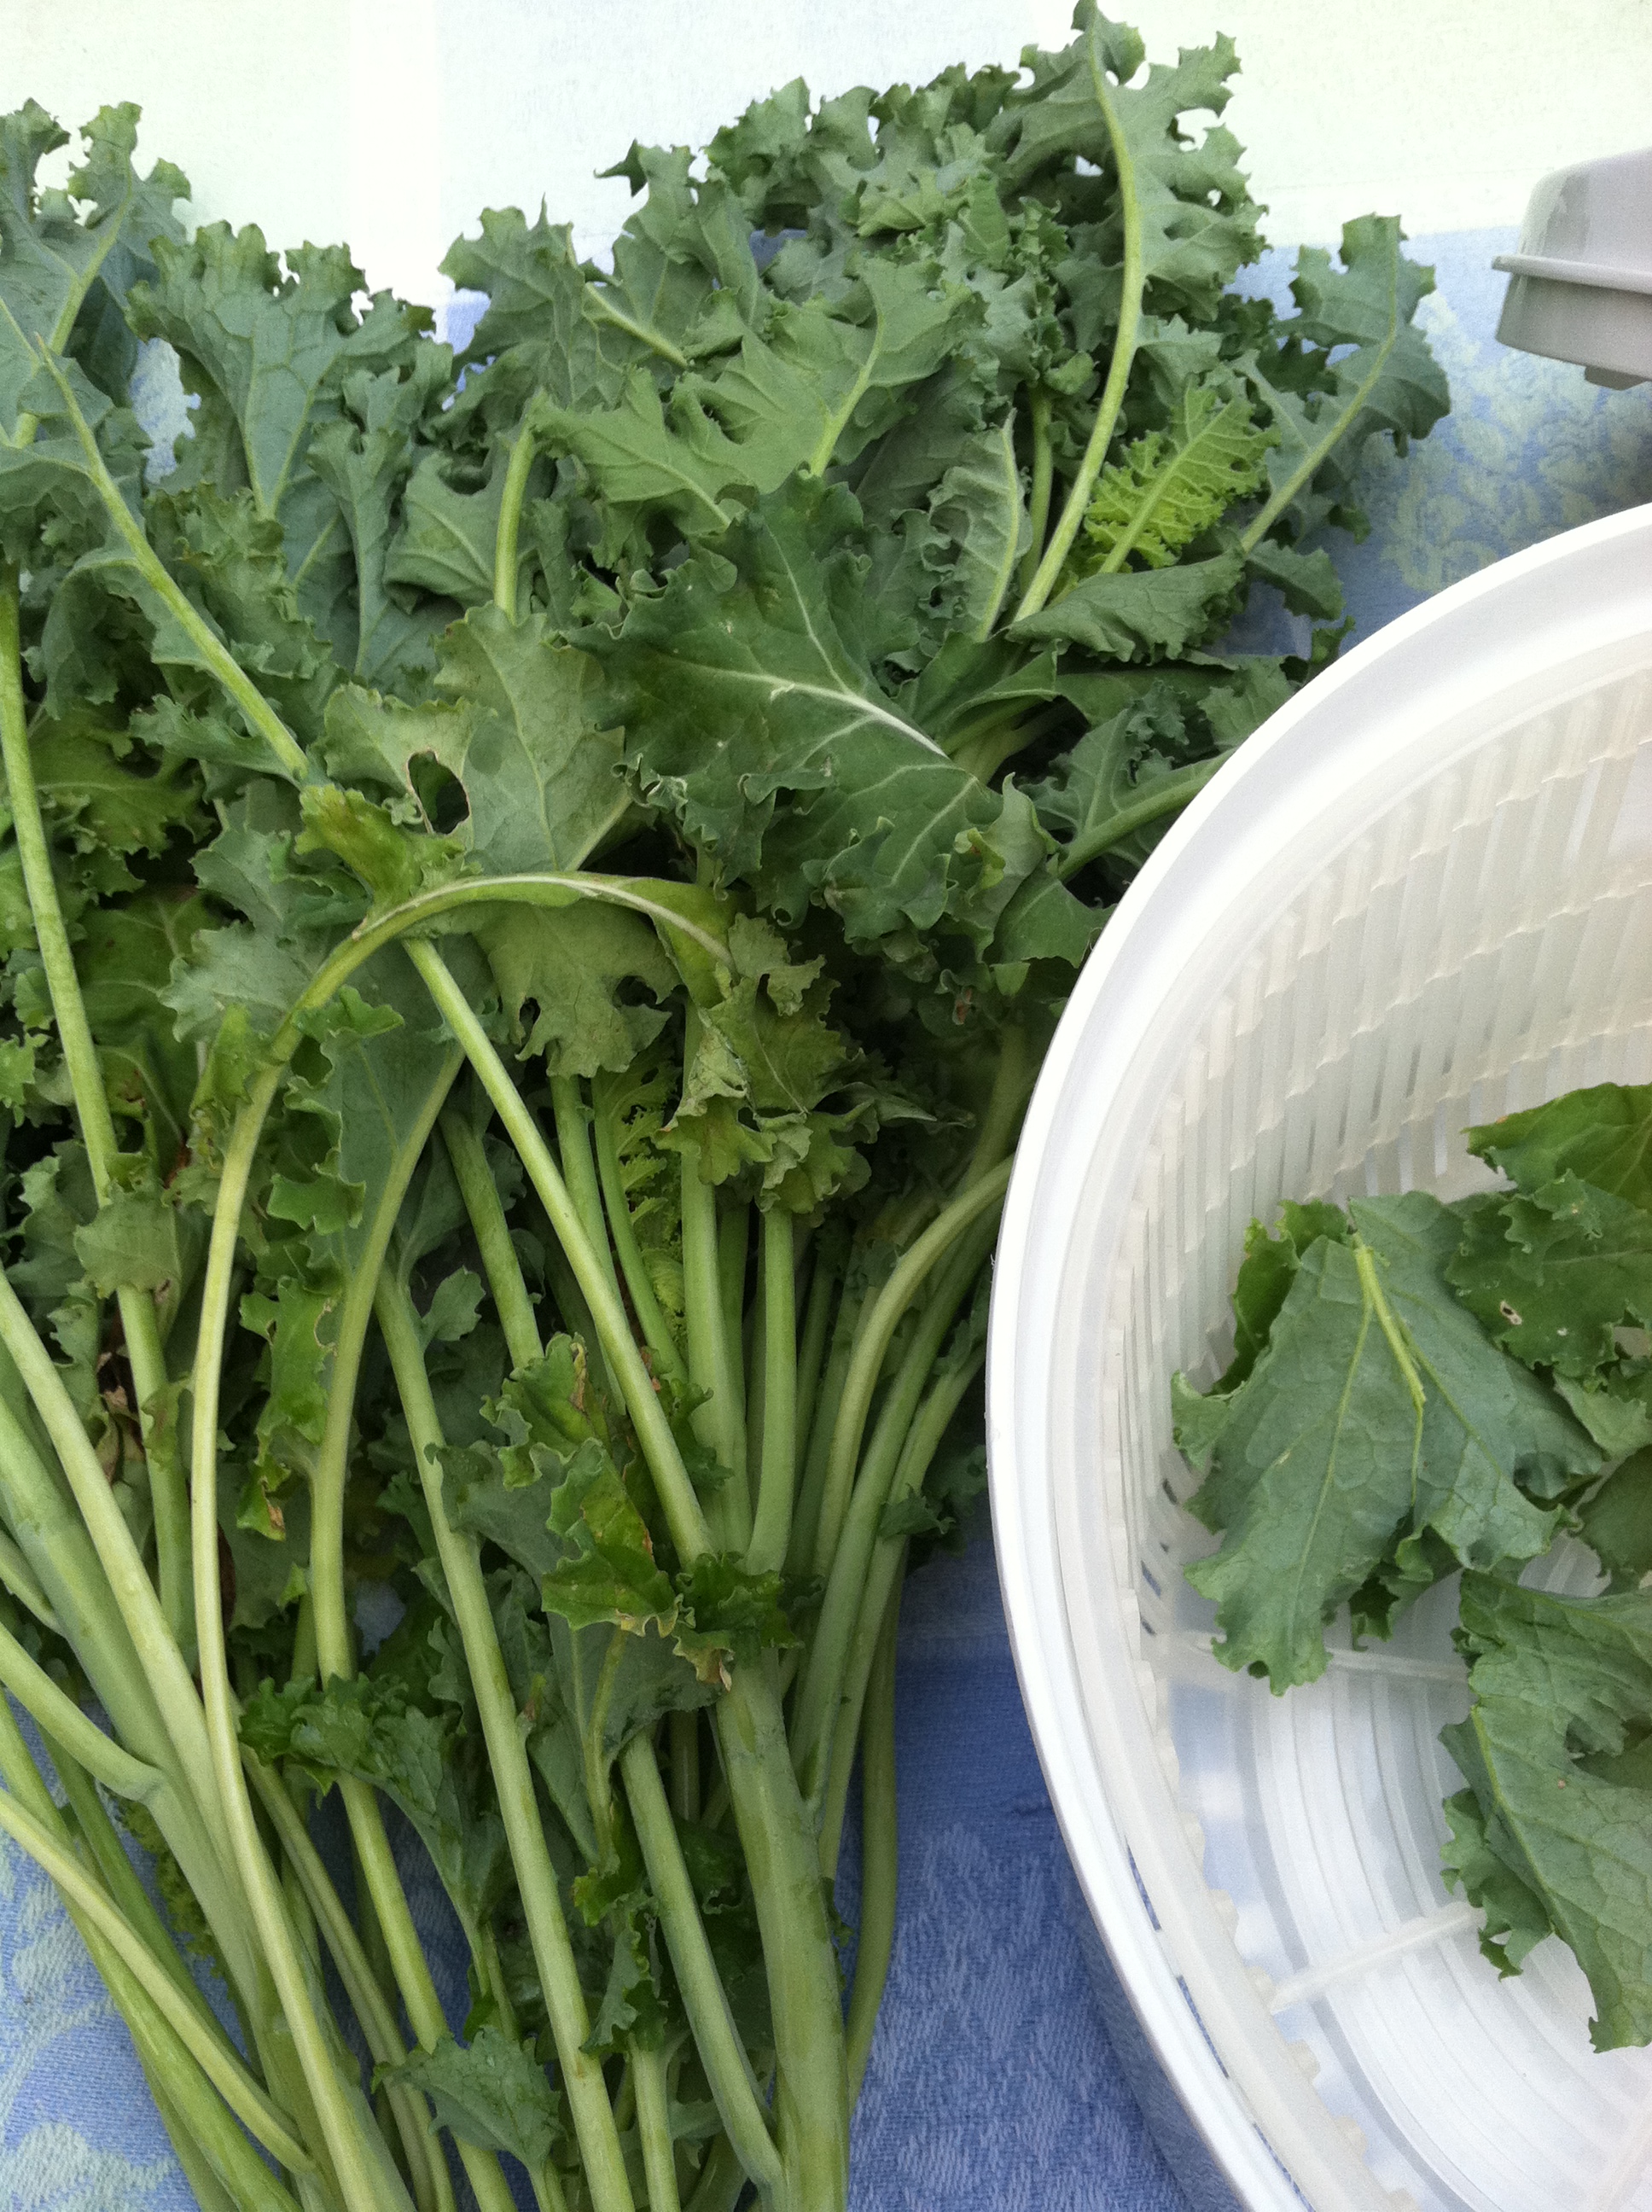
The shared bounty this week was baby kale.

ImageHere is how you make the baked crispy kale chips.

Preheat the oven to 350 degrees F. Line a baking sheet pan with parchment. Do not use an insulated baking sheet pan.

You will need:

  • 1 bunch fresh kale
  • olive oil
  • sea or kosher salt (do not used iodized table salt)
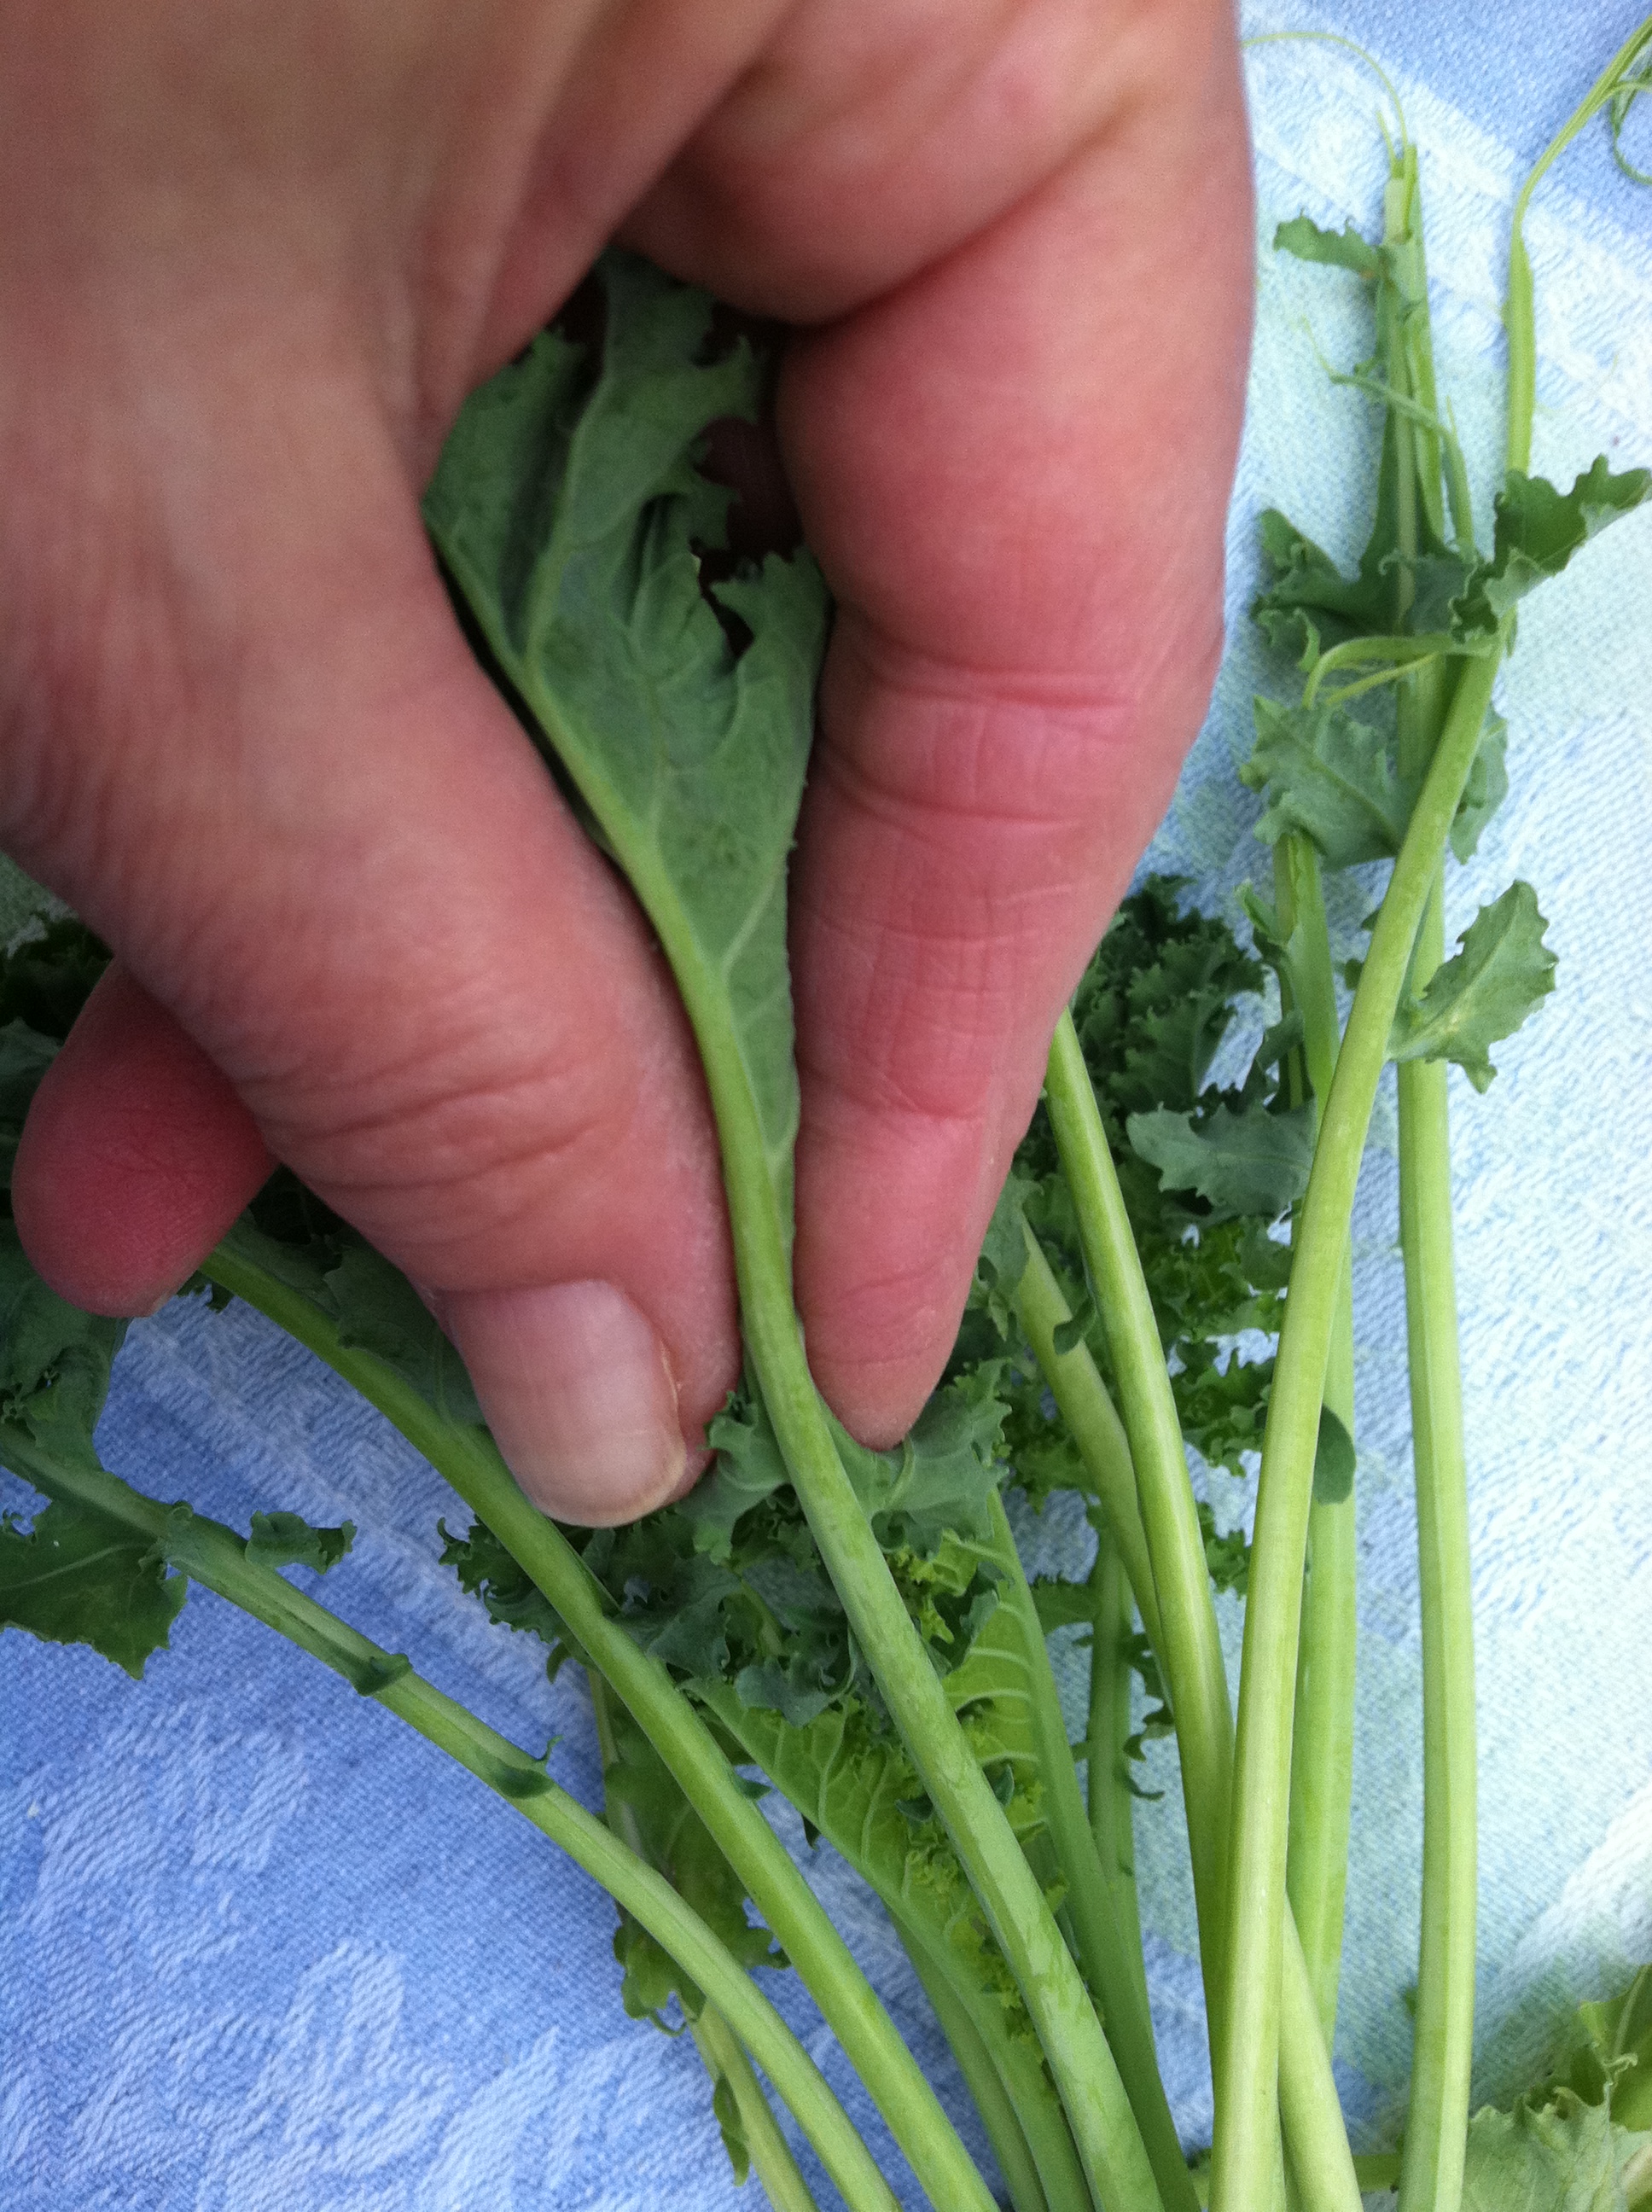
Prepare the kale.

To make the chips, remove the leaves from the kale stems. Do this by holding the leaf and pulling the stem off from the back side of the leaf. This removes the stringy stem all the way down the leaf.

ImageImage

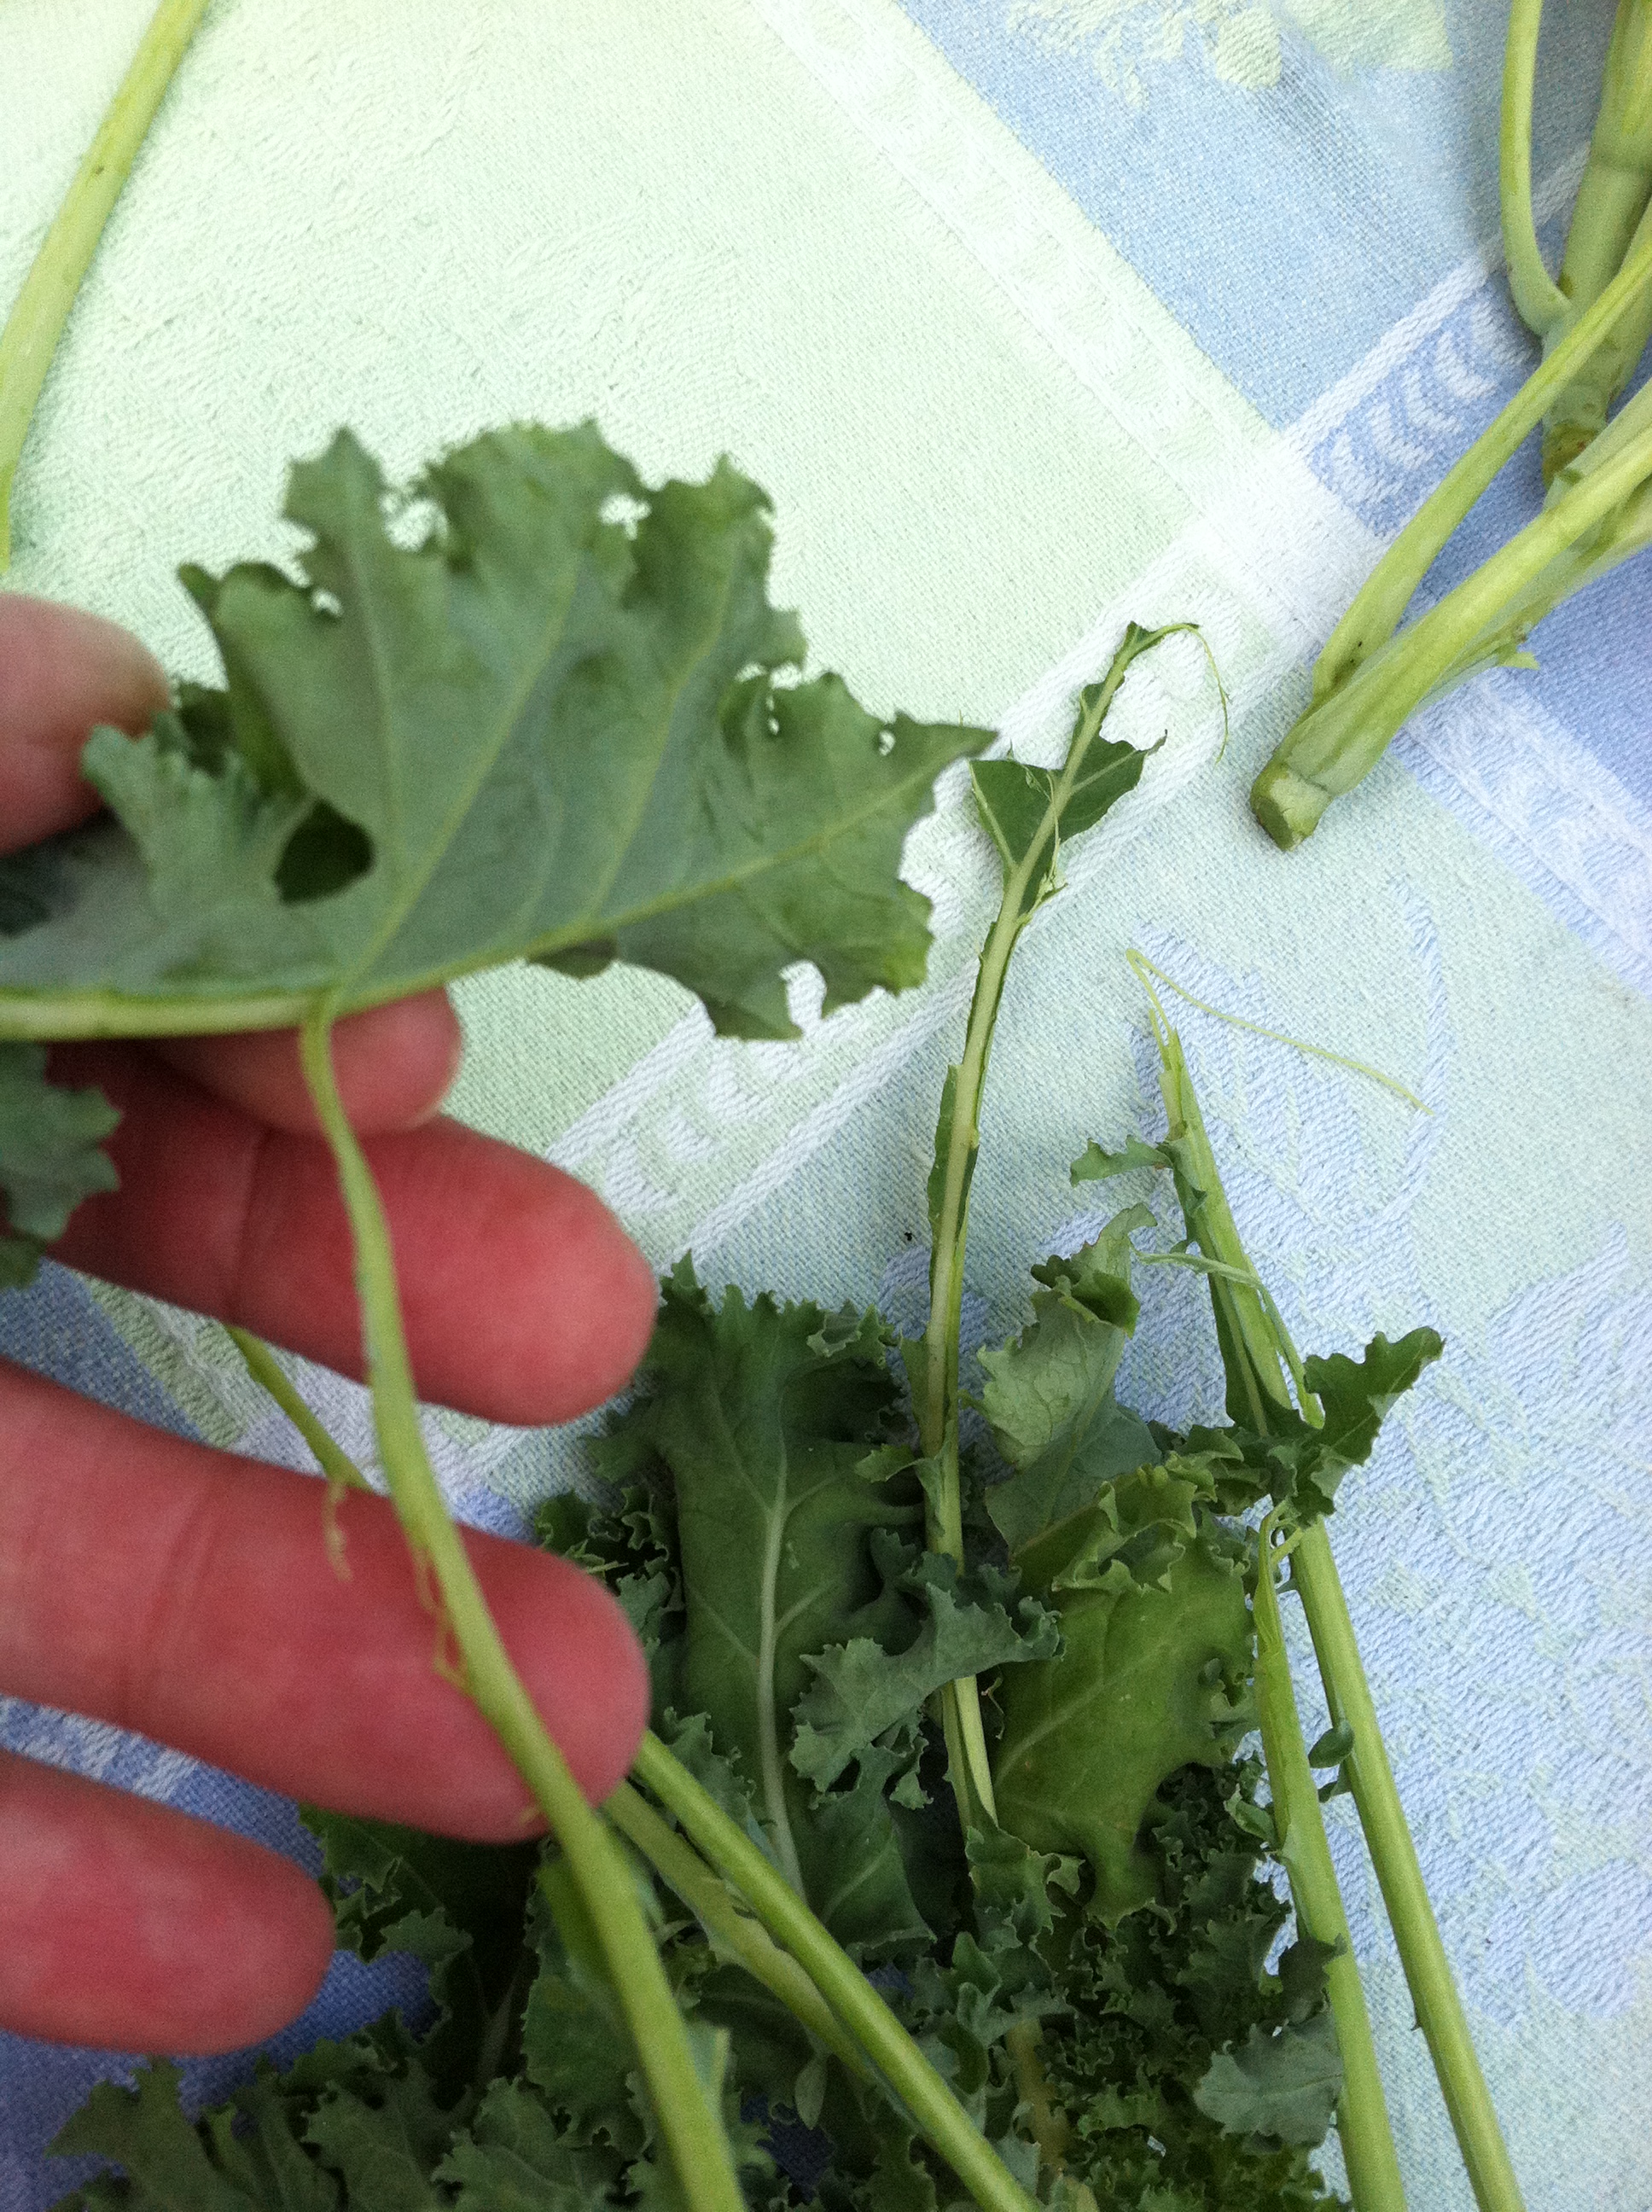
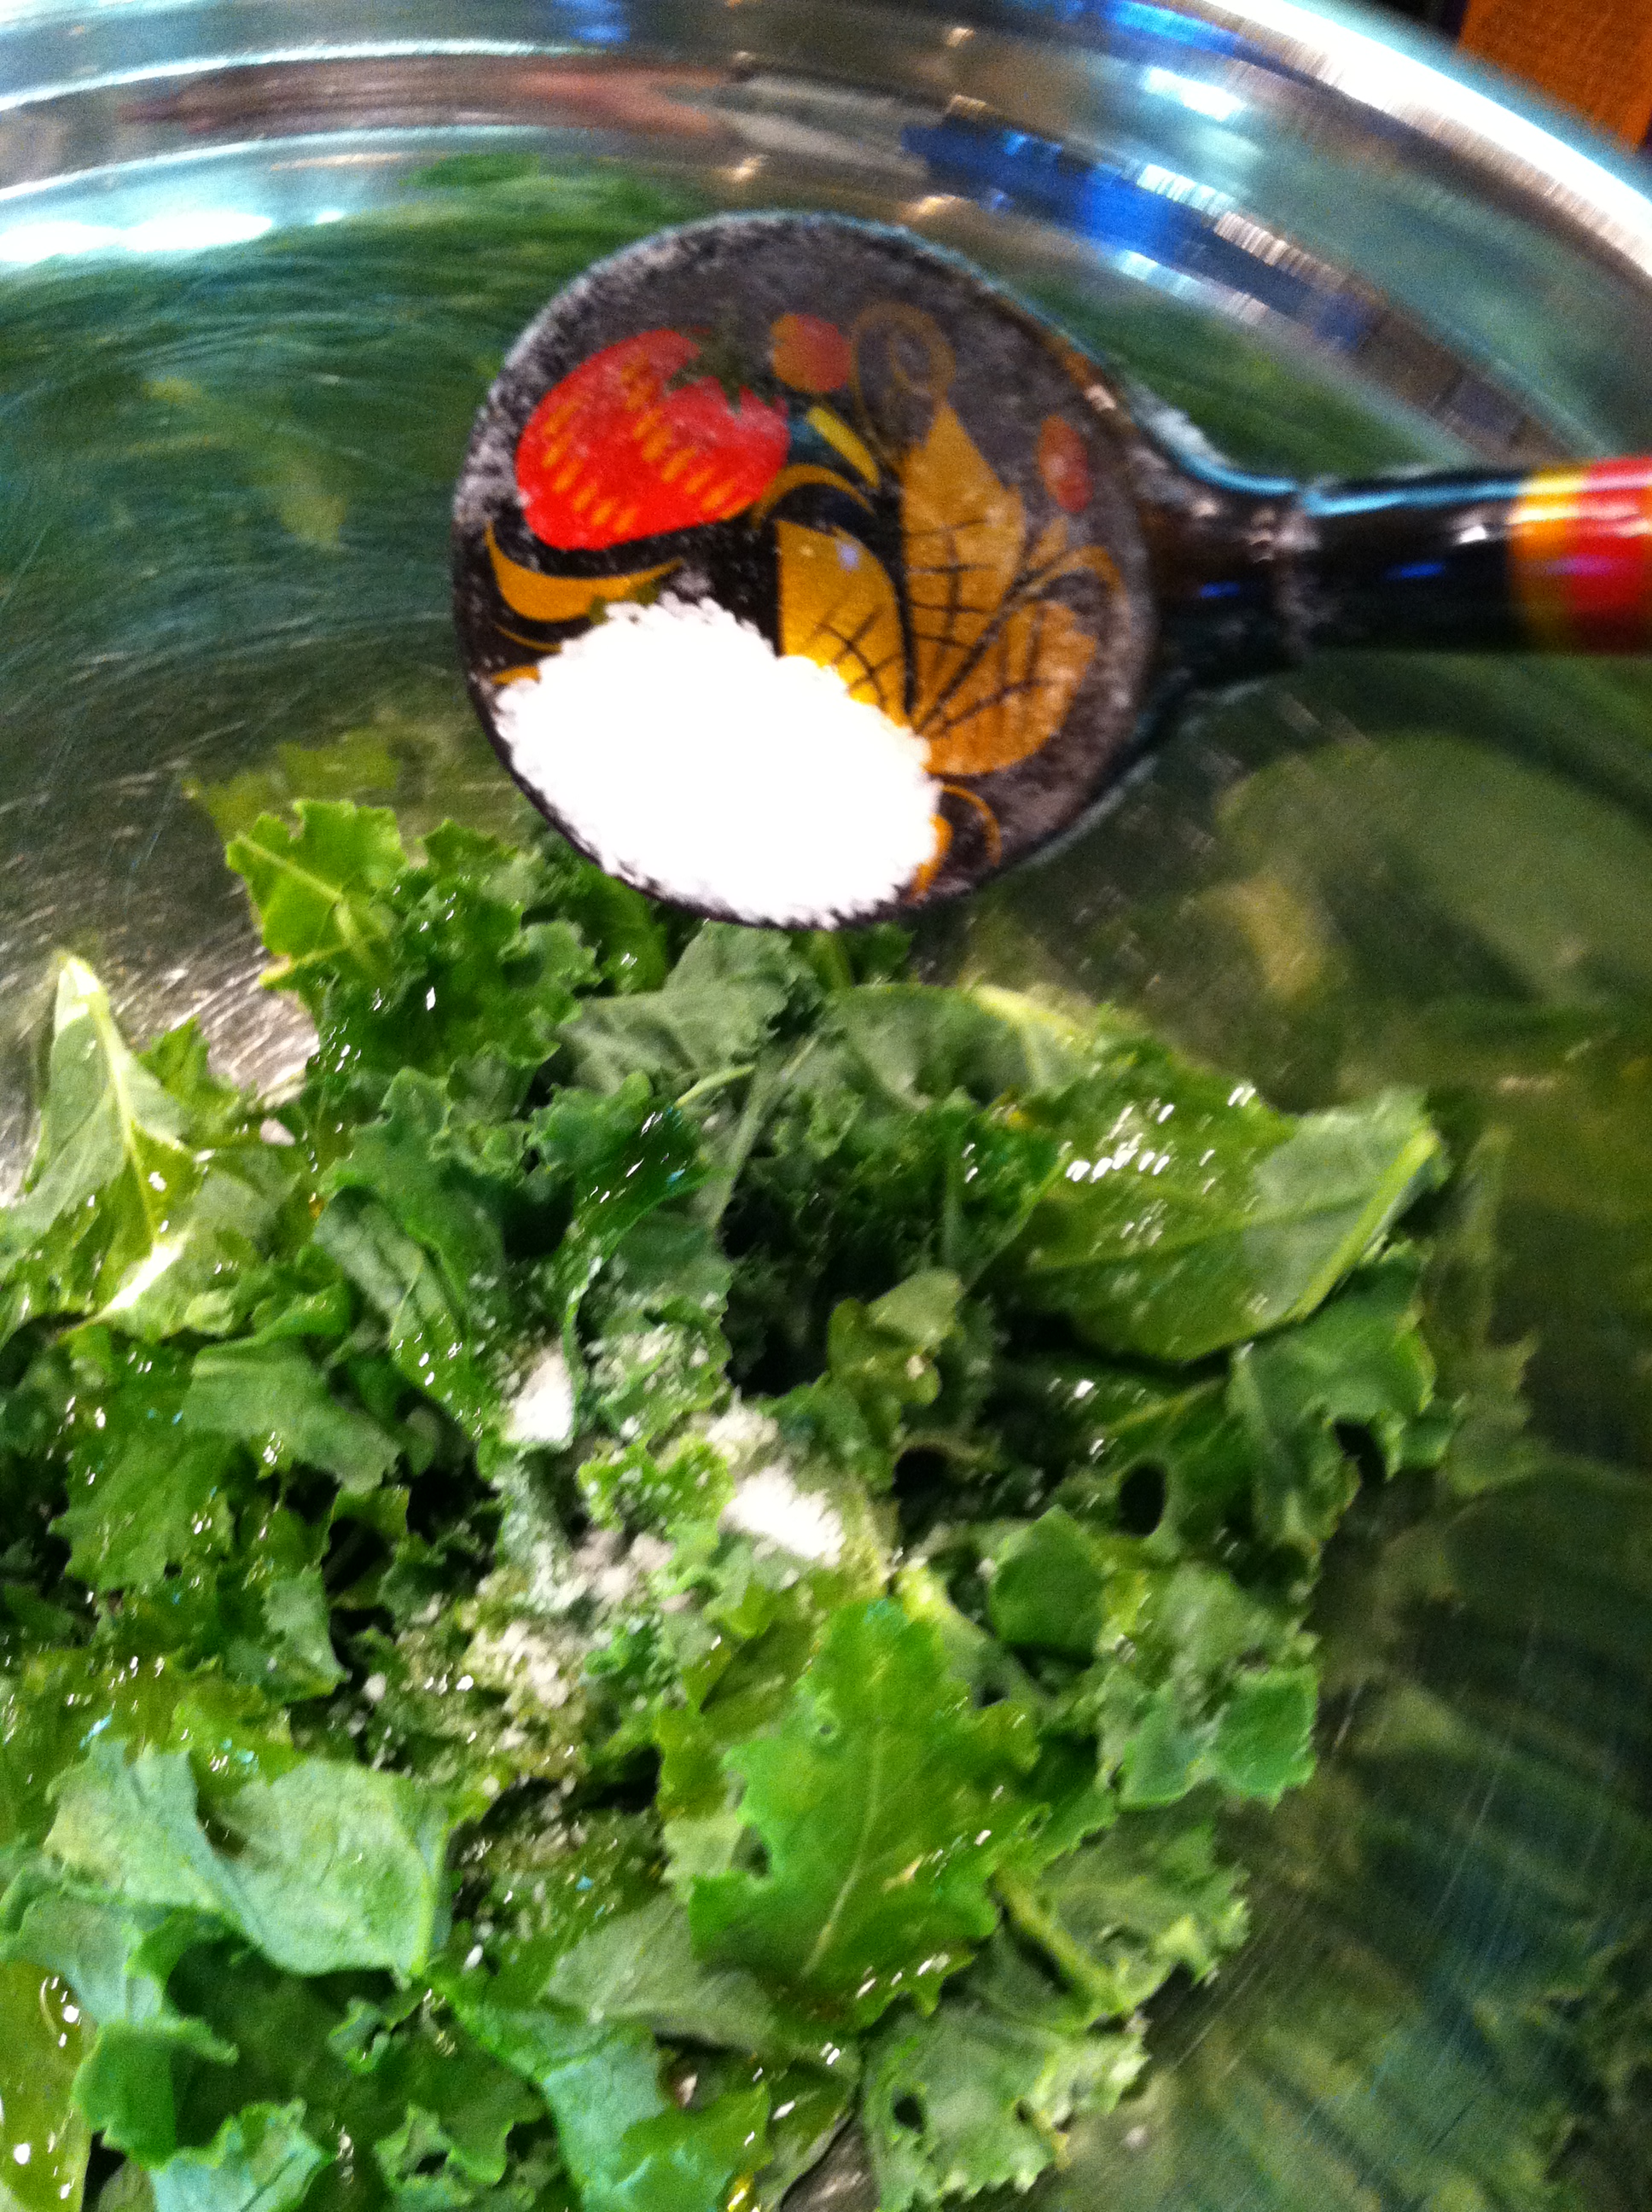
Tear the leaves into bite size pieces, but not too small. Wash and spin dry in a salad spinner. Place the kale in a bowl, season with a light drizzle of olive oil and a light sprinkle of salt.Image

Image

Spread the kale on the baking sheet and place in the pre-heated oven for 10-15 minutes. The younger and more tender the kale, the less time it takes to crisp.

When the chips are crispy and slightly brown on the edges, remove from the oven and serve.

If you live in a humid area, the chips may need re-crisping by simply placing them in a warm oven for a few minutes.

They have a lovely earthy flavor that complements many dishes. The chips make a great snack and are something different to put out at your next party.

Image

Spread the kale on a baking sheet and bake for 10-15 minutes

When taking a chefs certification once, I used the kale chip to compliment a dish of Lobster and Israeli Couscous with Grapefruit Emulsion. It was the perfect compliment as it brought  warm earthy “umami” flavors which really made the dish pop.

Rosemary and Lavender Savory Scones

There is nothing quite like a great scone and these Rosemary and Lavender scones fit into the great scone category easily.

Scones are typically thought of as being sweet and fat. This recipe replaces the fat with goat cheese and the dough is delicately scented with rosemary and lavender honey.

If you can’t find lavender honey, you can infuse honey with lavender buds to get the flavor. Put the honey in a double boiler, fold in the lavender buds and warm gently for a couple of hours.

Use only the lavender buds because that is where the essential oil, scent and flavor is, not the stems or leaves.

If you “hyper-heat” the mixture to a boil or heat in the microwave, you will get a very bitter flavor from the lavender. Use too much, you can end up with that “old-lady soap” flavor and no-one wants that!

The amount to use is 1/2 tablespoon to 1 cup of honey. Once the honey has cooled back to room temperature, strain out the lavender. The lavender imparts a very delicate color so if you use a light-colored honey you will see the lavender hue. You won’t see it in darker honey.


Rosemary and Lavender Honey Scented Savory Scones

  • 1 – 1/3 cup unbleached flour
  • 1 –  1/3 cup semolina flour, fine
  • 2 teaspoons baking powder
  • 1 teaspoon finely minced fresh rosemary
  • 1/2 teaspoon baking soda
  • 1/2 teaspoon sea salt
  • 5 oz chevre (a semi-soft goat cheese)
  • 4 Tablespoons olive oil
  • 1/4 cup lavender honey
  • 1 large egg
  • 1/2 cup cream or milk


  • Mix dry ingredients.
  • Cut goat cheese into dry ingredients until it resembles coarse corn meal.
  • In a separate bowl combine wet ingredients.
  • Add to flour mixture and mix until incorporated.
  • Spread the dough out on a parchment lined baking sheet. Try not to handle the dough too much. Pat it lightly to shape and thickness desired
  • Cut into triangles or other desired shapes.
  • Bake at 350° F until golden brown; about 10-20 minutes, depending upon how thick the dough was rolled out.


Mix wet and dry ingredients until incorporated

Pat the dough to desired thickness and shape; cut into triangles or desired shape before baking.

Bake until golden brown

Serve warm.


If desired, spread with goat cheese and drizzle with lavender honey.

These scones make a great breakfast!

I also like to serve them with roasted leg of lamb.

If you didn’t like goat cheese, you can substitute cream cheese.

Garde Manger Finals

Garde Manger Finals means this is the last of the class posts for a few weeks.

Our final full week of Garde Manger had students exploring some aspects of molecular gastronomy and perfecting carving skills.

While the students did a great job with various carving skills, I got the impression this class would rather actually cook than play with making garnishes.

Gulf Oysters, Blood Orange Vinegar Pearl, Duck Fat Powder

Which is why they had a couple of days to play with a bit of molecular gastronomy. They used tapioca maltodextrin to create powders from olive oil, bacon fat and duck fat. It was sprinkled on french fries, chips, oysters and played within general.

They played with spheres, making pearls and eggs from various liquids like cucumber juice, blood orange vinegar and coffee. Not together of course. They created a jellied piña colada layered sphere – coconut, rum, pineapple – nice concept but awkward to serve and eat.

They cured watermelon in vacuum pack and served it with a seared duck breast and corn jus.

Using the Pâté de Fruit method, they were given an assignment of creating a jelly that would melt in the mouth or inside of something.

Examples being: a jellied stock with a morsel of meat, chicken or fish inside a dumpling. When cooked, the dumpling is full of the flavorful liquid inside. A surprising bite.

They made 4 different kinds of gravlax; a salmon cured with salt, sugar, herbs and spices.

I plan on working more of these things into the garde manger curriculum. These techniques are found out in high-end and cutting edge restaurants so why not explore it while in school.

The final assignment was to do an hors d’oeuvres party for 40 people. They had to plan, set up and do the entire event.

I think they did a terrific job.

Garde Manger II starts at the end of March. That session will feature curing meats, smoking, pate, terrines and all the other sides of garde manger.

Enjoy the slide show.

This slideshow requires JavaScript.

Chive Blossom Vinegar and Vinaigrette

Onion chive blossoms

Chive blossom vinegar isn’t a normal thing to be making in January, but my wish for chive blossoms was realized.

This winter had been on the warm side for us. It was just last night the geranium and the jalapeno plants bit the dust to freezing.

While making a salad for dinner the other evening, my thoughts turned to chive flowers and all the yummy things I could do with them.

I thought how nice it would be to have some chive blossoms to add to the salad, or sprinkle some over the baked potatoes.

I was thinking about making more chive blossom vinegar but alas, being January, my desire would have to wait until spring.

Chive blossoms have a delightful onion or garlic flavor, depending upon which type of chive you have. Onion chives have lovely purple flowers that I really like; garlic chives produce white flowers.

But look at what I found!

As I rounded the corner towards my office, right there in front of me was a lovely plot of blooming chives in the schools herb garden.

Yay! Wish granted!

( Now I wish for a million dollars)

I picked as many as I thought I needed and ran home to toss them into the evening salad and make some Chive Blossom Vinegar for salad dressings in about a month.

Chives are quite simple to grow and actually are perennial so they come back year after year. I have both garlic chives and onion chives growing in my garden. They definitely are not flowering now. In fact they look quite pathetic until a bit of warmth cradles them a bit.

Chive Blossom Vinegar

Prepare the blossoms 3 ways: with stem, no stem, single flowers

Use a funnel to fill the bottles

Chive Vinegar

Wash and dry the chive blossoms. Prepare the chive in any of the following ways:

  • Leave as much stem on as you want
  • Use only the tiny flowers
  • use the entire flower heads in tact; no stem
  • leave some stem with the flowers
  • chop some chives to add with the flowers
  • any combination you want

The goal is to make it look pretty and attractive.

  • Place prepared blossoms into an attractive bottle.
  • Boil enough white wine vinegar or rice wine vinegar to fill the bottle.
  • Use a funnel to fill the bottle with the hot vinegar.
  • Cork or seal the bottle.
  • Label with the date you made the vinegar.
  • Let steep for 30 days.

After the flavor has developed, open the bottle and experience the fresh aroma of the chive blossom vinegar.

Use it to make a simple vinaigrette.

Chive blossoms on baked potato

Chive Blossom Vinaigrette over Tomato, Onion, Cucumber Salad

  • 1/2  cup chive blossom vinegar
  • 1/2 tsp kosher salt
  • 1/2 tsp fresh cracked black pepper
  • 1 tablespoon Dijon mustard
  • 1 to 1-1/2 cups of olive oil

Place all the ingredients but the oil into a bowl and whisk to combine.

Whisk in the oil and serve.

This is a temporary emulsion which means you will need to whisk it before using as it will separate.

Tomato, onion, cucumber salad with chive blossoms

Tomato, Onion, Cucumber Salad

Serves 2

  • 1 medium tomato, wedged into 8 wedges
  • 1/2 medium sweet onion, sliced thin
  • 1 scallion, sliced thin
  • 1/2 English cucumber, sliced thin
  • Chive blossoms

Toss the sliced vegetables in a bowl and then arrange attractively on salad plates.

Sprinkle the chive blossoms on top

Drizzle Chive blossom vinaigrette over salad and serve.

To make this go over the top, drizzle a few drops of truffle oil over the salad too.

Tabouli, Taboule or Tabbouleh

Tabouli, Taboule or Tabbouleh, is all the same.

It is time to get to know this terrific and tasty side dish.

Taboule is a middle eastern dish that has become part of the American diet. Just as Chinese foods became Americanized, so have middle eastern foods. So to call a particular taboule recipe an authentic middle eastern dish is not exactly accurate. There are regional differences – some use more parsley, some add cucumber and feta cheese. Then there are the non-traditional taboule salads that can have apples an walnuts in them or made with quinoa rather than bulgur.

My favorite version is simple with bulgur, parsley, tomato, olive oil, mint and lemon juice.

Sometimes I’ll make a batch and sit down and eat an entire bowl. I love how this dish makes you feel like you are really doing something good for your body.

Serve taboule as a cold side dish.  This recipe for taboule has a nice balance of traditional flavors.

  • 1 cup  bulgur wheat
  • 1 cup boiling water
  • 1/2 cup  fresh parsley, chopped
  • 1/2 cup fresh mint, chopped
  • 1 large tomato, peeled, seeded, and diced small
  • 1/2 medium onion, diced small
  •  1/4 cup extra virgin olive oil
  • 1/4 cup fresh lemon juice
  • pinch of salt
  • fresh ground black pepper

Method:

  • Place bulgur in a bowl and pour the boiling water over it. Soak bulgur in water for 30 minutes.  The wheat should have absorbed all of the water. If there is any water left, drain and squeeze out as much water as possible.
  • Peel, seed, and dice the tomato
  • Dice the onion and finely chop the parsley and mint
  • Mix the bulgur, tomato, onion, parsley, and mint in a large bowl
  • Whisk the olive oil and lemon juice together and pour over the salad
  • Season to taste with salt and pepper

Taste and adjust the various ingredients to your taste. More olive oil? More lemon juice? Just be careful not to make the salad too wet. Instead of adding more salt, consider adding feta cheese crumbles.

  • Refrigerate for an hour or so to allow the flavors to blend

Optional additions:

  • Finely sliced scallions
  • Crumbled Feta cheese
  • Diced cucumber
  • Pitted olives
  • Diced green and/or red pepper