This is a series of links to recipes, videos and more for creating your perfect holiday feast. The first one is for the main item, the turkey, crown roast or whole roasted cauliflower for a vegan option.
Following series over the next few days leading up to the big day, will be the following posts:
- Vegetables and side dishes
- Breads and rolls
- Desserts
- What to do with left overs
Whether this is your first Thanksgiving dinner or your 50th, here are some tips and recipes for making the feast stress free.
I’m linking to the posts I’ve published over the years so click the links and create the Perfect Thanksgiving meal!
Let’s take a look at The Main Item
How to Roast a Turkey – a Step by step guide, with pictures.
Remember to click on the links for the full posts!
Of course if you don’t eat bacon, don’t use it, but it sure is delicious! If not using bacon, be sure to baste the bird every 1/2 hour. If the skin gets to dark, tent it with foil.
Tips for the Turkey:
- Order fresh organic birds well in advance
- If getting a frozen bird, allow it 3-4 days to thaw in your refrigerator
- If brining your bird, remember to keep it cold
- Open up all the cavities and remove any packets of innards, necks etc, from the inside, use these to make stock for gravy
- Allow ample time to roast the bird and to let the bird rest at least 20 minutes before you start carving.
- Save the bones to make stock. I love making stock on a cold dreary day. It makes everything smell so warm!
Turkey Roasting Chart for unstuffed and stuffed birds: Calculate your roasting time with this chart http://www.foodsafety.gov/keep/charts/turkeyroastingchart.html

Cover with bacon strips to baste the turkey during the initial phase of roasting. Remember the large bird will roast for several hours. After the first 2-3 hours, the bacon will be done, remove it and this becomes the “cooks treat”. Continue roasting the bird, basting every 30-40 minutes. The skin will crisp and become golden brown. If the skin starts to get too brown before the bird is done, tent it with foil.
If Turkey isn’t on your menu but a Crown Roast is,
Here is a video from Charlotte Cooks on How to make a Crown Roast of Pork or Lamb (Mint Sauce recipe on the site)
Watch it here:
Tips for the Crown Roast:
- Be sure to order your roast well is advance from your butcher. These aren’t typically an “off the shelf” kind of item. they will even french the bones (recommended) and tie it for you, just ask.
- Use your favorite stuffing
- Use a meat thermometer to cook it just right:
- Rare: 135°F remove at 125°F and allow carry over cooking to reach 135°F
- Medium Rare: 140°F Remove at 135°F and allow carry over to reach 140°F
- Medium: 145°F Remove at 140°F and allow carry over to reach 145°F
- Mid well to well 150°F and above. It is suggested to remove the number of well done portions from the others and finish those later rather than subject the entire roast to well-doneness disaster.
- Carry over cooking is when the internal temperature of the meat continues to rise after it is removed from the oven.
- Allow the roast to rest at least 20 minutes before slicing.
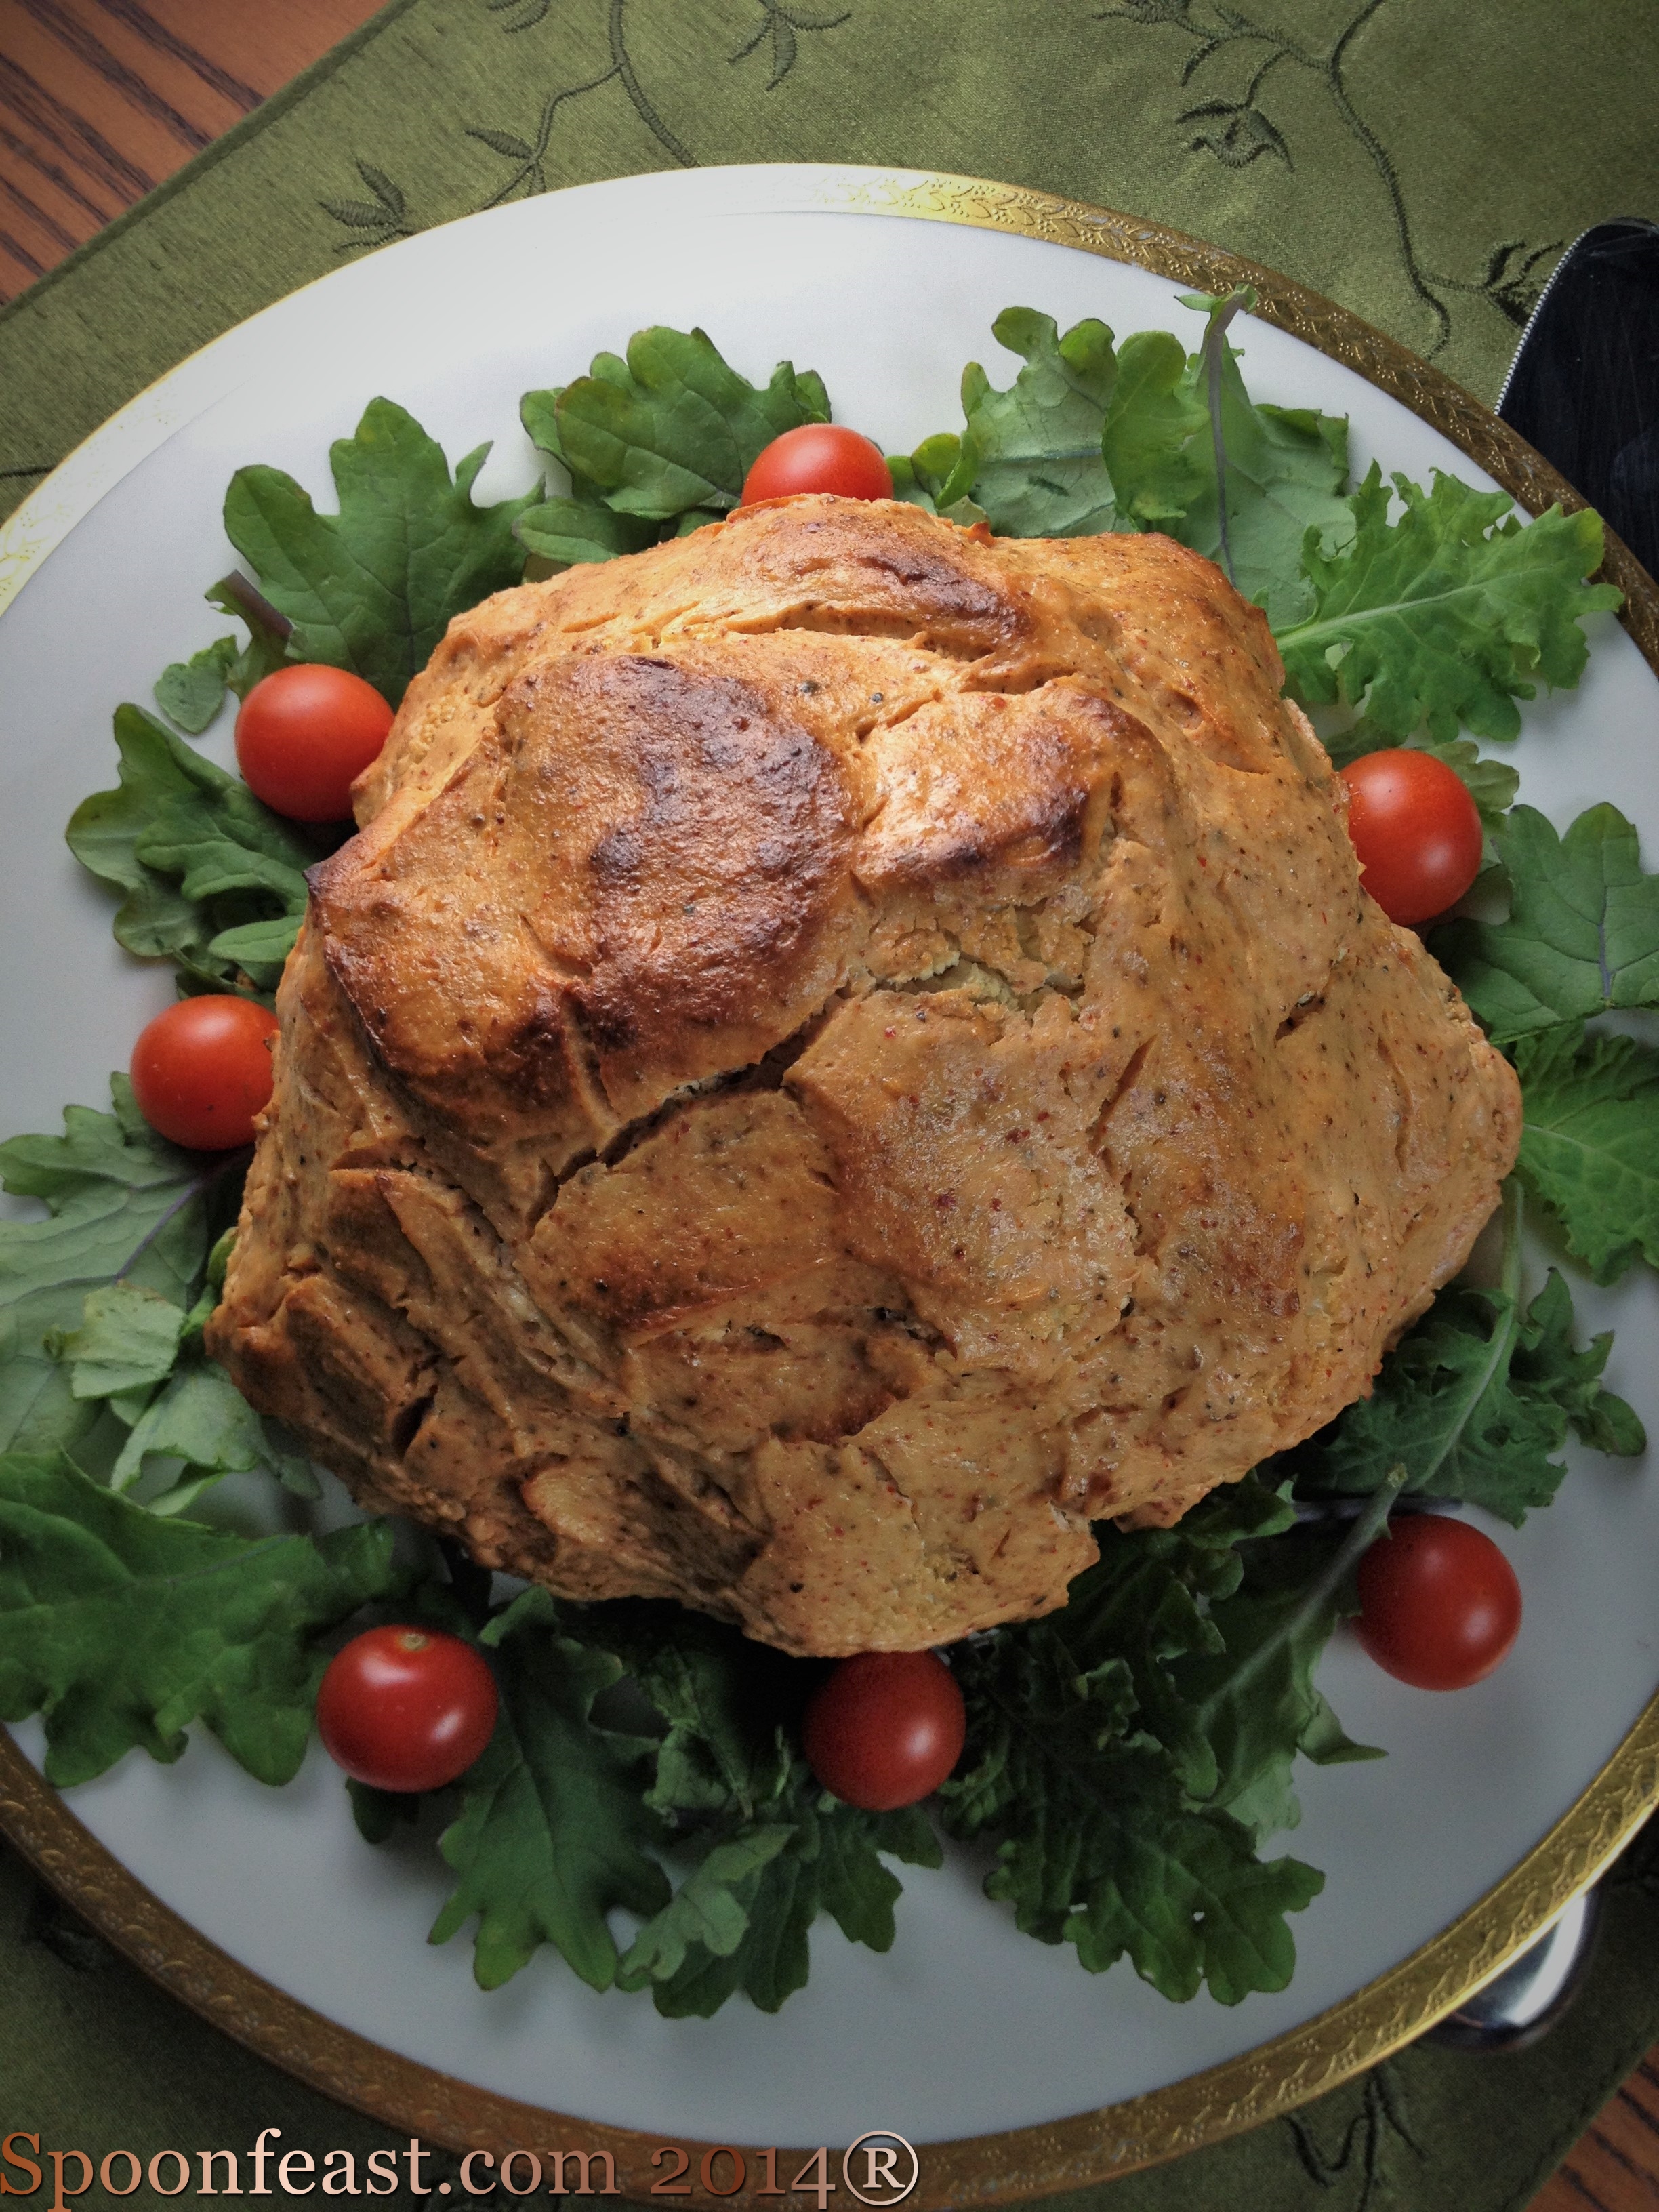
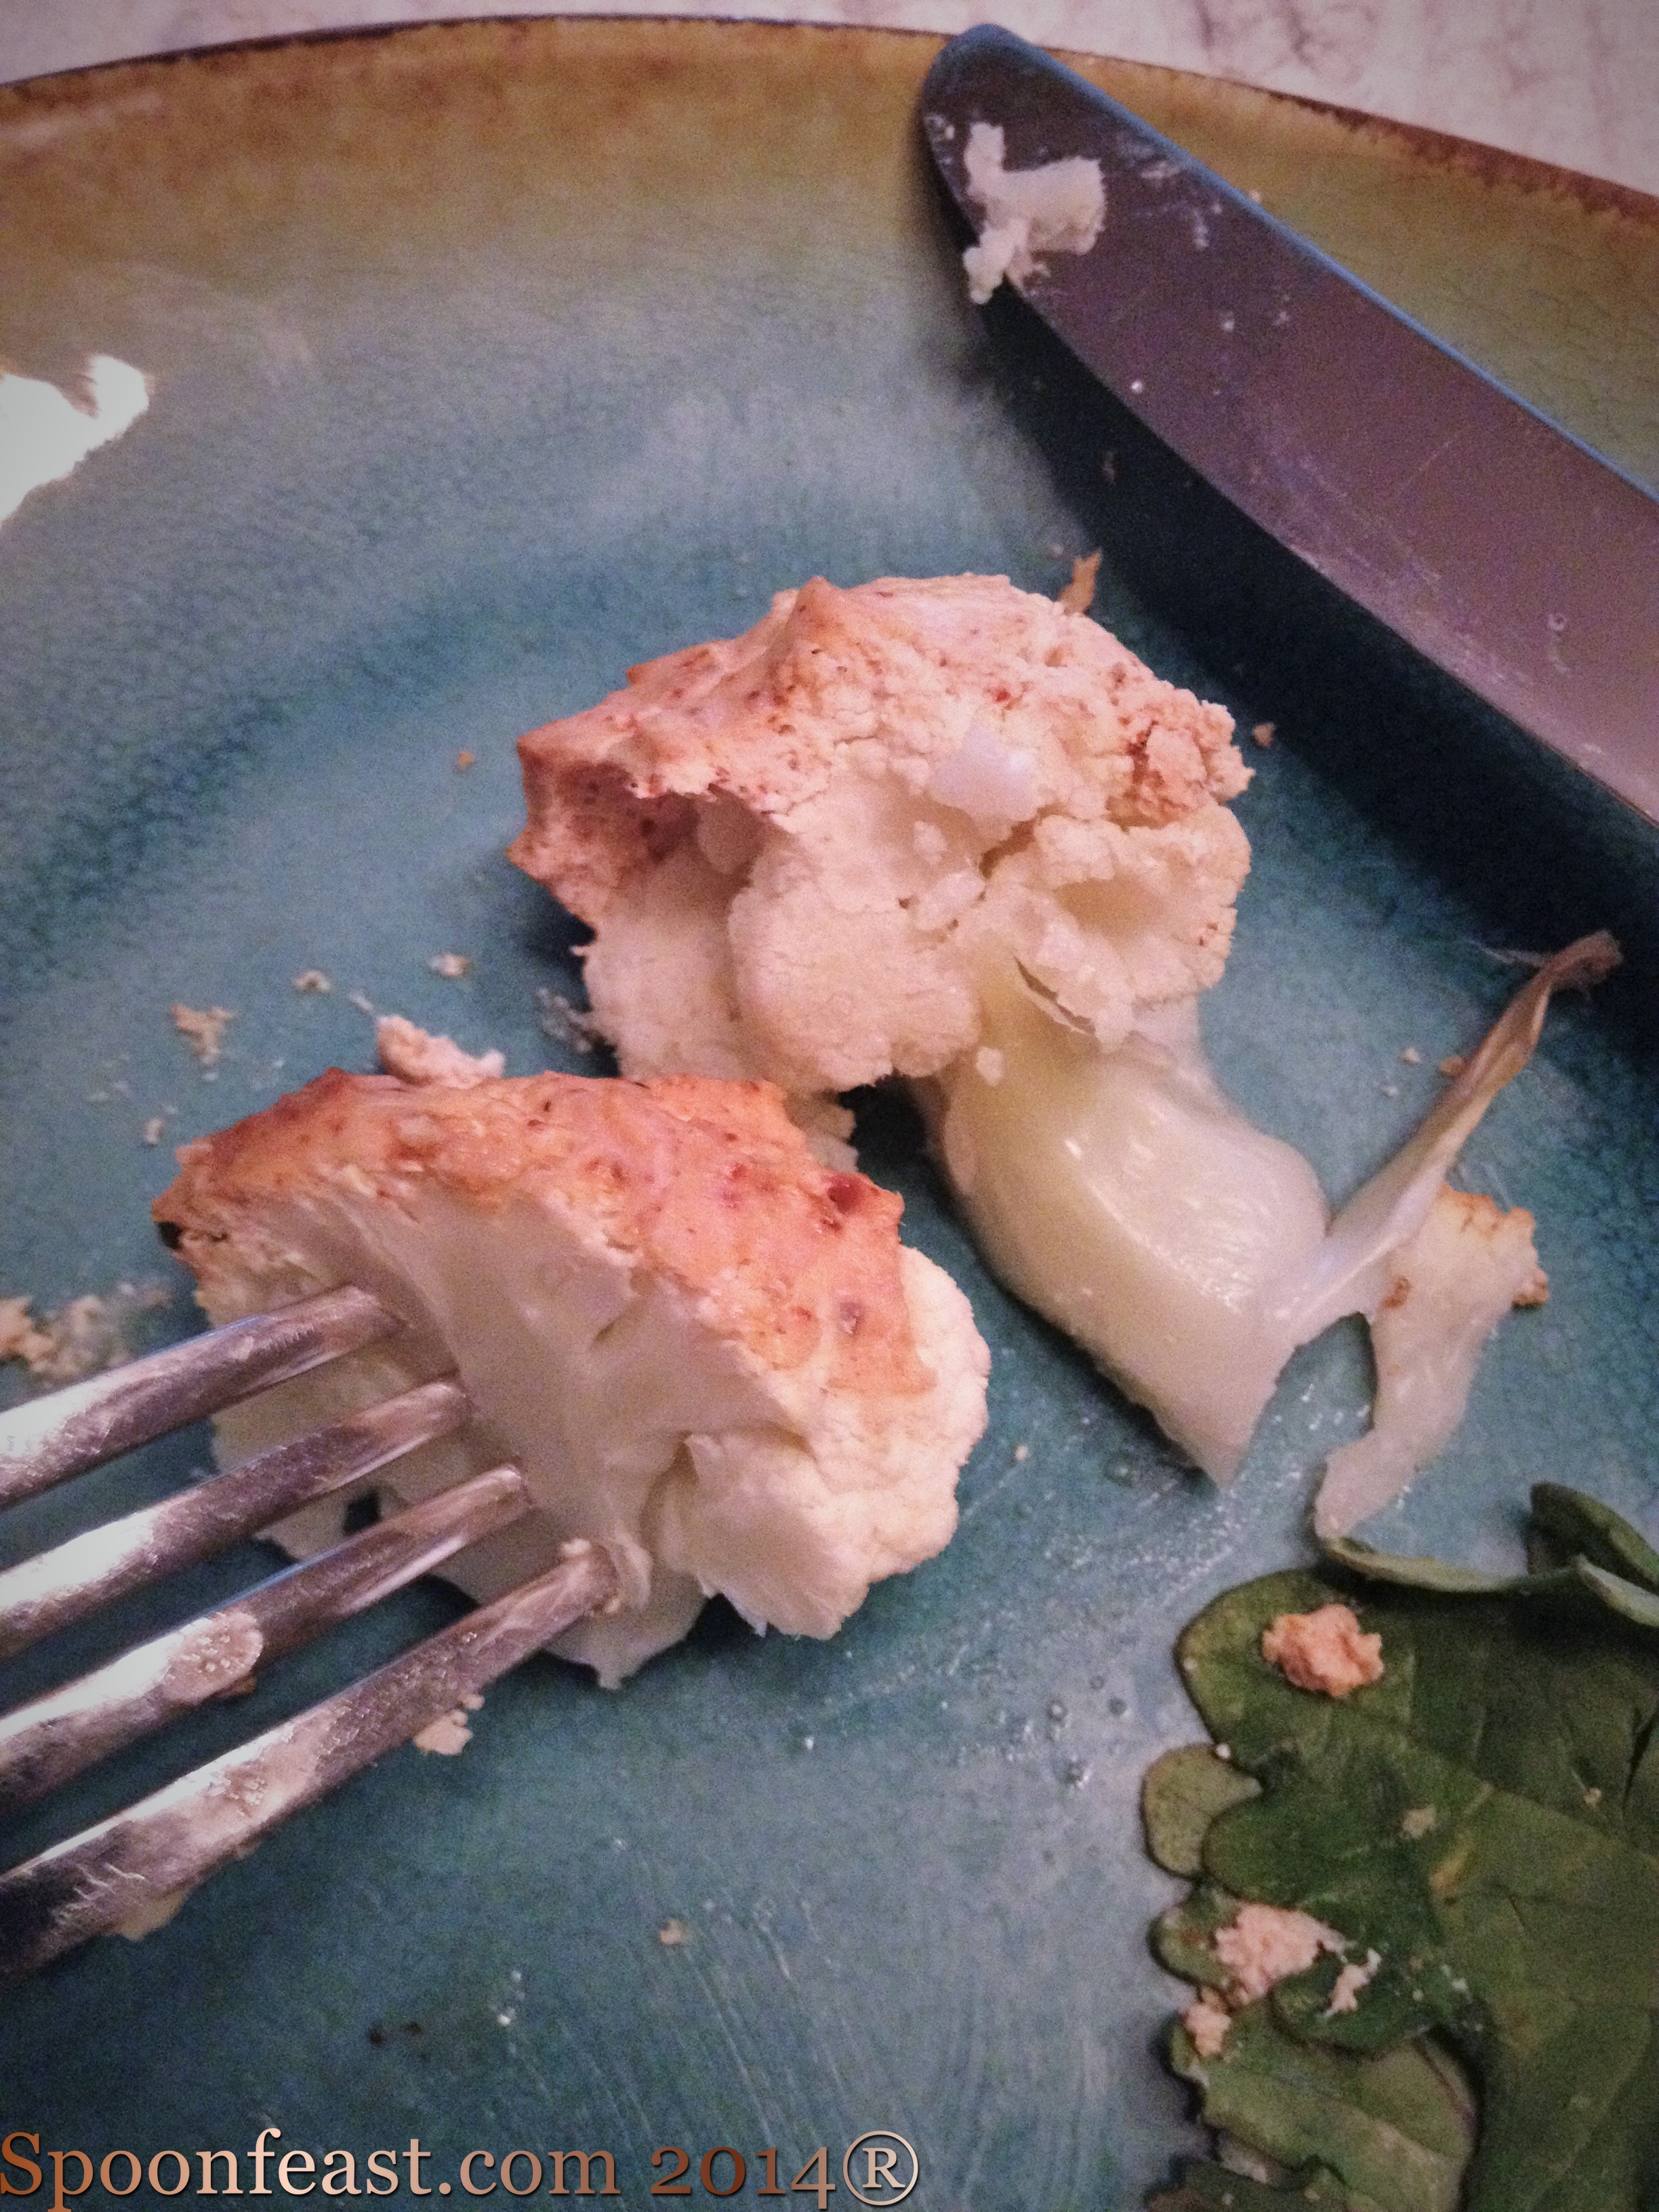
If a vegan meal is on your menu, you can Roast a Whole Cauliflower.
We love this and have it often during the year.
Tips for the Vegan Roast:
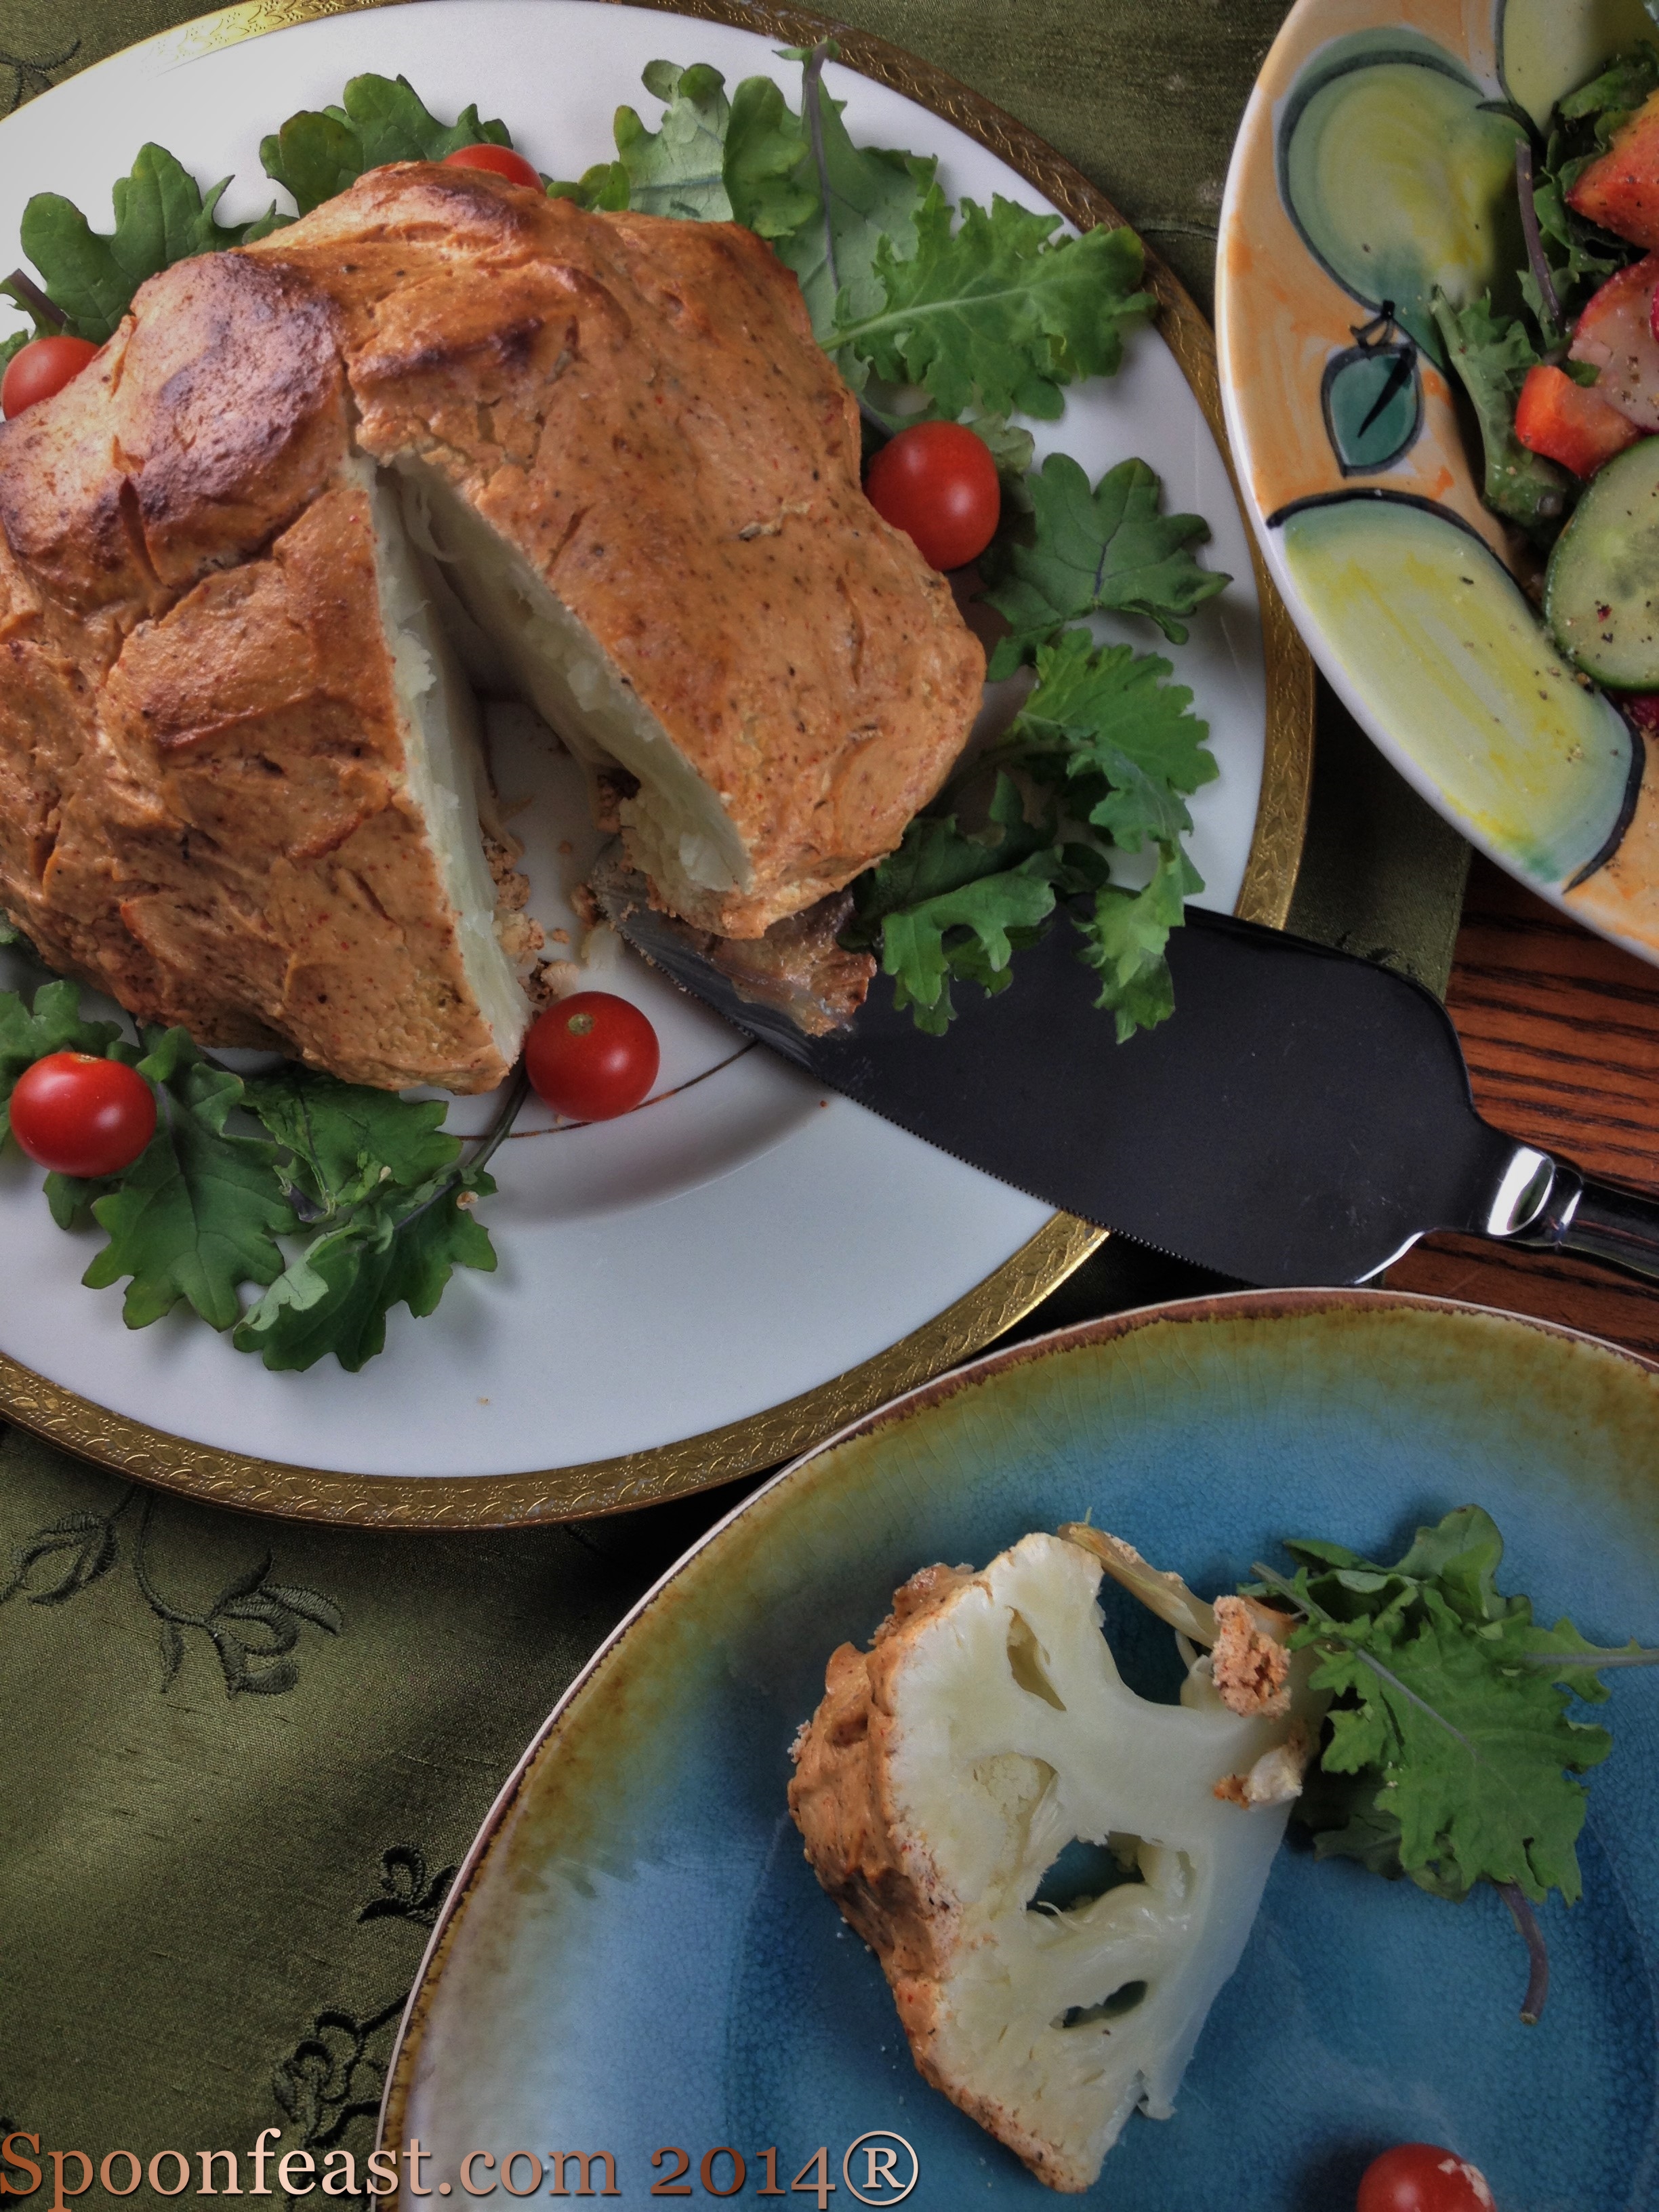
Plated roasted cauliflower
- Buy large unblemished organic cauliflower; it really has the best flavor.
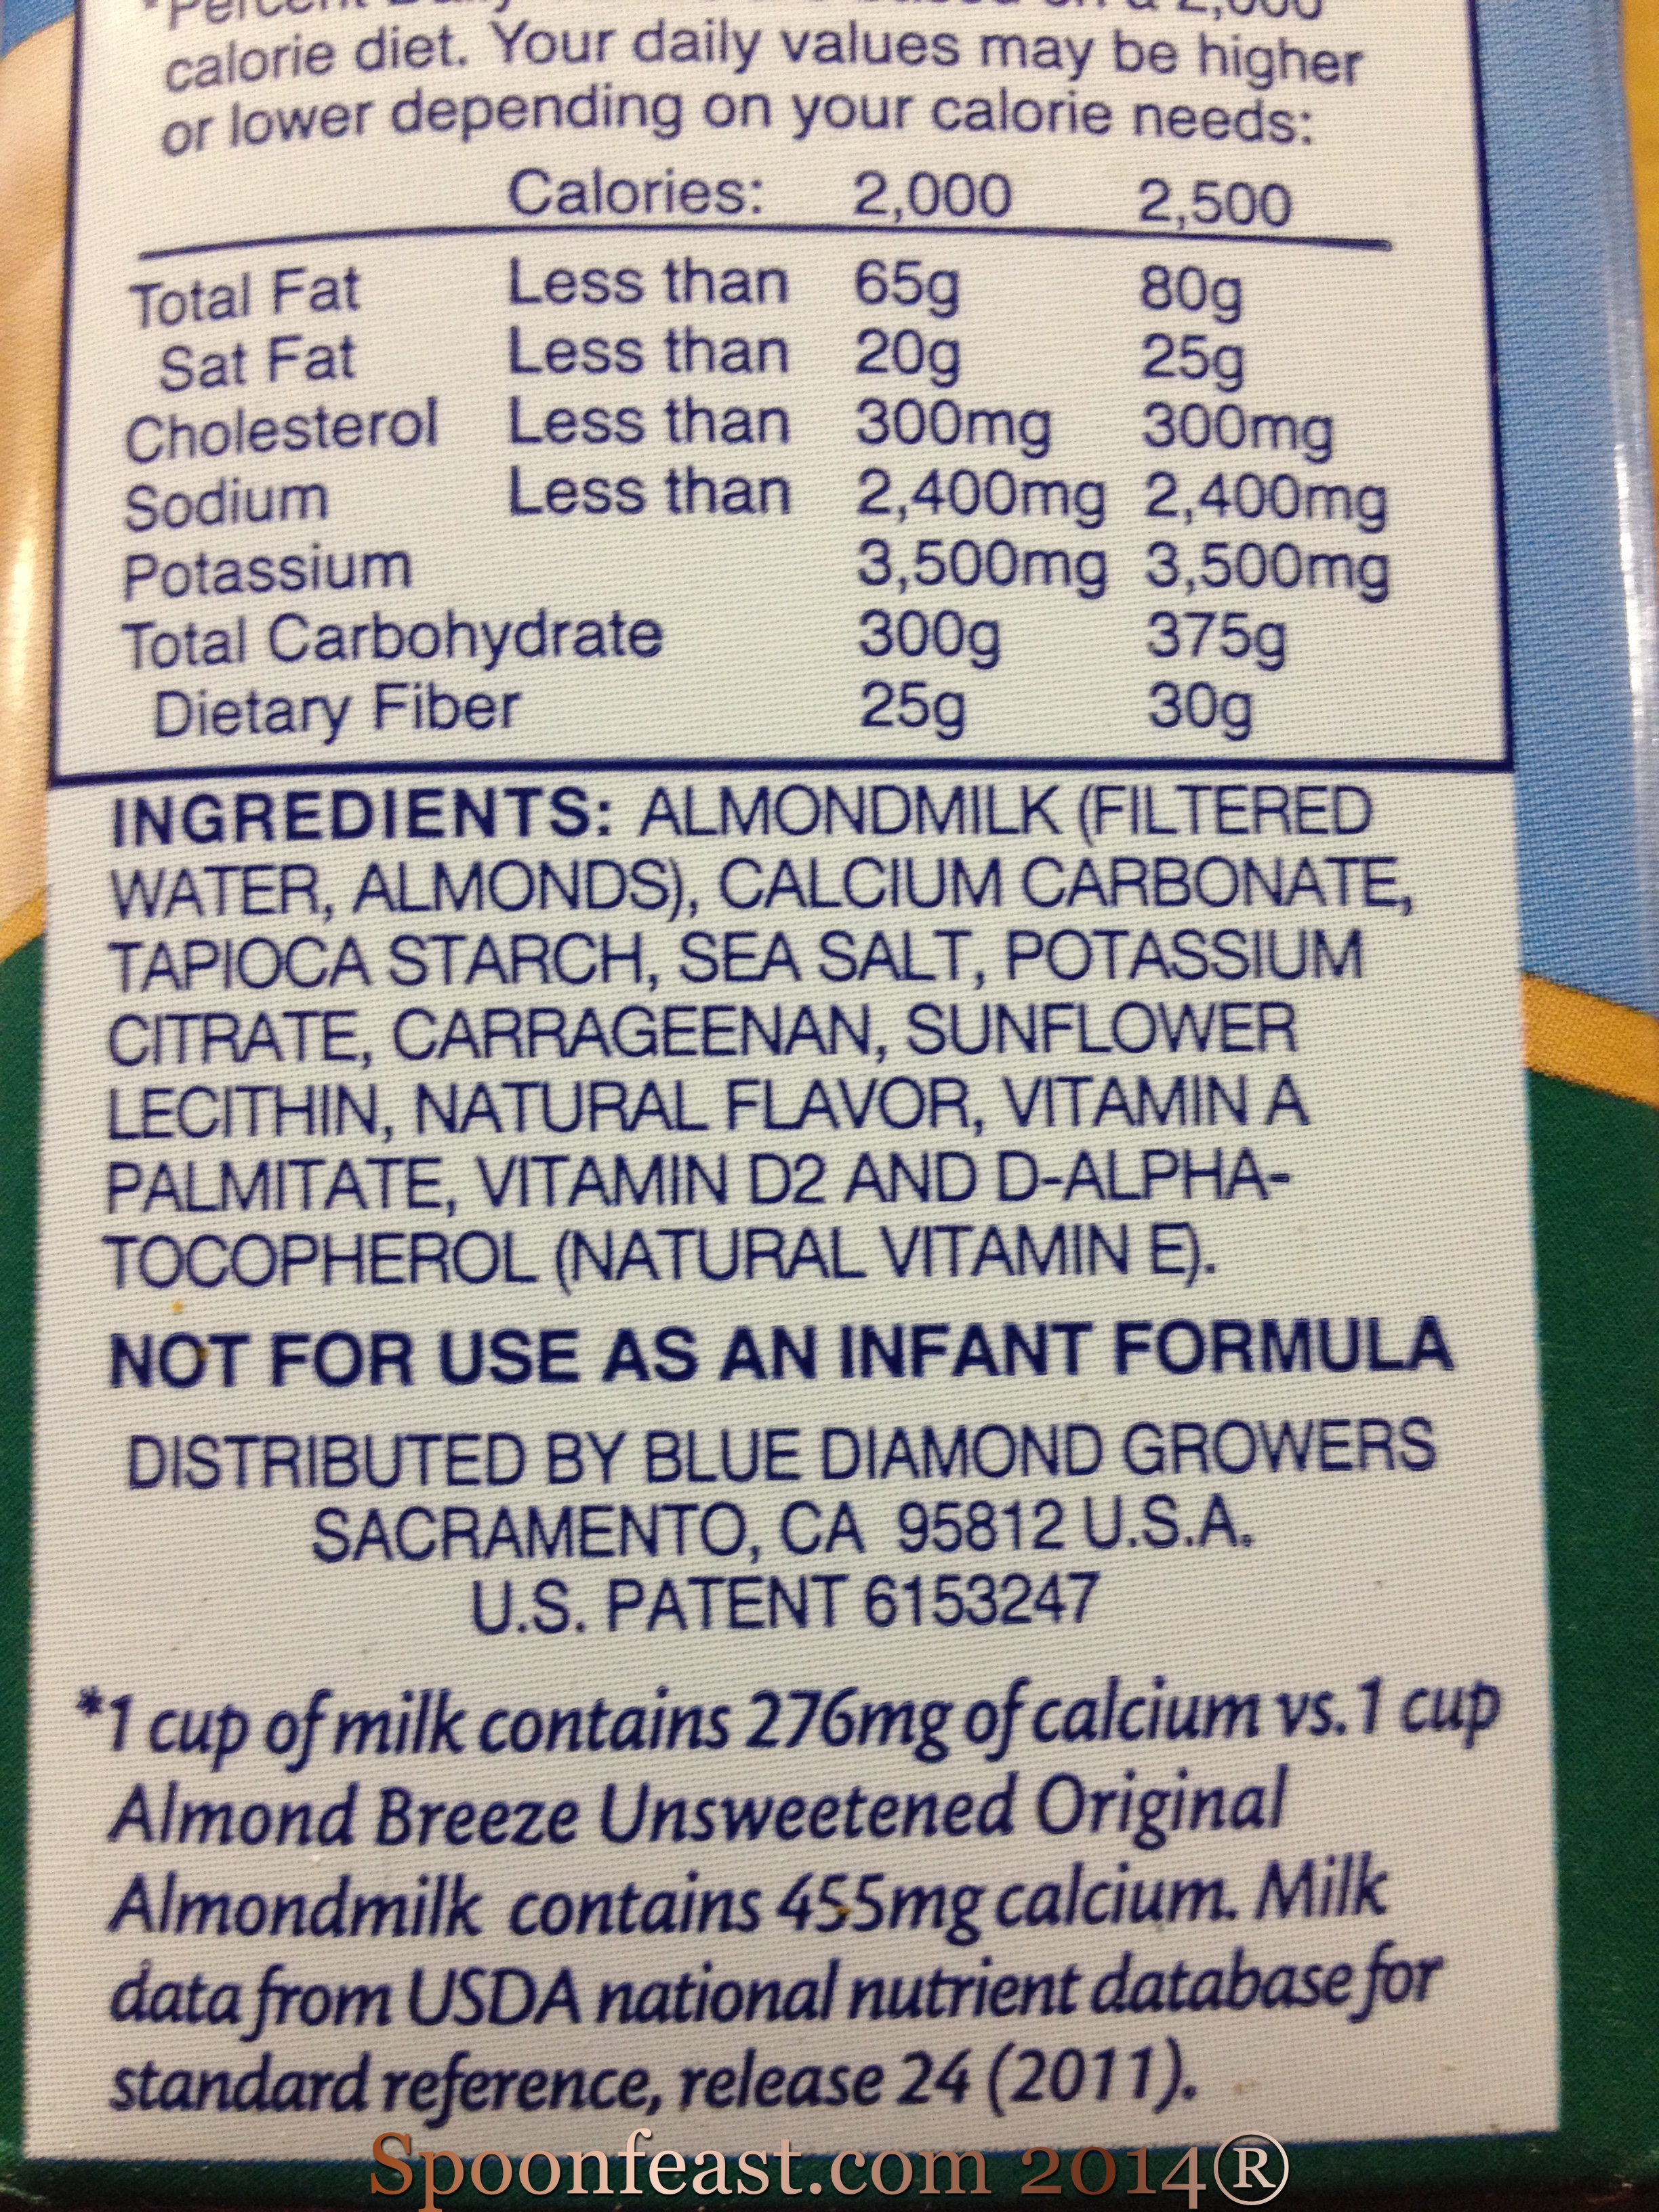
- Use Greek yogurt, it’s thicker. Or drain plain yogurt in cheesecloth or a strainer over night to thicken it.
- Use any leftovers to make a delicious soup!
So! There are some ideas for your main menu item on the Thanksgiving table.
Next up: Vegetable side dishes!
Happy Holidays!
#thanksgiving #thanksgivingrecipes #thanksgivingdinner #howtoroastaturkey #howtomakeacrownroast #stuffing #holidaymeal #veganroast