My Cooking Culture
We lived all over the world, moving about every 3 years to another place on the planet. From Morocco to Spain, Canada to Japan with a few of the United States in between.
My father is an avid gardener; we used to joke about having a corn field in our back yard no matter where we lived. Fresh snow peas were the gardeners treat. They got eaten in the garden and never quite made it to the table. I used to eat snow peas instead of potato chips. After school, I would head to the garden and sneak a few off the vines then help my dad after work with weeding and tying vines to eat more.
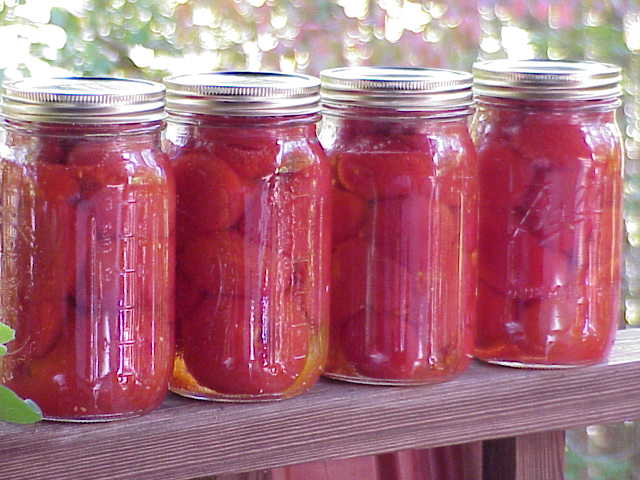
To this day, I love garden grown green beans and home-grown tomatoes seem to be better than anything you can buy at a store.
My mom is Canadian; grew up in Nova Scotia where they grew a lot of their food. She fed us with garden grown fresh foods, or frozen. She tried cans on us once and we rejected them as repulsive so she didn’t try that again.
In the foreign countries, mom always managed to hire a native cook to prepare meals for us a few days a week. My parents made sure no matter what country we lived in, we learned about the culture, food and language. When we lived in Japan, the family that lived behind us was the same size. The mom there and my mom made great friends with each other. On Wednesday night, they would each prepare a full meal for the family, put it on trays; walk out the back door and swap meals. They got a traditional American/Canadian meal and we got a traditional Japanese meal. I loved it! My dad, not so much.
Imagine, from my Dad’s point of view, the aroma of pan-fried pork chops, green beans and mashed potatoes with gravy wafting through the air. Ah, the smell of the roasting garlic whetting the appetite. The coming to the table and finding plates of various sushi, rice, miso soup and tofu with cucumber seaweed salads. Surprise!
We have always eaten a ton of fresh vegetables, local meats and foods. What is horribly frustrating is seeing the decline in the quality of our food supply. In addition to the decline in quality, there is also the fact that so many people really don’t know what they’re eating, or how to eat well or make good food choices.
This is where I want to make a difference!
My dad, who is 87, still grows a garden and has the best tomatoes in the world. He also makes a terrific gyoza, thanks to “Mamasan’s” recipe.

Final Harvest!
I am one of the lucky ones. My parents didn’t take us to McDonald’s. Even though as kids we begged for it. I remember looking at the McDonald’s signs and noticing how the numbers of how many hamburgers they sold kept increasing. (Yes, they kept count in the early days!) I wondered if I would ever be lucky enough to be part of that statistic. Then came the day when the signs changed to “millions served” now it might be “billions served”. Yes, I finally got one. They must have, among other things in this category, the worst bread on the planet.
My son used to say my meals were always the same: 1 starch, 1 or two vegetables (1 always green), and a protein with a sauce of some kind. I have to admit it is a type of formula.
Today my Typical Dinner Consists of:
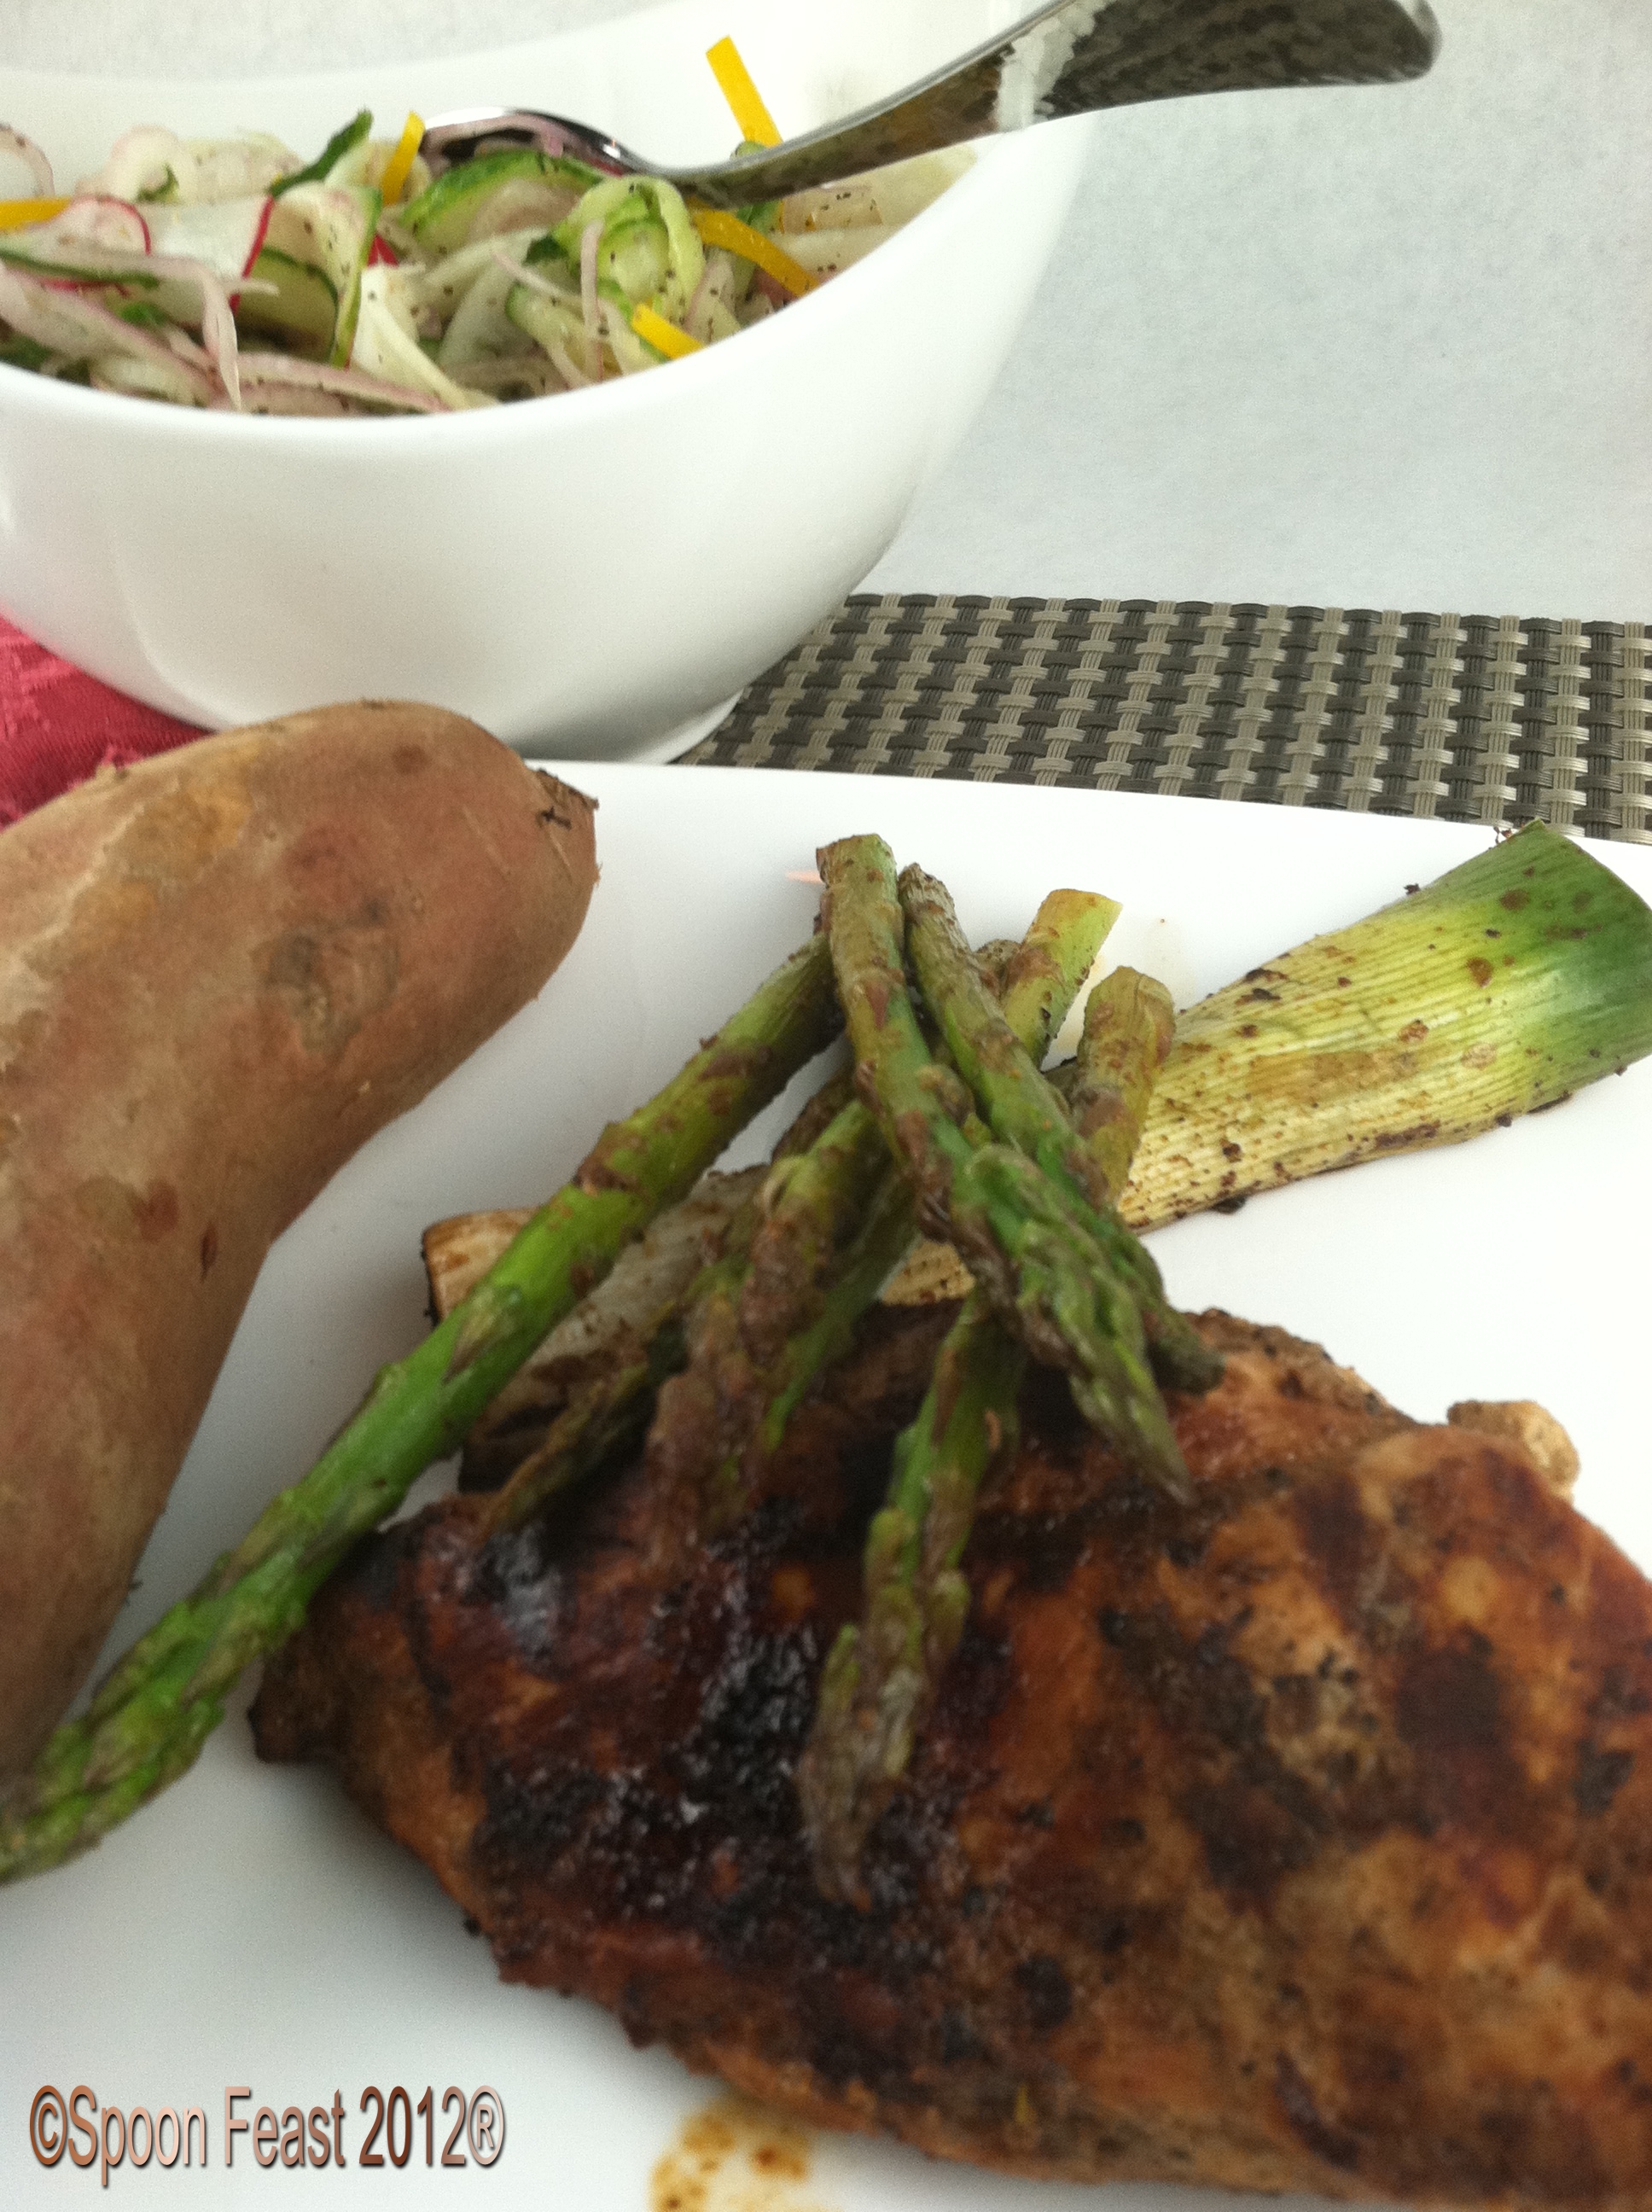
1 Green vegetable (1 cup)
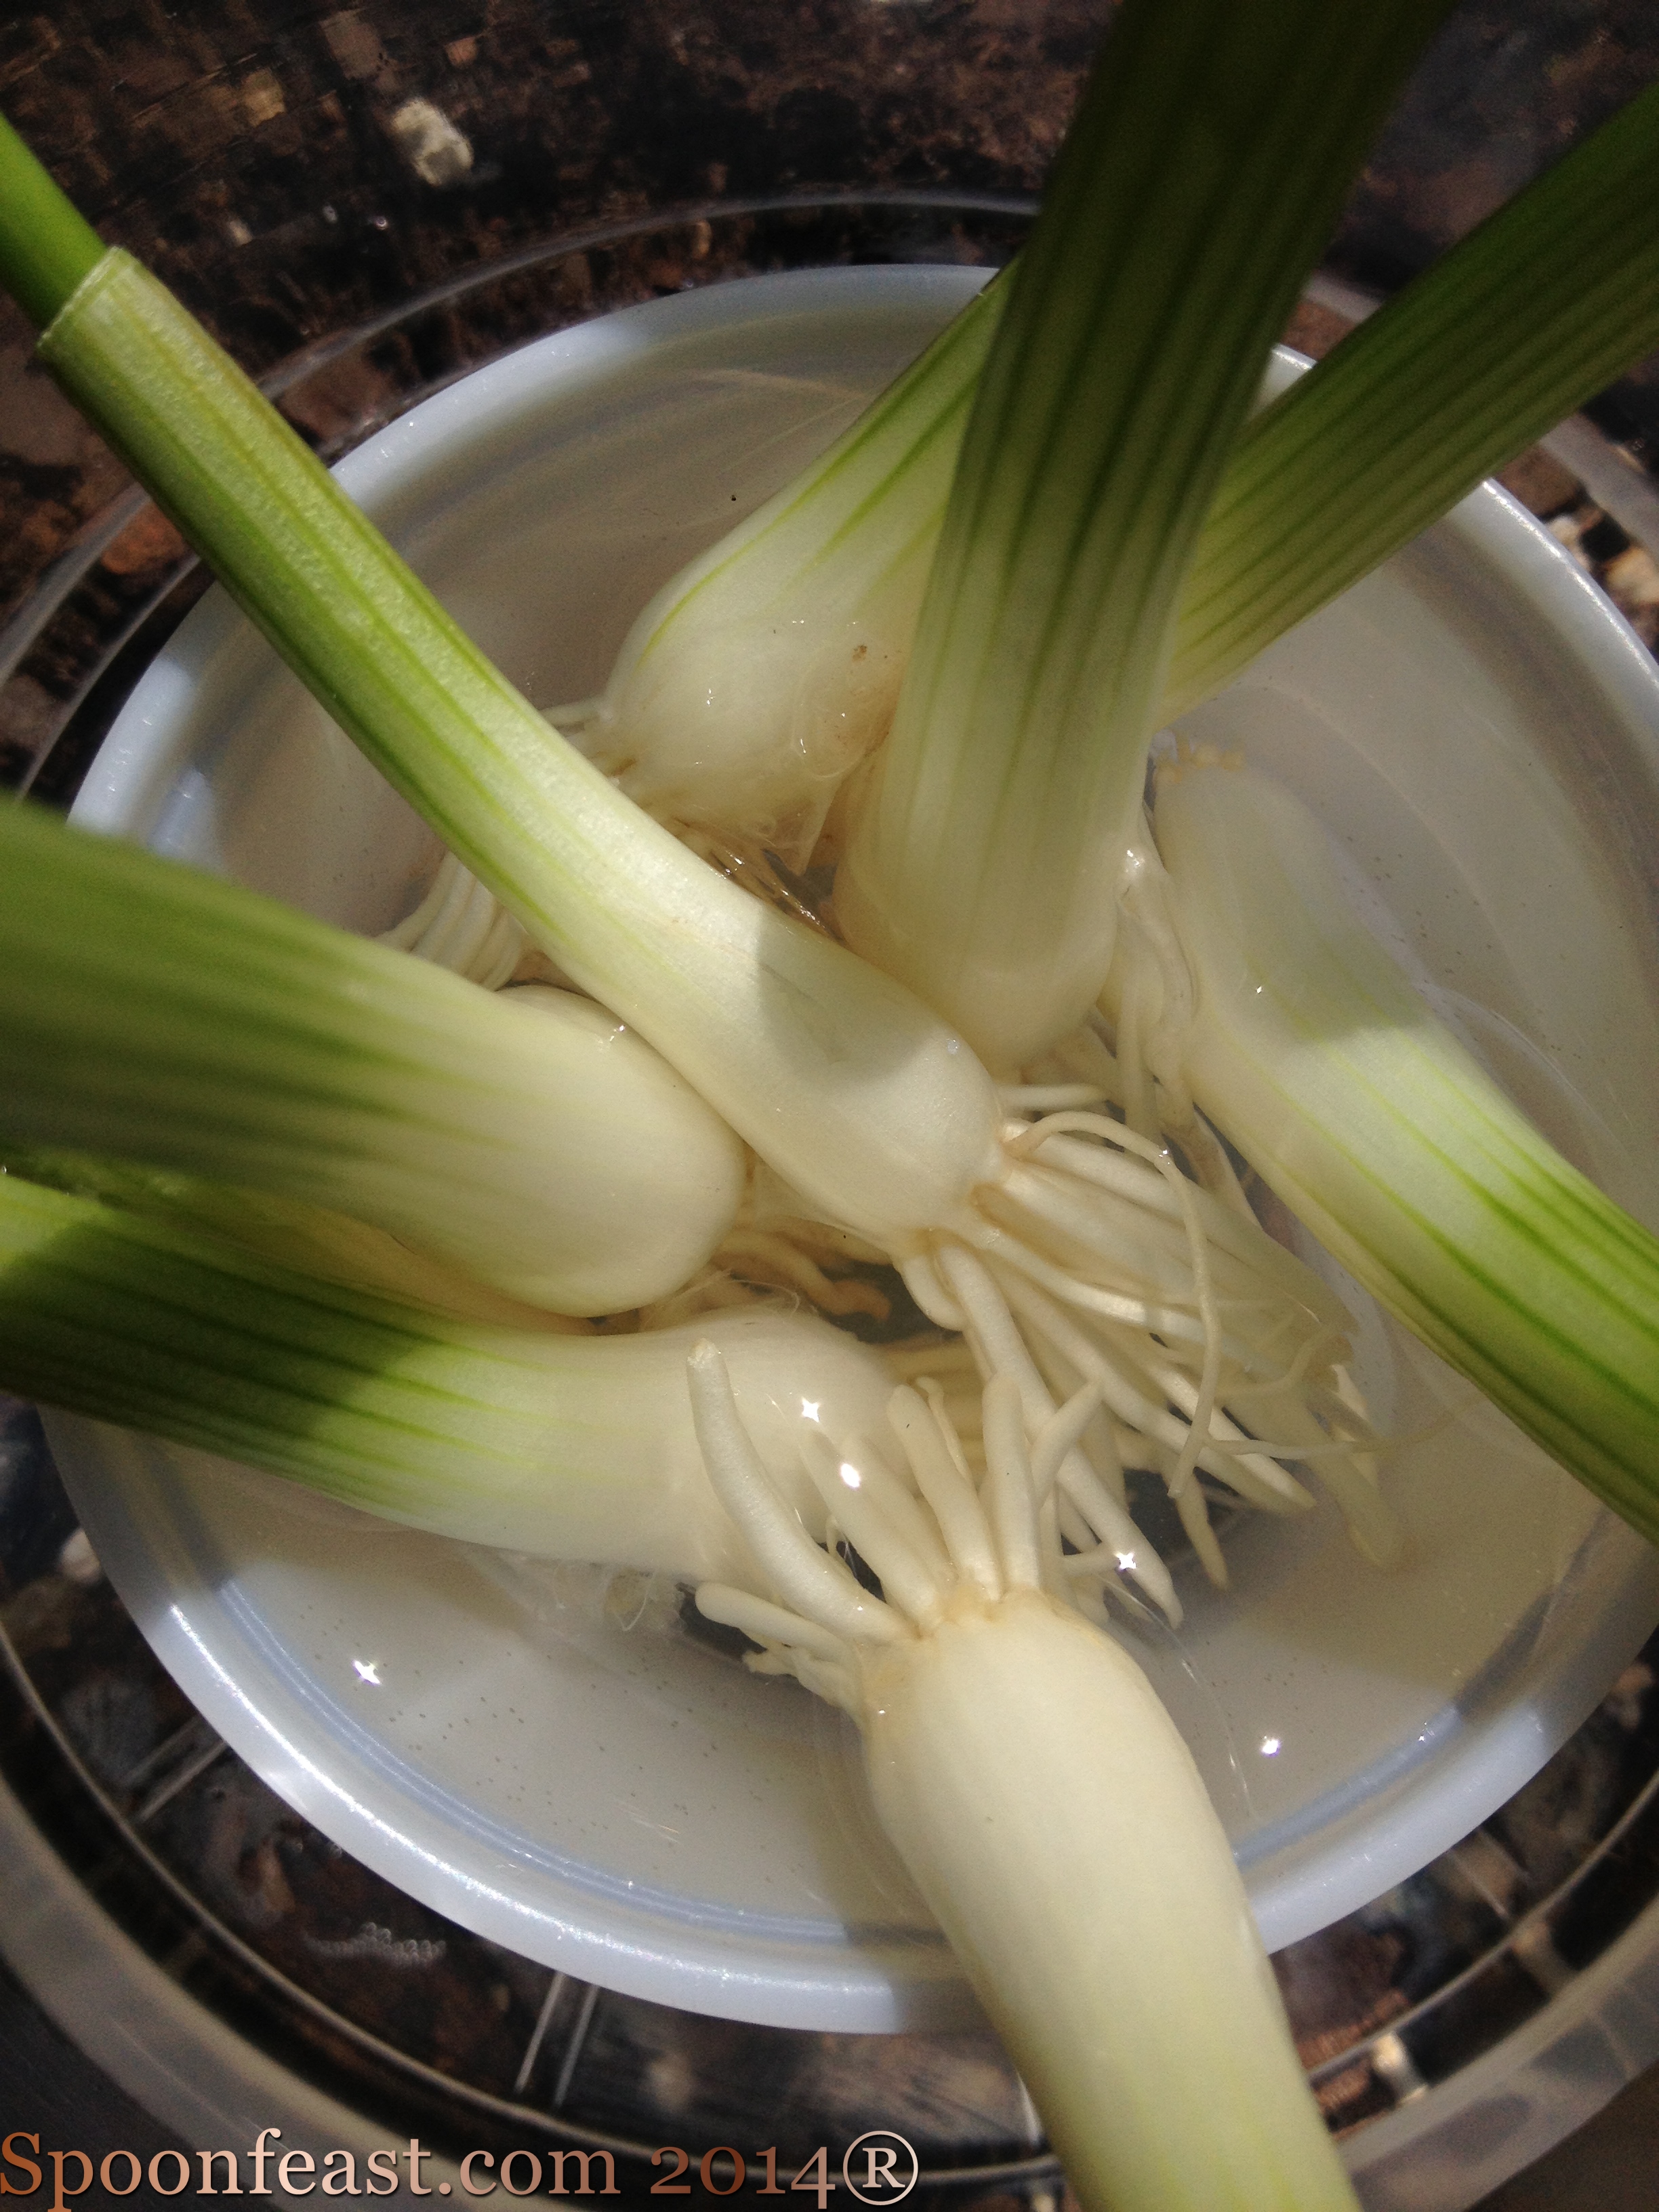
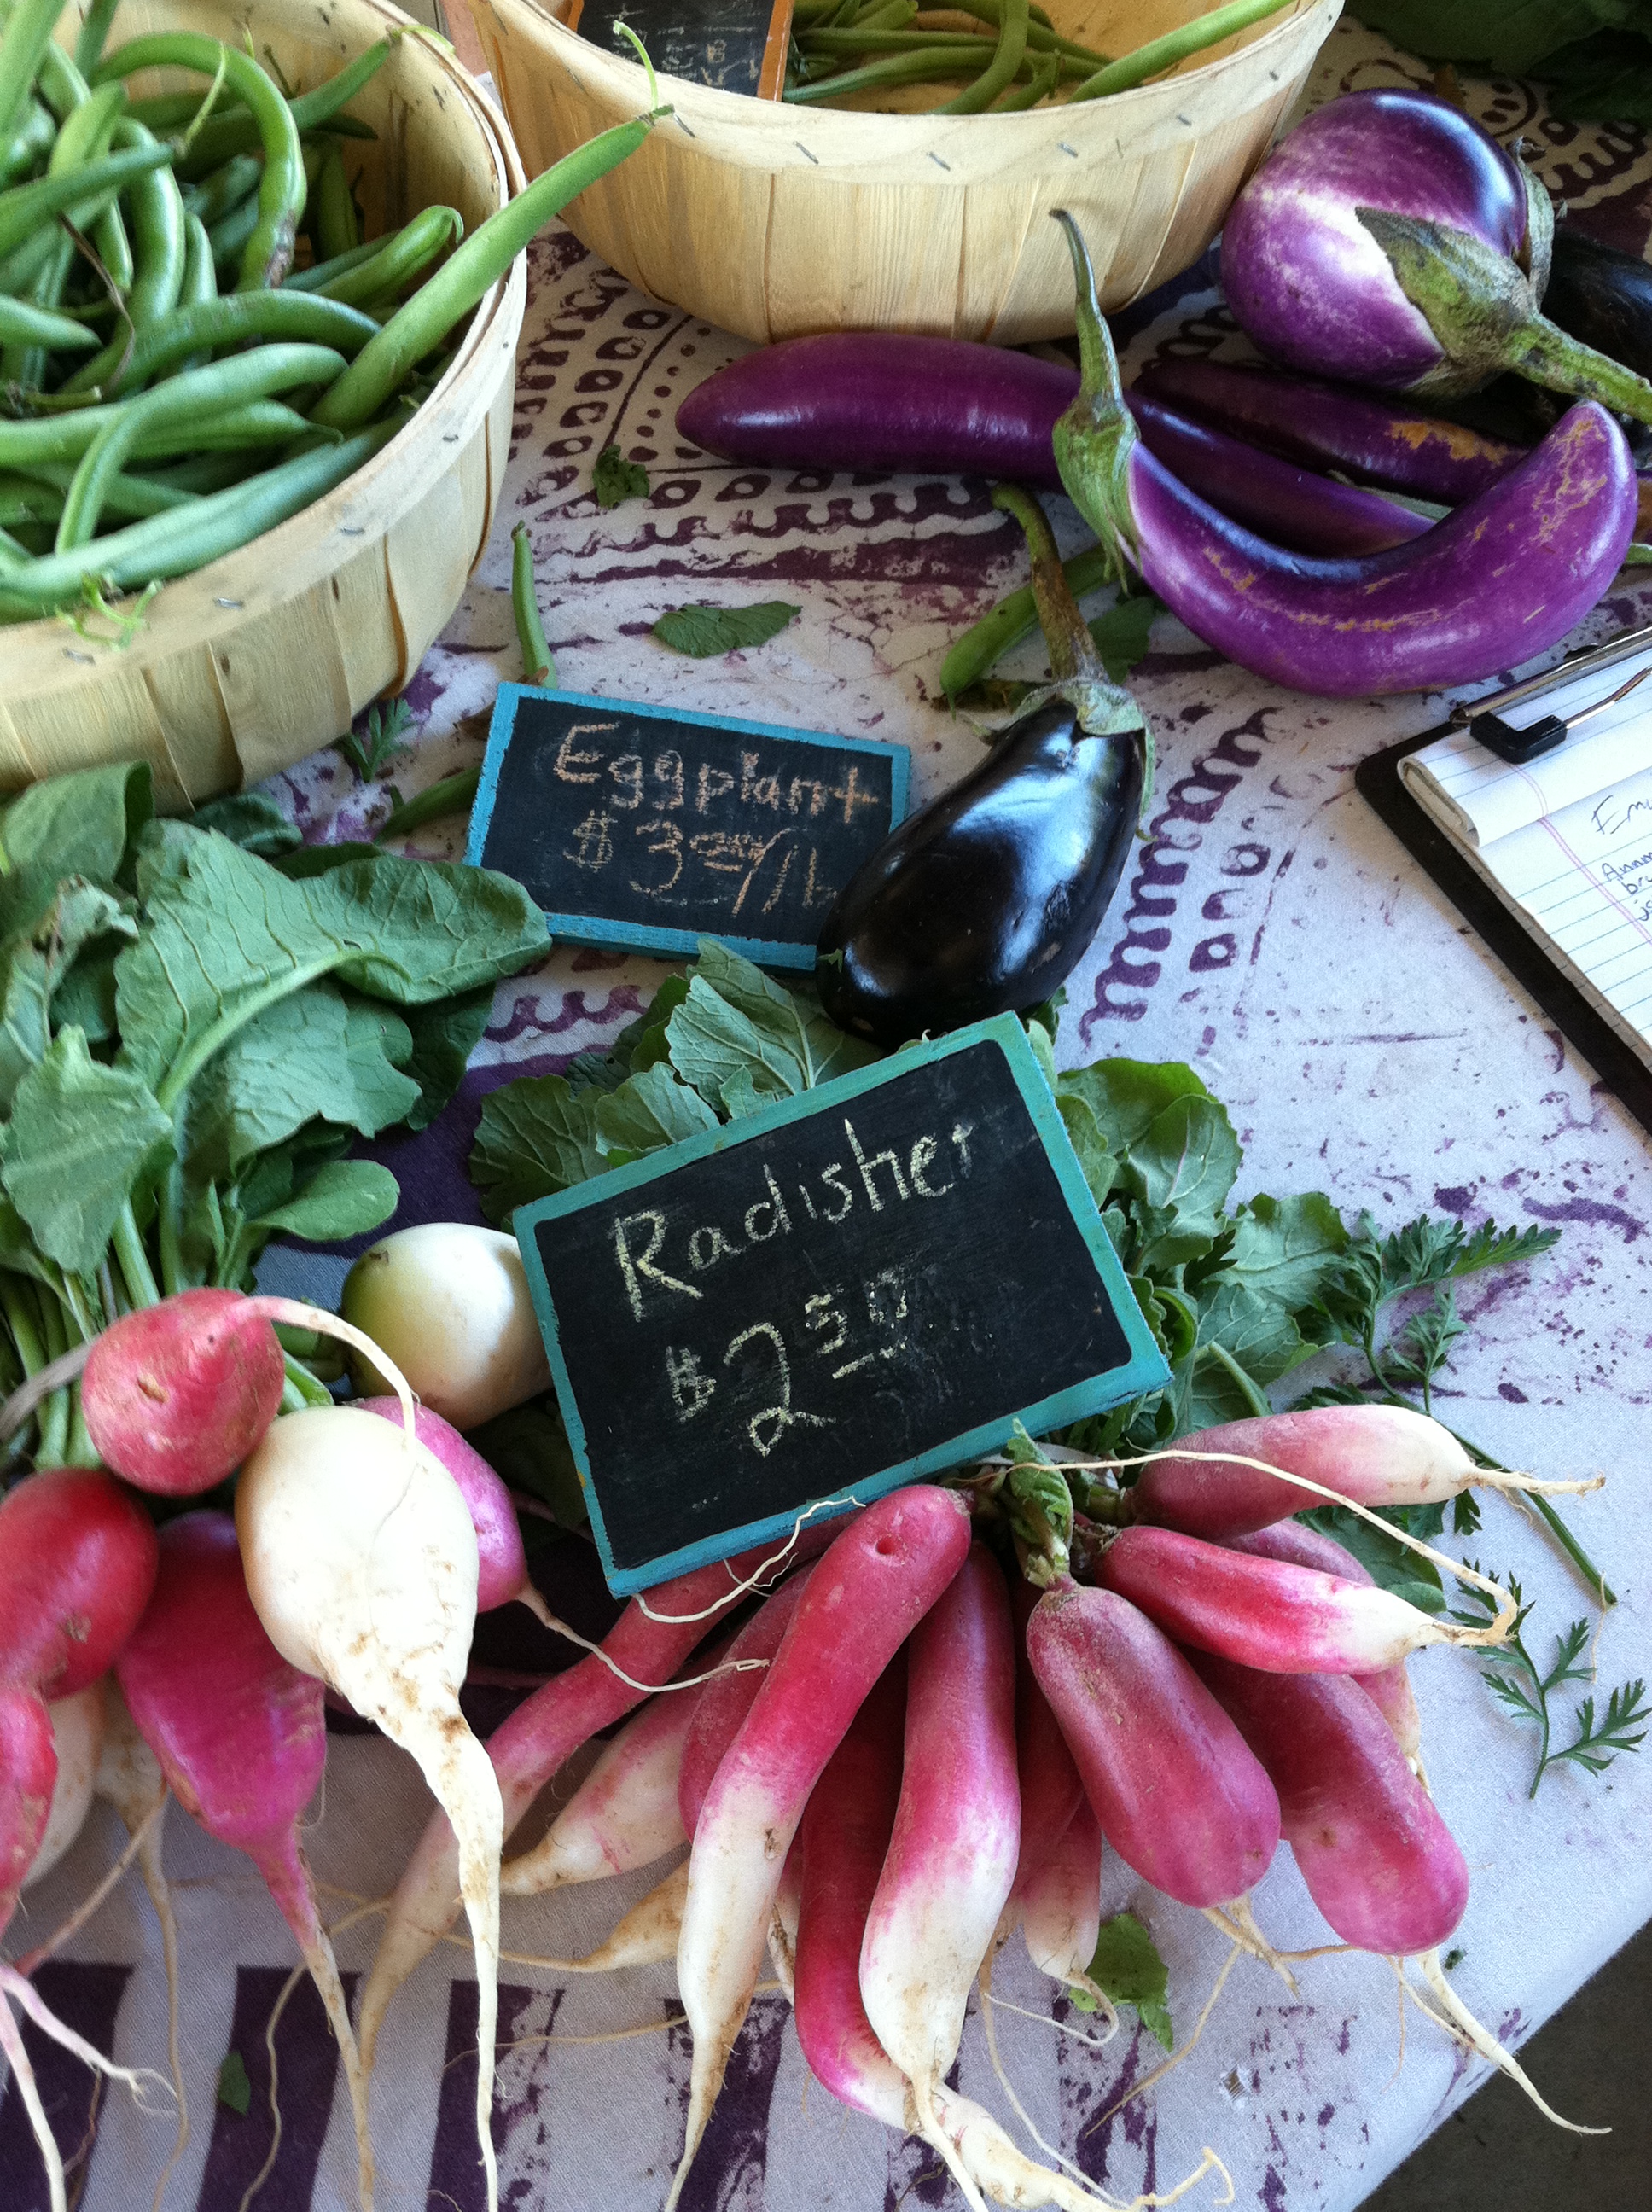
Leafy greens, broccoli, cabbages, peas, any variety of beans, snow peas, there are so many! If you’re not familiar, pick something you don’t know, ask about it, look up recipes on the internet and play with cooking it.

Fresh picked kale
1 Vegetable of another color (1/2 cup)
Any veg that is not green, peppers, onions, cauliflower, squashes, this is to make the plate visually interesting and it also adds a punch of nutrition!

Corn Crusted Grouper
Grain or starch of some kind (1/2 to 1 cup)
Whole grains like brown rice, exotic rice, lentils, beans, potatoes, sweet potatoes, barley, millet, mung beans, quinoa, farro, cous cous. I love how much the level of choice in this category has grown. There is so much more than just rice and potatoes.
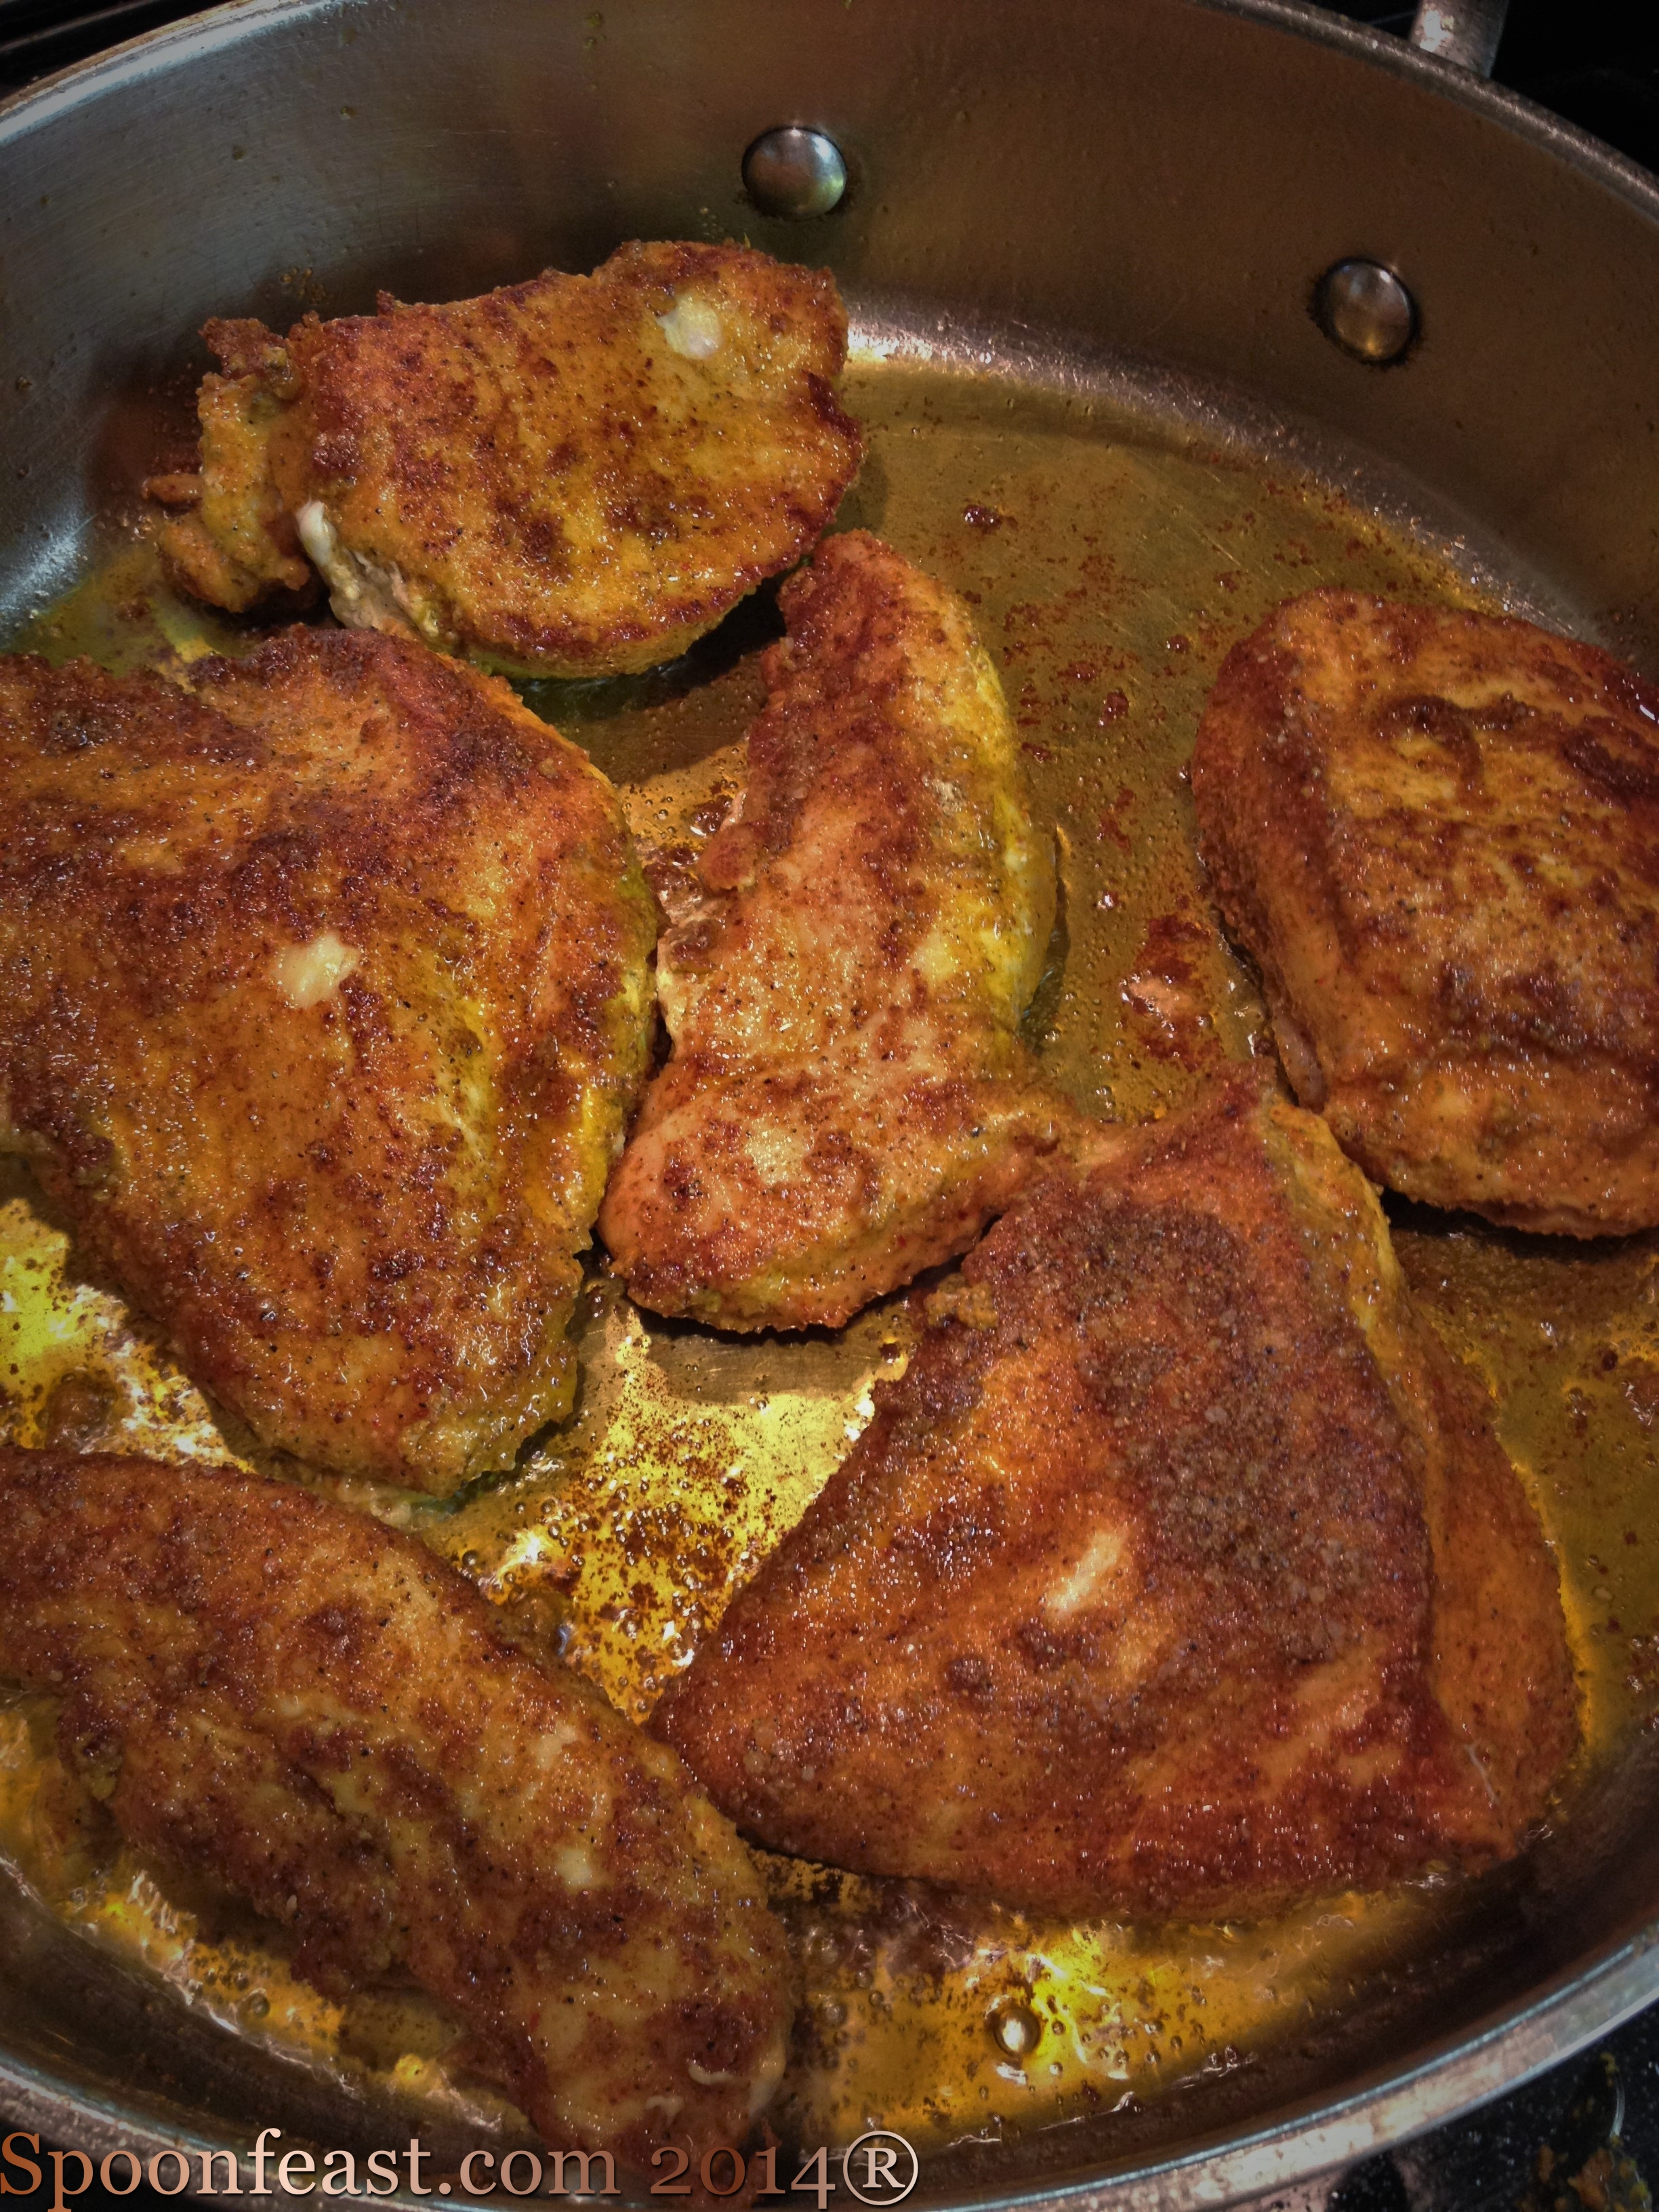
1 High quality protein – not always animal based (4-6 ounces)
Guidelines for animal proteins:
- No beef
- No pork (but I love bacon! ) 😉
- No farm raised fish except catfish or trout
- No Tuna, Sea Bass or Redfish
Note: we no longer eat any fish from the Pacific ocean.
- Organic poultry
- Organic eggs
- Organic Dairy

Multi colored Carrots (I bought these!)
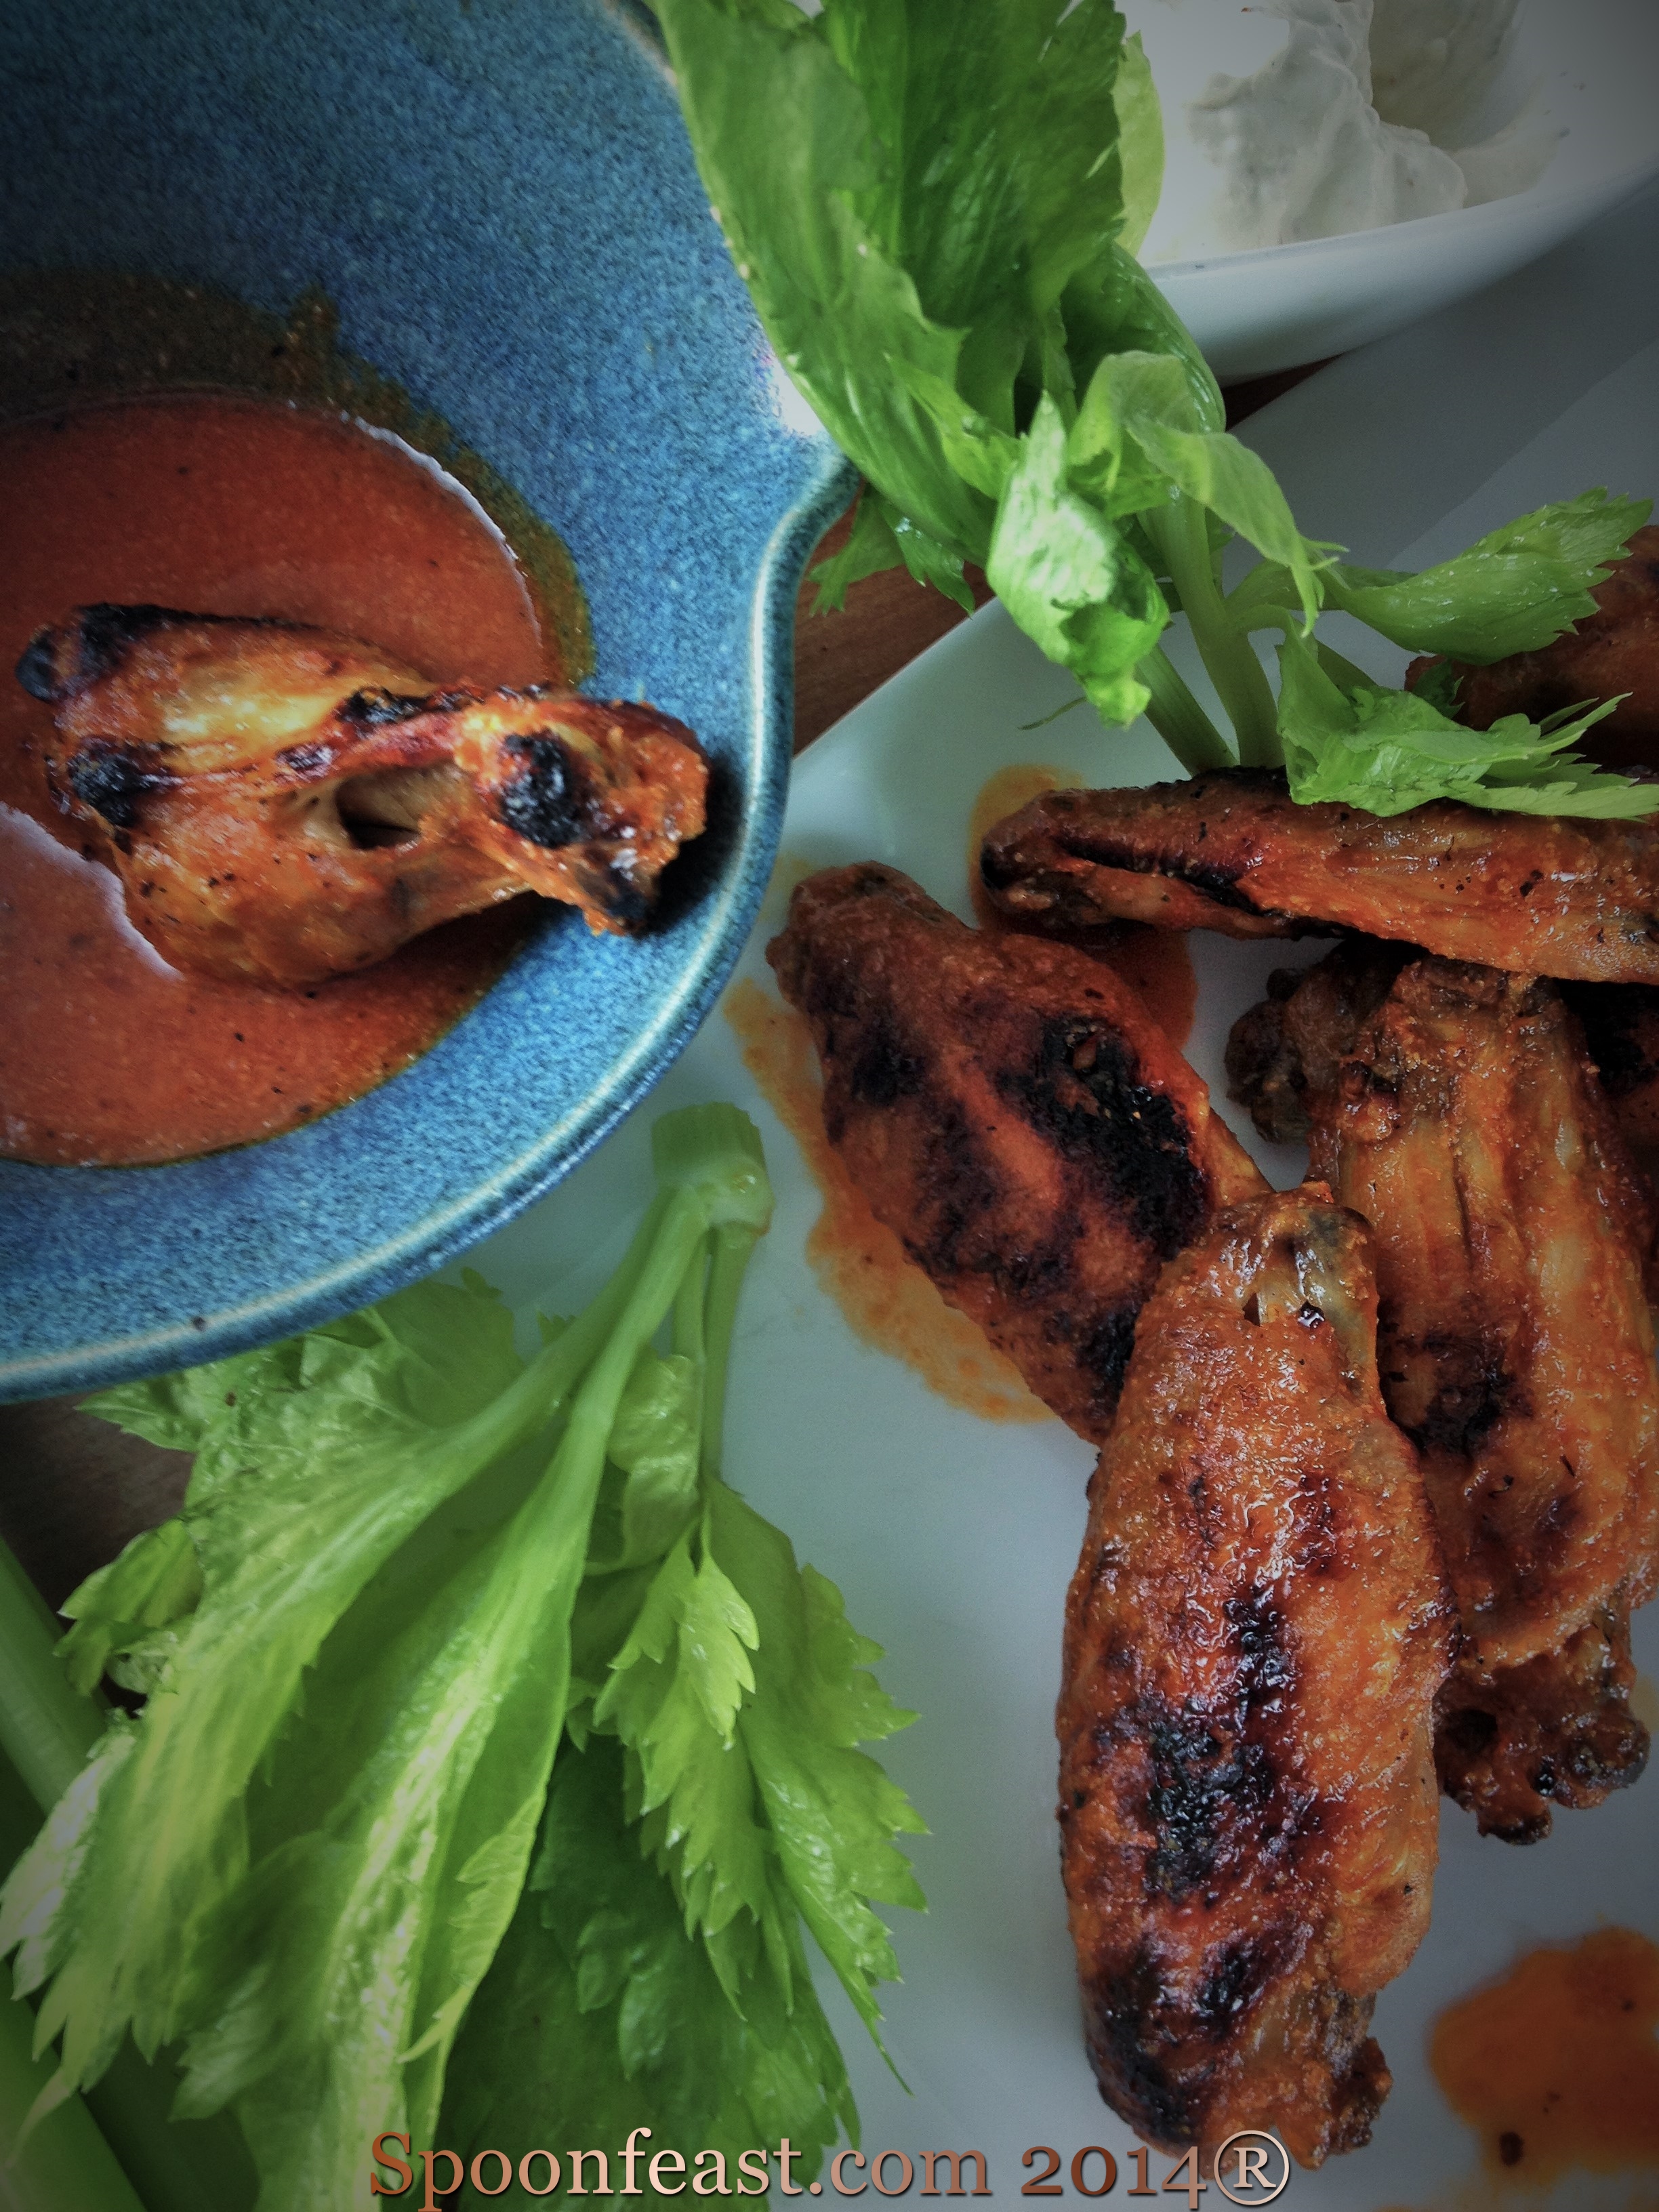
1 Sauce (1-2 ounces)
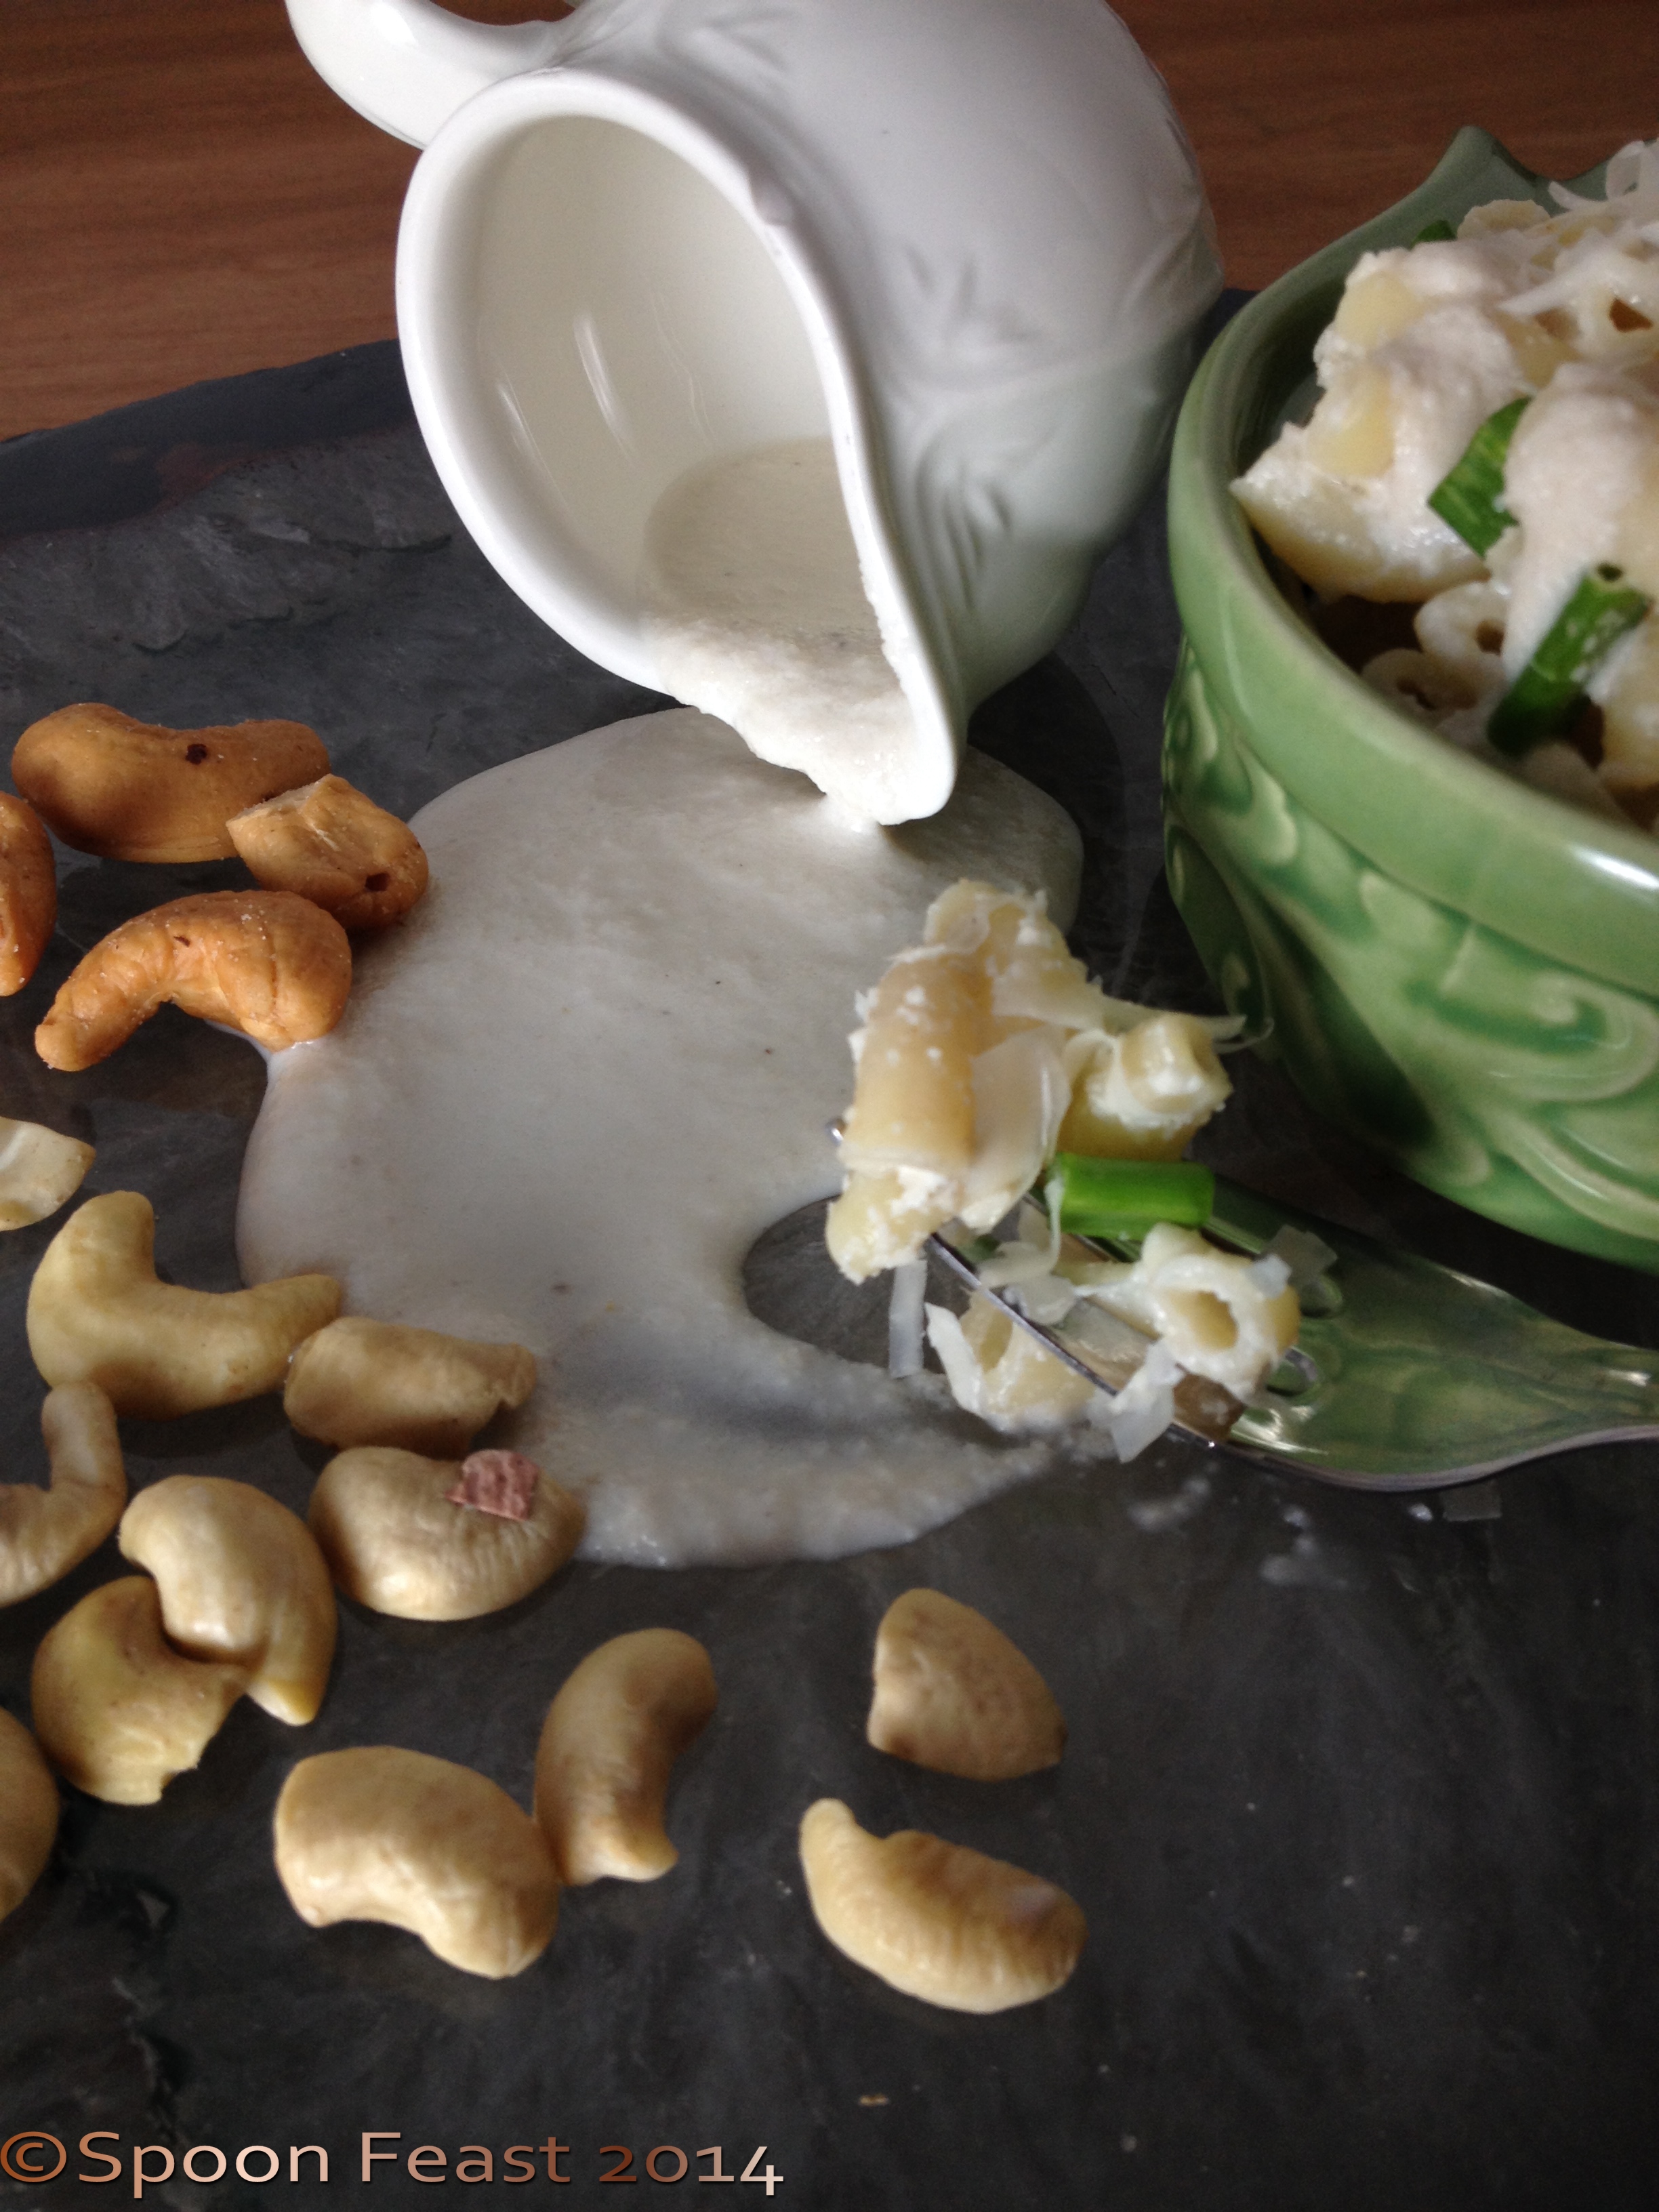
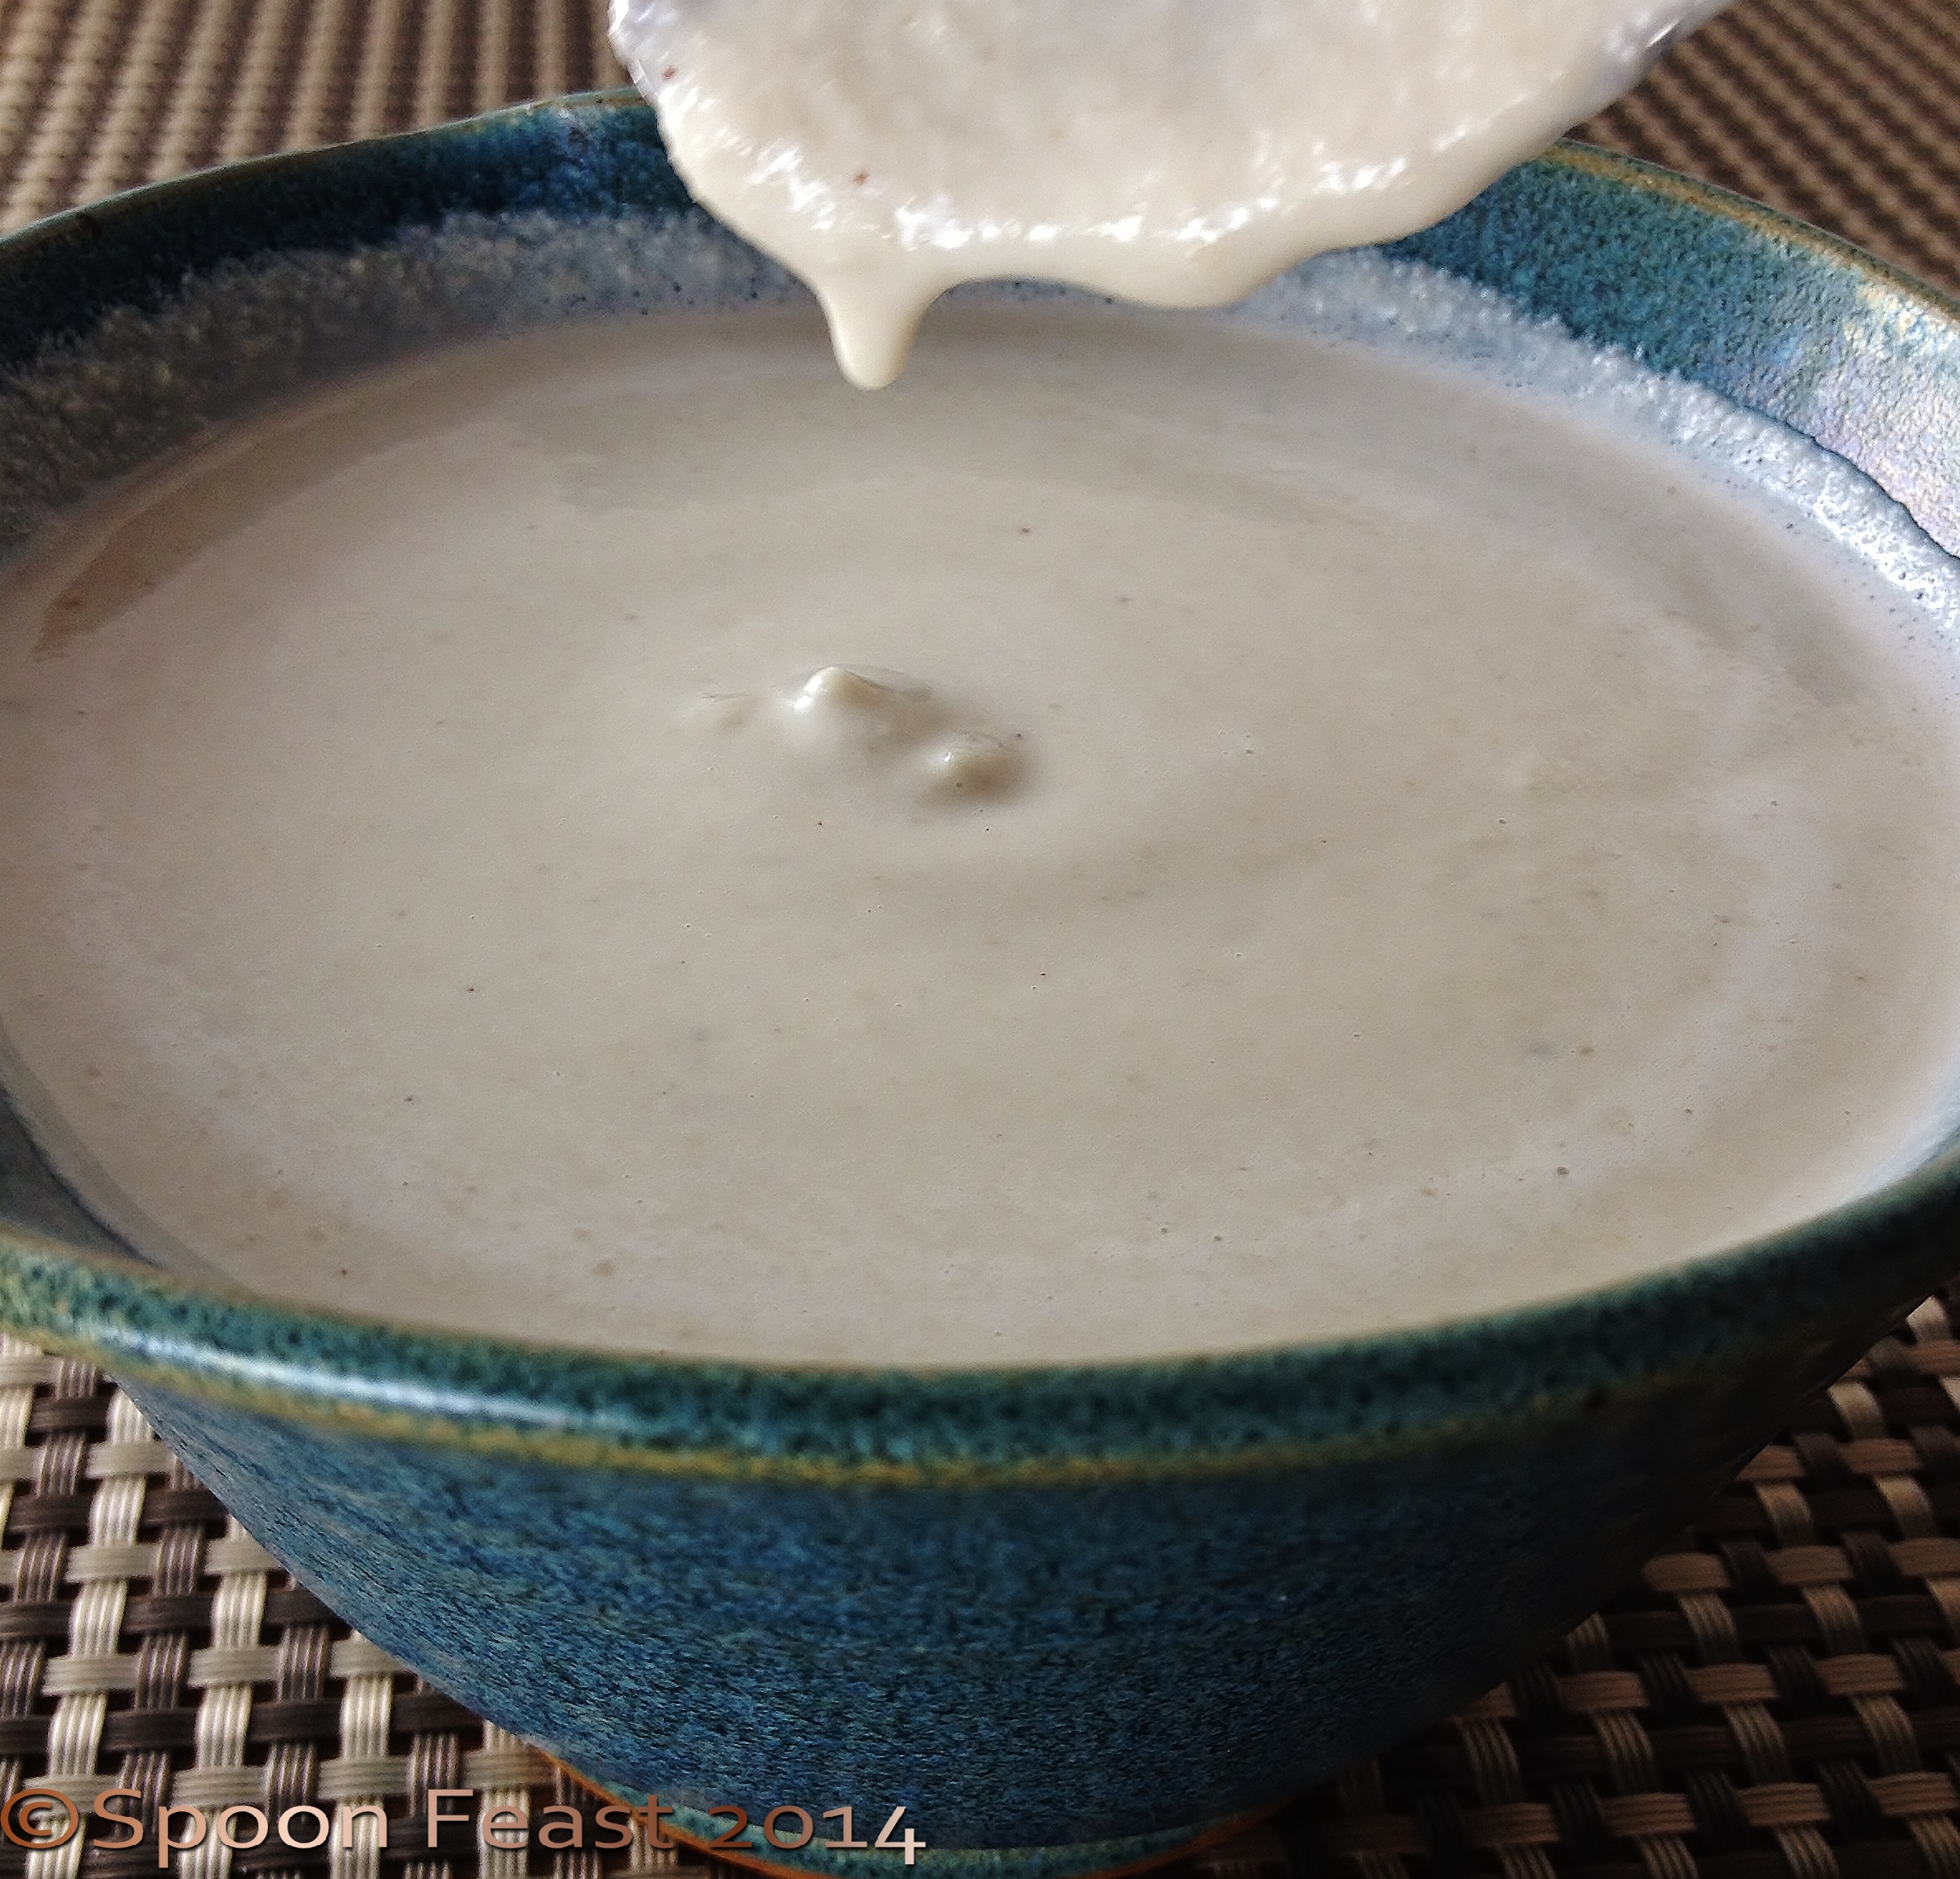
Can be made from de-glazing the pan or reserved cooking liquids or stock or vinaigrette. This provides a bit of moisture and can add another dimension of flavor. I avoid using fat and flour thickeners and cornstarch. Instead I thicken by reduction (enhances flavor), adding mustard or miso which also contribute to flavor.
1 Side dish of raw vegetable salad (1/4 -1/2 cup)
This can be a green salad, carrot salad, cucumber, onion, Caesar, or lightly blanched vegetable and may contain a fermented/ pickled vegetable like pickled beets, cauliflower or onions. A homemade vinaigrette dressing, sometimes lemon juice and olive oil and cracked black pepper.

Anaida’s Beans
This side does not need to be a big portion. 1/4 to 1/2 cup is a typical serving. It can be used as a palate cleanser between tastes on the main plate.
Lunches:
Sandwiches with a chip and pickle of some kind. I’m working on improving the chip option but I really am fond of a handful of chips with a sandwich. I’m trying nori chips and kale chips. . . I may still go back to potato once in a while.
Light bits of left over dinner
Soup with good bread (I’ve made the bread we eat in the house for the past 10+ years)
Noodle stir fry
 “Ploughman’s lunches” using what we have on hand
Vegetable Sushi
Breakfast:
On our own for breakfast. Most of the time I’ll grab something with protein.
This meal is usually quick , easy and light. Unless it’s oatmeal.
What we always have on hand:
Buy Organic whenever possible
Chicken stock, 1/2 & 1/2 for morning beverages and sometimes chai, fat-free milk, fresh greens, eggs, fruit, tetra-pac tomatoes, variety of beans, canned and dried, various rice and grains, legumes and potatoes. We will keep a stock of chicken and sometimes fish in the freezer for meals during the week.
I shop whenever we need fresh vegetables; I try to use fresh vegetables over frozen.
I leave processed foods on the shelf and process my own condiments, pickles and breads.
That’s it! My cooking culture, in a nutshell. A bit of many cultures rolled into a multitude of meals.
I believe everyone should be able to make healthy food choices and healthy food should be affordable and available to all.

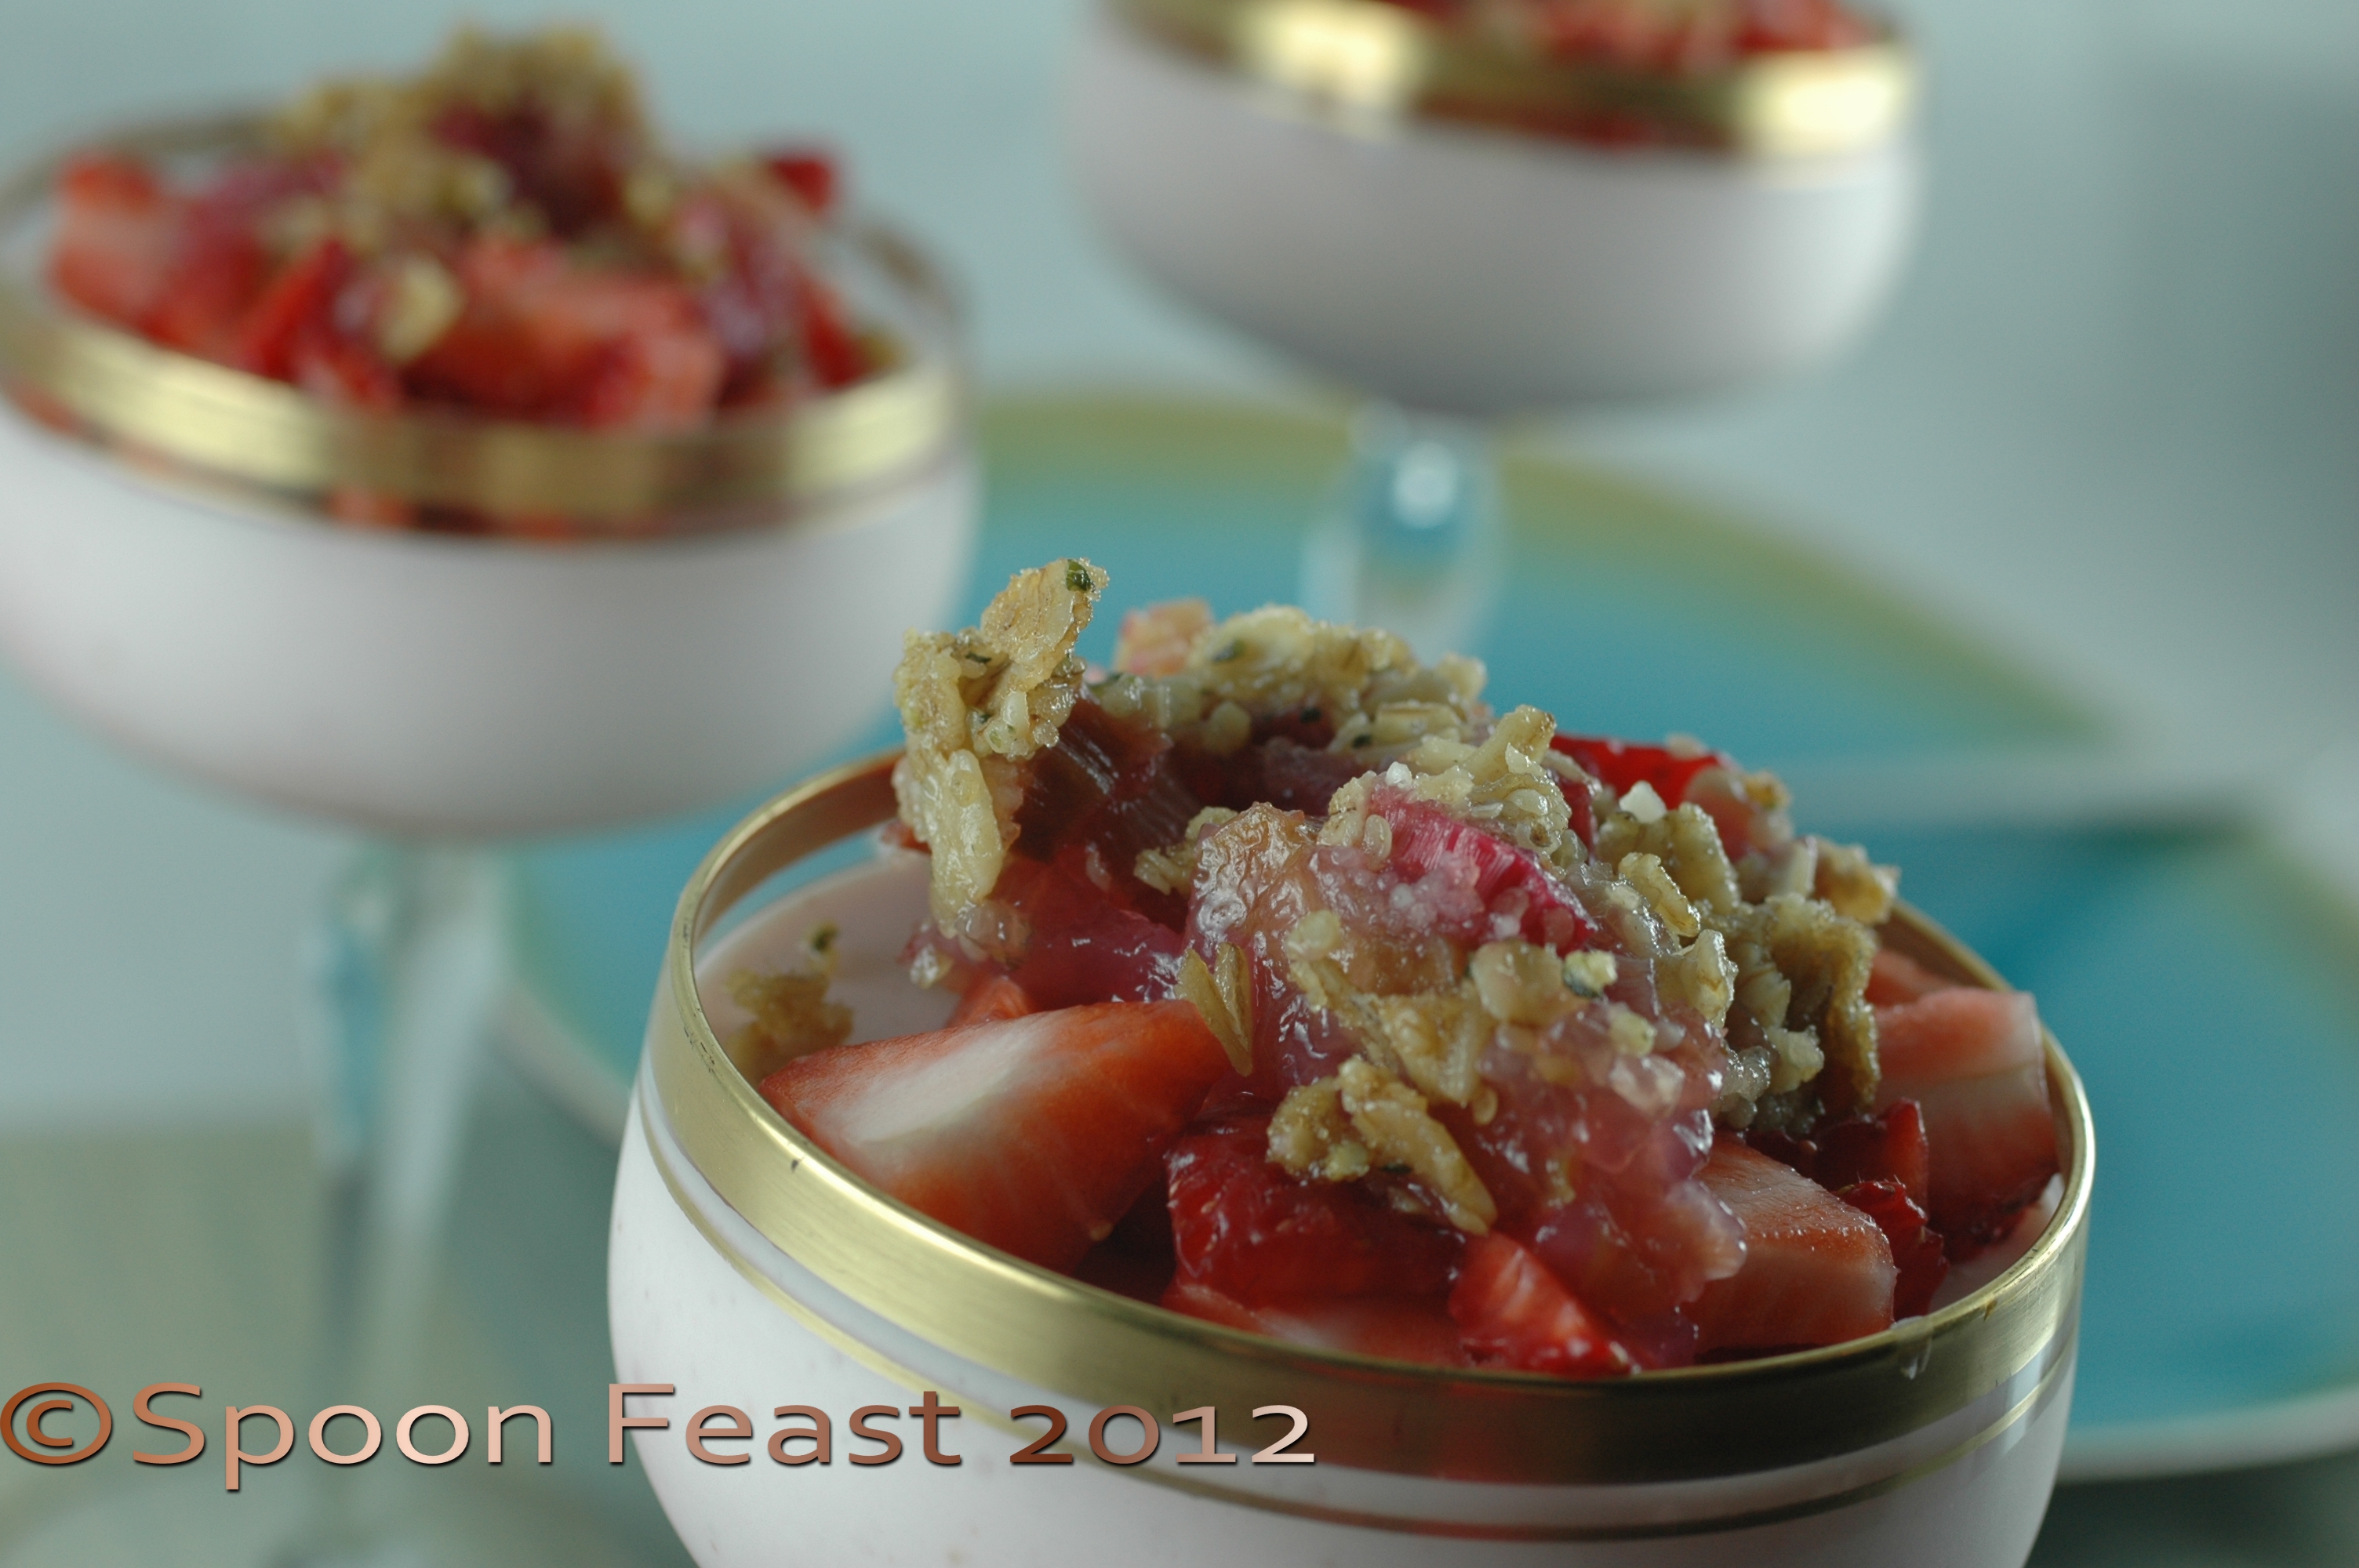
Strawberry Rhubarb Oatmeal Hemp Seed Crisp
0.000000
0.000000


, Kochbuch")