Pickled cauliflower ingredients
I don’t know about you, but I LOVE cauliflower, especially when its pickled cauliflower! When I was little, I would go into the jar of mixed pickles in the refrigerator and pick out the few bits of cauliflower that could be found. It was always disappointing because if you were lucky, you could find two pieces in a single jar.
And my dad likes it as much as I do. I always wanted to see a jar of pickled cauliflower on the shelves of the grocery, but when I have seen them, the contents have always been disappointing.

Yummy Pickled Cauliflower!
SO, using a pickling method I use to make sweet pickles, I used cauliflower instead of cucumbers with lip-smacking good delightful flavor.
Pickled Cauliflower
Ingredients:
- 2 pounds of cauliflower, cleaned and broken into 2-3 bite size bits – measure after cleaning the cauliflower
- 8 ounces sweet onion, sliced into 1/4 inch thick slices
Simmering Brine:
- 1 quart of water
- 12 ounces apple cider vinegar
- 1 tablespoon sugar
- 1 1/2 teaspoons kosher salt
- 1/2 teaspoon mixed pickling spice
Mix brine ingredients in a large pot, bring to a boil. Once boiling, add the cauliflower and onions, return to a boil and lower heat. Simmer for 10 minutes.
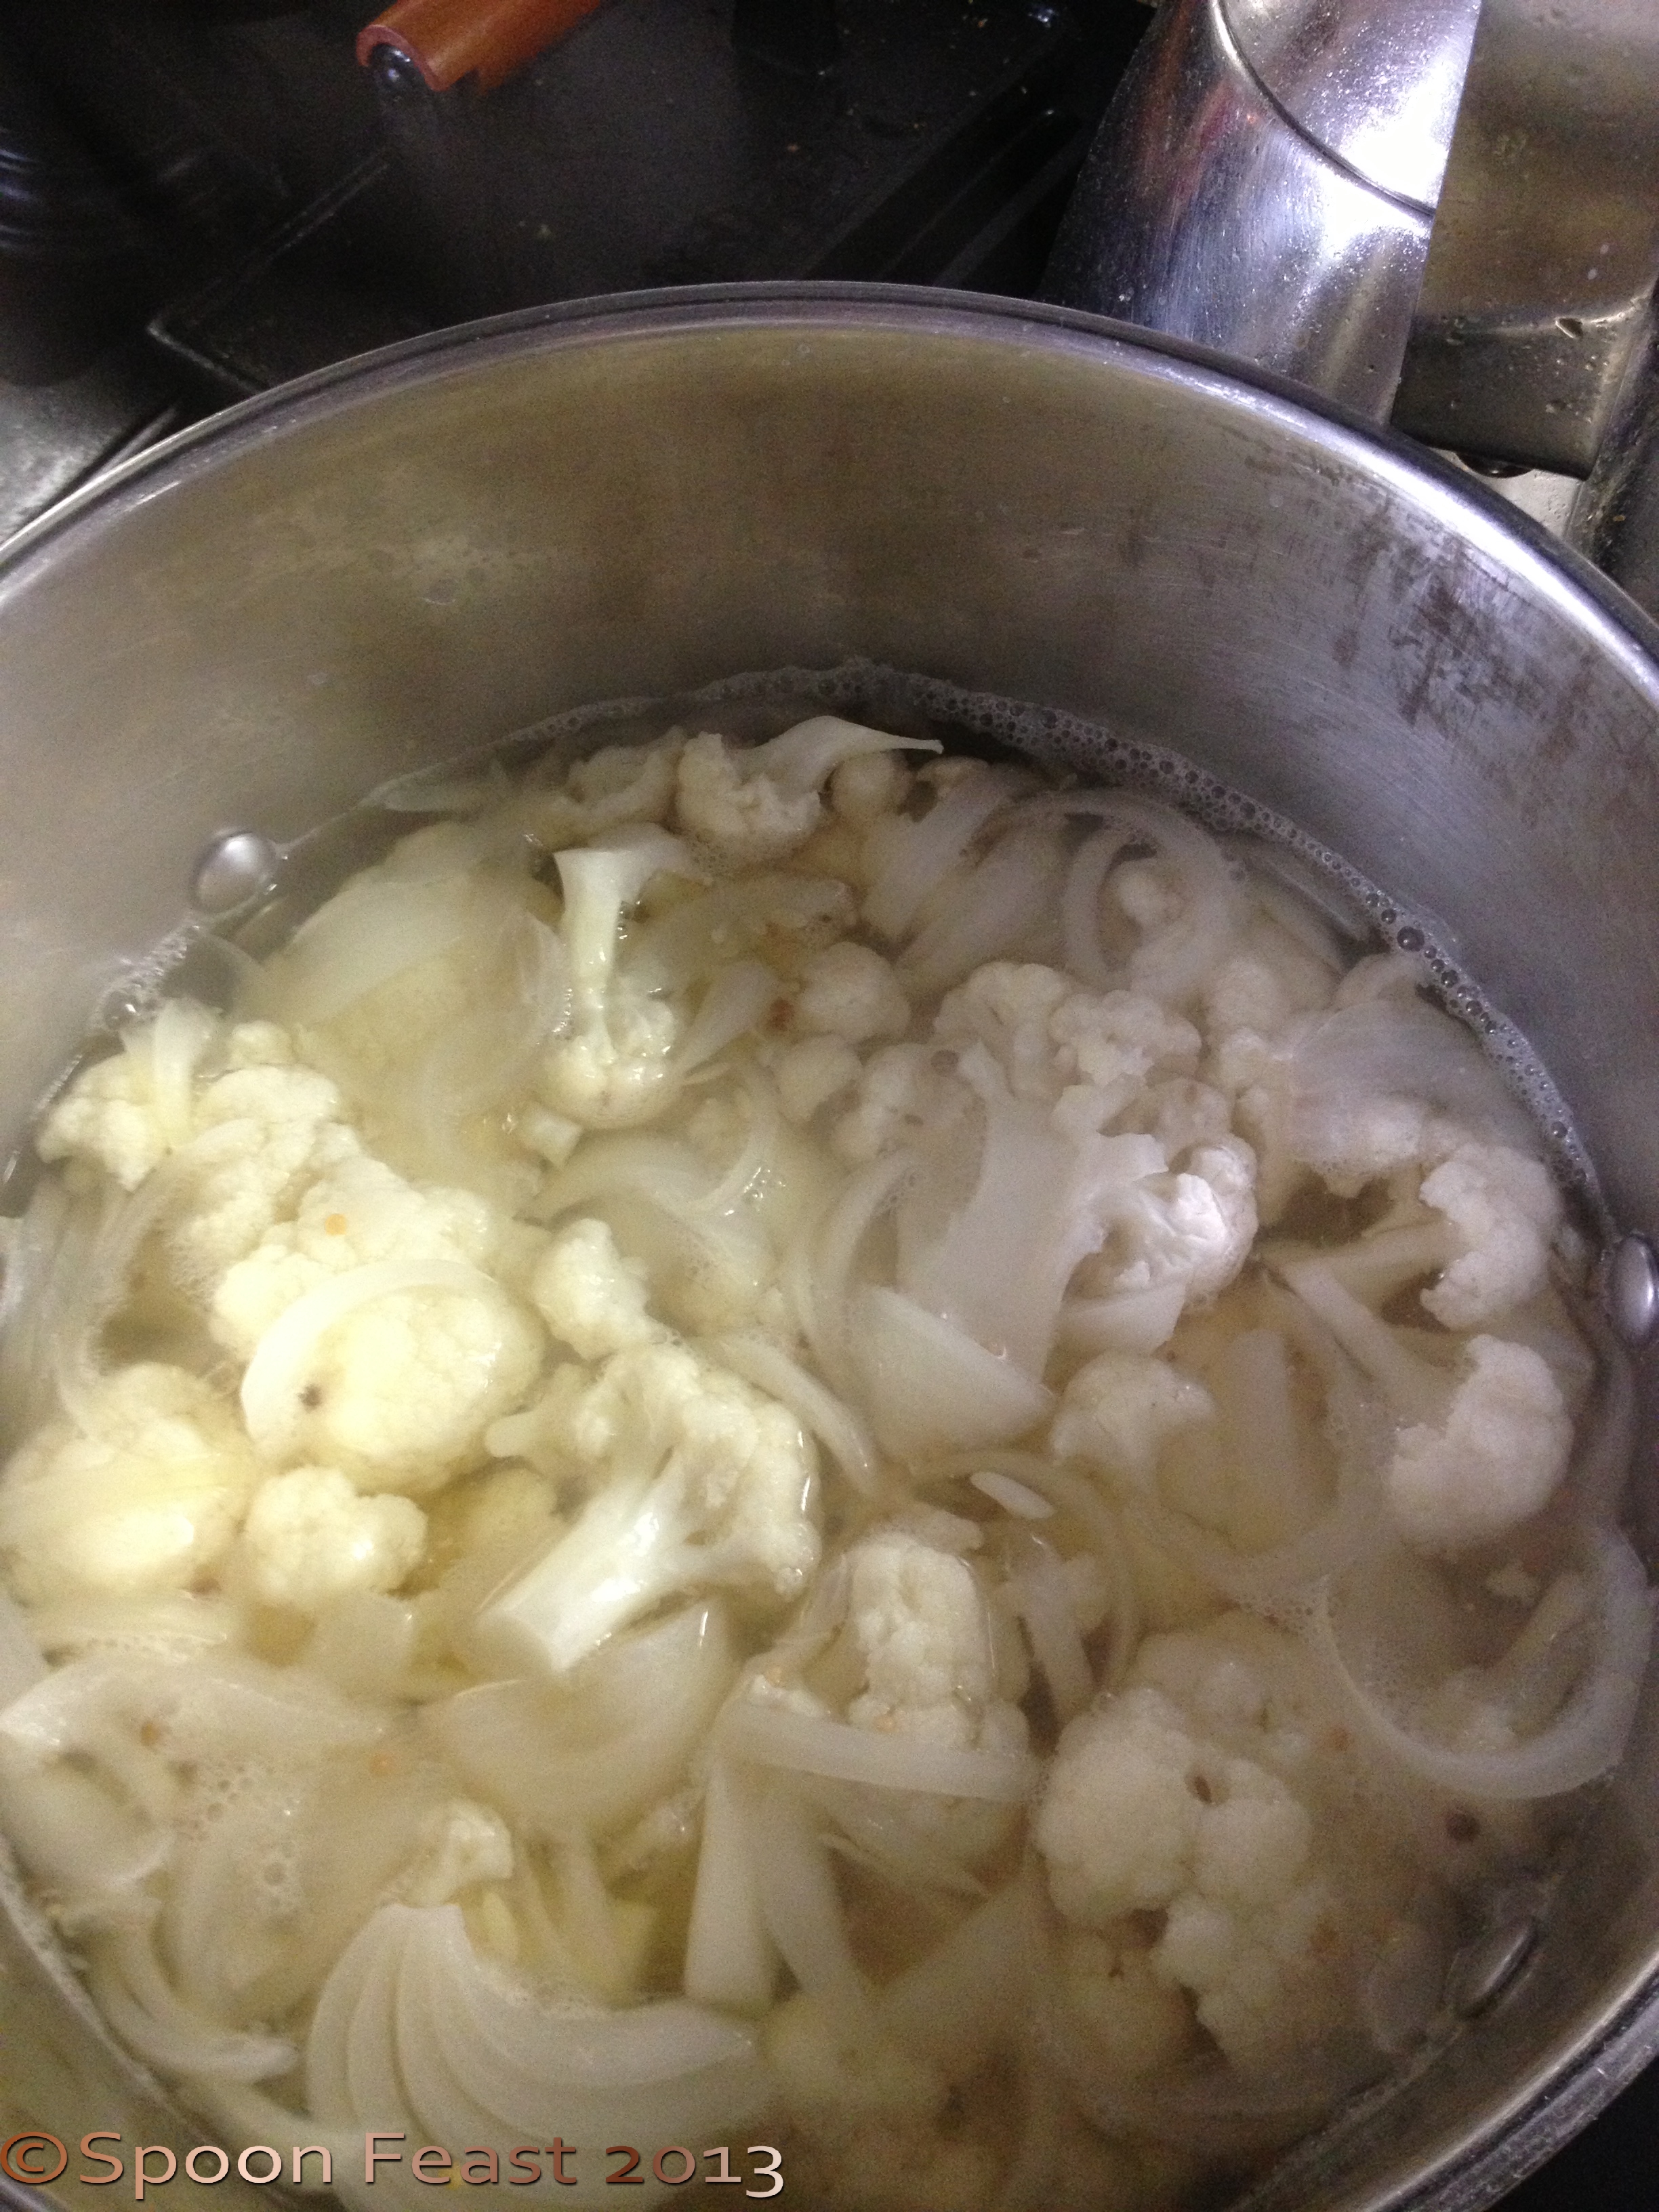
Boil the vegetables in the simmering brine for 10 minutes
Drain, discarding liquid unless processing another batch.
While vegetables are simmering, make the vinegar pickling brine.
Pickling Vinegar Brine
- 10 ounces white vinegar (NOT WINE Vinegar!)
- 13.5 ounces granulated sugar
- 1 Tablespoon celery seeds
- 1 teaspoon mixed pickling spice
- 1 teaspoon ground turmeric
- 1/2 teaspoon crushed whole allspice berries
- 2 bay leaves
Optional:
- 2-3 cloves fresh garlic – for a fresh garlic flavor
- 1-3 dried red chili pods or red jalapeno pepper – to give some heat!
Combine everything in a sauce pot and bring to a boil. It will need to be stirred to encourage the sugar to melt.
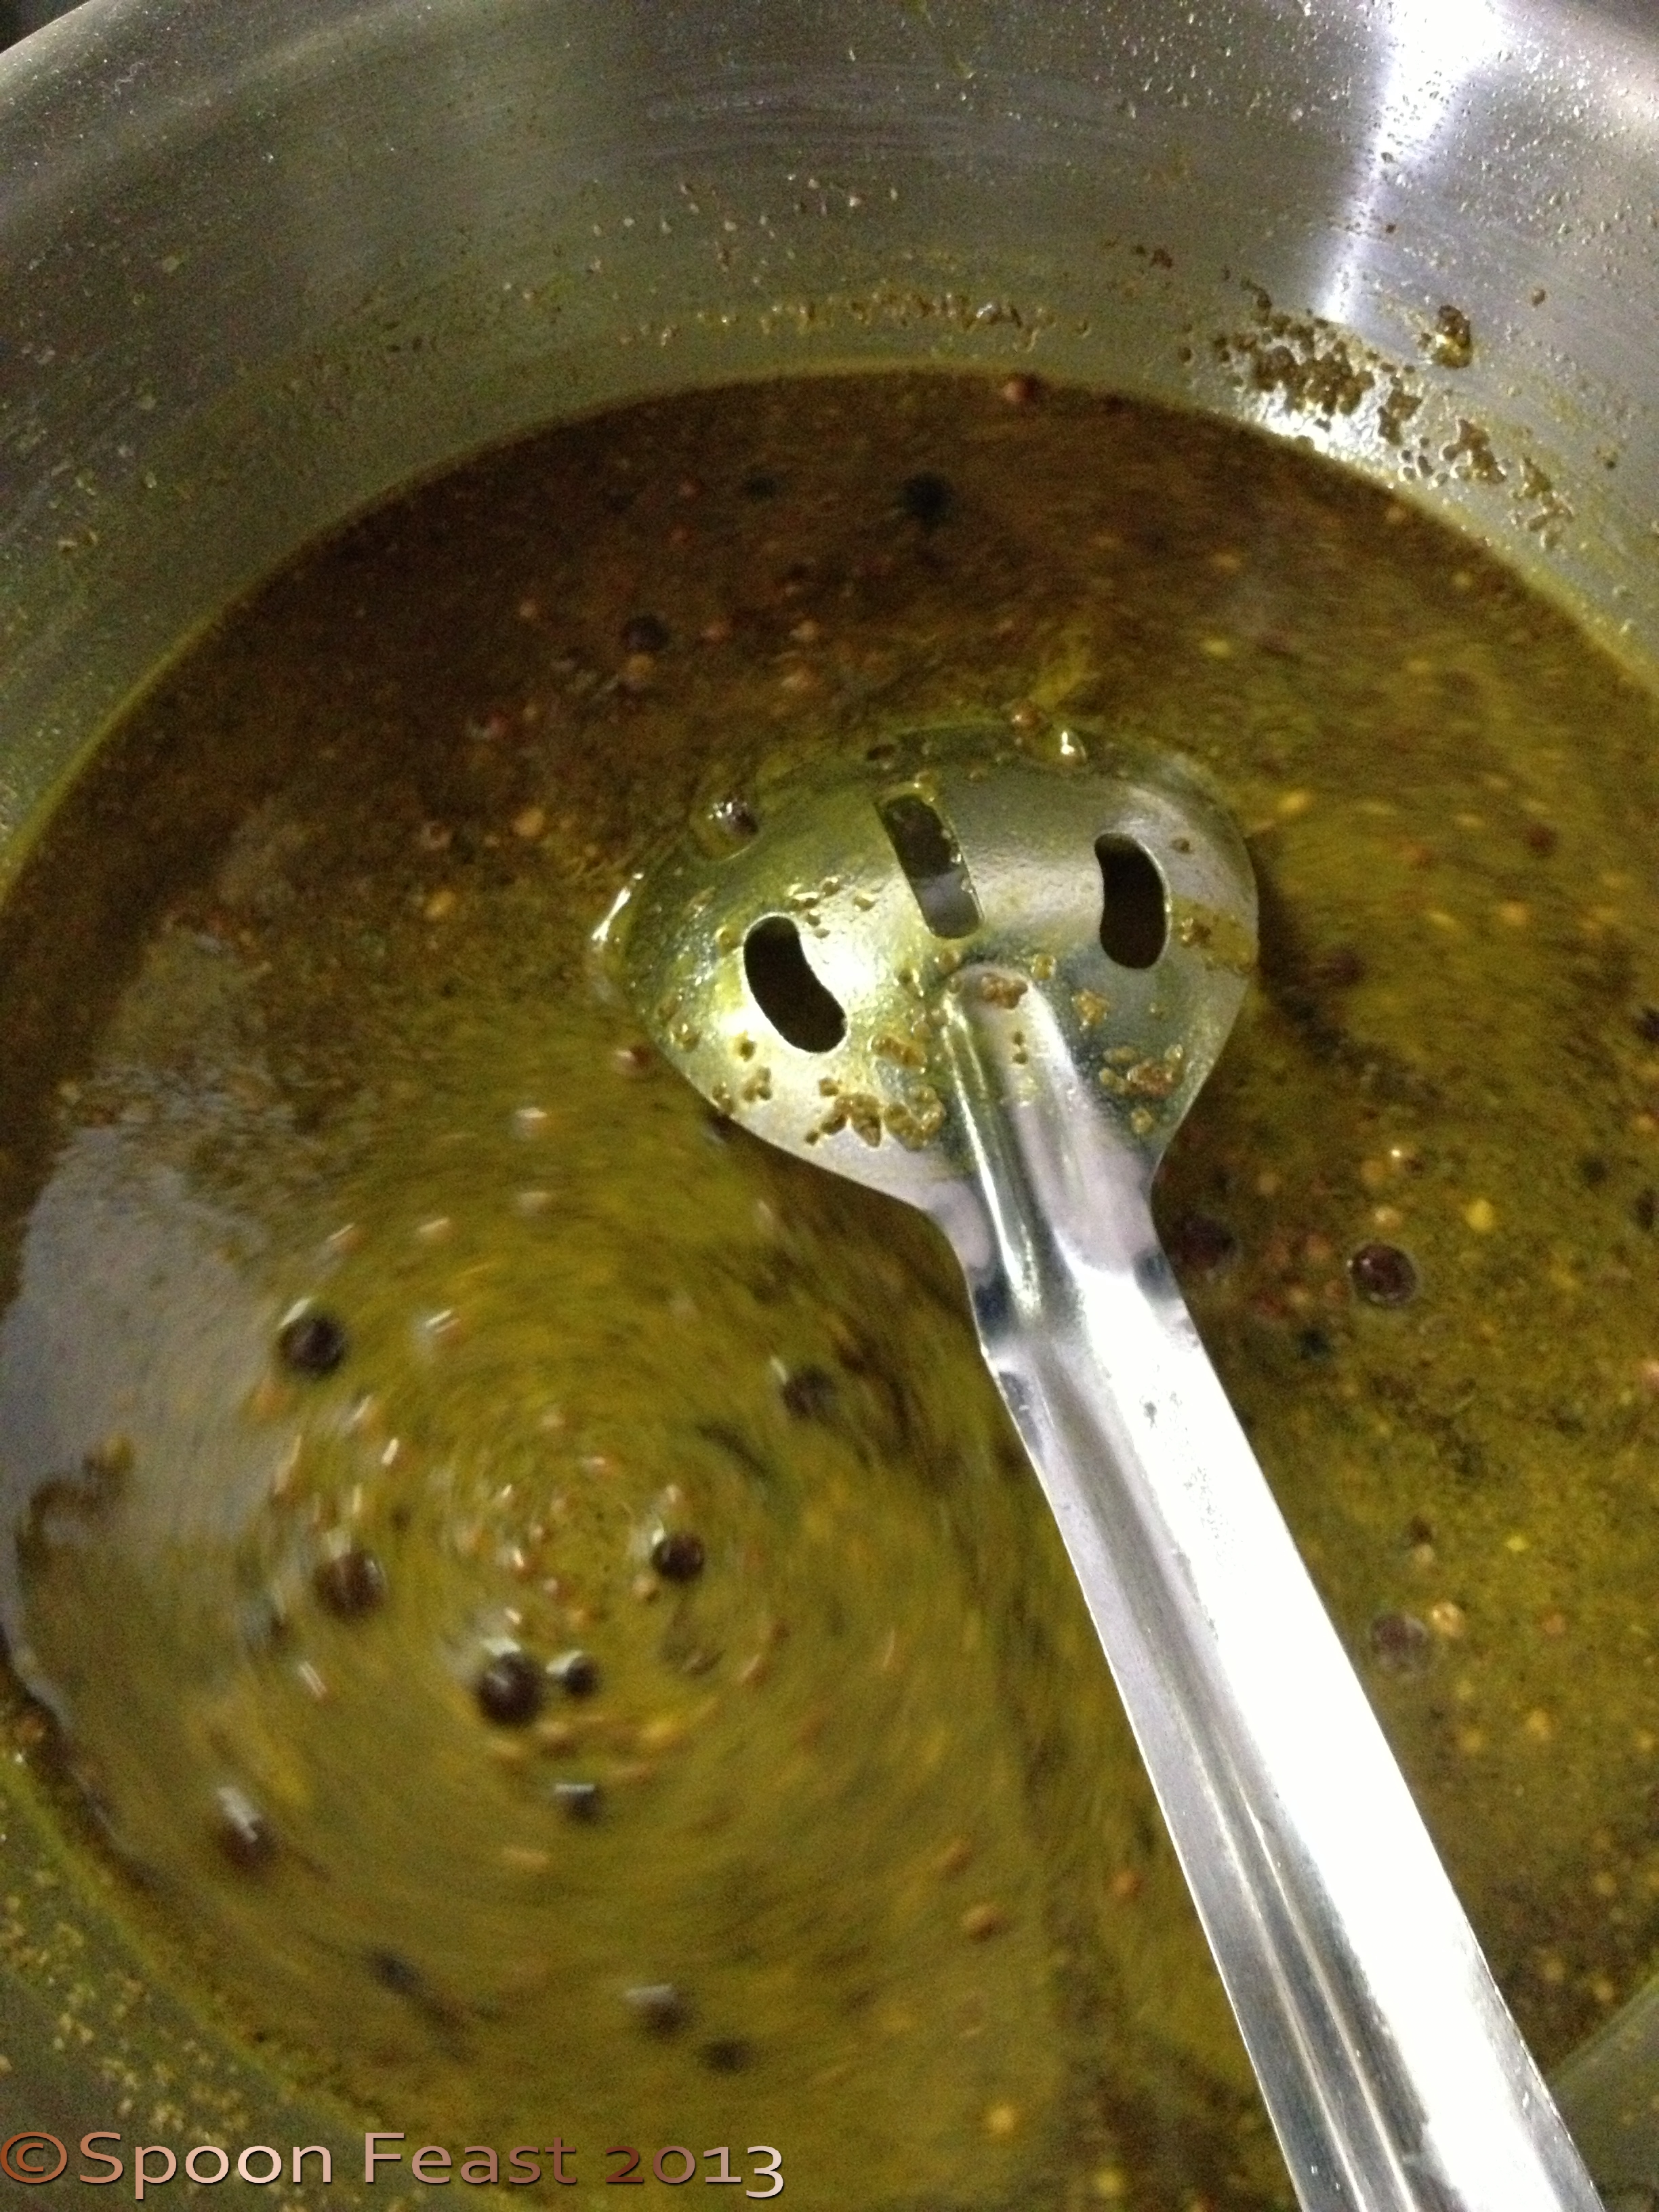
Stir the spices and sugar as you bring to a boil for the Pickling Brine.
This mixture needs to be boiling when the vegetables are done simmering.
Procedure:
Wash the cauliflower in water slightly warmer than the cauliflower. Cut into florets. Soak in a large bowl of cold water with 1/4 cup salt in it.
This helps eliminate any insects that may be lurking on the vegetable.
Mix the simmering brine ingredients, put on the range top over high heat to bring to a boil.
Mix the pickling vinegar brine and put that over high heat, stirring often to prevent the sugar from burning.
Drain the cauliflower it should soak for at least 15 -30 minutes.
When the simmering brine reaches a boil, drop in the cauliflower and onions, return to a boil, then simmer for 10 minutes.
Drain the vegetables, discarding liquid (Unless processing another batch).
Place the cauliflower and onions in a large canning jar. Using a wide mouth funnel, pour the boiling pickling brine into the jar all the way to the top. Leave as little head room as possible. Everything must be submerged under the pickling brine.
If you find there are pieces that want to float, place a small glass plate or dish on the surface to hold everything down.
At first the jars may appear cloudy but as the turmeric and celery seeds settle to the bottom, the vinegar will clear up and you can enjoy looking at gleaming bottles of an amazing pickled cauliflower!

Fresh and Pickled cauliflower
Keep these in the refrigerator unless you want to process them in a canning process to make them shelf stable.
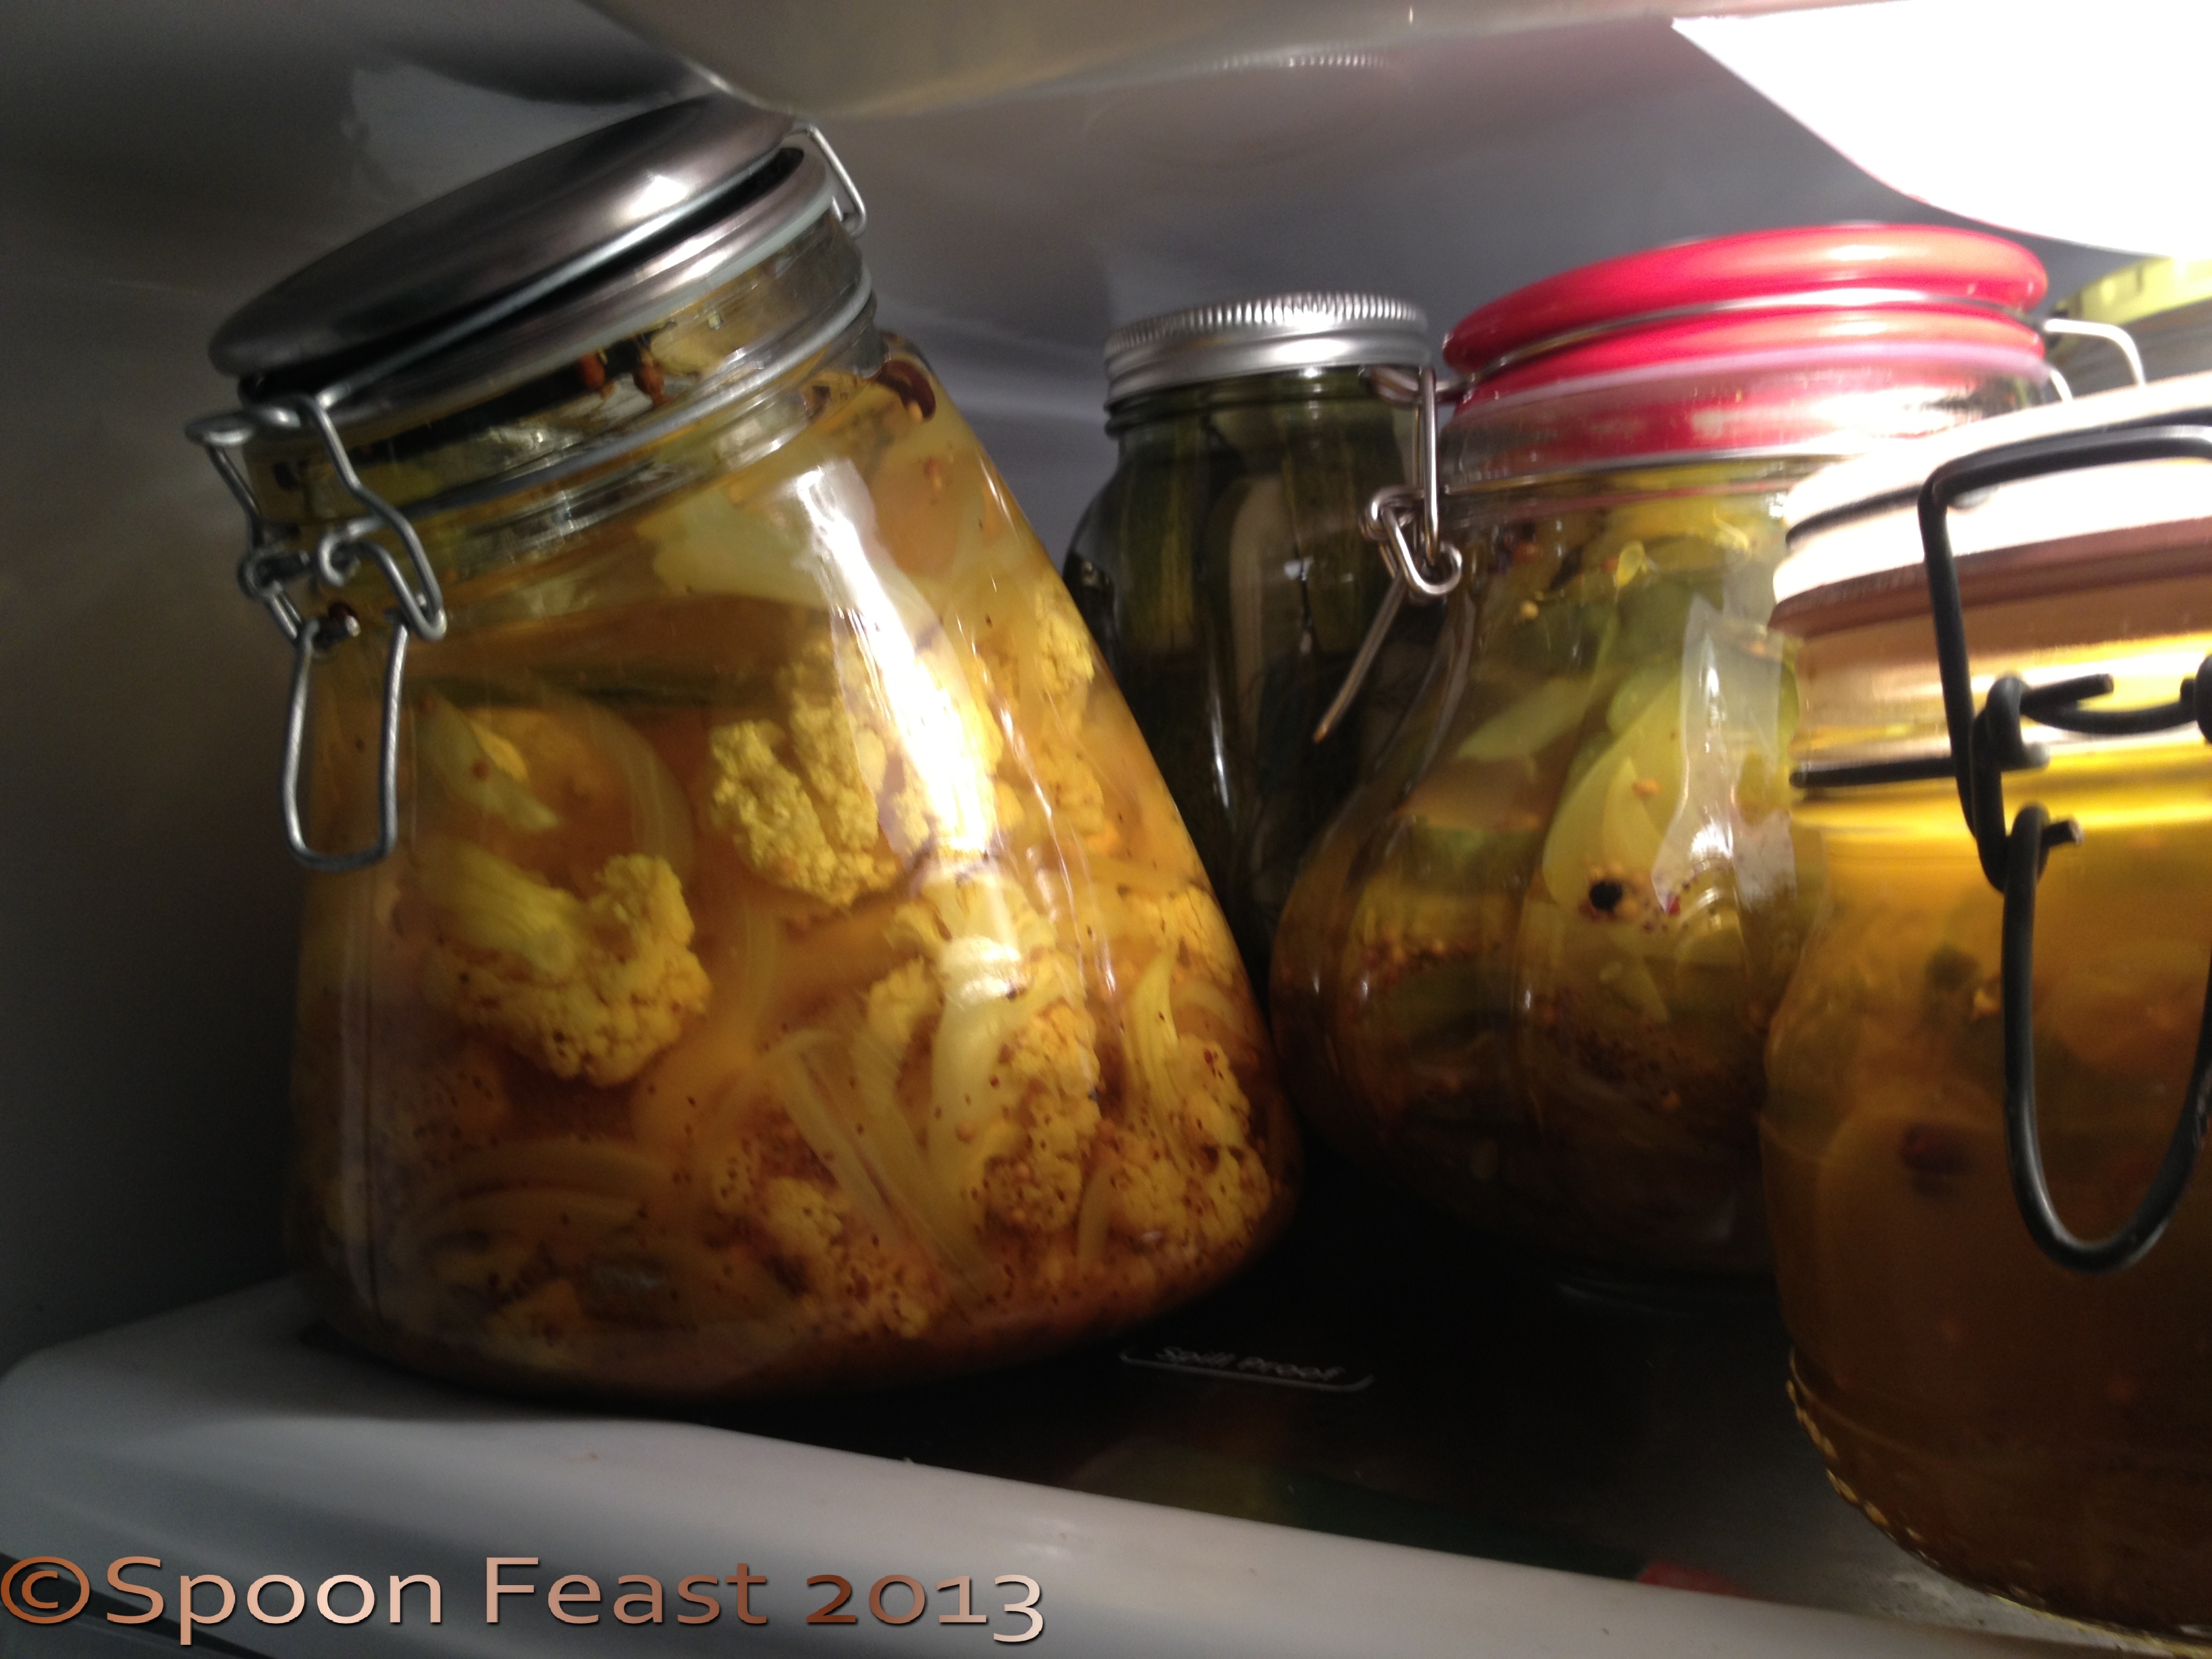
Pickles Cauliflower, Sweet Pickle Chips and Half-Sour Pickles chilling

Fresh and pickled cauliflower
I find they don’t last long enough to can so just get set to make more.
Enjoy!
Related articles
- Refrigerator Pickles (allandalefarmcsa.wordpress.com)
- In a Pickle (mycookinglife.com)
- Mixed Vegetable Pickle (ammasrecipe.wordpress.com)
- Pickling the pick of the cauliflower crop (lostcookbook.wordpress.com)
- Purple Cauliflower Pickles (growitcookitcanit.com)
- Make Half Sour Pickles (spoonfeast.com)