Eat Fresh – What’s in Season NOW! September

Here is a quick run down on Eating Fresh – What’s in season now, September 2014.

Every where you look, people are trying to eat better.

To be an educated eater, you need to be aware or what fresh #fruitsandvegetables are available according to season.
Simply going to the grocery store or that busy farmers market on the corner isn’t a good way to determine what is in season. Food gets shipped in from all over the world so the availability seems season-less.
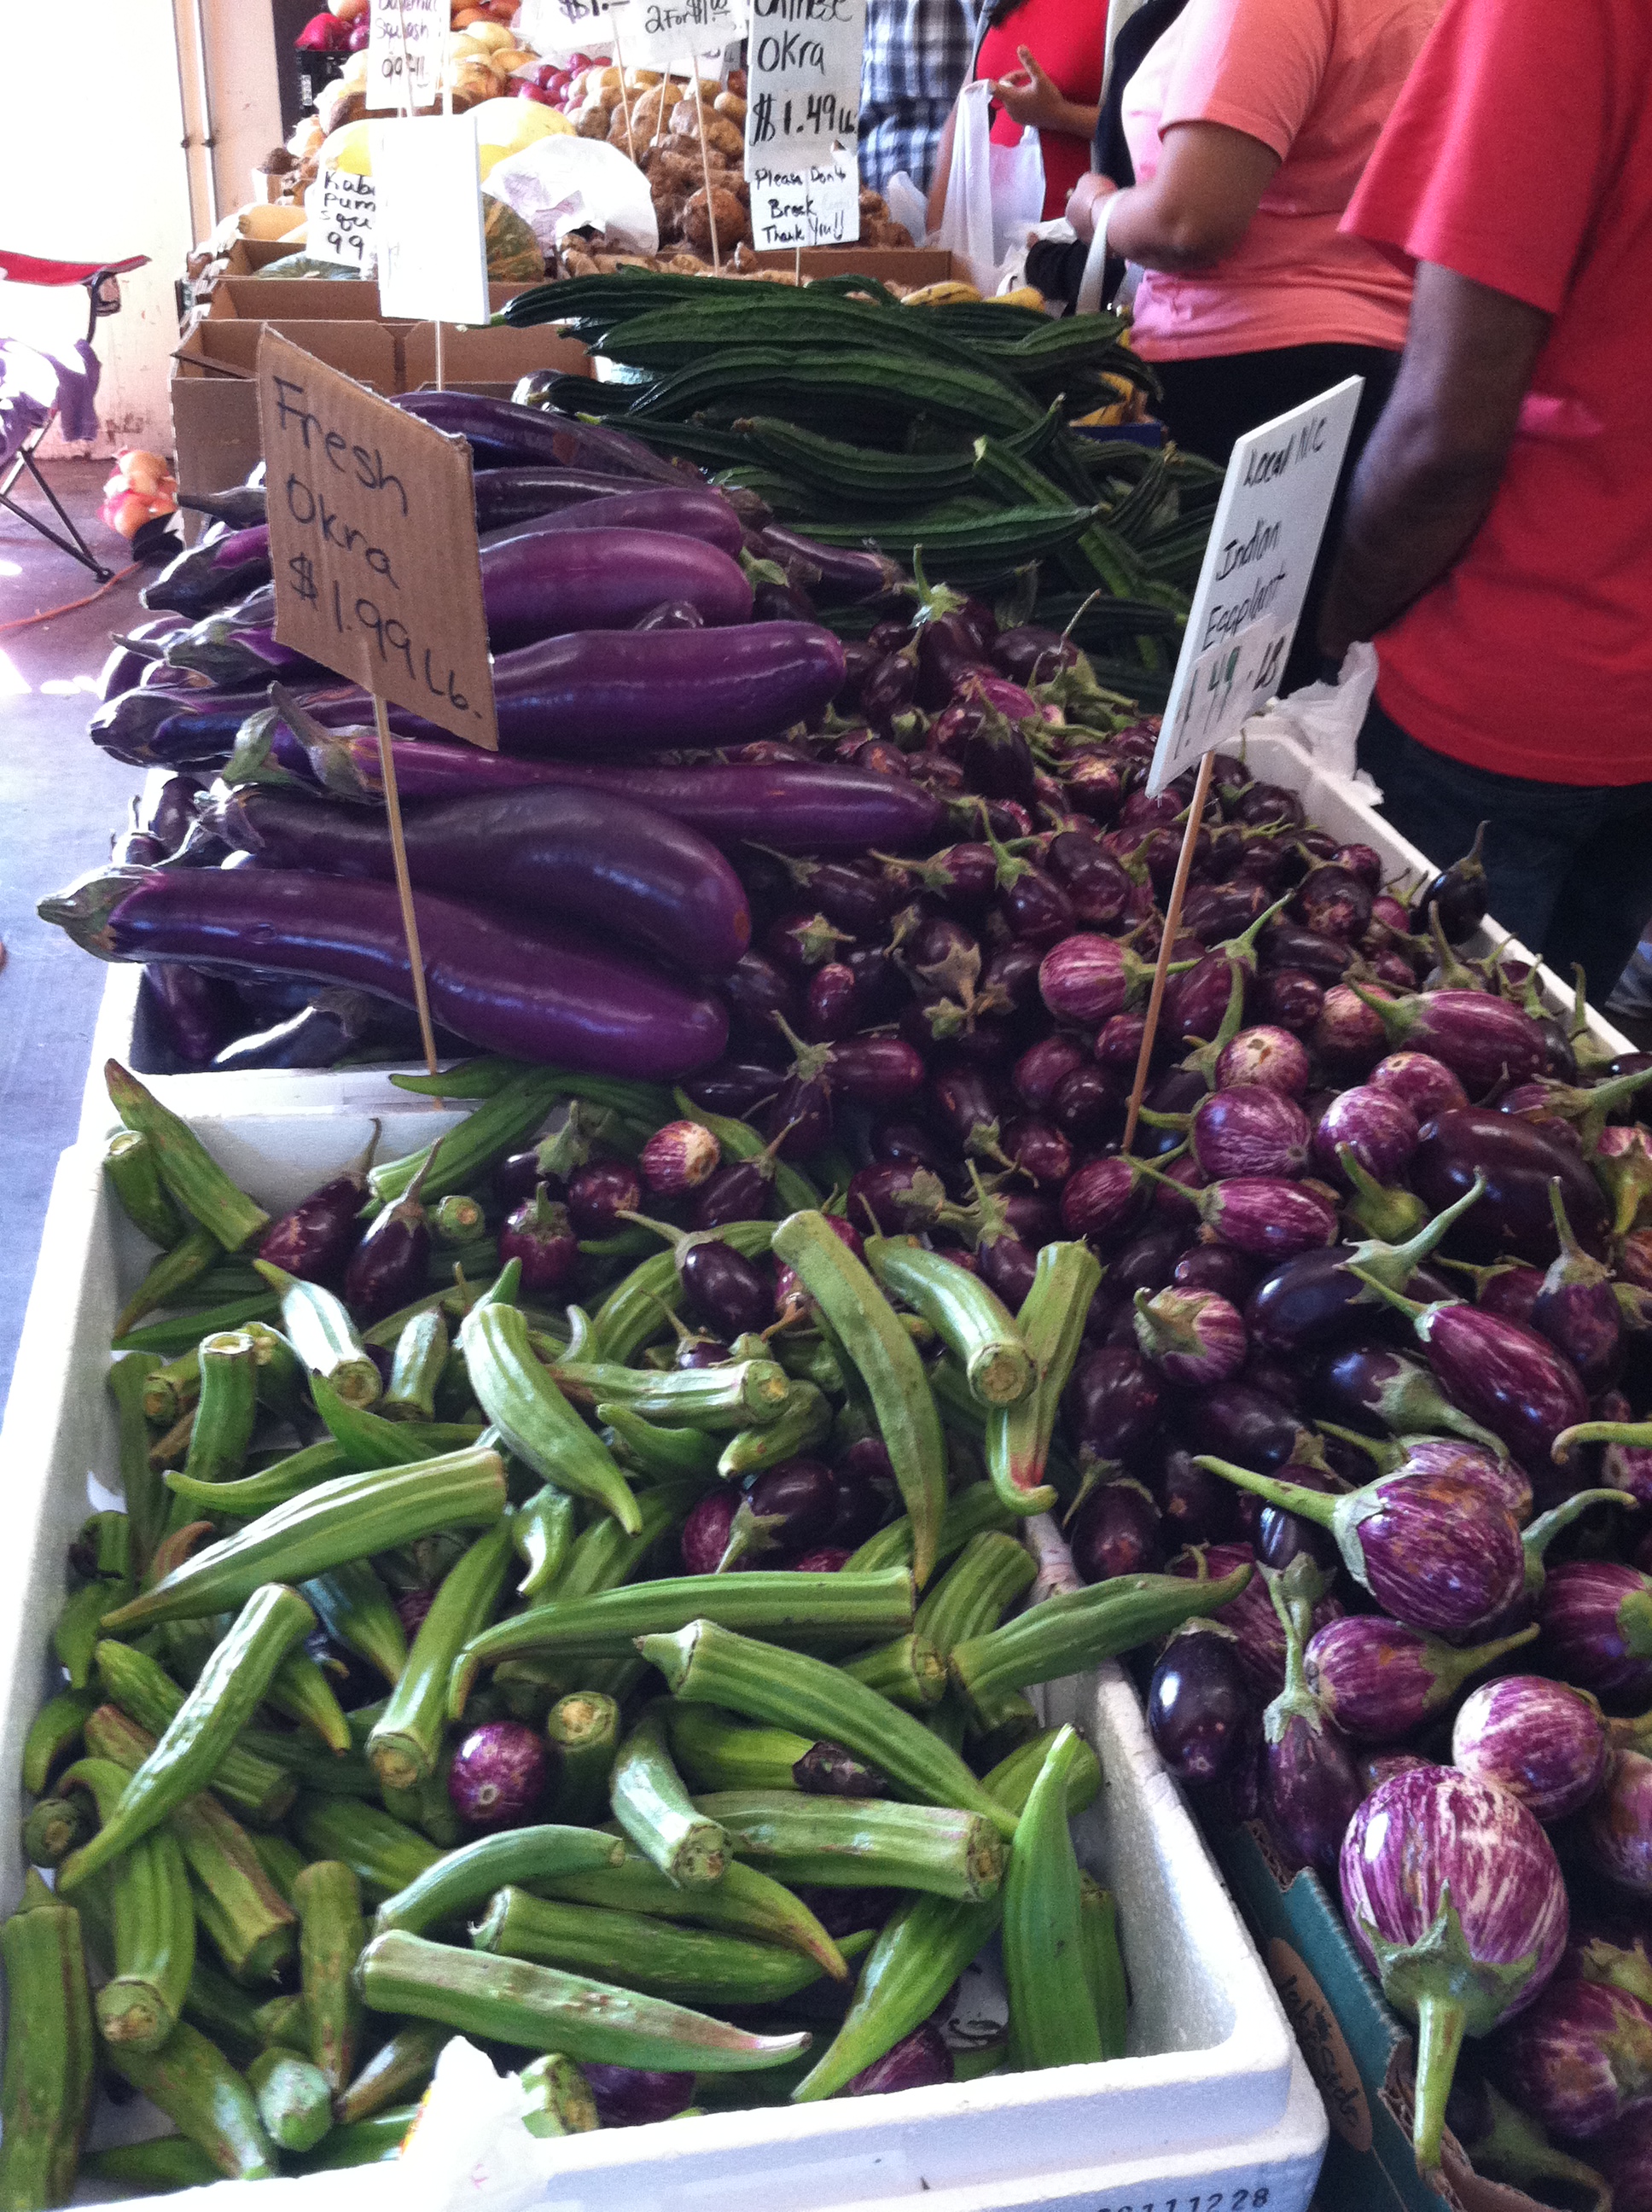
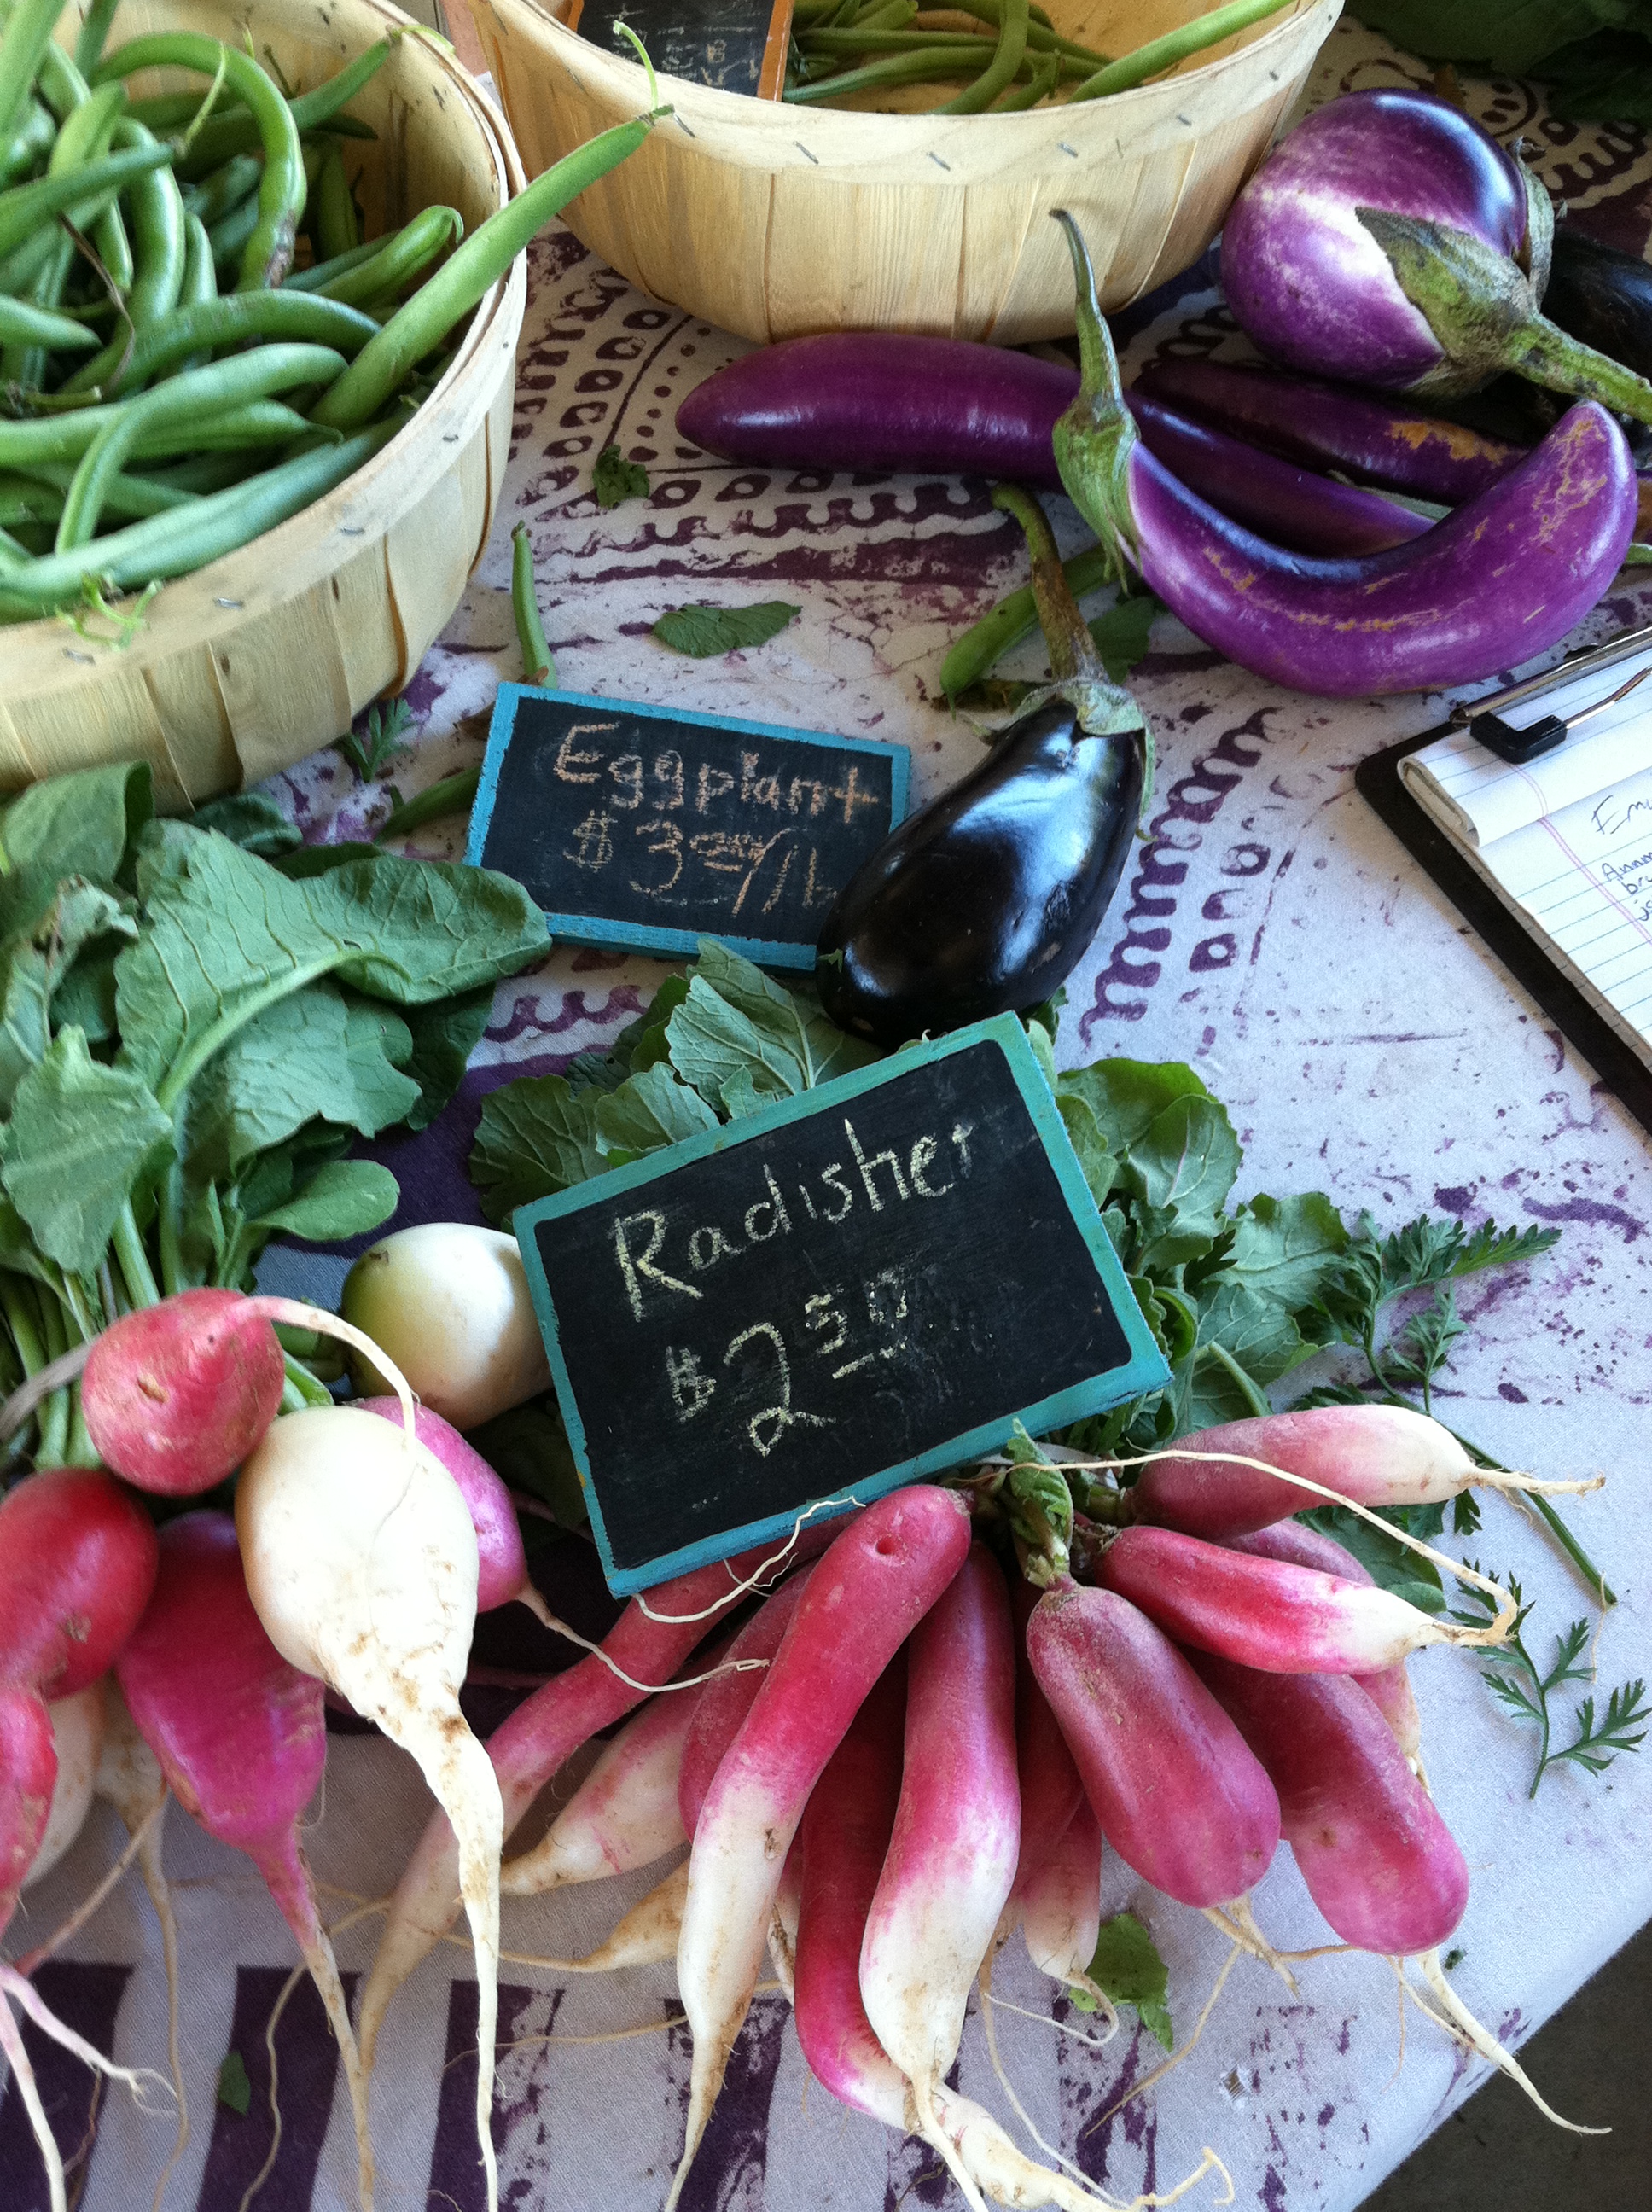
Eggplant and Okra

Eggplant and Okra

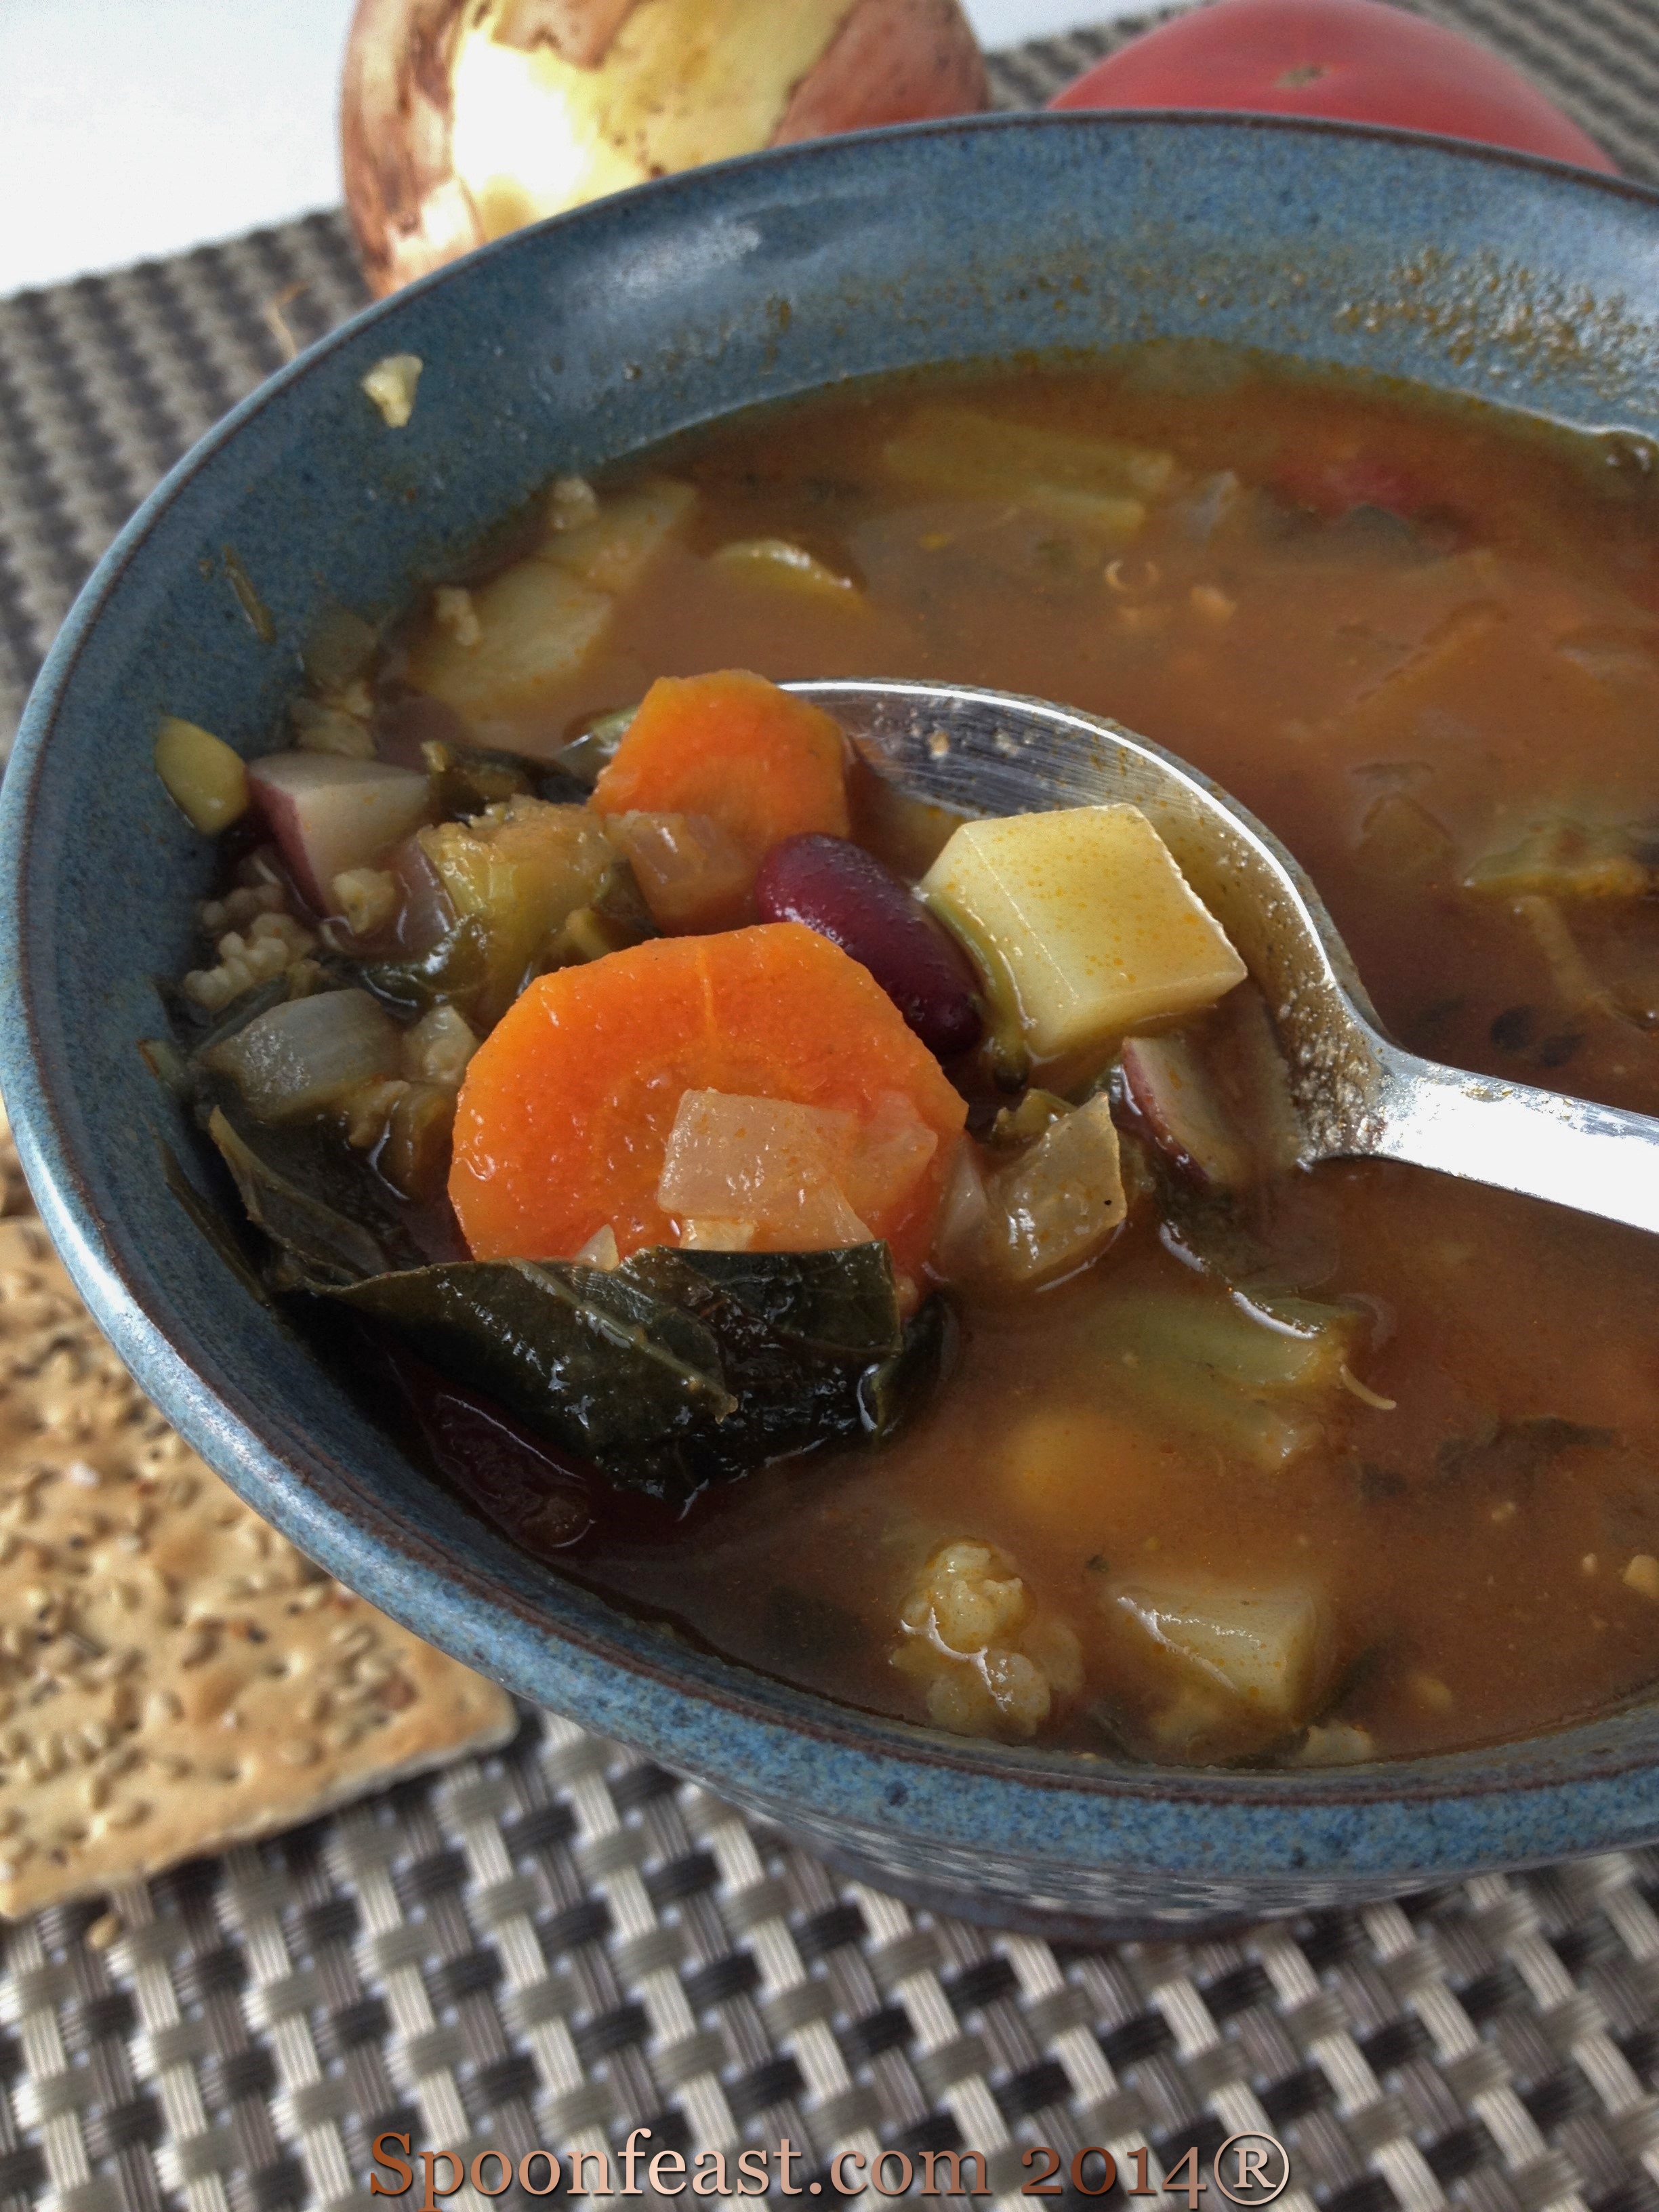
Knowing what is in season and that winter would be the “bleakest” food season; you can prepare and plan to have a pantry full of amazing things. But that’s another discussion.

Summer is winding down, days are getting shorter. Tomatoes are in full swing, melons are ripening on the vines.
Okra is growing over your head the plants have become so tall!

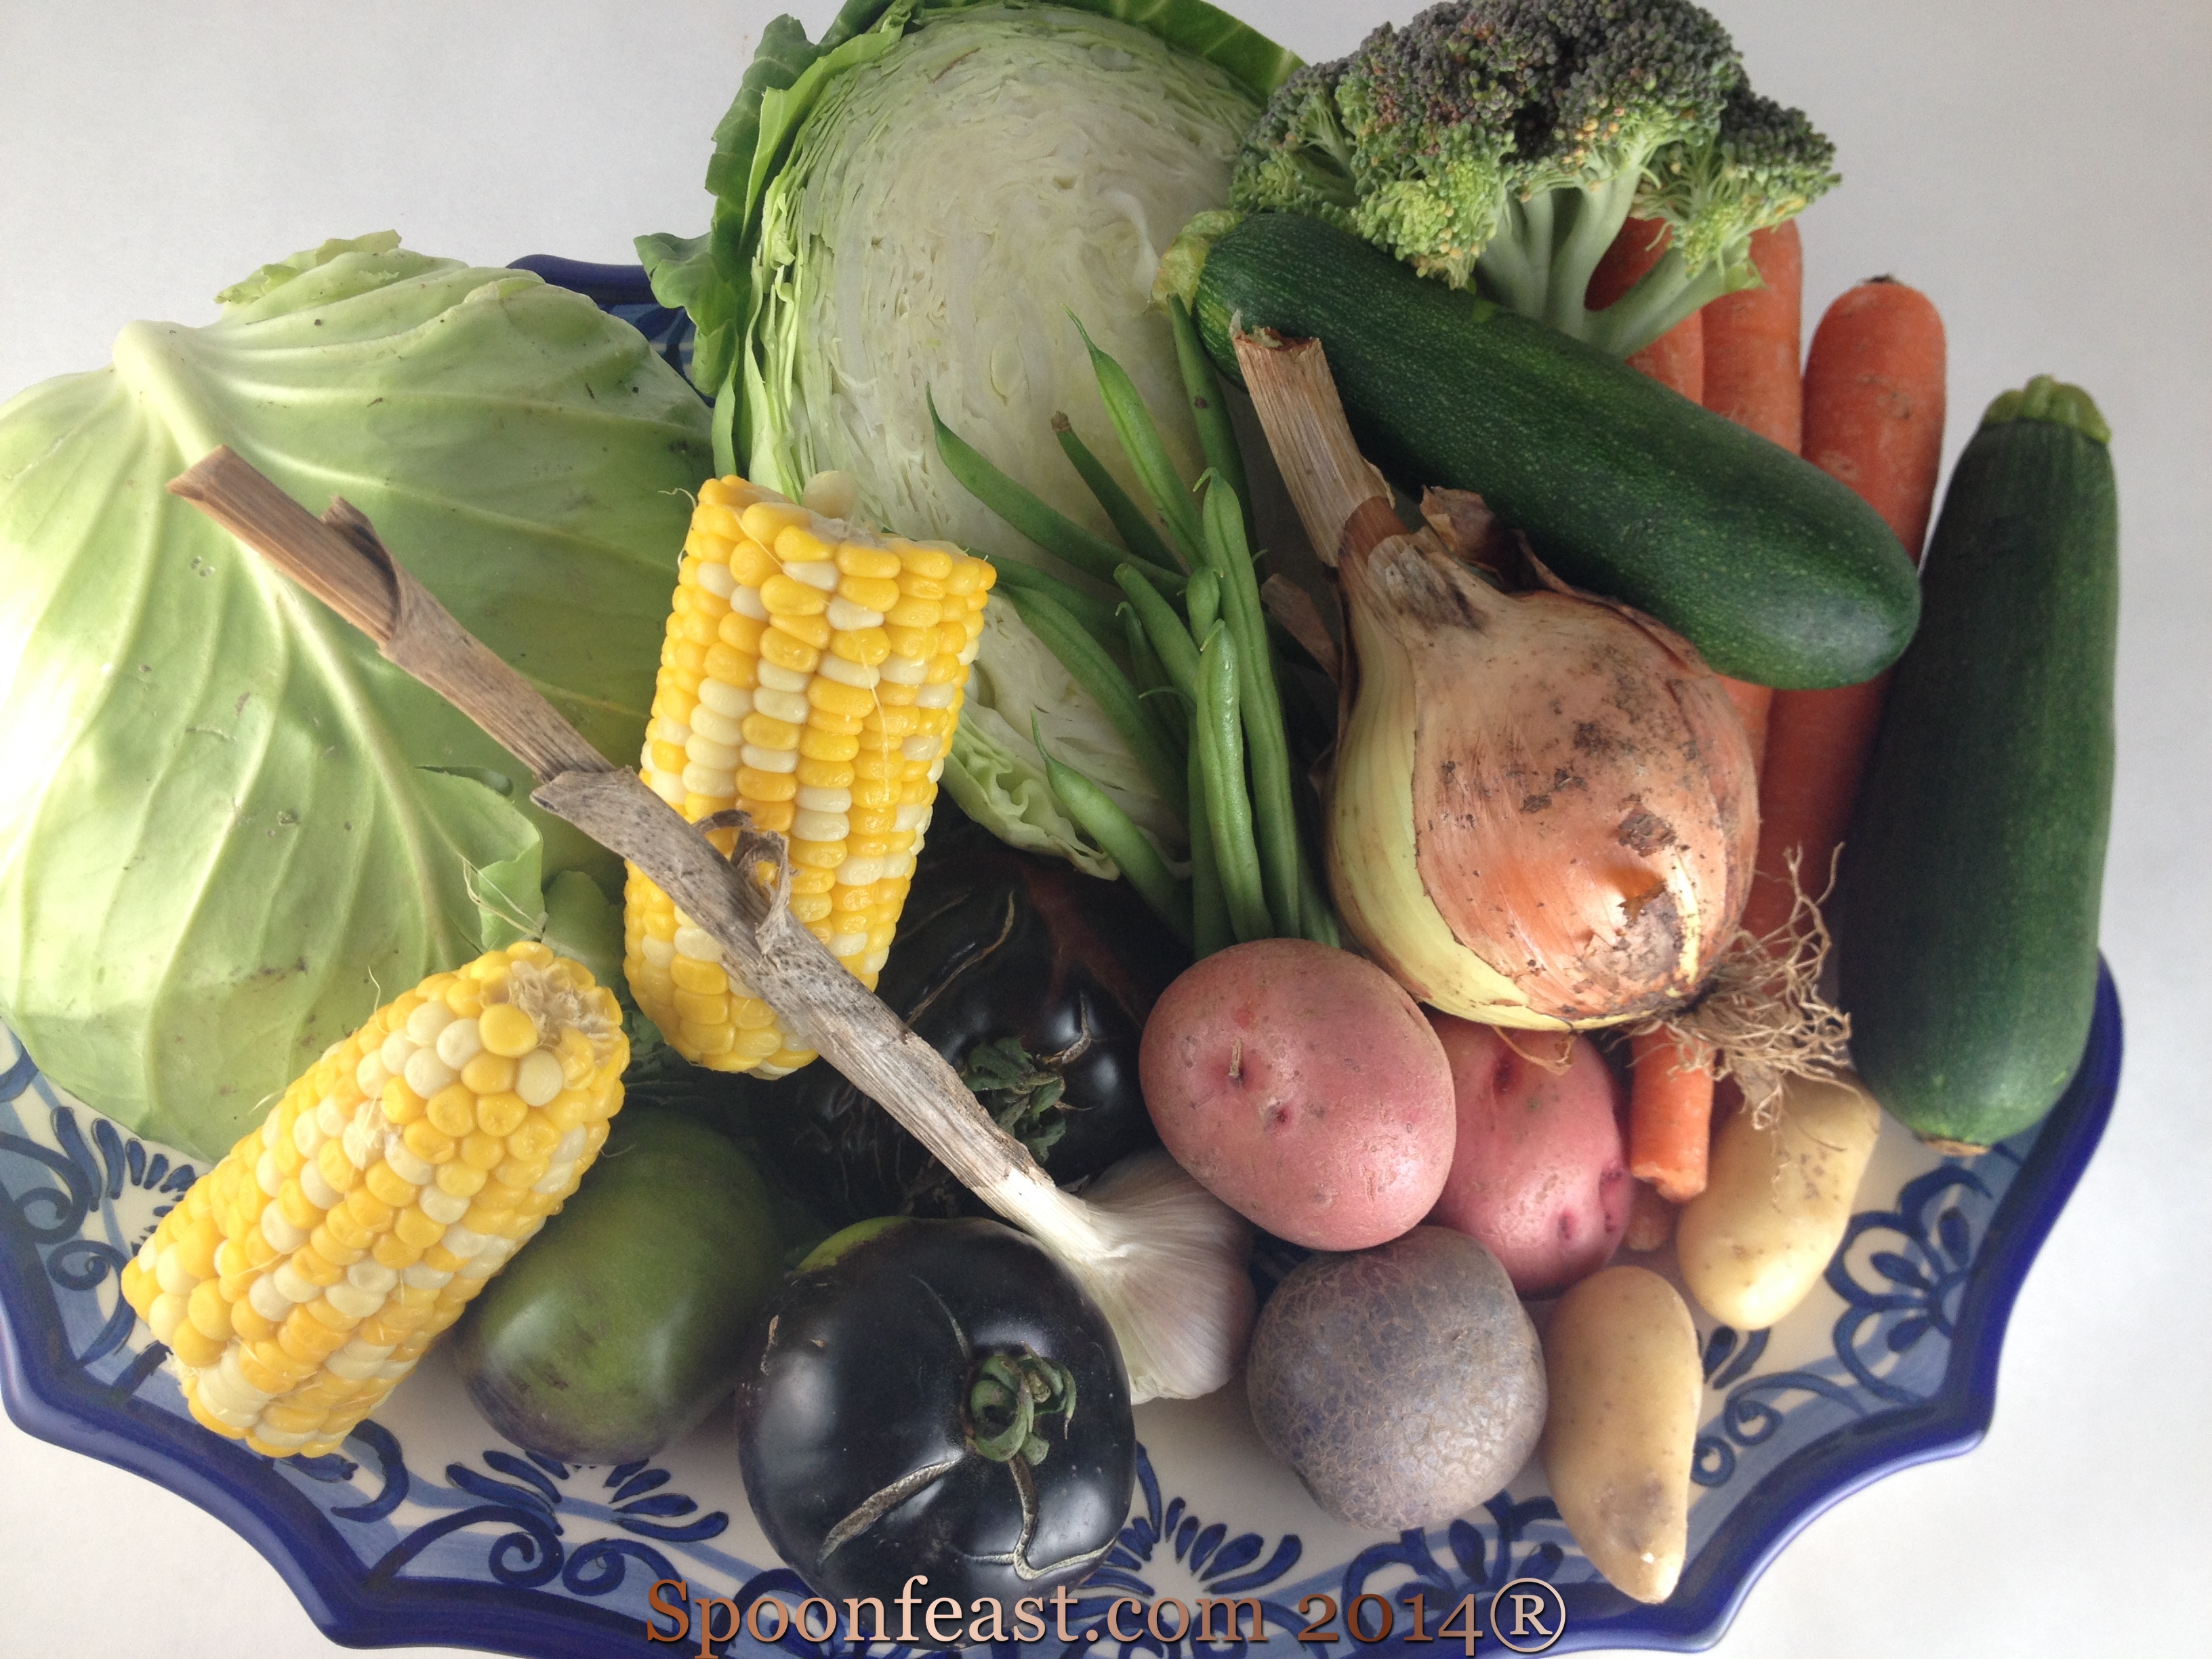
Here's what you can buy fresh from the garden in September:

Click on the hyperlinks to get fun, interesting ideas and recipes.

  • Apples- are coming in, crisp and fresh! Look for more varieties in the market as fall progresses.

    Apples on display

    Apples on display

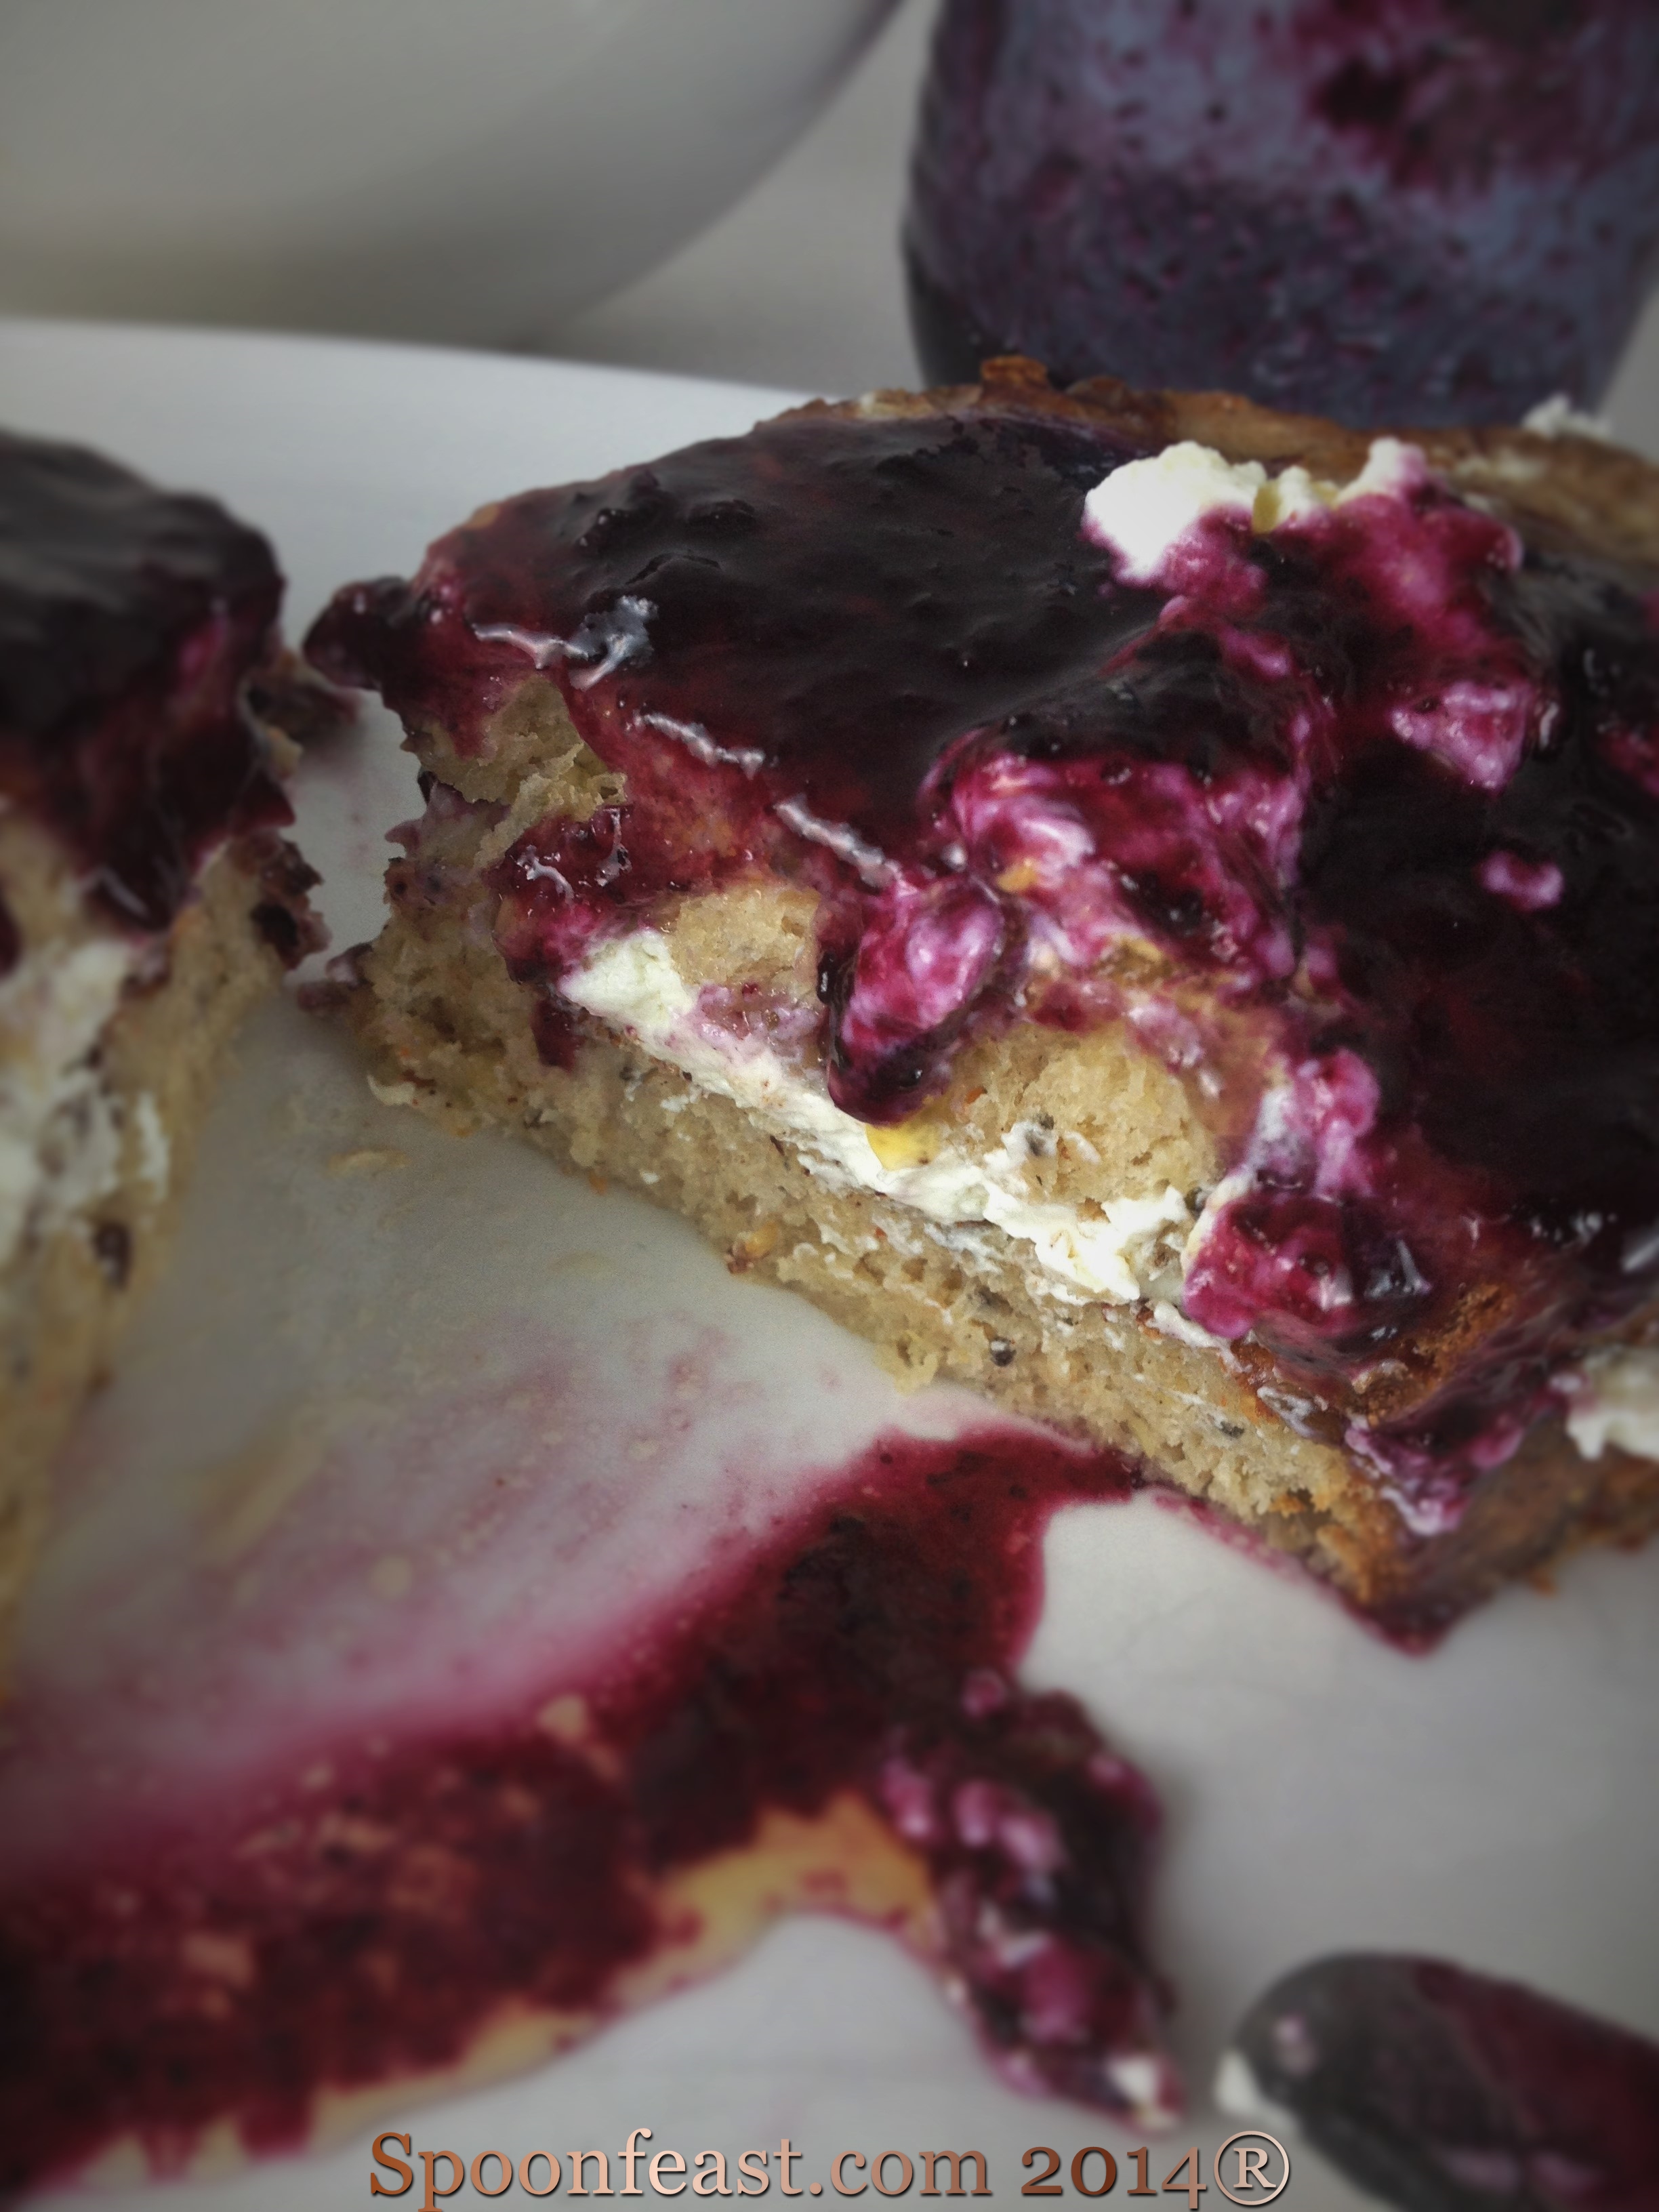
  • Blackberries– soon to be gone! Make some Blackberry Sage Jam for a cold winter morning.
  • Cabbage – a good winter staple
  • Cherry Tomatoes – great for salads, snacking, roasting or sauté – abundant now through first frost
  • Collards – Simply an amazing green to simmer and eat with beans and cornbread, ’nuff said! Don’t forget the hot pepper vinegar!
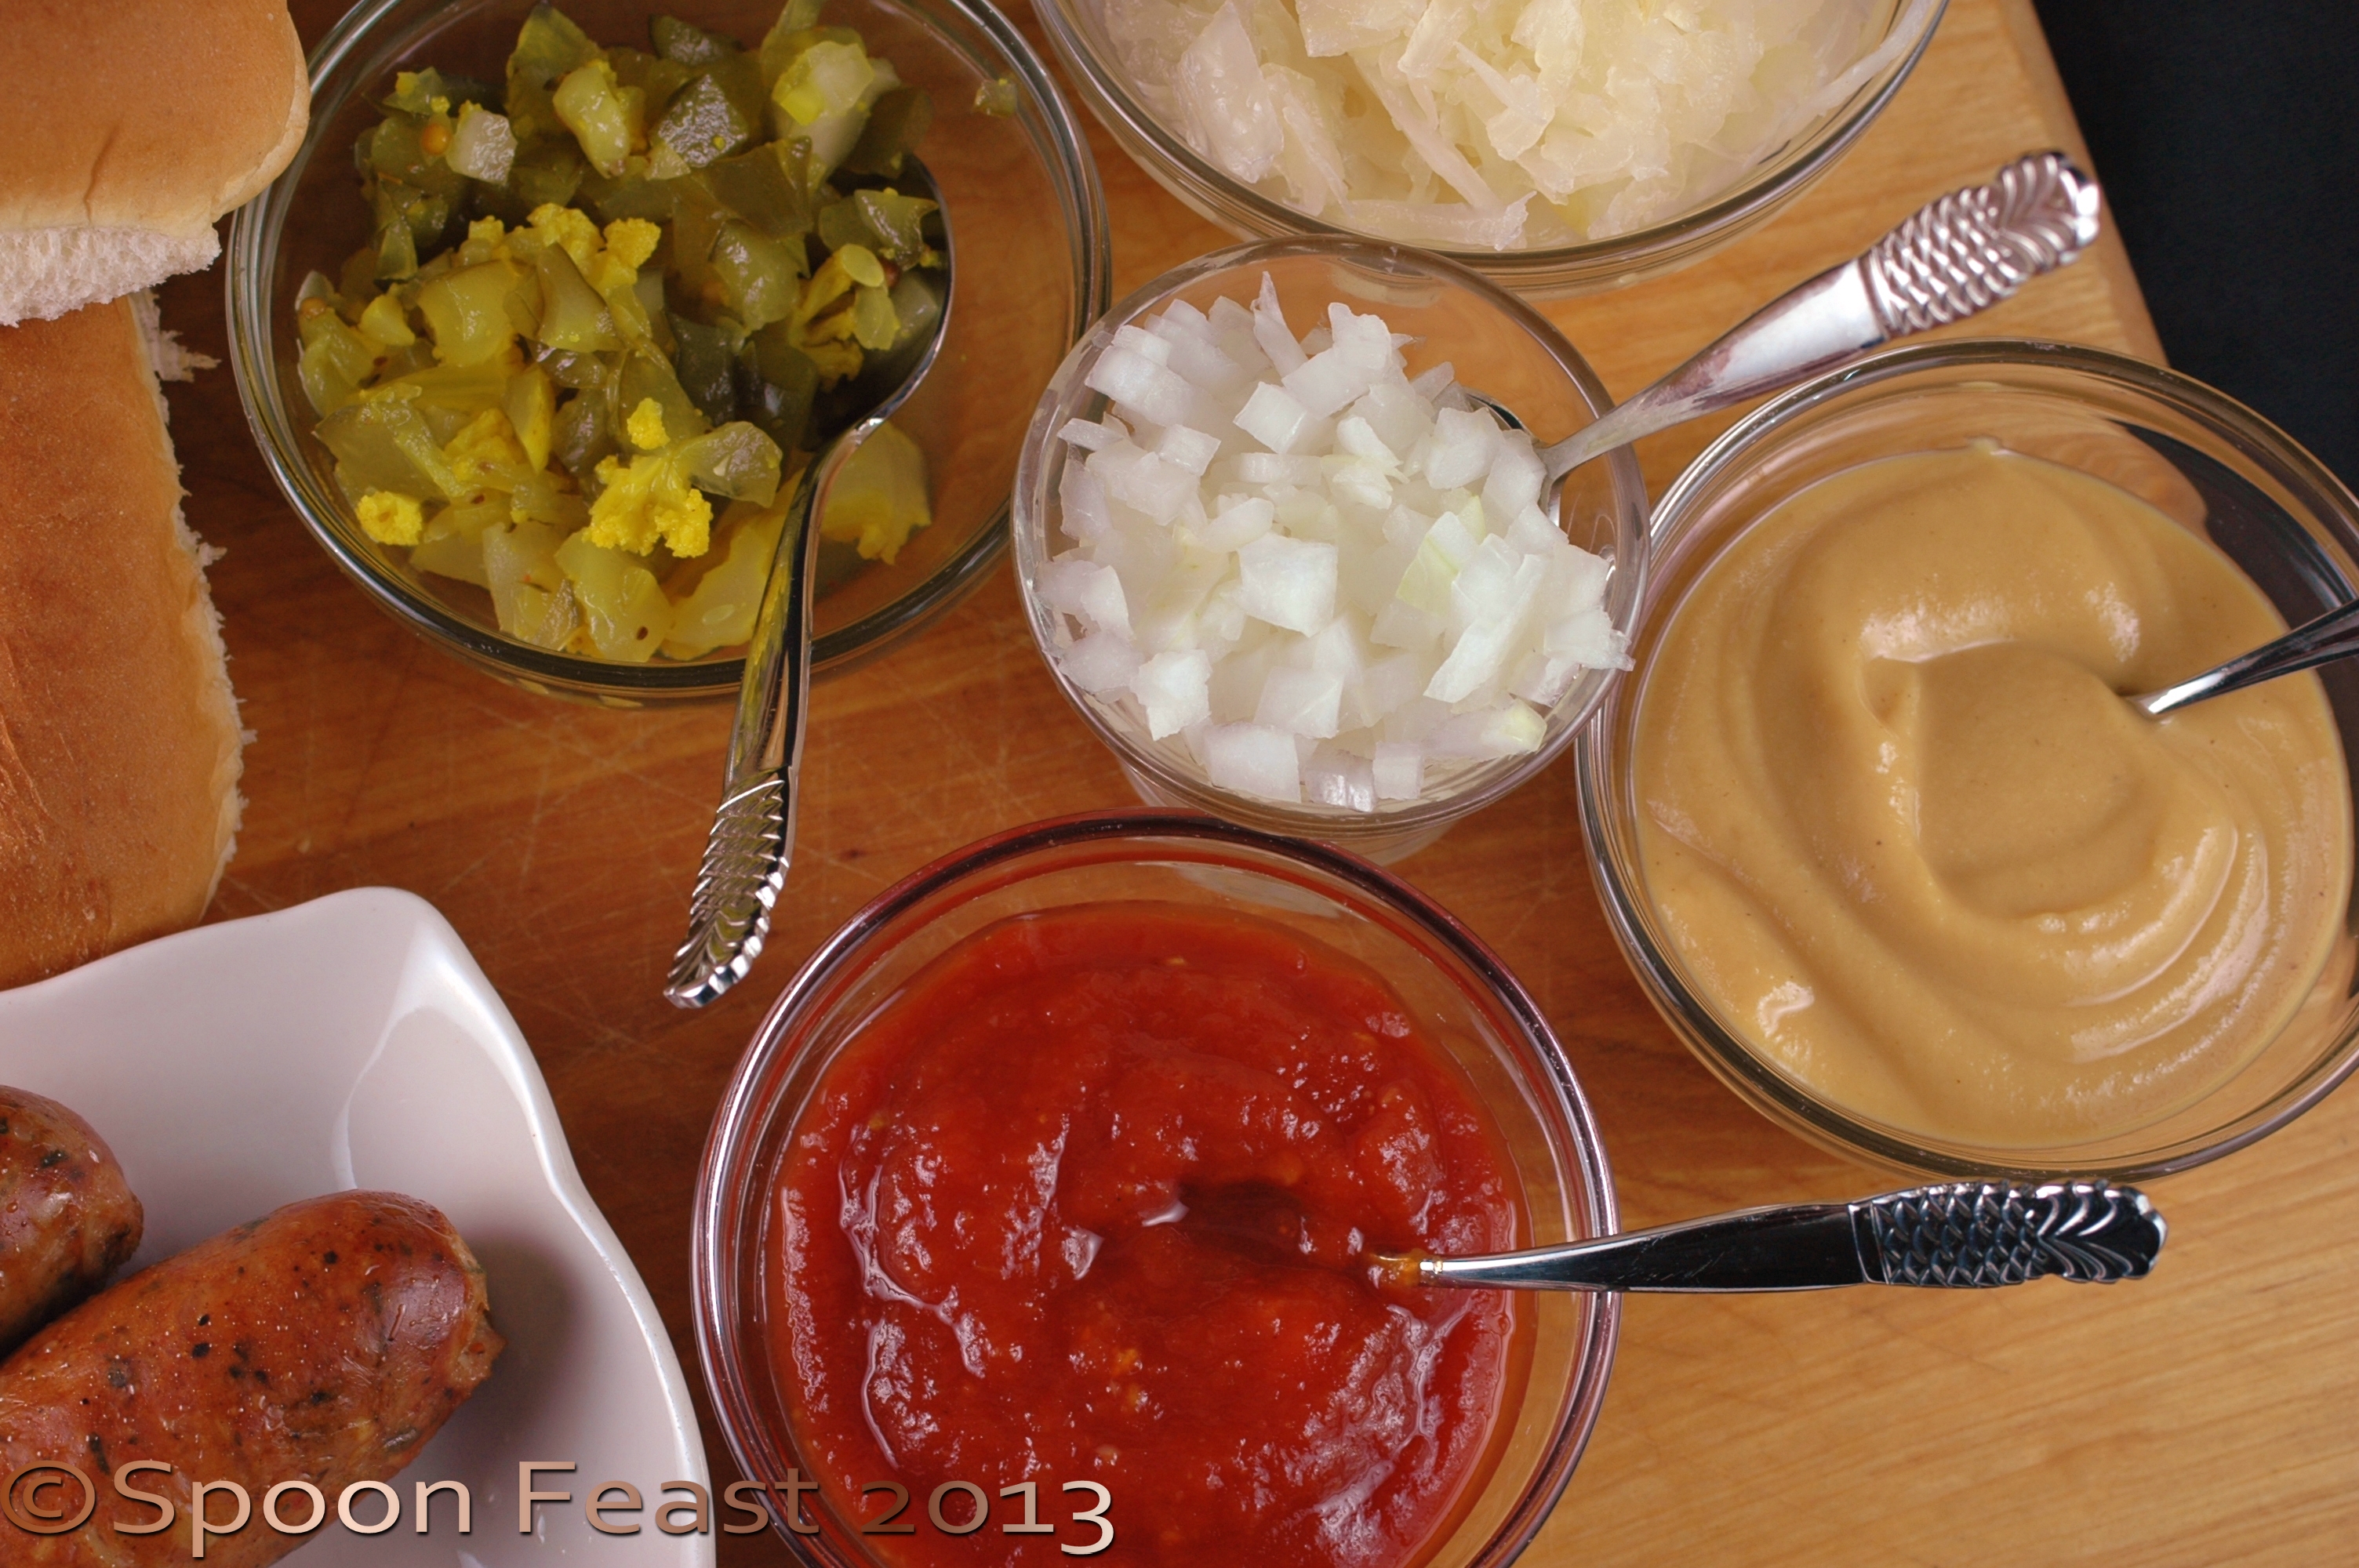
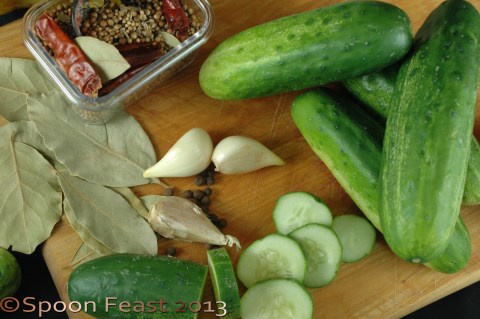
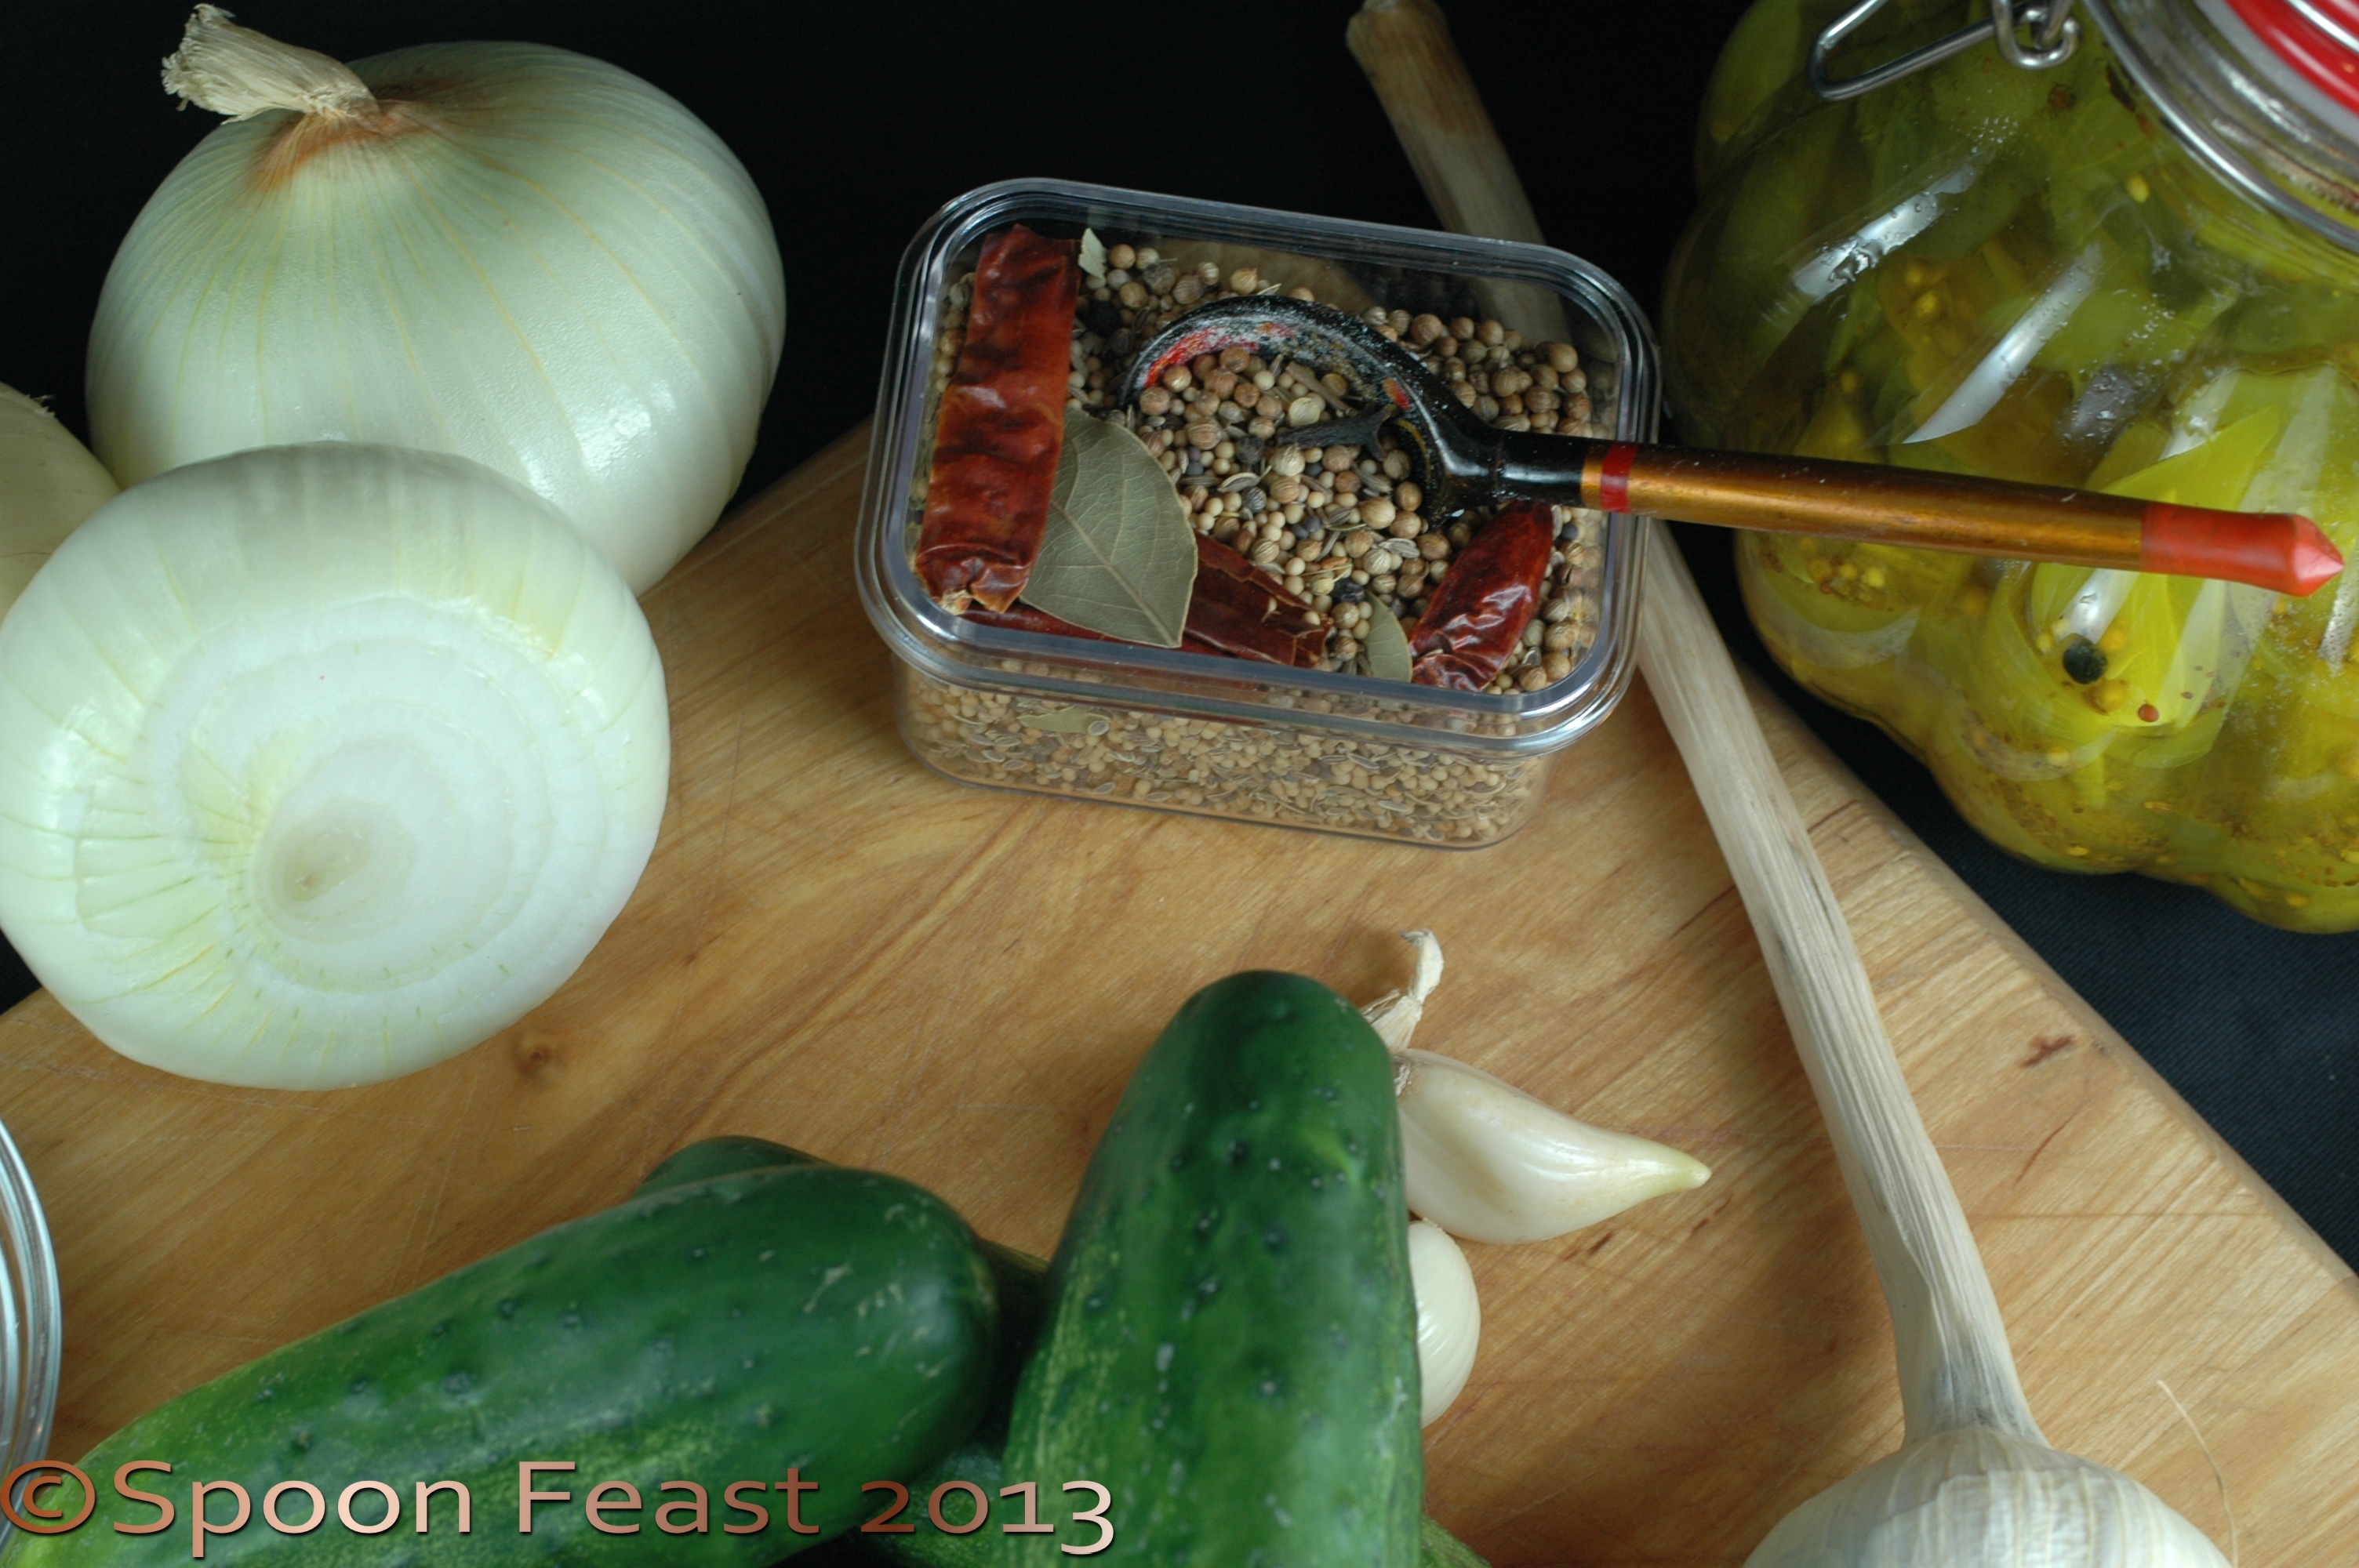
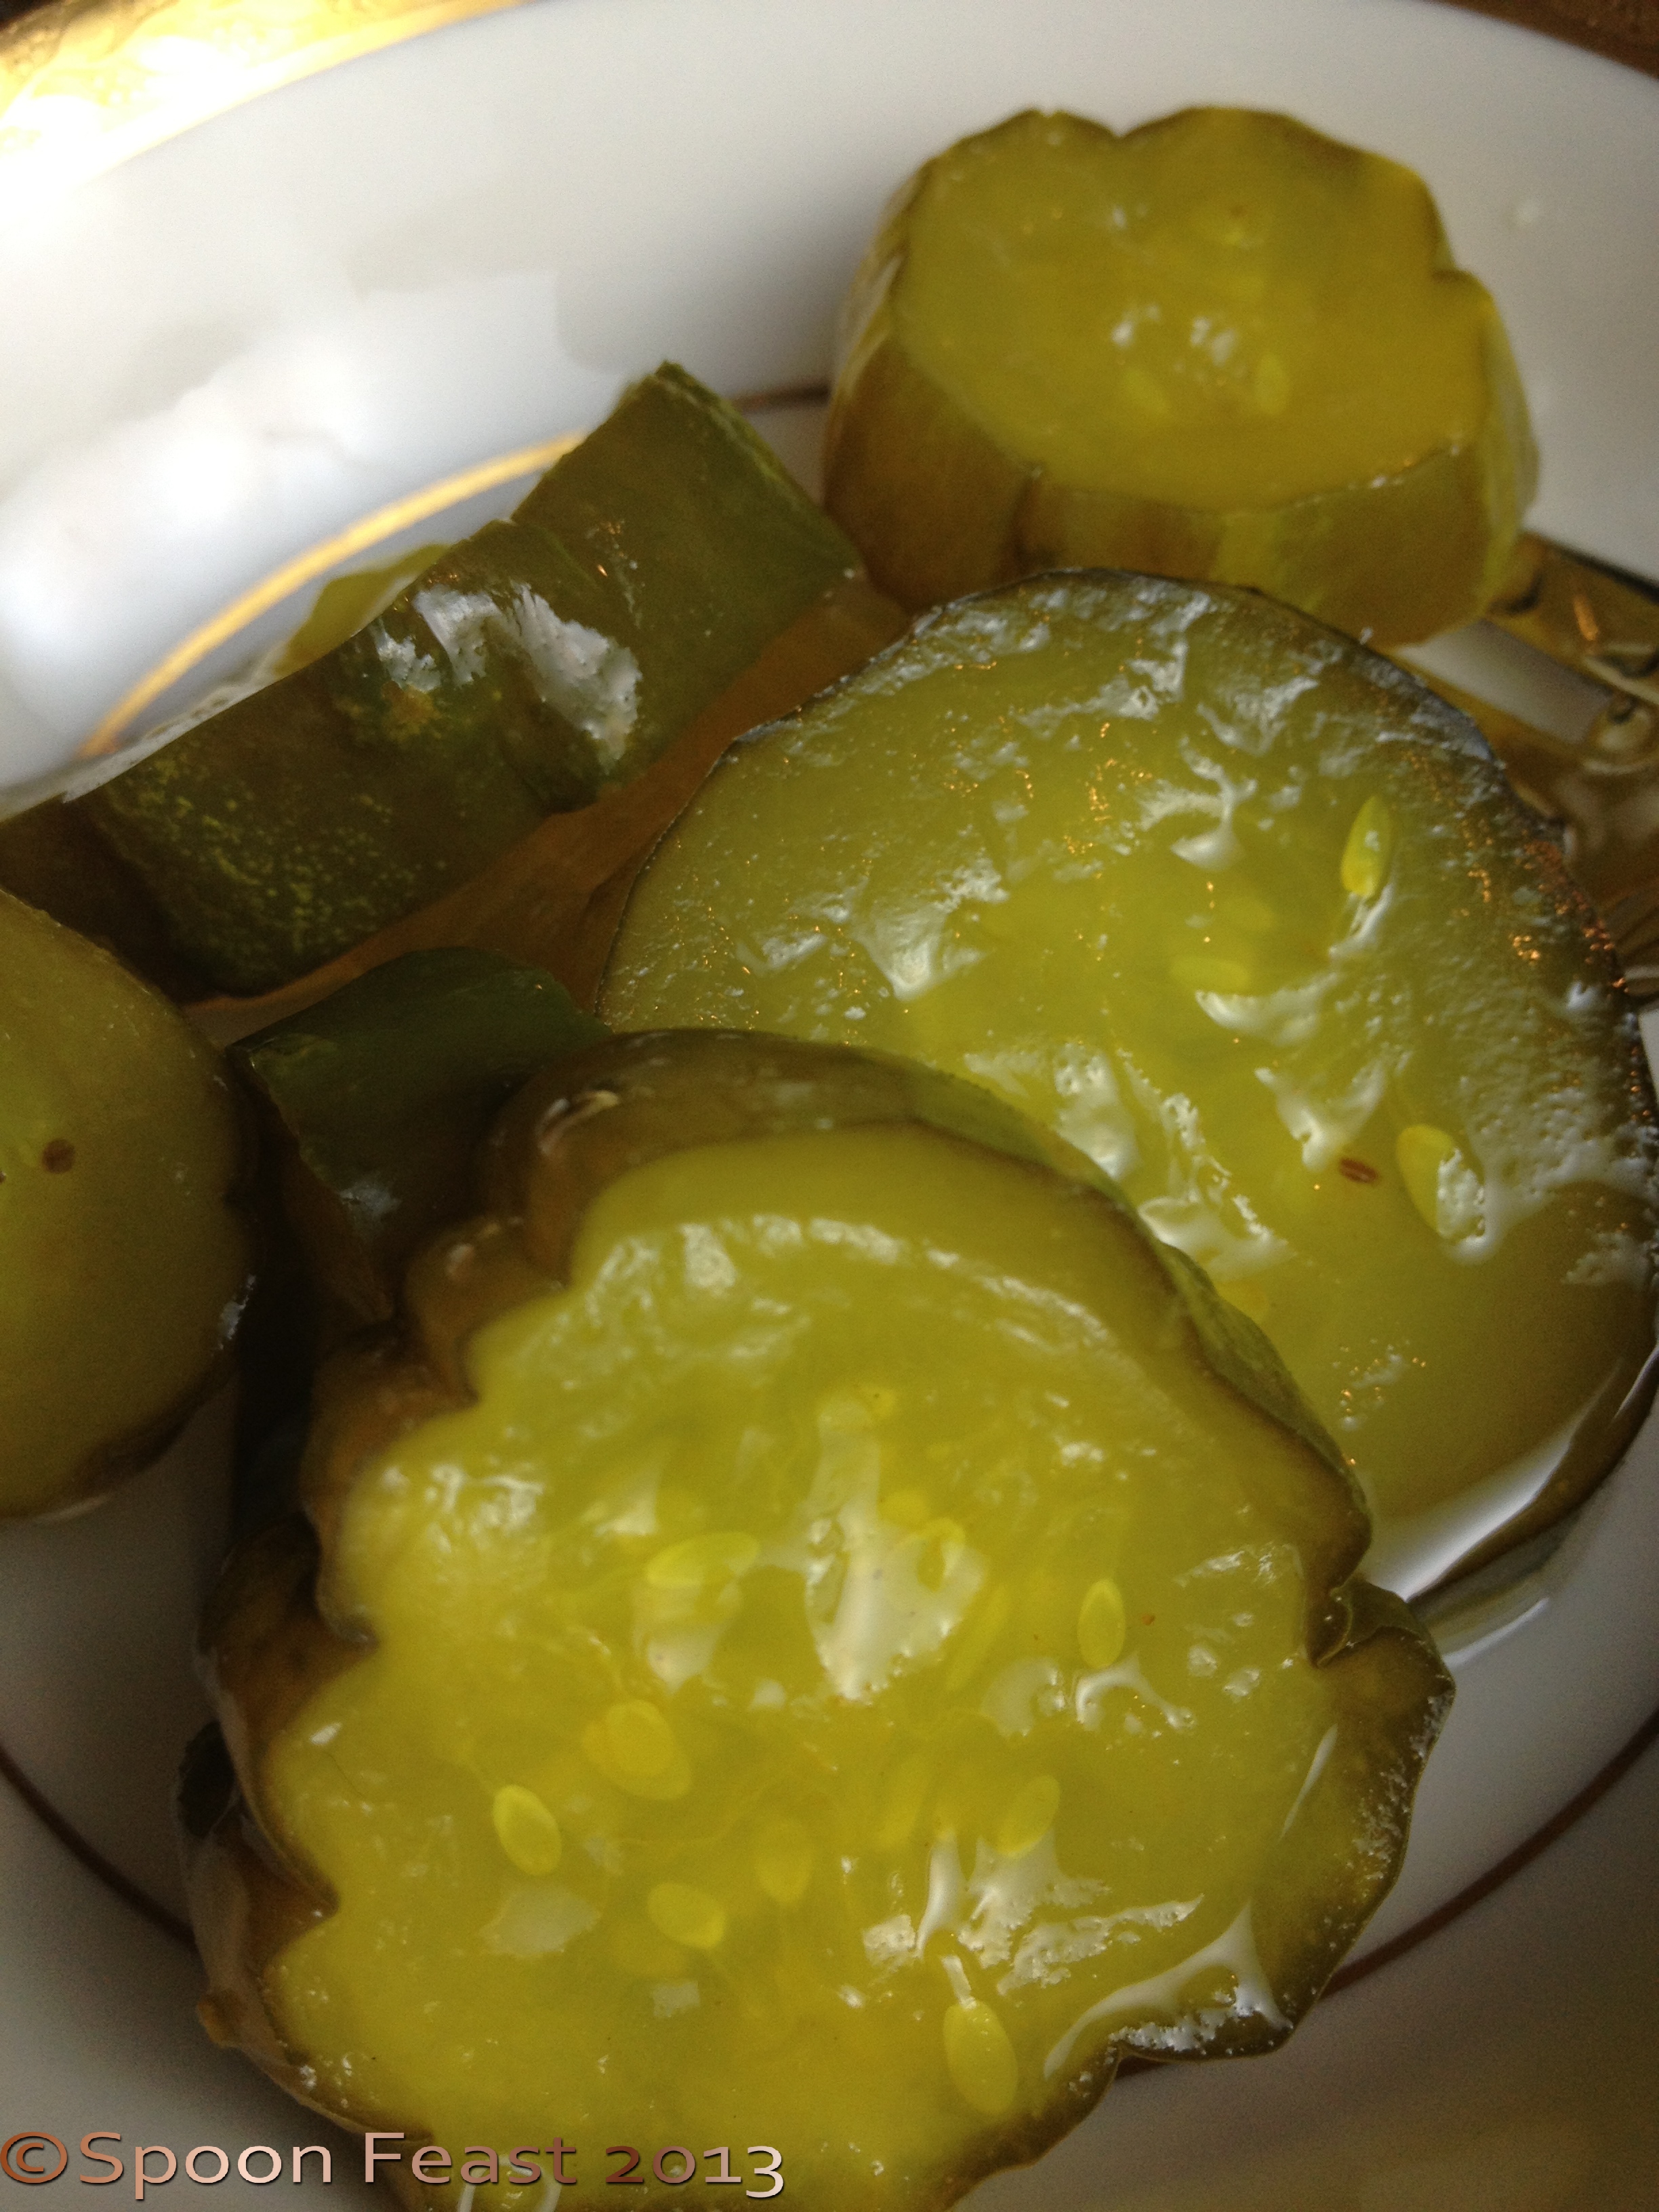
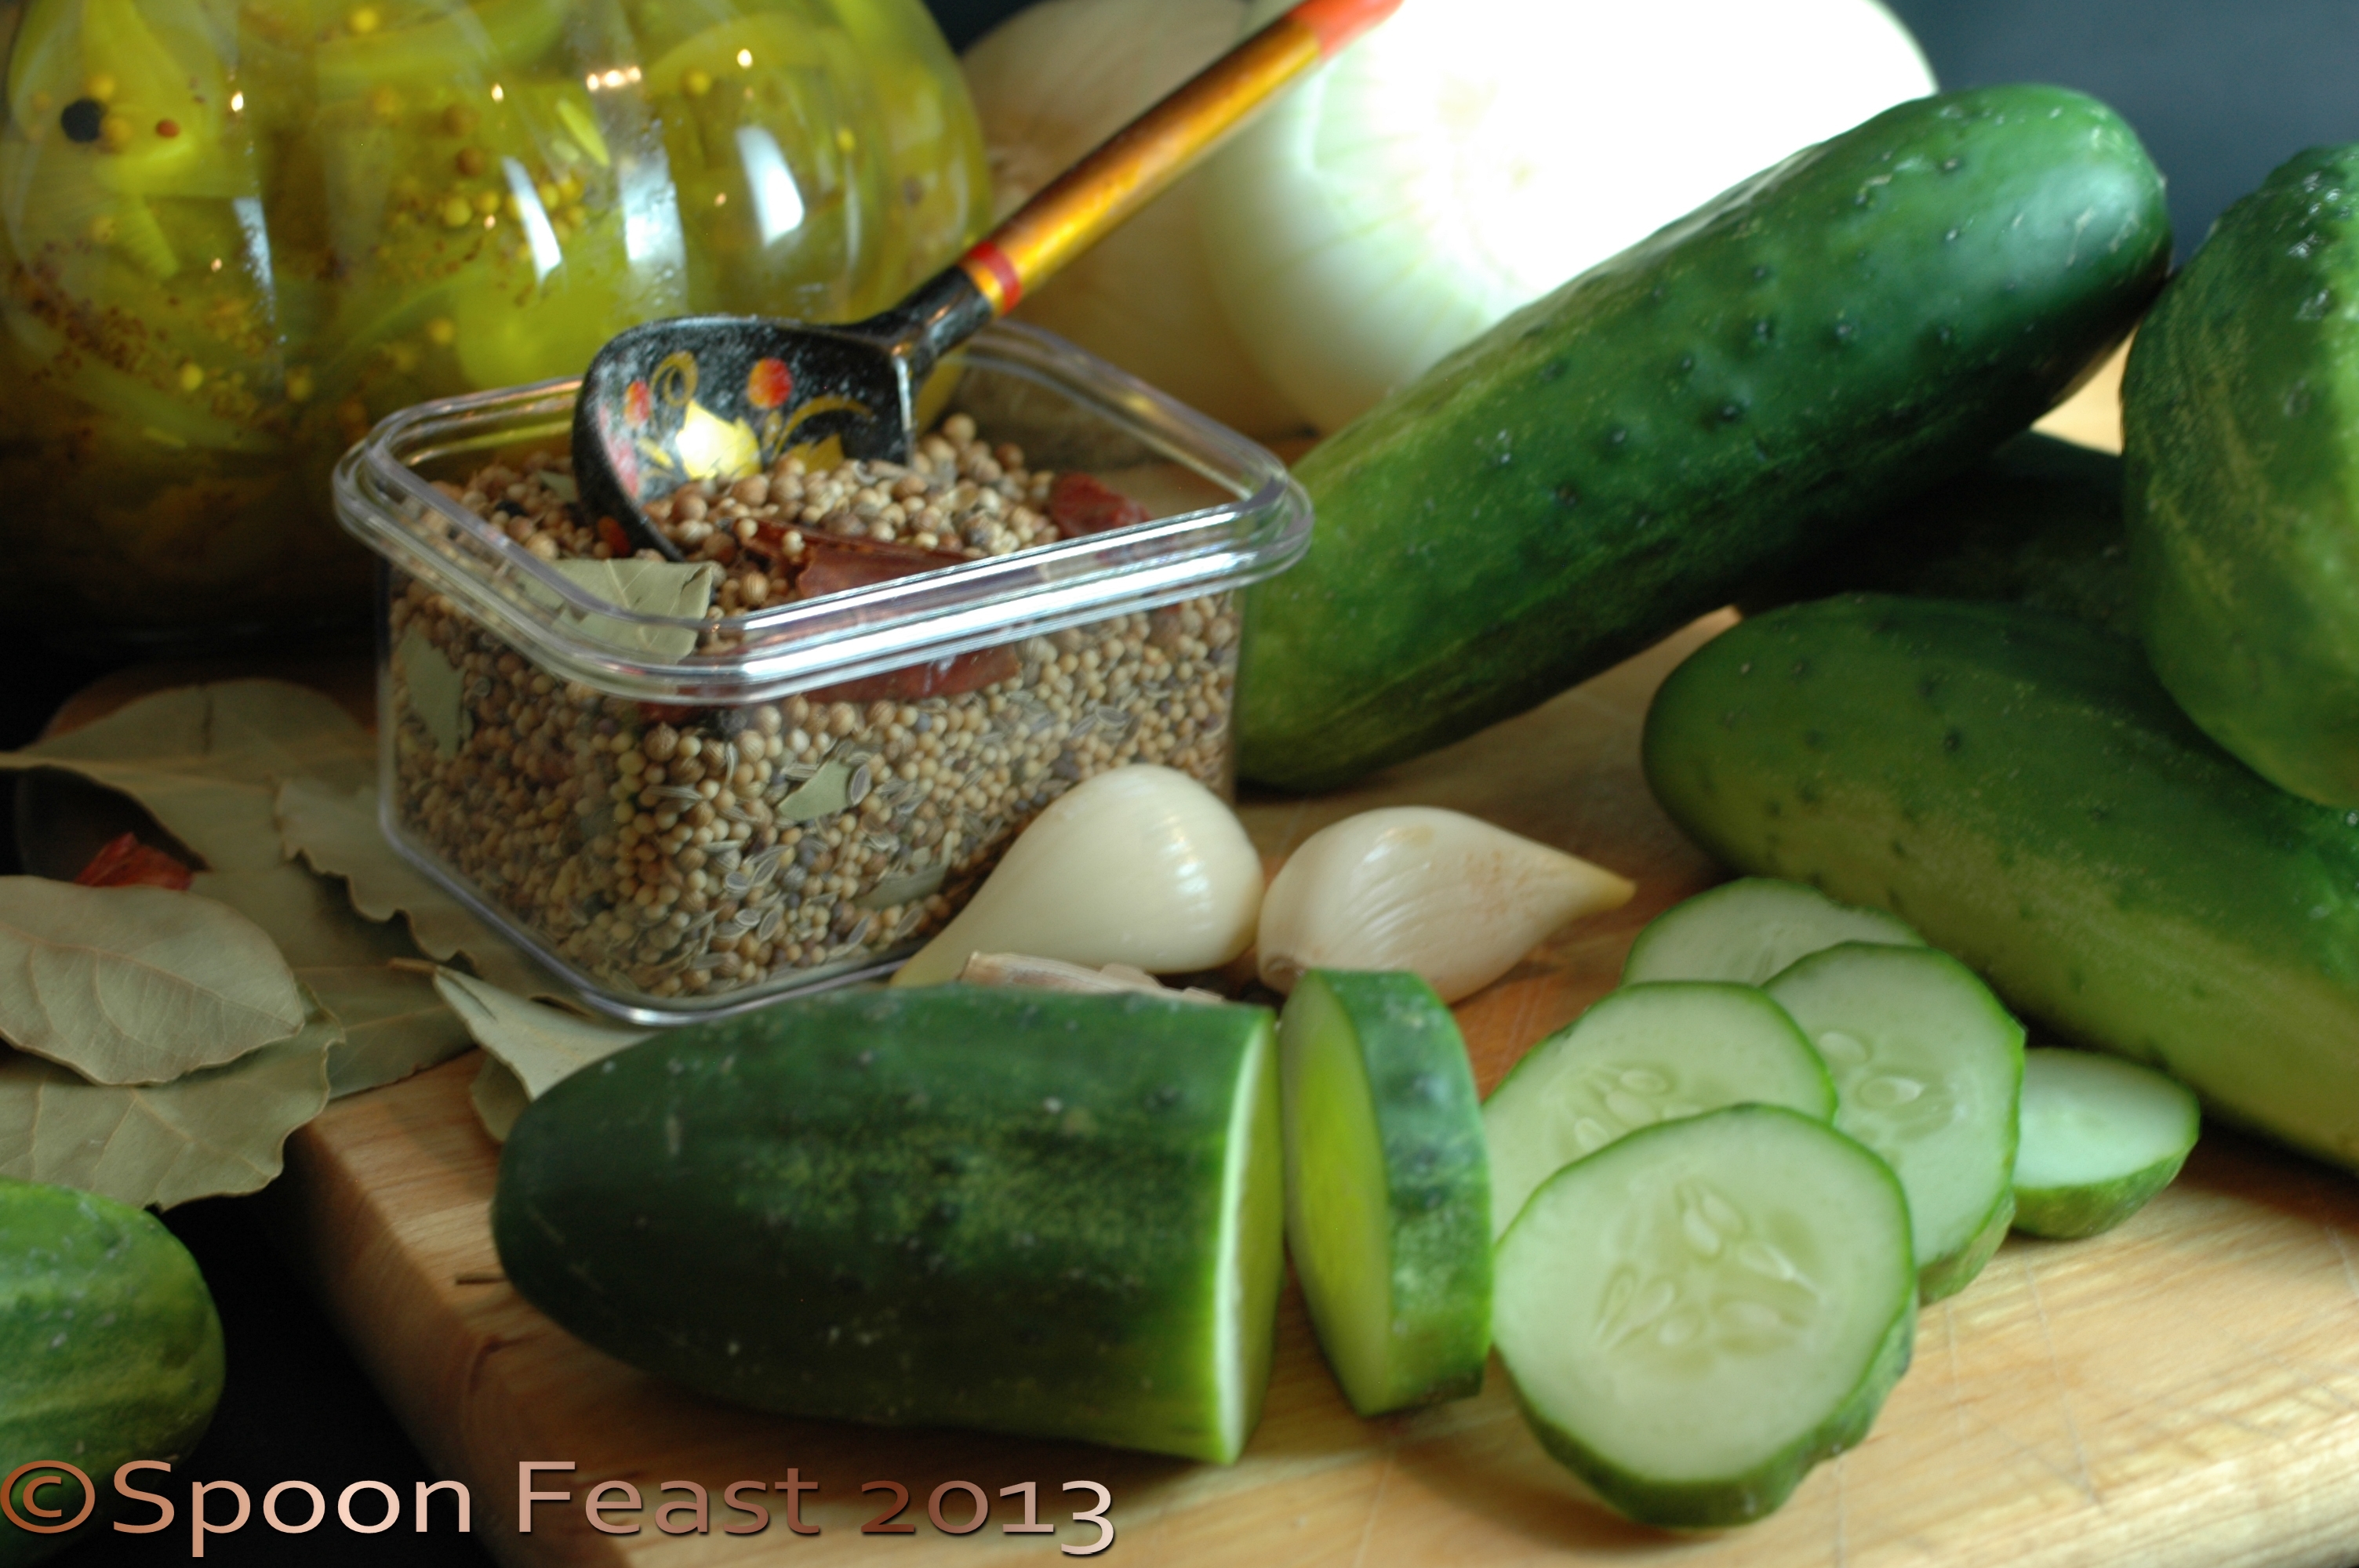
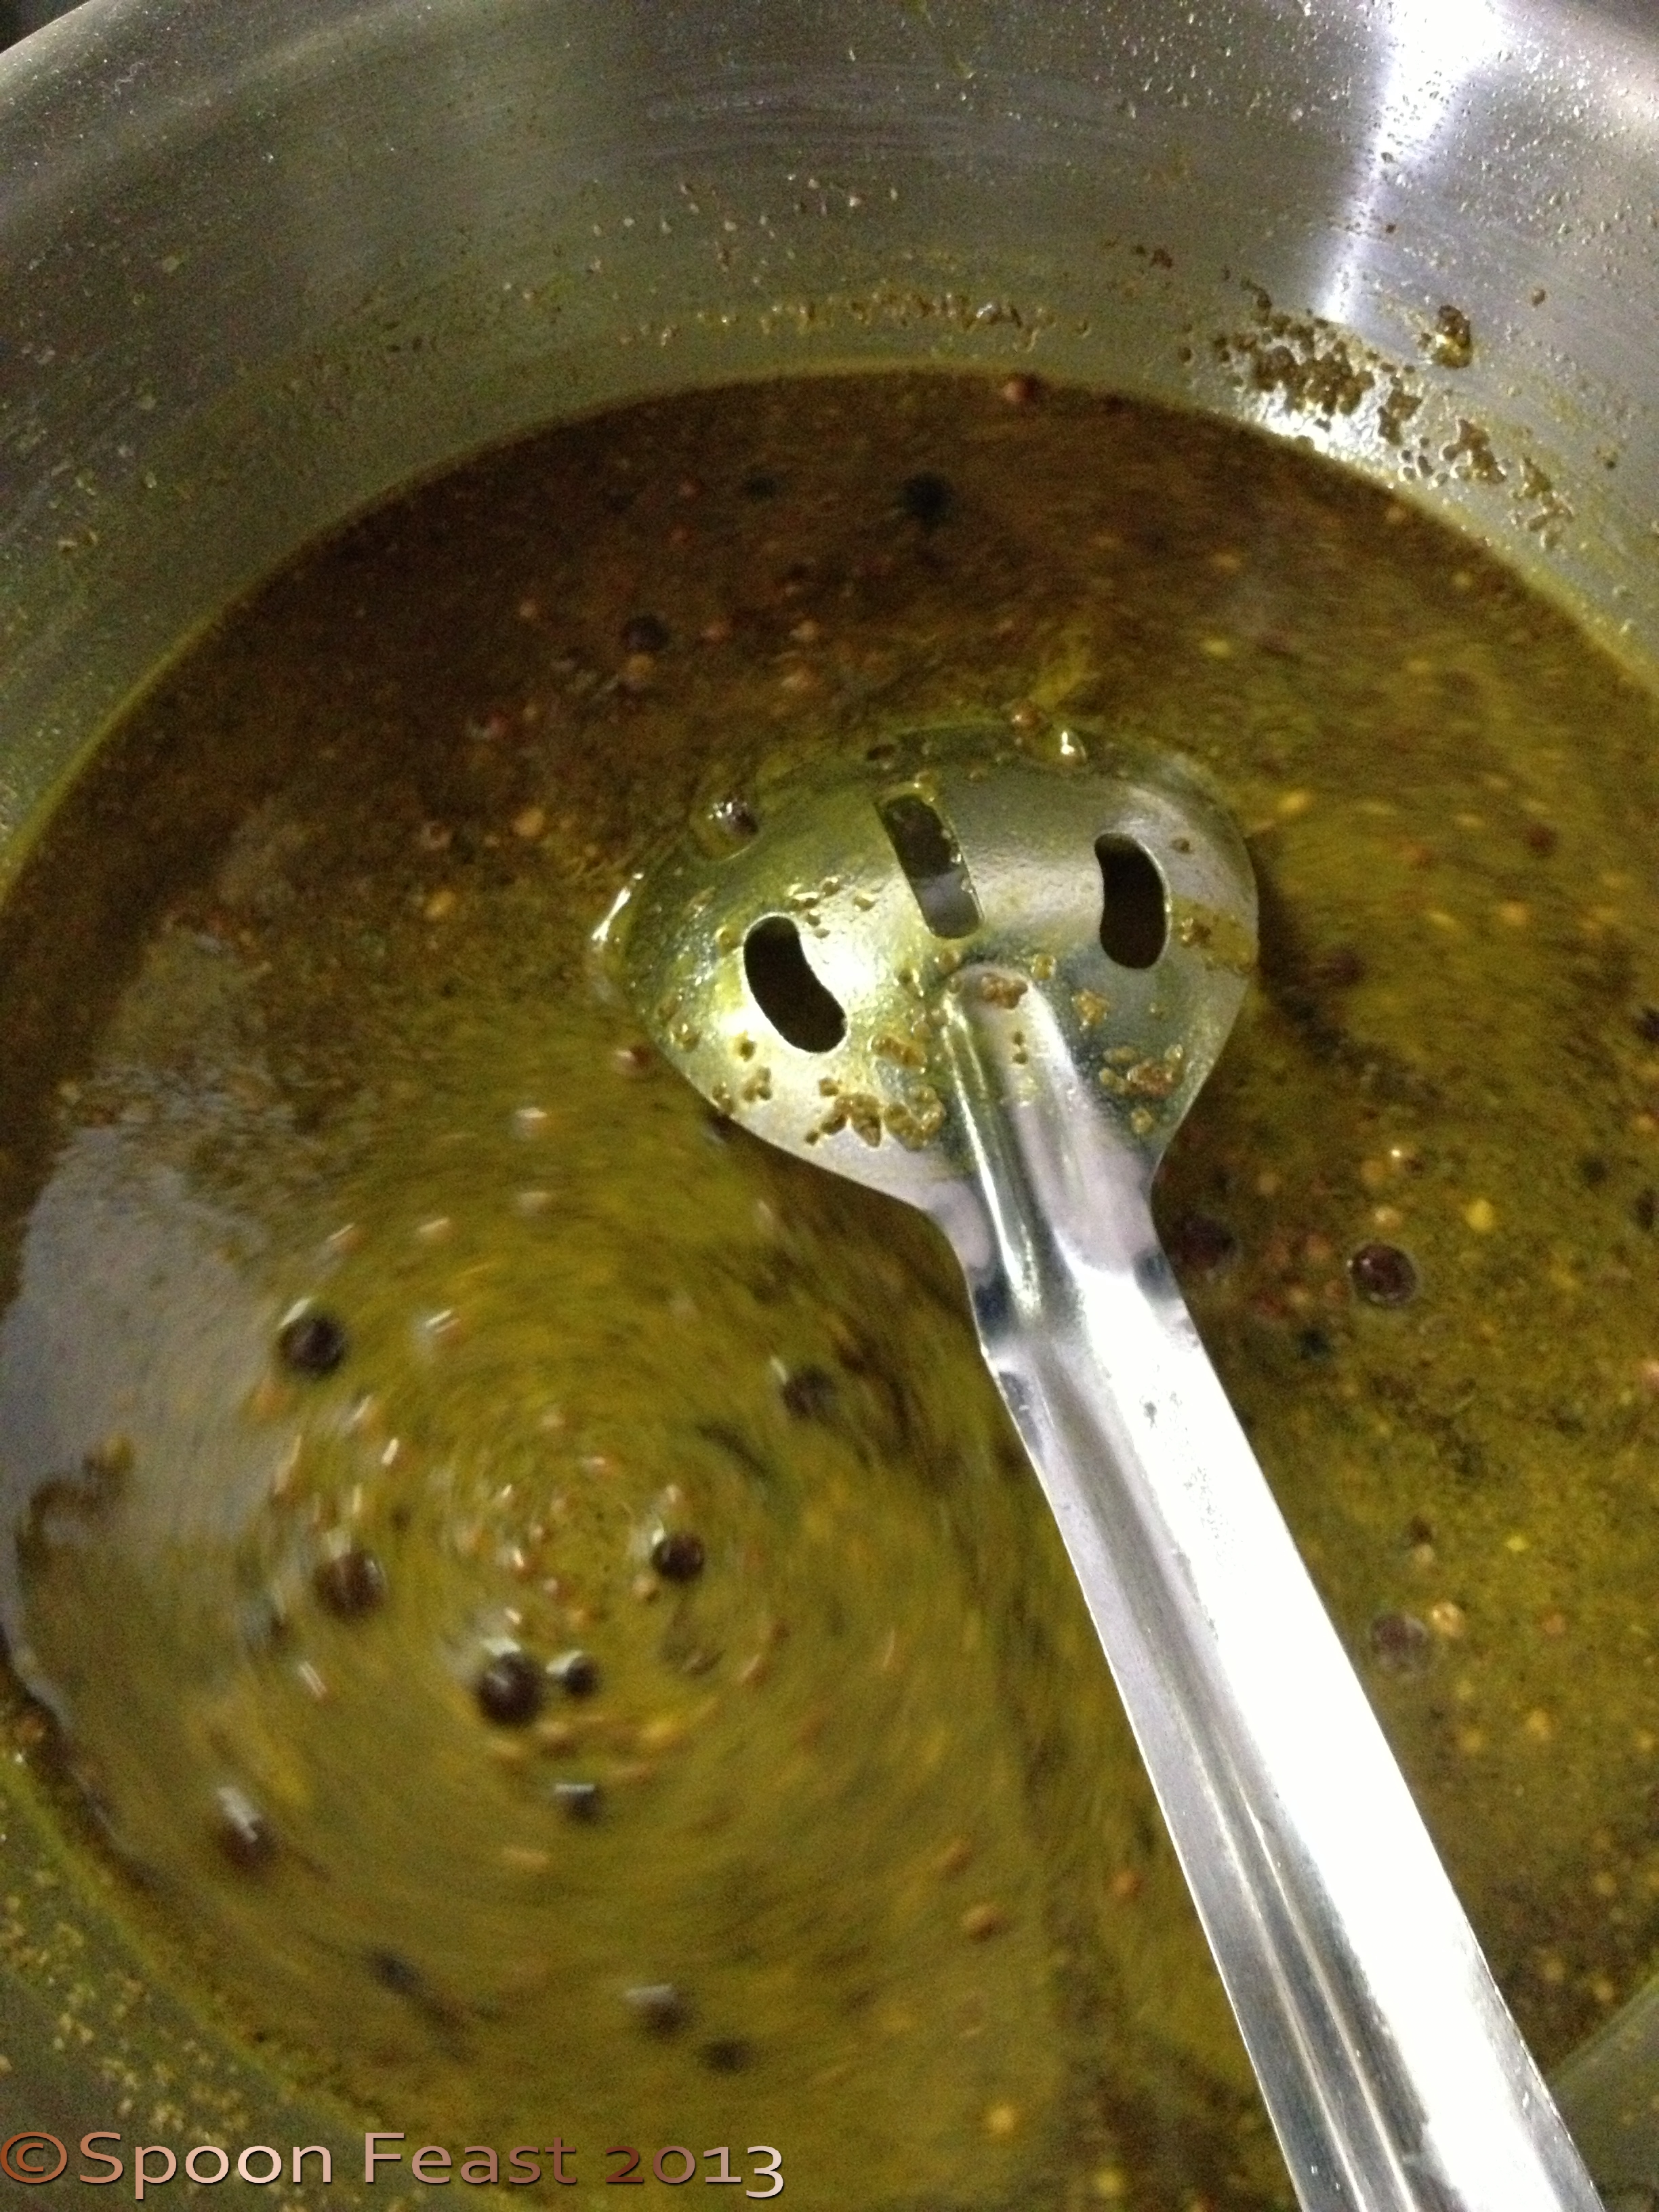
  • Cucumbers– until first frost, time to make some pickles. Here’s a primer to get you going.
  • Figs–  get them quick! They are almost gone. Fig and lemon jam will capture their essence, or simply do whole figs in syrup. Wrap them in prosciutto. . .
  • Green Onions I find they winter ok if you grow them yourself. For fun, try sprouting the root end again by putting it is a small glass of water, it grows!
  • Greens– Easily available, get baby varieties to eat raw
  • Herbseasily available in most varieties. Mint may be dying back, Basil is trying to seed. Freeze fresh herbs in ice-cube trays for winter use.
  • Indian Corn– begins to hit the market through October
  • Muscadine Grapes– Short season, all-time favorite regional treat. Freeze some for Halloween, use them as ‘eyeballs’ in the punchbowl or drinks.
  • Mushrooms– Late summer varieties rich flavors!
  • Mustard Greens– start coming in mid-September. Try some for a spicy different taste.
  • Peaches– leaving the market soon. Get your fill now! Make some fresh peach ice cream this weekend and serve it over warm peach cobbler or pie.
  • Peanuts– a year round favorite, raw, roasted or boiled.
  • Pears– the best pears are just starting to show up. Pears will only be here a short while, through October.
  • Persimmons– tricky to get just right, those who do love them!
  • Pumpkins– YAY! I adore pumpkins, eating and decorating and carving, flesh seeds and all! (Check out the links! You’ll have fun, promise!)
  • Raspberries– Almost gone until next year. Freeze some.
  • Snap Beans– Coming to an end of the season. I adore green beans and freeze some for winter. I think canning them makes them to soggy.
  • Yellow Squash– I know some aren’t sorry to see these go. Still available through mid October.
  • Sweet Corn– the symbol of summer, gone by the middle of the month. If you haven’t yet, grill you some corn on the cob for dinner.
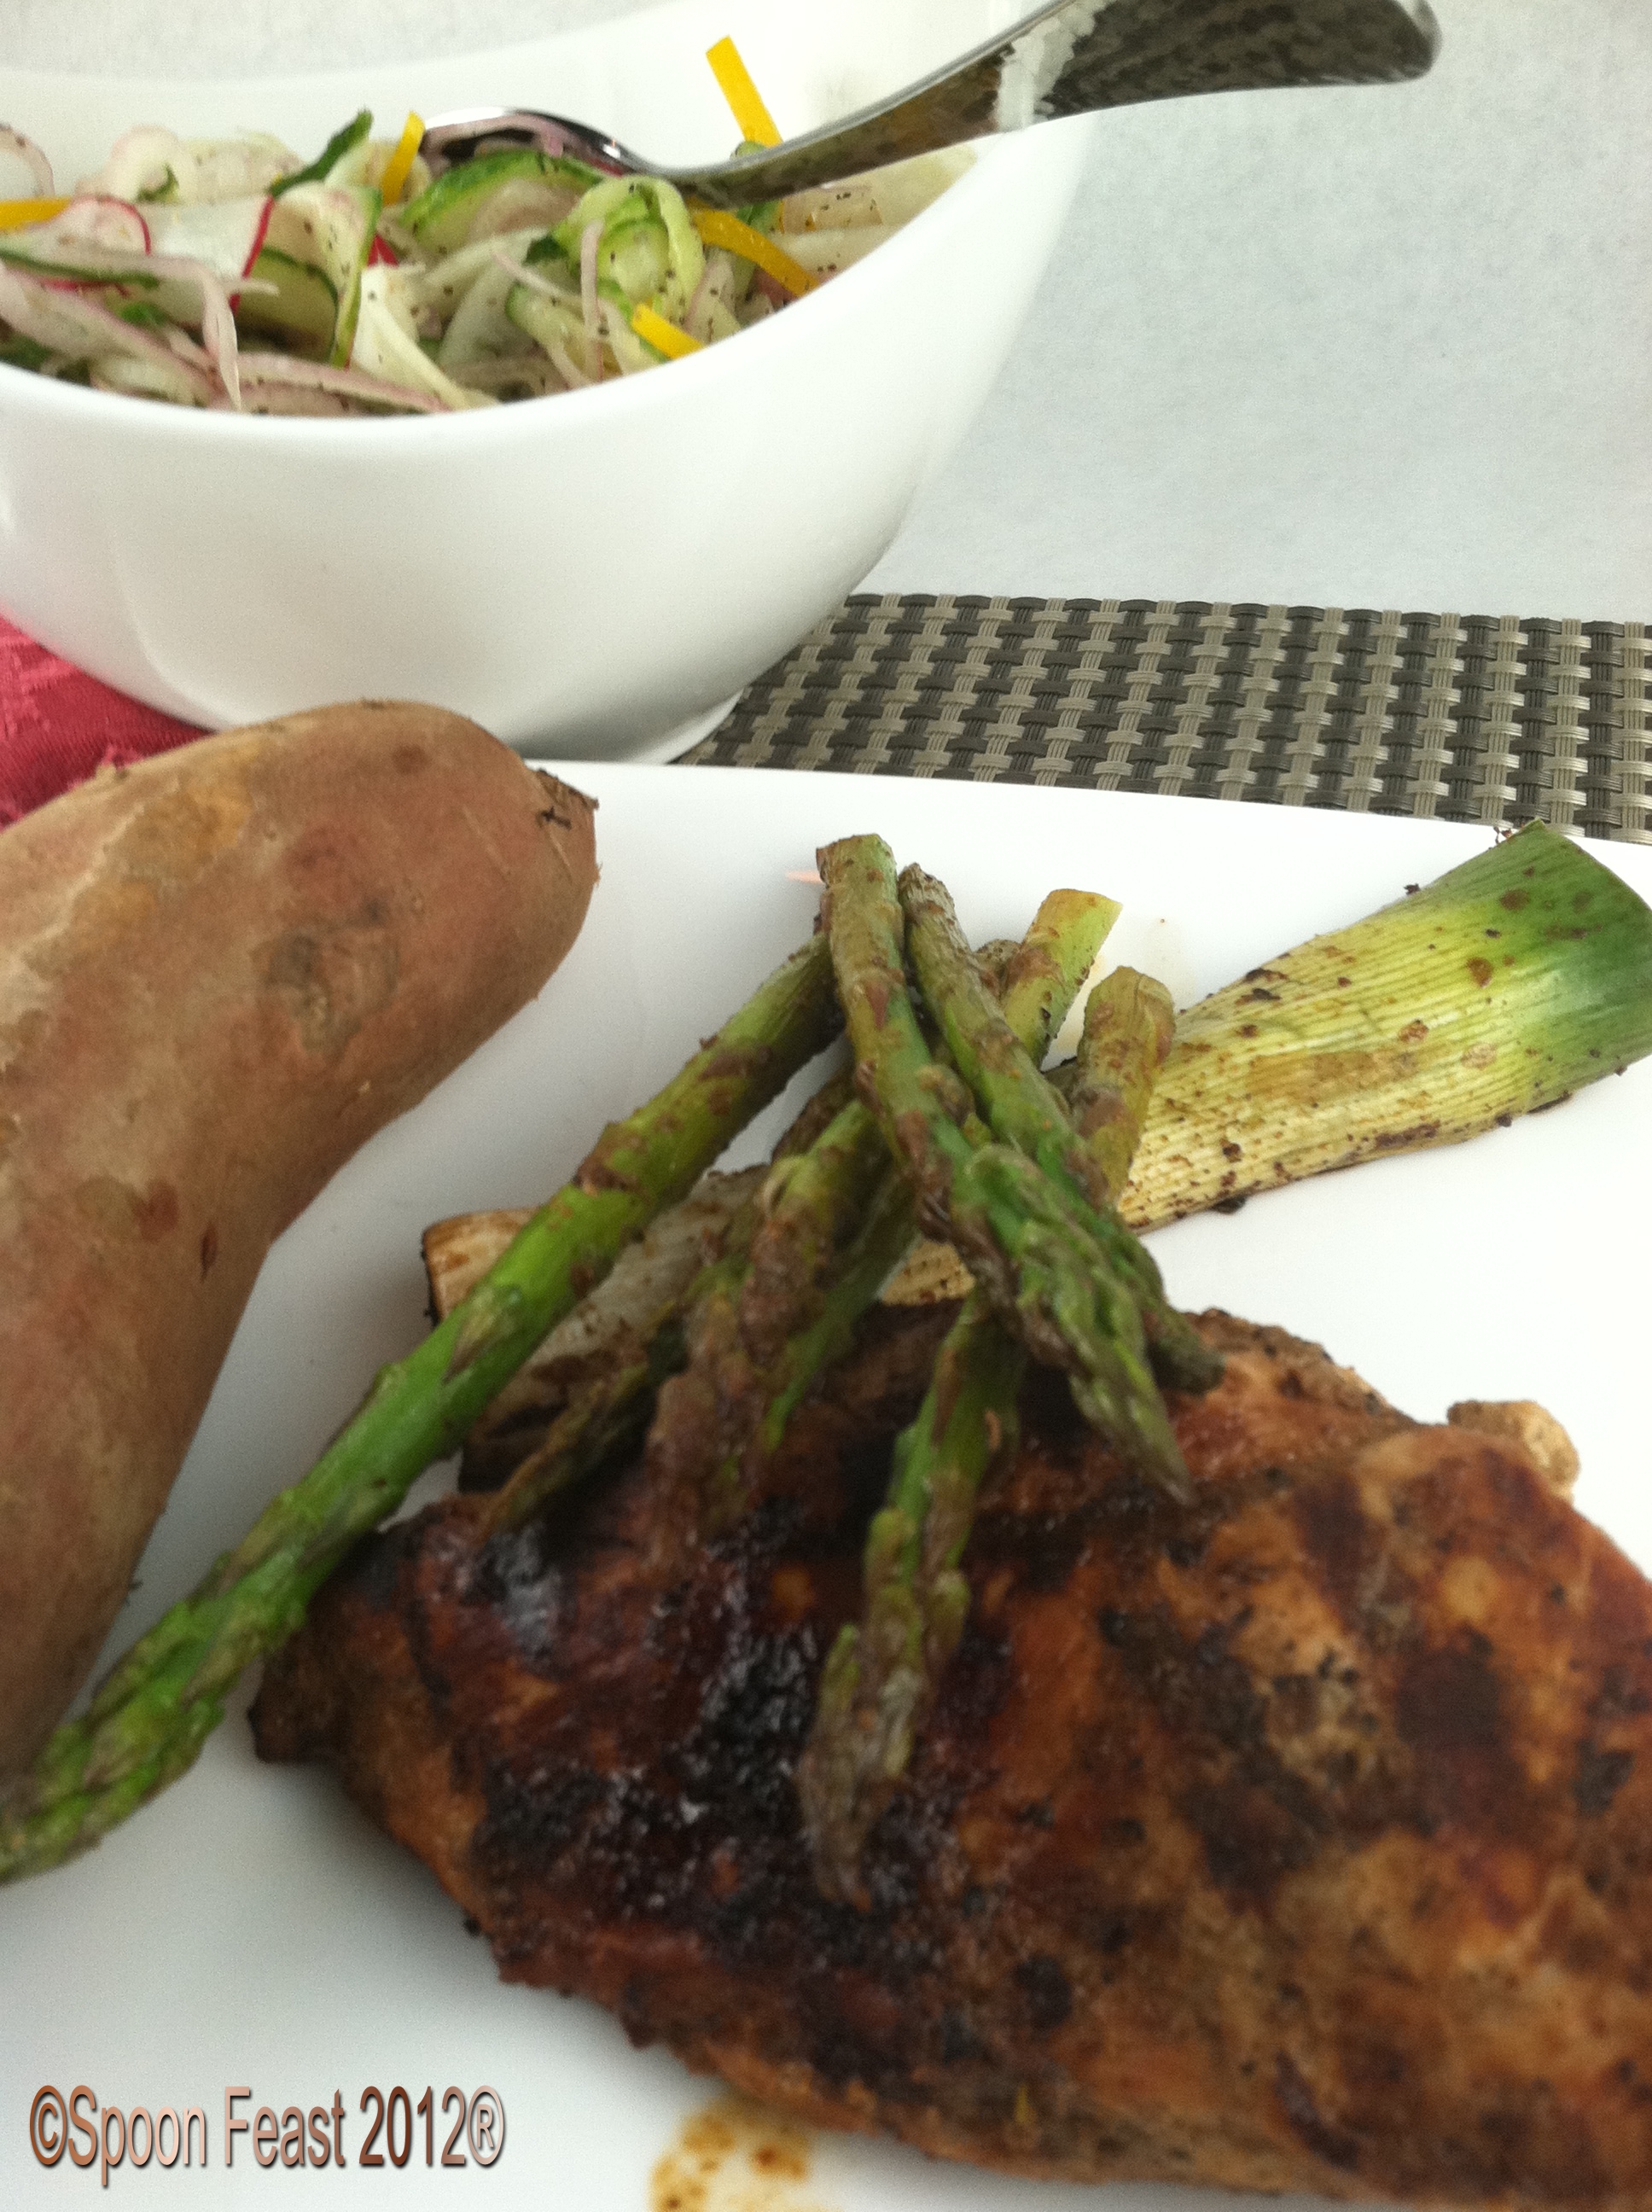
  • Sweet Potatoes– Available year round although some specialty varieties come and go. I adore the garnet type from mid summer.
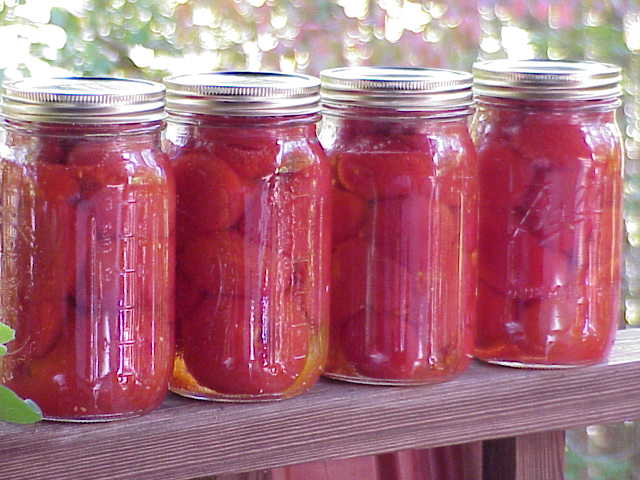
  • Tomatoes and Tomatillos– Through first frost. Be sure to get the green ones at the end of season to make chow-chow!
  • Watermelon– Another summer classic about to depart as fall descends.
  • Zucchini– only through the end of September. Shred some and make some Brownies!

I hope this helps. If you’re at the market and see things that really don’t seem right, like strawberries in September, ask where they came from and how they were grown. Leave them behind if you don’t like the answer.

Use your dollar to vote for better food and health with every purchase you make.

How do you eat, do you follow seasons? Buy Local? Please comment below and tell us how you plan your meals.

The What to Eat Now – October will be out soon. Subscribe to Spoon Feast so you are sure to get it! Use the subscription button on the right.

Massaged Kale Salad

Massaged Kale Salad

#eatfresh #seasonaleating #localfood #fruitsandvegetables #foodinseason #supportfarmers #eatlocal #seasonalfood


Garden Fresh Vegetables

I was out and about yesterday and when I came home, I found this on my doorstep!

Garden Fresh Vegetables on the doorstep!

Amazing garden fresh vegetables just picked from the garden a couple of hours earlier.

These vegetables were grown from the seed, mulched and grown totally organically by Robert’s sister, Shelton, who lives in Boone, NC, up in the mountains.

This explains why she still had broccoli! I was overjoyed at the bounty:

Russet potatoes, garlic onions, red onions, broccoli, green and purple peppers, tomatoes and what looks like a purple tomato, green beans, red cabbage and green cabbage; it is an amazing gift.

Bountiful Garden Goodness

Bountiful Garden Goodness

We had just bought corn, kale, collards, arugula and spinach at the farmers market so we will be eating quite good this week.

Thank you Shelton!

These were just in time for  a cold day in July, needless to say, I made some amazing vegetable soup.

Garden Bounty Vegetable Soup

  • Servings: about 1 gallon
  • Difficulty: easy
  • Print

TIP: Cut all the vegetables about the same size. Use different shapes for visual interest. Remember everything needs to fit on the spoon, not hang over.

Soup Ingredients

Soup Ingredients

  • 1/4 green cabbage, chopped fine
  • 1 large onion, cut into small dice
  • 2 carrots, sliced
  • 3 red potatoes, diced
  • 1 medium zucchini, diced
  • 10 green beans, sliced
  • 2 broccoli crowns, separated into florets
  • 2 large cloves of garlic, smashed
  • 1 can organic diced tomatoes
  • 1 can dark red kidney beans
  • 1 cup lima beans
  • 1 ear of corn, cut it off
  • Enough water to cover the vegetables
  • 1-2 bay leaves
  • 1-2 Tablespoons salt, to taste
  • 1 Tablespoon fresh ground black pepper
  • 1 splash Texas Pete Hot Sauce

Chop it all up, sweat (cook without browning) the onions, carrots and cabbage, once these vegetables are tender, add the rest of the ingredients.

Bring to a boil and then turn down the heat and simmer until the vegetables are done. Adjust the seasonings and serve.

Garden Fresh Vegetable Soup for a chilly day in July

Garden Fresh Vegetable Soup for a chilly day in July

French Toast Stuffed with Goat Cheese and Slathered in Blueberry Sauce

French Toast Stuffed with Goat Cheese and Slathered in Blueberry Sauce is delicious and nutritious although not diet food. This dish came to me while trying to use up some things to make room in the refrigerator.

French Toast Stuffed with Goat Cheese and Blueberry Syrup

French Toast Stuffed with Goat Cheese and Blueberry Syrup

I make 95% of the bread we eat and typically use lots of grains in the loaves. We buy organic eggs from the farmers market and the blueberry sauce is made from a batch of berries I bought to make a pie but never did. So instead of the berries going bad (I couldn’t believe no one ate them!) I made a sauce. The recipe is below and is very simple.

Goat Cheese Stuffed French Toast with Blueberry Sauce

  • Servings: 2-4
  • Difficulty: Easy
  • Print

  • 4-6 slices of good quality, nearly stale bread
  • 1 large egg
  • 1/4 cup unsweetened almond milk
  • 1 tablespoon vanilla
  • 1/2 teaspoon ground cinnamon
  • 1/4 teaspoon ground ginger
  • 1/4 teaspoon salt
  • Pinch of ground nutmeg (fresh ground is best!)
  • 1 tablespoon oil or just enough to coat the bottom of the pan
  • 1 ounce of fresh plain goat cheese for each serving

Mix all the ingredients, except the bread, in a flat pan. Place the sliced bread in the egg mixture, turning to coat. Let the bread sit in the mixture so it can soak it all up.

Heat a pan large enough to hold all the slices, place the soaked bread in the hot pan and cook until each side is golden brown.

Place the French Toast on a warm plate, immediately spread the goat cheese on one side of the bottom slice, top with another slice of hot French Toast.

Pour Blueberry Sauce all over and serve.

Now if you wanted, you could whip some honey and cinnamon into the goat cheese before spreading it onto the French Toast. It would put this dish completely over the top!French Toast stuffed with Goat Cheese

This is soooo good! And made with whole grains so you will feel full and had great energy all morning.

Like I said, not diet food, but whole, real food.

I hope you try this recipe and enjoy every bite.

French Toast stffed with Goat Cheese

Blueberry Sauce

  • Servings: Varies
  • Difficulty: Easy
  • Print

  • 1 pint of fresh or frozen blueberries
  • 1/2 cup organic sugar
  • 1/4 cup waterIMG_9355
  • Pinch of salt
  • Dash of cinnamon or zest from 1/2 lemon (Optional)

Wash and pick through the blueberries. Discard and soft, moldy or squished berries, leaves, stems and twigs. Combine everything into one pan and bring it to a boil. Simmer for about 10-15 minutes, until its thick. If you want the sauce smooth, put it in a blender or use an immersion blender to puree the sauce to the desired consistency. I like mine to have a few whole berries left in it. You can always choose to put some fresh berries with it when you serve it too.

This sauce is great on this decadent French Toast and over pancakes, ice cream and even over grilled salmon. Treat yourself and try that one!

My Cooking Culture

george-chochran-shoot-086.jpgMy Cooking Culture

We lived all over the world, moving about every 3 years to another place on the planet. From Morocco to Spain, Canada to Japan with a few of the United States in between.

My father is an avid gardener; we used to joke about having a corn field in our back yard no matter where we lived. Fresh snow peas were the gardeners treat. They got eaten in the garden and never quite made it to the table. I used to eat snow peas instead of potato chips. After school, I would head to the garden and sneak a few off the vines then help my dad after work with weeding and tying vines to eat more.october-15-2011-farmers-market-015.jpg

To this day, I love garden grown green beans and home-grown tomatoes seem to be better than anything you can buy at a store.

My mom is Canadian; grew up in Nova Scotia where they grew a lot of their food. She fed us with garden grown fresh foods, or frozen. She tried cans on us once and we rejected them as repulsive so she didn’t try that again.

In the foreign countries, mom always managed to hire a native cook to prepare meals for us a few days a week. My parents made sure no matter what country we lived in, we learned about the culture, food and language. When we lived in Japan, the family that lived behind us was the same size. The mom there and my mom made great friends with each other. On Wednesday night, they would each prepare a full meal for the family, put it on trays; walk out the back door and swap meals. They got a traditional American/Canadian meal and we got a traditional Japanese meal. I loved it! My dad, not so much.

Imagine, from my Dad’s point of view, the aroma of pan-fried pork chops, green beans and mashed potatoes with gravy wafting through the air. Ah, the smell of the roasting garlic whetting the appetite. The coming to the table and finding plates of various sushi, rice, miso soup and tofu with cucumber seaweed salads. Surprise!

We have always eaten a ton of fresh vegetables, local meats and foods. What is horribly frustrating is seeing the decline in the quality of our food supply. In addition to the decline in quality, there is also the fact that so many people really don’t know what they’re eating, or how to eat well or make good food choices.

This is where I want to make a difference!

My dad, who is 87, still grows a garden and has the best tomatoes in the world. He also makes a terrific gyoza, thanks to “Mamasan’s” recipe.

Final Harvest!

Final Harvest!

I am one of the lucky ones. My parents didn’t take us to McDonald’s. Even though as kids we begged for it. I remember looking at the McDonald’s signs and noticing how the numbers of how many hamburgers they sold kept increasing. (Yes, they kept count in the early days!) I wondered if I would ever be lucky enough to be part of that statistic. Then came the day when the signs changed to “millions served” now it might be “billions served”. Yes, I finally got one. They must have, among other things in this category, the worst bread on the planet.

My son used to say my meals were always the same: 1 starch, 1 or two vegetables (1 always green), and a protein with a sauce of some kind. I have to admit it is a type of formula.

Today my Typical Dinner Consists of:

1 Green vegetable (1 cup)

Leafy greens, broccoli, cabbages, peas, any variety of beans, snow peas, there are so many! If you’re not familiar, pick something you don’t know, ask about it, look up recipes on the internet and play with cooking it.

Fresh picked kale

Fresh picked kale

1 Vegetable of another color (1/2 cup)

Any veg that is not green, peppers, onions, cauliflower, squashes, this is to make the plate visually interesting and it also adds a punch of nutrition!

Corn Crusted Grouper

Corn Crusted Grouper

Grain or starch of some kind (1/2 to 1 cup)

Whole grains like brown rice, exotic rice, lentils, beans, potatoes, sweet potatoes, barley, millet, mung beans, quinoa, farro, cous cous. I love how much the level of choice in this category has grown. There is so much more than just rice and potatoes.

1 High quality protein – not always animal based (4-6 ounces)

Guidelines for animal proteins:
  • No beef
  • No pork (but I love bacon! ) 😉
  • No farm raised fish except catfish or trout
    • No Tuna, Sea Bass or Redfish

Note: we no longer eat any fish from the Pacific ocean.

  • Organic poultry
  • Organic eggs
  • Organic Dairy

    Multi colored Carrots (I bought these!)

    Multi colored Carrots (I bought these!)

1 Sauce (1-2 ounces)

Can be made from de-glazing the pan or reserved cooking liquids or stock or vinaigrette. This provides a bit of moisture and can add another dimension of flavor. I avoid using fat and flour thickeners and cornstarch. Instead I thicken by reduction (enhances flavor), adding mustard or miso which also contribute to flavor.

1 Side dish of raw vegetable salad (1/4 -1/2 cup)

This can be a green salad, carrot salad, cucumber, onion, Caesar, or lightly blanched vegetable and may contain a fermented/ pickled vegetable like pickled beets, cauliflower or onions. A homemade vinaigrette dressing, sometimes lemon juice and olive oil and cracked black pepper.

Anaida's Beans

Anaida’s Beans

This side does not need to be a big portion. 1/4 to 1/2 cup is a typical serving.  It can be used as a palate cleanser between tastes on the main plate.

Lunches:

Sandwiches with a chip and pickle of some kind. I’m working on improving the chip option but I really am fond of a handful of chips with a sandwich. I’m trying nori chips and kale chips. . . I may still go back to potato once in a while.

Light bits of left over dinner

Soup with good bread (I’ve made the bread we eat in the house for the past 10+ years)

Noodle stir fry

Grill pan dinner“Ploughman’s lunches” using what we have on hand

Vegetable Sushi

Breakfast:

On our own for breakfast. Most of the time I’ll grab something with protein.

This meal is usually quick , easy and light. Unless it’s oatmeal.

What we always have on hand:

Buy Organic whenever possible

Chicken stock, 1/2 & 1/2 for morning beverages and sometimes chai, fat-free milk, fresh greens, eggs, fruit, tetra-pac tomatoes, variety of beans, canned and dried, various rice and grains, legumes and potatoes. We will keep a stock of chicken and sometimes fish in the freezer for meals during the week.

I shop whenever we need fresh vegetables; I try to use fresh vegetables over frozen.

I leave processed foods on the shelf and process my own condiments, pickles and breads.

That’s it! My cooking culture, in a nutshell. A bit of many cultures rolled into a multitude of meals.

I believe everyone should be able to make healthy food choices and healthy food should be affordable and available to all.

Strawberry Rhubarb Oatmeal Hemp Seed Crisp

Strawberry Rhubarb Oatmeal Hemp Seed Crisp

Learning to Love Yourself

Hearts in the snowLoving ourselves isn’t always easy.

Most of us don’t treat ourselves as if we even like ourselves let alone love ourselves.

We find ourselves running around doing things for others, our friends, family, children, spouses and fall short on finding time for ourselves. The scary part is being alright with no time for yourself.

When do we pay attention to ourselves, it’s usually a comment directed to a reflection in a window or mirror.

“Ugh, I need to lose weight; hate my hair, my thighs are fat, wish I had clear skin or straight hair or better sense of fashion.”

“Why am I short, tall or why does my top ride up over my backside like that? One day you’ll start exercising, look at that belly!. . .” and the messages go on and on, continually.

It makes no wonder so many have self-esteem and confidence problems!

The first step we need to do in order to accept ourselves just the way we are is to  take a look at what is in your heart.

Most of us are kind, loving human beings who choose to do the best we can as we go along.

Take a deep breath. Try to listen to your heart and recognize that feeling. Pour the same love you have for your spouse and children all over yourself.

How does that feel?

Can you allow yourself to feel good and wonderful from receiving love from your own self?

Why are we surprised and flattered when someone expresses interest in us? Why do we wonder why they like or love us? Why can’t we simply accept the feeling and feel like it’s good, deserving and wonderful?

Why do we put ourselves last? We ALL matter, each in our unique way. When we learn to love ourselves, it becomes easier to be happy. It becomes easier to be brighter and as we all know a bright smile and happiness is easy to spread.

When you learn to love yourself and accept who and how you are right now, everything you do from then on will celebrate that.

The food you eat will change to nourishing because you make better choices, you body will change because you choose to take care of it by exercising, your mind will change because you will have lost that negative self talk that poisons everything.

Take 10 minutes, just ten quiet minutes and listen to your heart. You may love people or animals, but accept that you deserve some of that love energy directed at you too. You deserve it, you are worth it.

Look in the mirror and tell yourself: “I am worth it!”

It makes it easier to put that doughnut down and go out for a walk.

Catch yourself next time you find yourself criticizing anything about you. Find one thing you like about yourself at that moment and dwell on that. It could be how fast you got errands done, a good hair day, how you helped someone, anything you feel good about and hold on to that thought and feeling for a few minutes, if you can.

Do not allow any negative self talk, or if only’s or whens. Now. Just now.

So this Valentines Day, whether you have someone else to love or not, take a nice long look at yourself in the mirror and tell yourself from your heart, “I Love You”.

  Start there, it’s a good beginning.Rose

Organic VS. Conventionally Grown Vegetables

Vegetables ready to pickle!It can be confusing to shop for vegetables these days trying to figure out whether to buy organic vs. conventionally grown produce.

Some say if it has a thick peel organic doesn’t matter, but sometimes it does.

Here’s a couple of lists: One of foods you should always buy organic and the other a list of produce that is alright to buy conventionally grown items.

Always Buy Organic:

Why? These foods have been found to have high levels of pesticide contamination.

Always wash all fruits and vegetables just before cooking and preparing.

Fruit:

  • Apples
  • Grapes
  • Imported Nectarines
  • Peaches
  • Strawberries

Vegetables:

 farmers market radishes

  • Broccoli
  • Cauliflower
  • Celery
  • Cherry and Grape Tomatoes
  • Corn – to avoid GMO
  • Cucumbers
  • Collard greens
  • Hot peppers
  • Kale
  • Potatoes
  • Spinach
  • Summer Squash
  • Sweet Bell Peppers

OK To Buy Conventionally Grown:

Why? These crops are safely grown with the low usage of pesticide resulting in lower pesticide residue on your fruits and vegetables.

Always wash well before preparing.

Fruits:

Fresh Blueberries

  • Cantaloupe
  • Grapefruit
  • Kiwi
  • Mangoes
  • Papayas – Check it for GMO
  • Pineapples

Vegetables:

  • Asparagus
  • Avocados
  • Cabbage, all varieties
  • Eggplant
  • Mushrooms
  • Onions
  • Sweet Potatoes

This list features the most pesticide contaminated foods which are advised to purchase organically whenever possible. The conventionally grown foods on the list are the ones grown with the least amount of pesticide contamination.

if it’s not on the list, you’ll have to do some research and decide for yourself whether to buy organic or conventionally grown.

Most produce in the USA will come with a PLU number on it. It is not required by the government but the PLU system was designed to streamline things for processors and pricing, not consumers.

Here are a few basic guidelines for selecting fruit and vegetables using PLU codes.

Conventionally grown produce will bear a 4-digit number in the 3,000-4,000 range

Organic produce will bear a 5-digit number starting with 9

Supposedly GMO produce bears a 5-digit number starting with 8, but you don’t see it  because they really don’t use those PLU codes to identify GMO grown foods. Why don’t they use the 8-digit code? Growers are afraid consumers won’t buy if it bears a code starting with an 8, so they choose to leave the code off the product. Use of the PLU code is optional, not required.

So the best thing to do is not totally depend upon PLU codes but know who grows your food and know where it comes from.


I hope this helps all of us eat better this next year!

10 Tips Addressing “Meanwhile” in Cooking

“Then, too, I had trouble with cookbooks. As I studied the recipes, I discovered the fateful word meanwhile.

I was supposed to separate eggs, then beat them, meanwhile stirring constantly. I was to melt butter, blend in the flour and gradually add milk. Meanwhile dicing or peeling something, and not forgetting to test the cake in the oven with a clean broom-straw. Meanwhile I was theoretically tossing the salad.

The most important lesson I learned was not to get in a panic when I saw meanwhile staring at me.”

What Cooks at Stillmeadow, by Gladys Tuber

Stack of cookbooks

Stack of cookbooks

How true it is!

Planning and organizing a cooking session is crucial to everything coming out on time and getting everything made.

Whether it is everyday dinner or a special event, forming a few good habits will make cooking so much easier, faster and more organized.

Here are a few tips:

1. Print your recipe or write in your book; keep a notebook handy.

Make notes of what you liked, didn’t like, what you changed or substituted. I write all over my books, all the time.  If you don’t write in your books, have a notebook handy to make notes about timing, recipes, ingredients etc.writing in cookbooks 003

You’ll need that notebook anyway to make notes about shopping lists, what you have on hand, and creating your game plan or plan of action.

Cheese Soup Recipe

Cheese Soup Recipe (Photo credit: Wikipedia)

2. Read your recipe/recipes. Understand what they are asking you to do.

Read the recipe before hand. When something is boiling away on the stove is not the time to realize you were only supposed to add half of something first and the other half later. There are many recipes that list the total measurement but use it in different amounts throughout the recipe.

For example, 3/4 cup sugar is listed in the cookie recipe but the method says to cream only 1/2 cup sugar, reserving the remaining 1/4 cup for rolling the dough balls in before baking. BIG difference if you add all the sugar with the creaming. Your resulting cookies would spread and not be very nice looking.

3. Gather all the ingredients before you start cooking.

Separate according to recipes if making several things at once, as you typically do for dinner.

Backzutaten zu Pfannkuchen (Crepe), Kochbuch

Backzutaten zu Pfannkuchen (Crepe), Kochbuch (Photo credit: Wikipedia)

Keep all proteins separate and cold for food safety. Be aware of cross contamination. Follow good food storage habits, this post gives you some guidelines for food safety in the home.

The 9 Golden Rules of Food Safety

The 9 Golden Rules of Food Safety (Photo credit: Czarina Alegre)

4. Make note of all the tools and utensils and ingredients you will need.

Make a note of any tools you don’t have. Put those on your wish list somewhere. Cooking is such fun when you can play with all the nifty toys. I love Micro-planes and colorful silicone spatulas and, to Robert’s dismay, I pick up dish towels nearly everywhere I go.

Of course there are the “good” dish towels and there are those you can use to wipe the floor or stove down with. Heavens, you wouldn’t use a “good” towel for that would you?! Gasp!

Note any ingredients you need, are running low on or how much you have. This way, on your next grocery run, you can replace anything that gets used up.

5. Read all you recipes side by side to determine how long each recipe takes to make.

Recipes

Recipes (Photo credit: pirate johnny)

Make notes of cooking times, what takes the longest? Remember to include warm up times. Like pre-heat the oven, boil the water for pasta which can take 15 minutes or so depending upon where you live and how cold your water is to start.

Start with the item that takes the longest to prepare and the longest to cook. Prepare your prep list starting with the longest timed item, to the least amount of time.

Keep in mind some processes may take some time such as peeling and seeding 10 pounds of tomatoes. See if you can evaluate your skills for an accurate timing estimate for your game plan.

6. If you’re not sure of How to do something, look it up on You Tube.

Want to make hollandaise? French Macarons? Fresh butter? Not quite sure how to cut Julienne carrots? How do I feed sourdough?

There are videos that show you how. Look them up and watch! Then practice. Some of these videos are like having a private tutor. Some are downright awful. But this is a good way to see how something is done rather than waiting to take a class.

7. Write down your game plan and follow it.

“Plan you work; work your plan” is what I tell students in class when they have multiple tasks to accomplish within a tight time frame.

writing in cookbooks 008

writing in cookbooks 013

8. Keep a list of the fresh food in your kitchen so it gets used on a timely basis.

I hate throwing food out that has gone bad from not being used. Now I keep lists of what is in the fridge, freezer, and pantry shelves.

Canned tomatoesI put up a lot of things like tomatoes, ketchup, mustard, pickles, jams, salsa and chutney for fall, winter and spring use. Keeps me busy in the summer, but at least the freshness of the season is captured and I know what is in the processed foods we eat. I try my hardest not to buy processed foods anymore.

I use an excel spread sheet to manage the flow of the canned goods. This way, when they are gone and next year rolls around, I can see what we used up first and how much we used. It helps to plan the next years production. I’m quite geeky like that.

9. Use Timers!

Like measuring cups, you can’t have too many. Time things to help keep you on track and to remind you so nothing gets burned. There are so many fun kitchen timers out there, but your smart phone has a timer too.

English: An electronic egg timer to time eggs ...

English: An electronic egg timer to time eggs for soft, medium and hard cooking. The timer plays a short tune at each stage of the cooking. (Photo credit: Wikipedia)

I’ve got this retro one from France that has two timers on it so I can keep track of the bread in the oven and the rice simmering on the stove.

There are even ones that play tunes like the egg timer in the photo.

Timers are a great way to add some whimsy to your kitchen. I love whimsy!

10. Enlist help and have fun!

Get people involved, if they are eating at the table, they should be willing to give a helping hand somewhere. Setting the table, lighting candles, cutting flowers, choosing music, tossing a salad, bringing dishes to the table, pouring refreshing beverages, there are many tasks people can help with. All you need to do is ask.

I’ve asked Robert to help making salads while I handle the rest of the meal. Turns out he makes GREAT salads! I enjoy having him in the kitchen. Not quite sure how much he enjoys it, but judging from his salads, he does.

Kids will eat more if they have a had in helping prepare the food. Cleaning up without fuss? Not so much.

SO there you have a few of my tips for becoming more organized in the kitchen and how to address the meanwhile without panic.

Cooking is fun!

What tips do you have for organizing your cooking and kitchen?

What issues do you have while cooking; what is your greatest challenge?

How to Make Mustard

Learning how to make mustard can be as simple as mixing a few things together or as complicated as soaking a few seeds. It’s not hard at all to make.

Make Your Own Mustard

While there are many different kinds of mustard you can make, this is a kinder gentler mustard, not too pungent.

All it takes is mix the ingredients together, heat until thick, bottle and cool.

Simple!

Make Basic Mustard

  • 1/2 cup dry mustard powder, Coleman’s is my favorite.
  • 2 1/2 tablespoons all-purpose flour
  • 1/4 cup brown sugar, light or dark doesn’t matter
  • 1/2 teaspoon kosher salt (non-iodized)
  • 1/2 cup good quality white wine vinegar

Measure and mix everything in a heat-resistant bowl until a thin smooth paste forms.

Place the bowl over a pot of boiling water to make a double boiler, heat the mixture until it becomes thick. As the mustard thickens, whisk so it remains smooth.

Use a silicone spatula to get all the mustard in to a clean glass jar.

Allow to cool, cover, label and store.The mustard needs to sit for at least 2 hours before serving. The mustard will also “mellow” as it ages in the refrigerator.

Homemade Ketchup, Mustard and Relish

Homemade Ketchup, Mustard and Relish

I haven’t had a jar around long enough to tell you how long it lasts.

Use it as you would any mustard but be warned, it will spoil you from buying  processed store-bought mustard.

Dip a tasty sausage into mustard!

Dip a tasty sausage into mustard!

Decorate your hot dog the homemade mustard

Decorate your hot dog the homemade mustard

More mustard recipes coming soon such as whole grain mustard, Dijon style, champagne honey, and pear/apple mostarda.

Learning how to make mustard is an easy thing to do to reduce your consumption of processed foods.

Basic Mustard

Basic Mustard – Got a Pretzel?

A Pickling Primer – Tips and Hints to Making Perfect Pickles

A basket of goodies to pickle!

A basket of goodies to pickle!

Here is a pickling primer that will provide some basic guidelines on making your very own homemade pickles.

There are no recipes but here are some basic steps to follow to ensure your pickles turn out amazing.

I really want to encourage you to try making your own pickles!

Sterilize everything you use. Use the Sanitize button on your dishwasher or boil jars, utensils, and lids to ensure no bacteria will interfere with the pickles fermentation process.

While this step sounds intimidating, please be assured, it isn’t.

Wash towels you use in a bleach cycle, then heat dried.

If you don’t have a dishwasher, simply bring a very large pot of water to boil in the stove and then, using tongs, dip the jars, lids and seals, spoons etc. into the boiling water and let them sit until ready to use. (Turn the heat down to a low simmer once it boils). It is not necessary to cover the pot but you can if you like, to control the amount of humidity in the room.

Pickling Hints and Tips

  • Select perfect produce. No blemishes or scars, cracks, avoid bruised food.
  • Gently scrub produce to remove garden debris and lurking insects. Soak for 30 minutes in water that has 1/2 cup salt per gallon.
  • Do not trim or cut produce for the soaking step, soak them whole. Remember, produce can float so move it around some while it is soaking.
  • Placing a plate on top will help hold the items under the water.
  • For cucumbers, trim 1/4 inch from the blossom end only. It contains an enzyme that can make pickles mushy.
Pickled beets

Pickled beets

  • Use plain white or apple cider vinegar. You need 5-7% acidity.
  • Sugar is used to counteract the bitterness of the vinegar and salt. If you must substitute, experiment to ensure you like the flavor of the brine. Personally, I don’t care for artificial sweetener.
  • Be sure to wipe the rim of the jars after filling to ensure a good seal.

    Pickling Jars with wire bales and silicone or rubber seals

    Pickling Jars with wire bales and silicone or rubber seals

  • If canning, follow directions exactly. Take a class to learn the safety features.
  • Always use a water bath canner, NEVER a pressure canner! A pressure canner will turn all of your pickles to complete mush. Ew, who likes mush?
  • Pickles will keep for up to 12 months in the refrigerator. I don’t bother to process my jars, just refrigerate them.
  • Use a non iodized salt. Using table salt with iodine will make the brine cloudy and leave an off bitter taste. Pickling salt or Kosher salt works well.
  • If your pickles become slimy or have pink floaties and bubbles,  don’t taste them, just throw them away. These are signs the pickles have become contaminated with something. It could be yeast or bacteria but either way, don’t eat it. This is why it is so important to have very clean equipment, jars and hands when pickling.
  • All the pickles recipes found on Spoon Feast are for small batches and are ready to eat typically within a day or two. But, they continue to improve with age.

About Recipes:

Try pickling something this summer! Please let me know how it goes.

If you have any questions, I’m here to help, just ask in the comments below.

If you have a Perfect Pickle Tip please share below!

Pickled Turnips

Pickled Turnips

Sweet Pickle Chips

Making Sweet Pickle Chips

Making Sweet Pickle Chips

I have to admit I have a great weakness for sweet pickle chips.

Well, actually not just sweet pickle chips, I have a weakness for nearly ALL things pickled.

Chances are if it hangs around on a pickling day it just may get processed into some kind of something sweet or sour or both.

Sweet Pickle Chips

Sweet Pickle Chips

There is something about the simple process and the synergistic reaction of all the ingredients that results in some of the most amazing flavors on earth.

OK, I can get carried away with pickles, but who wouldn’t? I’d rather look at silly pickle pictures on Facebook than all those animal pics. At one time, at another house, in another time, there was a 100 gallon propane tank above the ground to one side of the property. I wanted to paint it like a giant pickle. The gas company told me I would get fined so I didn’t. It was the perfect shape for a giant pickle too!

I get my love of pickles from my Dad. For years now, whenever it is time for a gift, I send him a renewed subscription to The Pickle of the Month Club. He loves them!

Anyway, back to these little gems. They aren’t too sweet. Here are a few pointers:

  • Select cucumbers the size of the pickles you want (Look at the diameter and the length)
  • A basket of goodies to pickle!

    A bowl of goodies to pickle!

  • Dissolve 1/2 cup salt in some luke-warm water. Add enough ice to cool the water down to cold. After washing add the cucumbers , soak them for 30 minutes in the salt water. There should be enough water to cover the cucumbers.
  • By the way, they will float, so dunk them a bit as you work around them. Play like they are submarines . . .

Soaking does a couple of things:

  • Helps eliminate any bugs and garden debris
  • Starts extracting excess water from the cucumbers so they absorb more brine. This step also helps to not dilute the brine when the cucumbers are added later.

Sweet Pickle Chips

Making Sweet Pickles Chips

Making Sweet Pickles Chips

Ingredients:

  • 2 pounds of wax-less Kirby cucumbers, cleaned and cut into slices 1/4 inch thick
  • 8 ounces sweet onion, sliced into 1/4 inch thick slices

Simmering Brine:

  • 1 quart of water
  • 12 ounces apple cider vinegar
  • 1 tablespoon sugar
  • 1 1/2 teaspoons kosher salt
  • 1/2 teaspoon mixed pickling spice

Mix brine ingredients in a large pot, bring to a boil. Once boiling, add the sliced cucumbers and onions, return to a boil and lower heat. Simmer for 10 minutes.

Drain, discarding liquid unless processing another batch.

Pickling Vinegar Brine

  • 10 ounces white vinegar (NOT WINE Vinegar!)
  • 13.5 ounces granulated sugar
  • 1 Tablespoon celery seeds
  • 1 teaspoon mixed pickling spice
  • 1 teaspoon ground turmeric
  • 1/2 teaspoon crushed  whole allspice berries
  • 2 bay leaves

Optional:

  • 2-3 cloves fresh garlic – for a fresh garlic flavor
  • 1-3 dried red chili pods or red jalapeno pepper – to give some heat!

Combine everything in a sauce pot and bring to a boil. It will need to be stirred to encourage the sugar to melt.

Stir the spices and sugar as you bring to a boil for the Pickling Brine.

Stir the spices and sugar as you bring to a boil for the Pickling Brine.

This mixture needs to be boiling when the vegetables are done simmering.

Procedure:

Wash the cucumbers in water slightly warmer than the cucumbers. Soak in a large bowl of cold water with 1/2 cup salt in it.

This helps eliminate any insects and garden debris that may be lurking on the cucumbers.

Mix the simmering brine ingredients, put on the range top over high heat to bring to a boil.

Mix the pickling vinegar brine and put that over high heat, stirring often to prevent the sugar from burning.

Drain the cucumbers after they have been soaking for at least 30 minutes.

Slice the cucumbers and onions into 1/4 inch slices.

Slice the cukes 1/4" thick

Slice the cukes 1/4″ thick

When the simmering brine reaches a boil, drop in the cucumbers and onions, return to a boil, then simmer for 10 minutes.

Drain the vegetables, discarding liquid (Unless processing another batch).

Place the cukes and onions in a large canning jar. Using a wide mouth funnel, pour the boiling pickling brine into the jar all the way to the top. Leave as little head room as possible. Everything must be submerged under the pickling brine.

If you find there are pieces that want to float, place a small glass plate or dish on the surface to hold everything down.

At first the jars may appear cloudy but as the turmeric and celery seeds settle to the bottom, the vinegar will clear up and you can enjoy looking at gleaming bottles of an amazing turmeric colored sweet pickles!

A Jar of Sweet Pickle Chips

A Jar of Sweet Pickle Chips

Resist eating them for at least 4 days but they are amazing if you can hold off for 3-4 weeks. Everything mellows and they become one divine pickle. But if you must, you can taste the next day, just remember they will mellow considerable as they age.

Once you try these, the half sour pickles and the pickled cauliflower, and pickled beets, you will never buy pickles again! I really like that idea – “No processed food unless you process it yourself” is my new motto!

Slicing cucumbers for Sweet Pickle Chips

Slicing cucumbers for Sweet Pickle Chips

You may notice this recipe is the same as the pickled cauliflower recipe and it is! All I have done is substituted the main pickling ingredient.

Cool thing with these is if you ever need pickle relish and don’t have any, simple chop of some of the pickles and onions and you have a great relish! Especially if you add a red chili or sweet red pepper, but not much. The flavor would overwhelm everything else in the jar.

Remember to serve the onions too! If you use a sweet onion like Vidalia, they become another kind of special.

Keep these in the refrigerator unless you want to process them in a canning process to make them shelf stable.

A Jar of Sweet Pickle Chips

A Jar of Sweet Pickle Chips

I find the sweet pickle chips don’t last long enough to can so just get set to make more.

Enjoy!