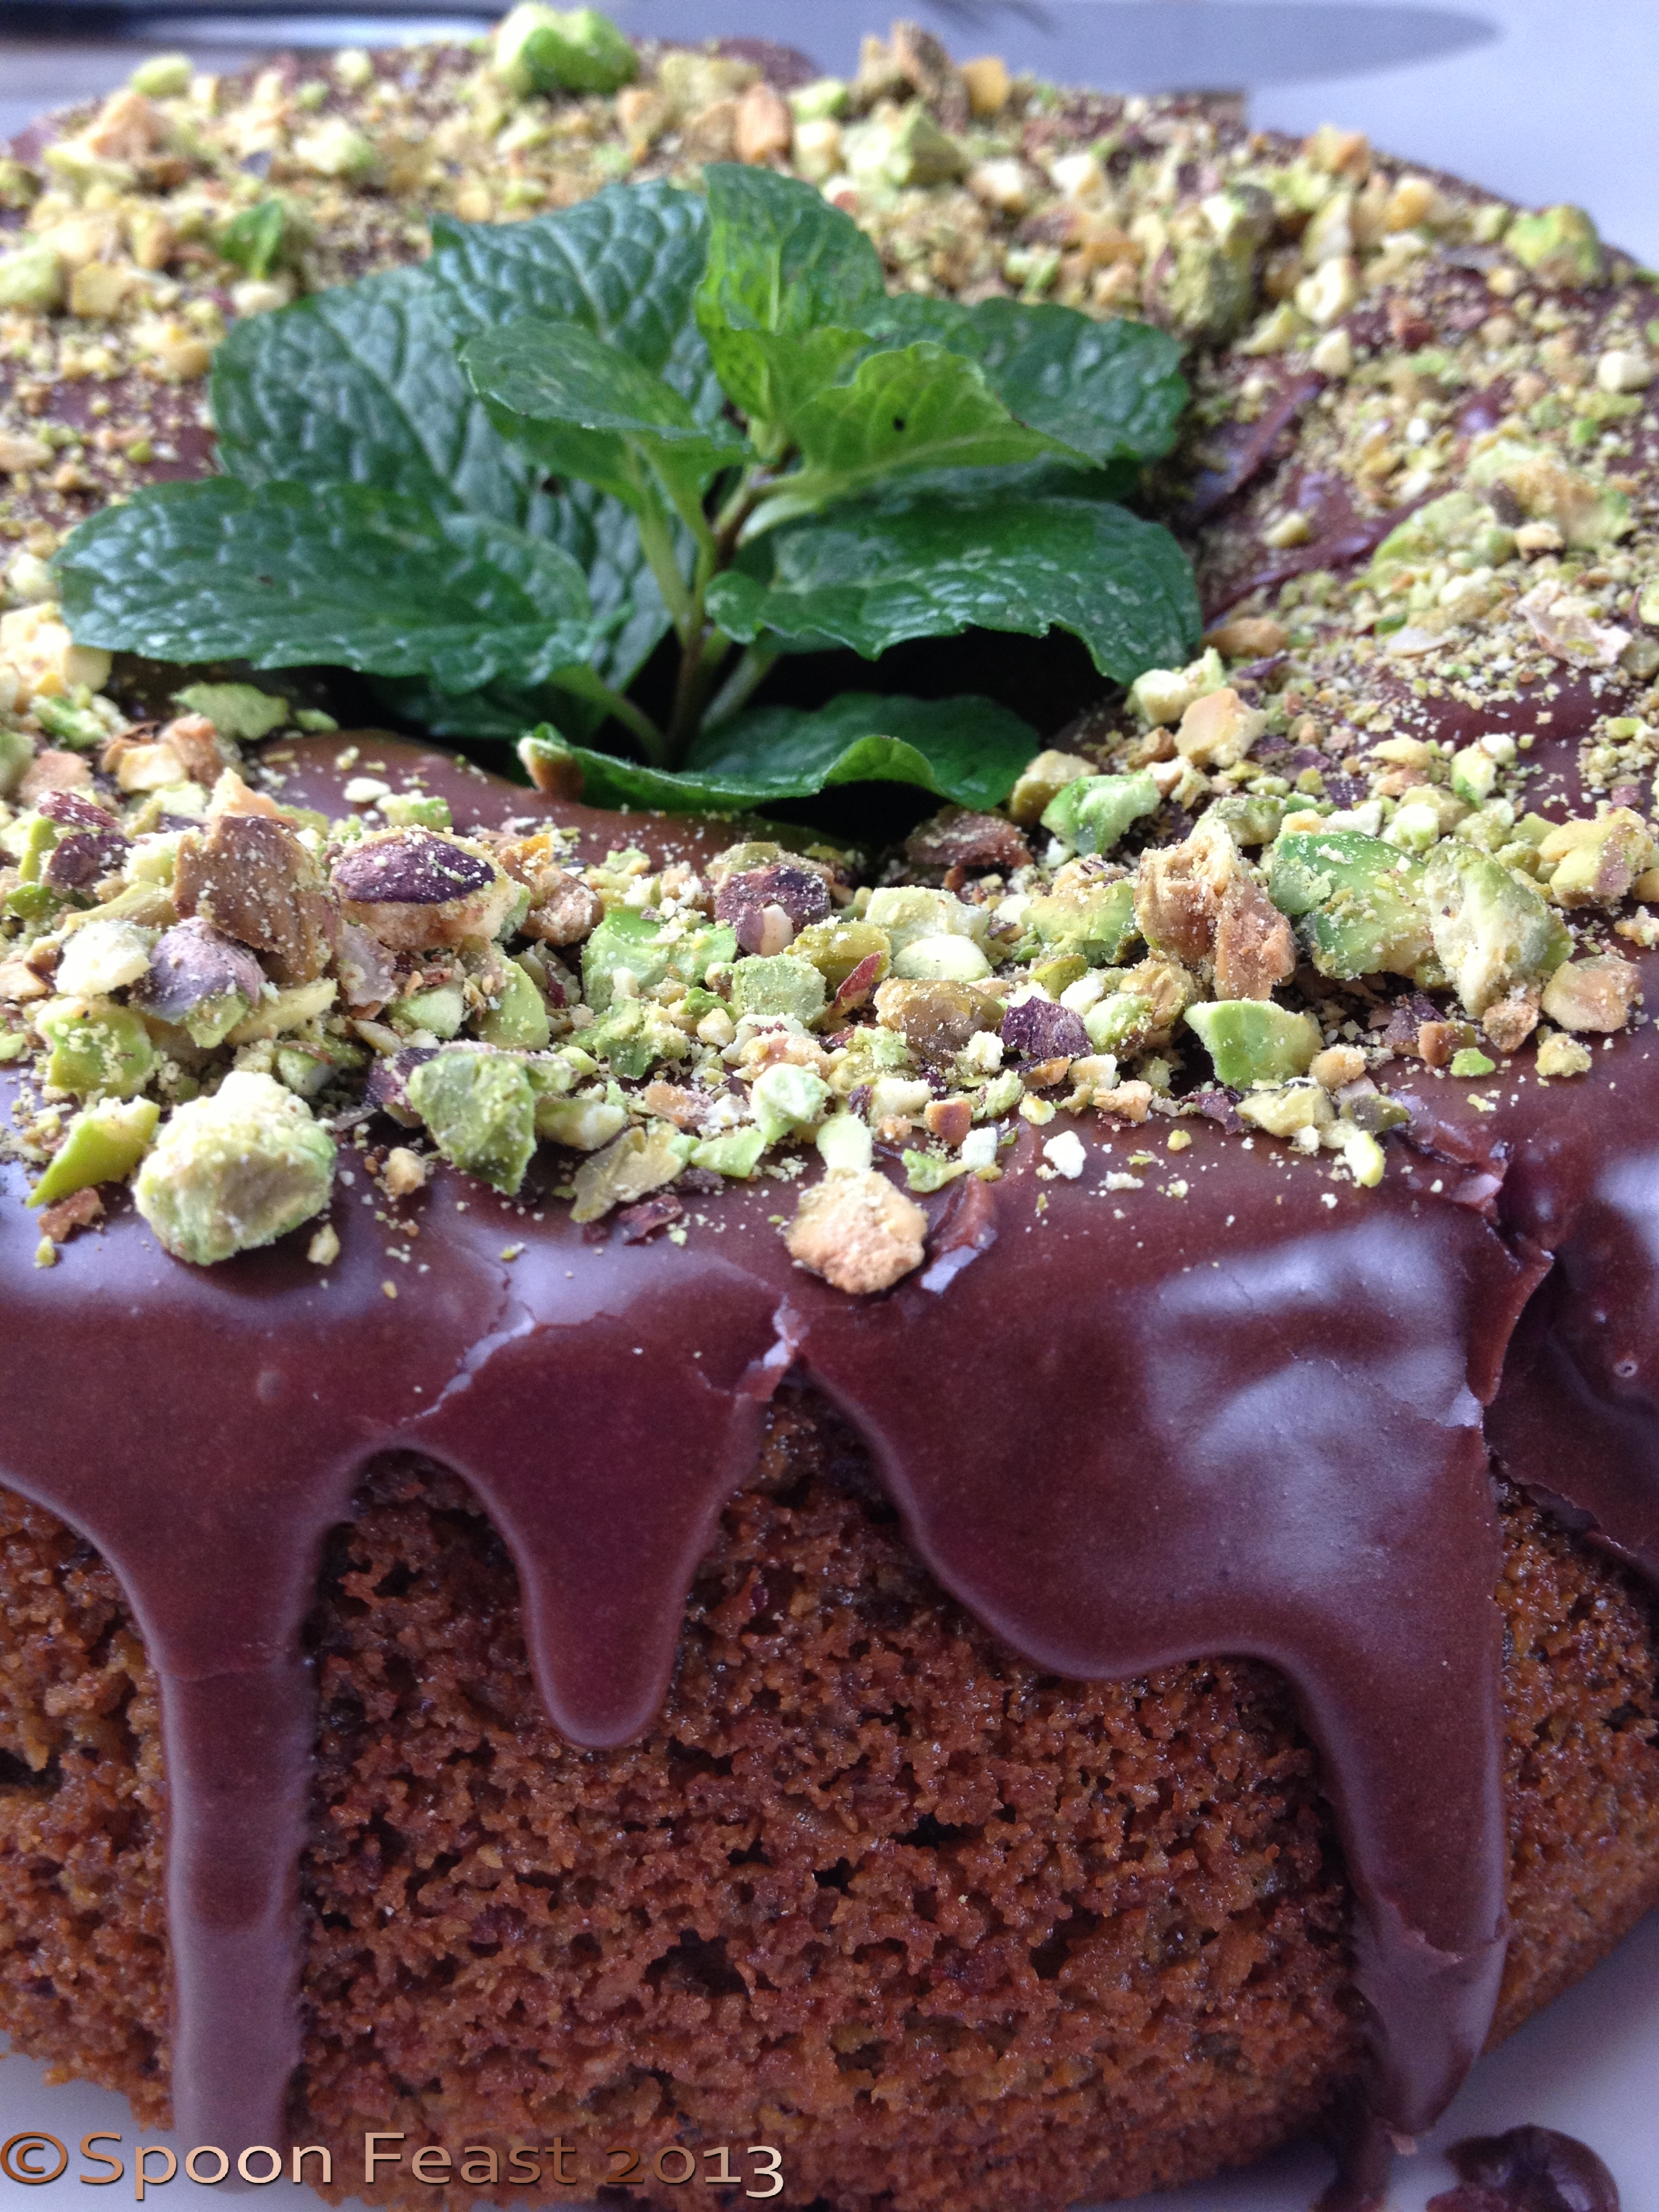
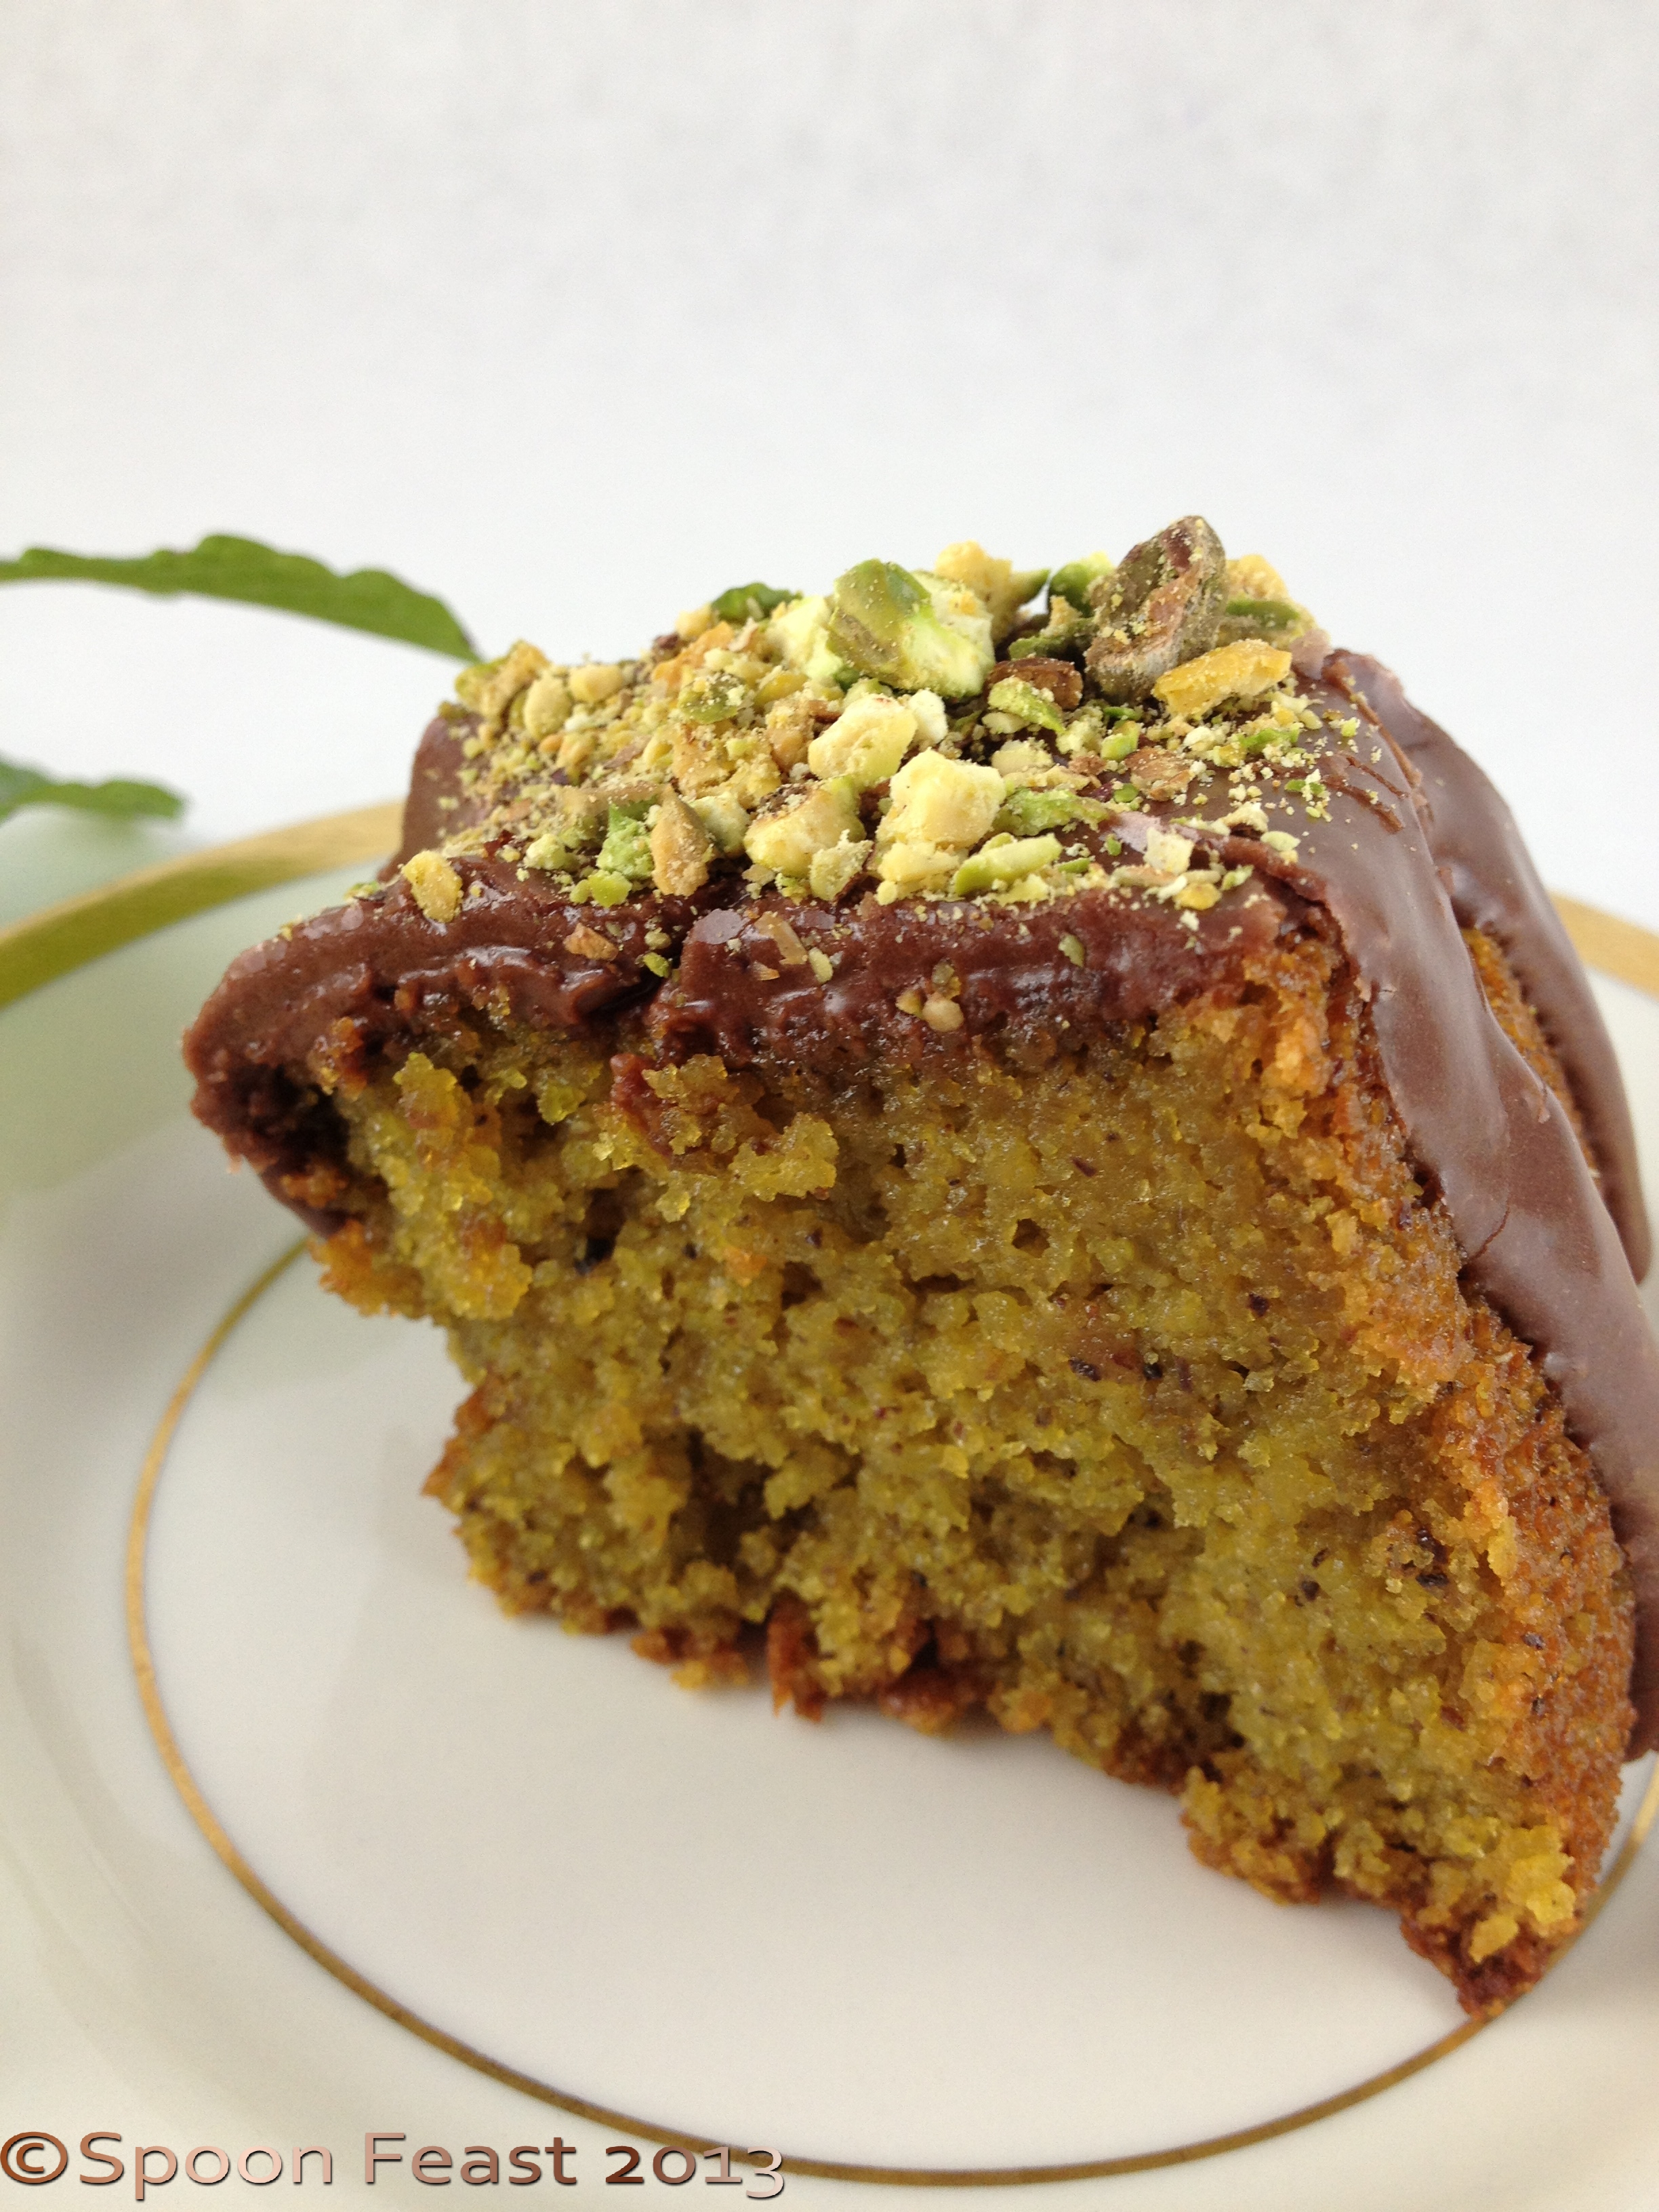
If you think “Cinnamon Almond Pistachio Danish Ring is a mouthful to say, Just wait until you taste it! When I made it, we were lucky to have an event to go to that evening. I sliced it, (ate one, well OK, two; one later though, not two at once ) and took it along to answer phones at the WTVI PBS fundraiser.
 To make the dough, I used a yeast raised sweet dough from Peter Reinhart’s book The Bread Baker’s Apprentice. While this dough isn’t as rich as a brioche, it is much easier to handle.
To make the dough you will need:
- 6 1/2 Tablespoons granulated sugar
- 1 teaspoon salt
- 5 1/2 tablespoons butter, at room temperature
- 1 large egg
- 1 teaspoon fresh lemon zest, fine
- 3 1/2 cups all-purpose flour
- 2 teaspoons instant yeast
- 1 1/4 cup whole milk, at room temperature (Do not exceed 100°F or it will kill the yeast)
Cream the sugar, salt and butter together using a paddle attachment, add eggs and lemon zest, whip until smooth.
Add the flour, yeast and milk, mix on low-speed until it forms a ball. Be sure to scrape down the bowl as you work, the dough may stick to the bowl, and there may be “forgotten” flour on the very bottom, scrape it all down and mix together.
Either using a dough hook or by hand, knead the dough until it is smooth and not tacky and sticky. If needed, you may need to use a bit of flour or water during this process.
Coat a bowl with a small bit of oil, place the kneaded dough into the bowl, make sure the dough ball is also covered with a light oil coating to prevent sticking. Cover the bowl with plastic and allow to double in size. Usually this can take up to 2 hours or more, depending upon the warmth of your kitchen.
If you oven has a proofing setting, use it. If you have a gas oven, the pilot light is often enough to maintain about 100°F. If you have an electric oven, turn your oven on the lowest setting for 5 minutes, turn it off and it should be good to go. Check it though as you do not want a hot oven, just slightly warm.
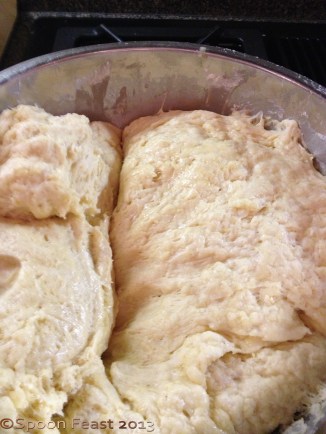
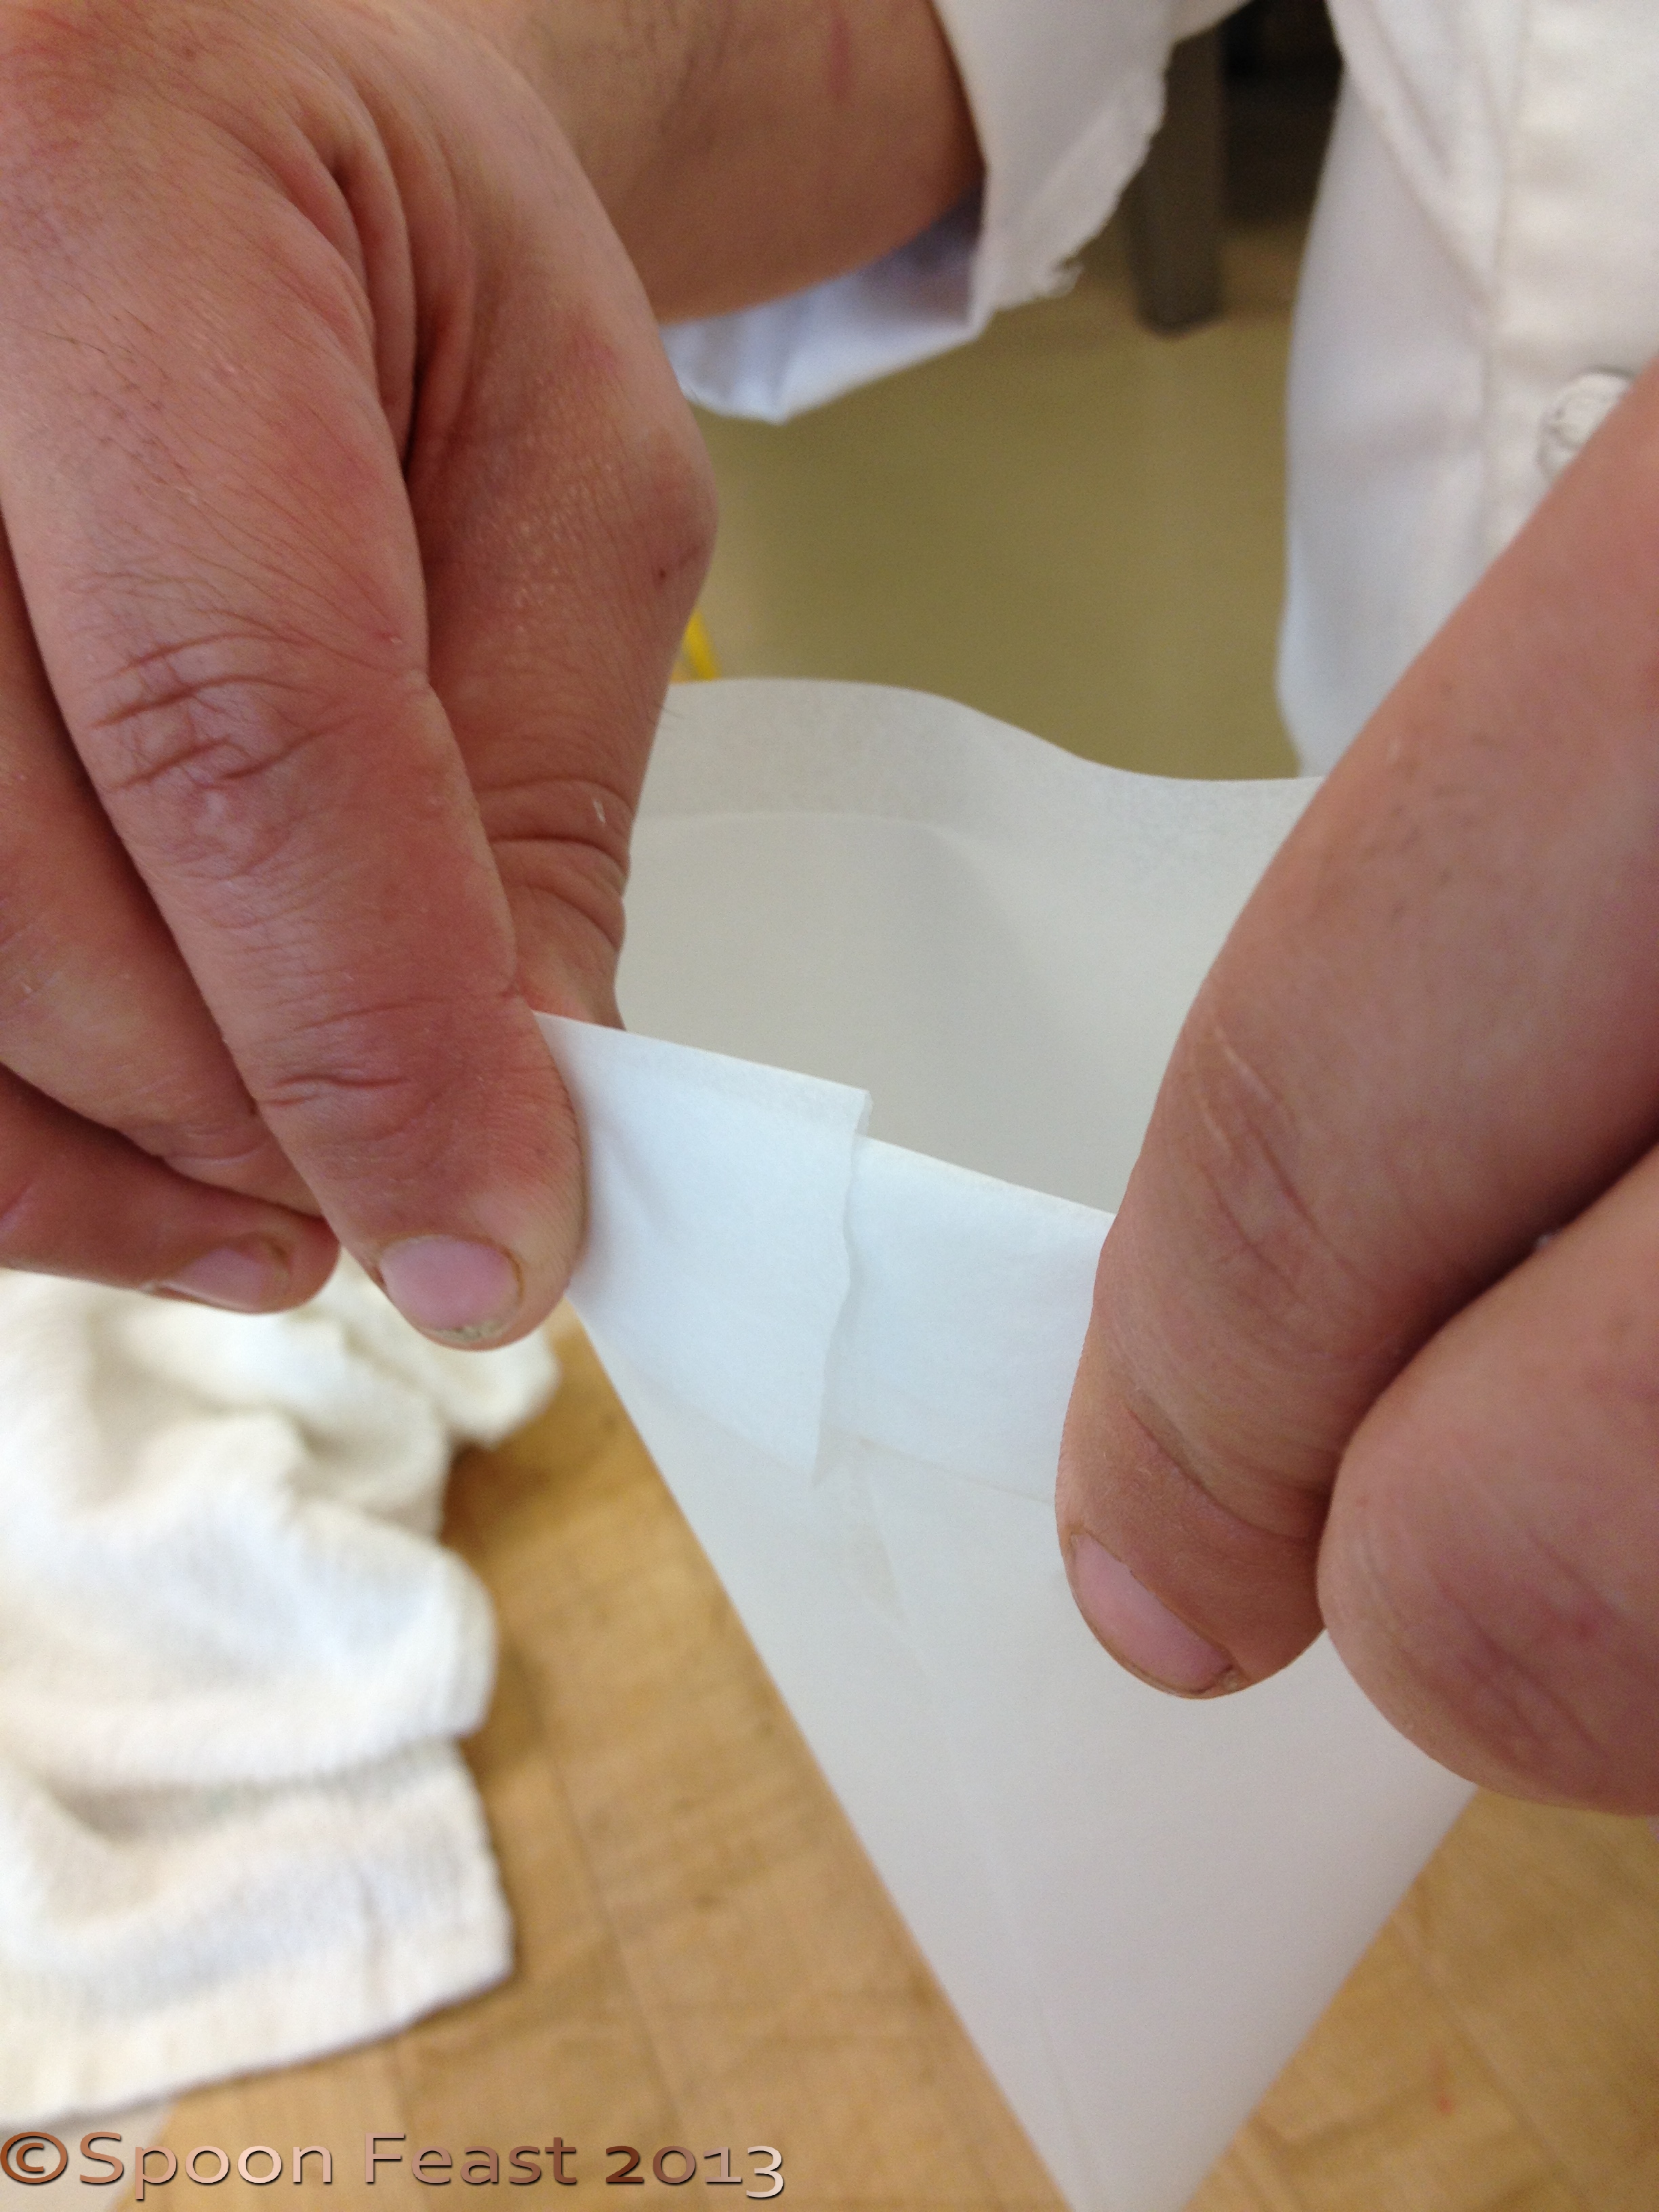
Risen dough about to hit the work bench
When the dough has doubled, transfer it to a lightly floured counter and roll it out into a rectangle as best you can.
Adding the cinnamon sugar gives you a couple of options. First you can spread soft butter over the dough and then sprinkle cinnamon sugar over the butter OR you can mix the cinnamon sugar with the butter to make a spread.
This is what I did for this roll.
Mix 1/2 cup of cinnamon sugar with 1/3 cup soft butter. Combine until the mixture is uniform. You can also decide to add additional flavors like ground ginger, cardamom or other ground warm spices.
Spread the cinnamon sugar mixture over the dough, leaving a slight edge for sealing the roll.

Roll into a log
Starting with the long edge, roll the dough into a large, long log.
Bring the ends of the log together and form a ring.

Bring the ends together to form a ring
Note: If you want to pre-cut the ring, do it before it rises.
Place the ring on a parchment lined sheet pan. Brush with egg wash and cover with a well oiled piece of plastic wrap.
Allow to double in size.
Pre-heat the oven to 350°F
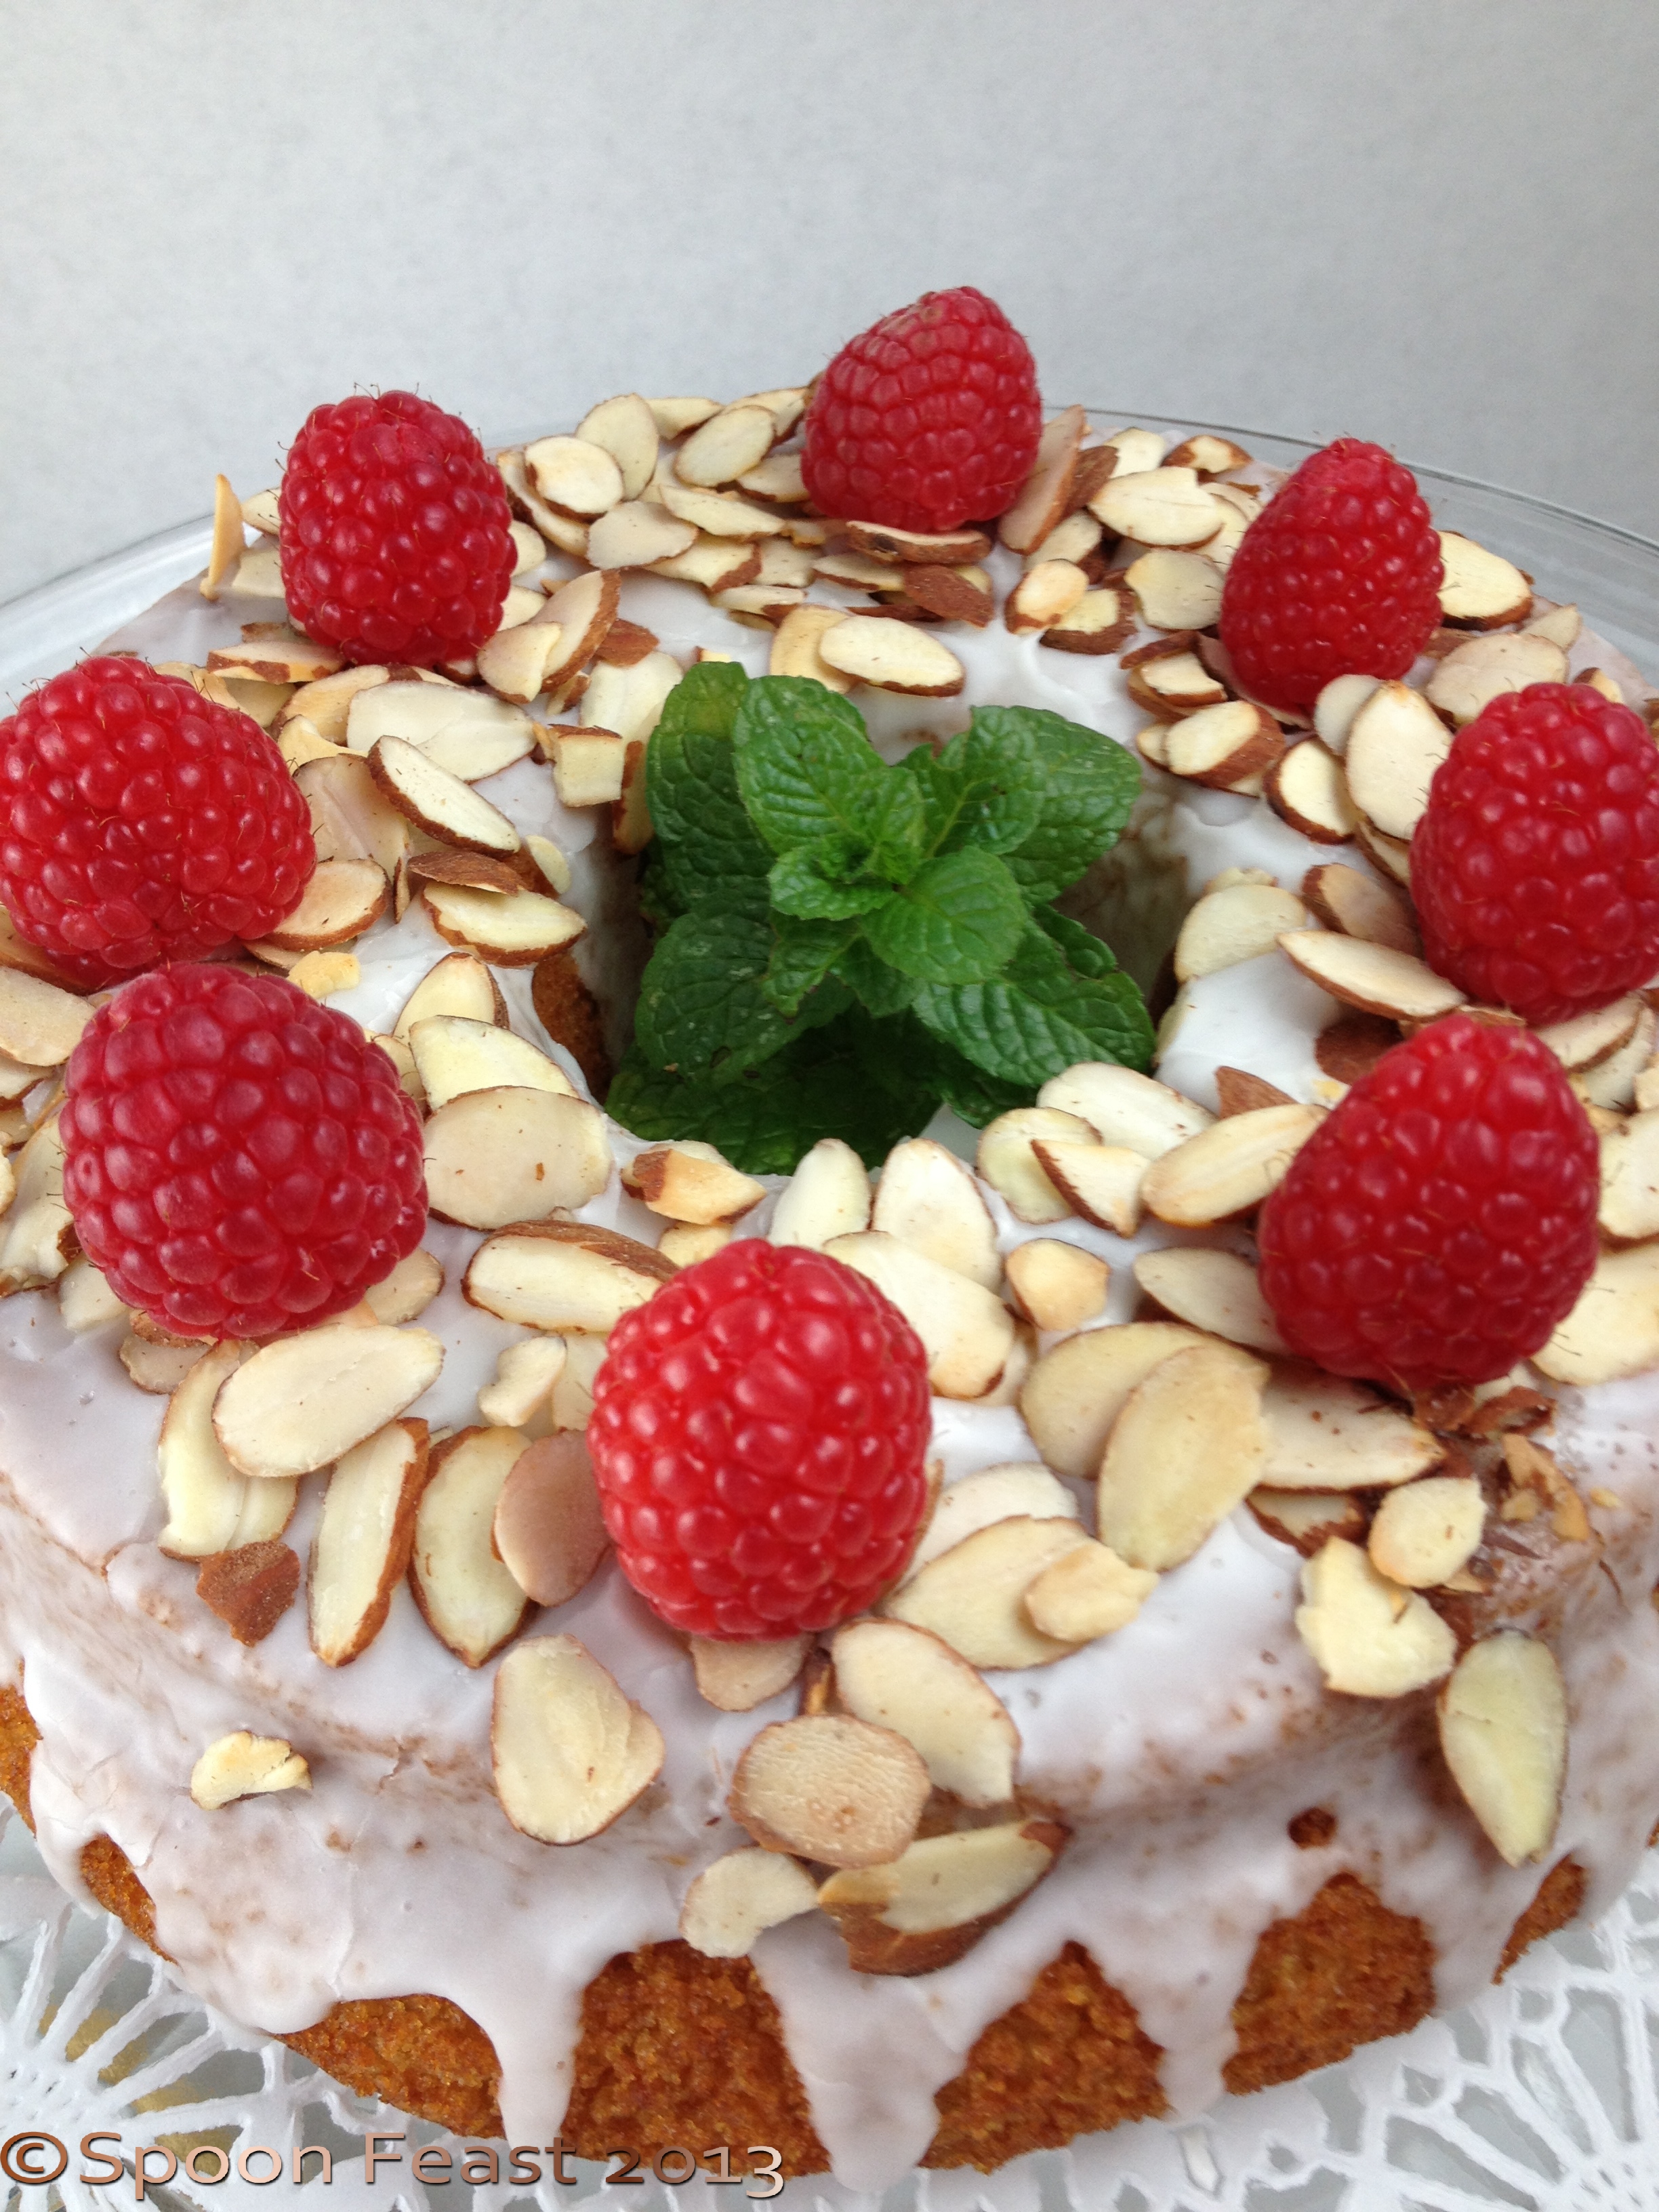
Egg wash again and sprinkle the surface with sliced almonds and chopped pistachios and sanding sugar if desired.

Sprinkle the top with almonds and pistachios
Bake the ring in the 350°F oven for 30-45 minutes. The internal temperature of the very center of the thickest part of the ring needs to read at least 190°F or else you will end up with raw dough, which isn’t very pleasant.
If the ring is getting too brown before it is done, cover it with either tin foil or parchment.
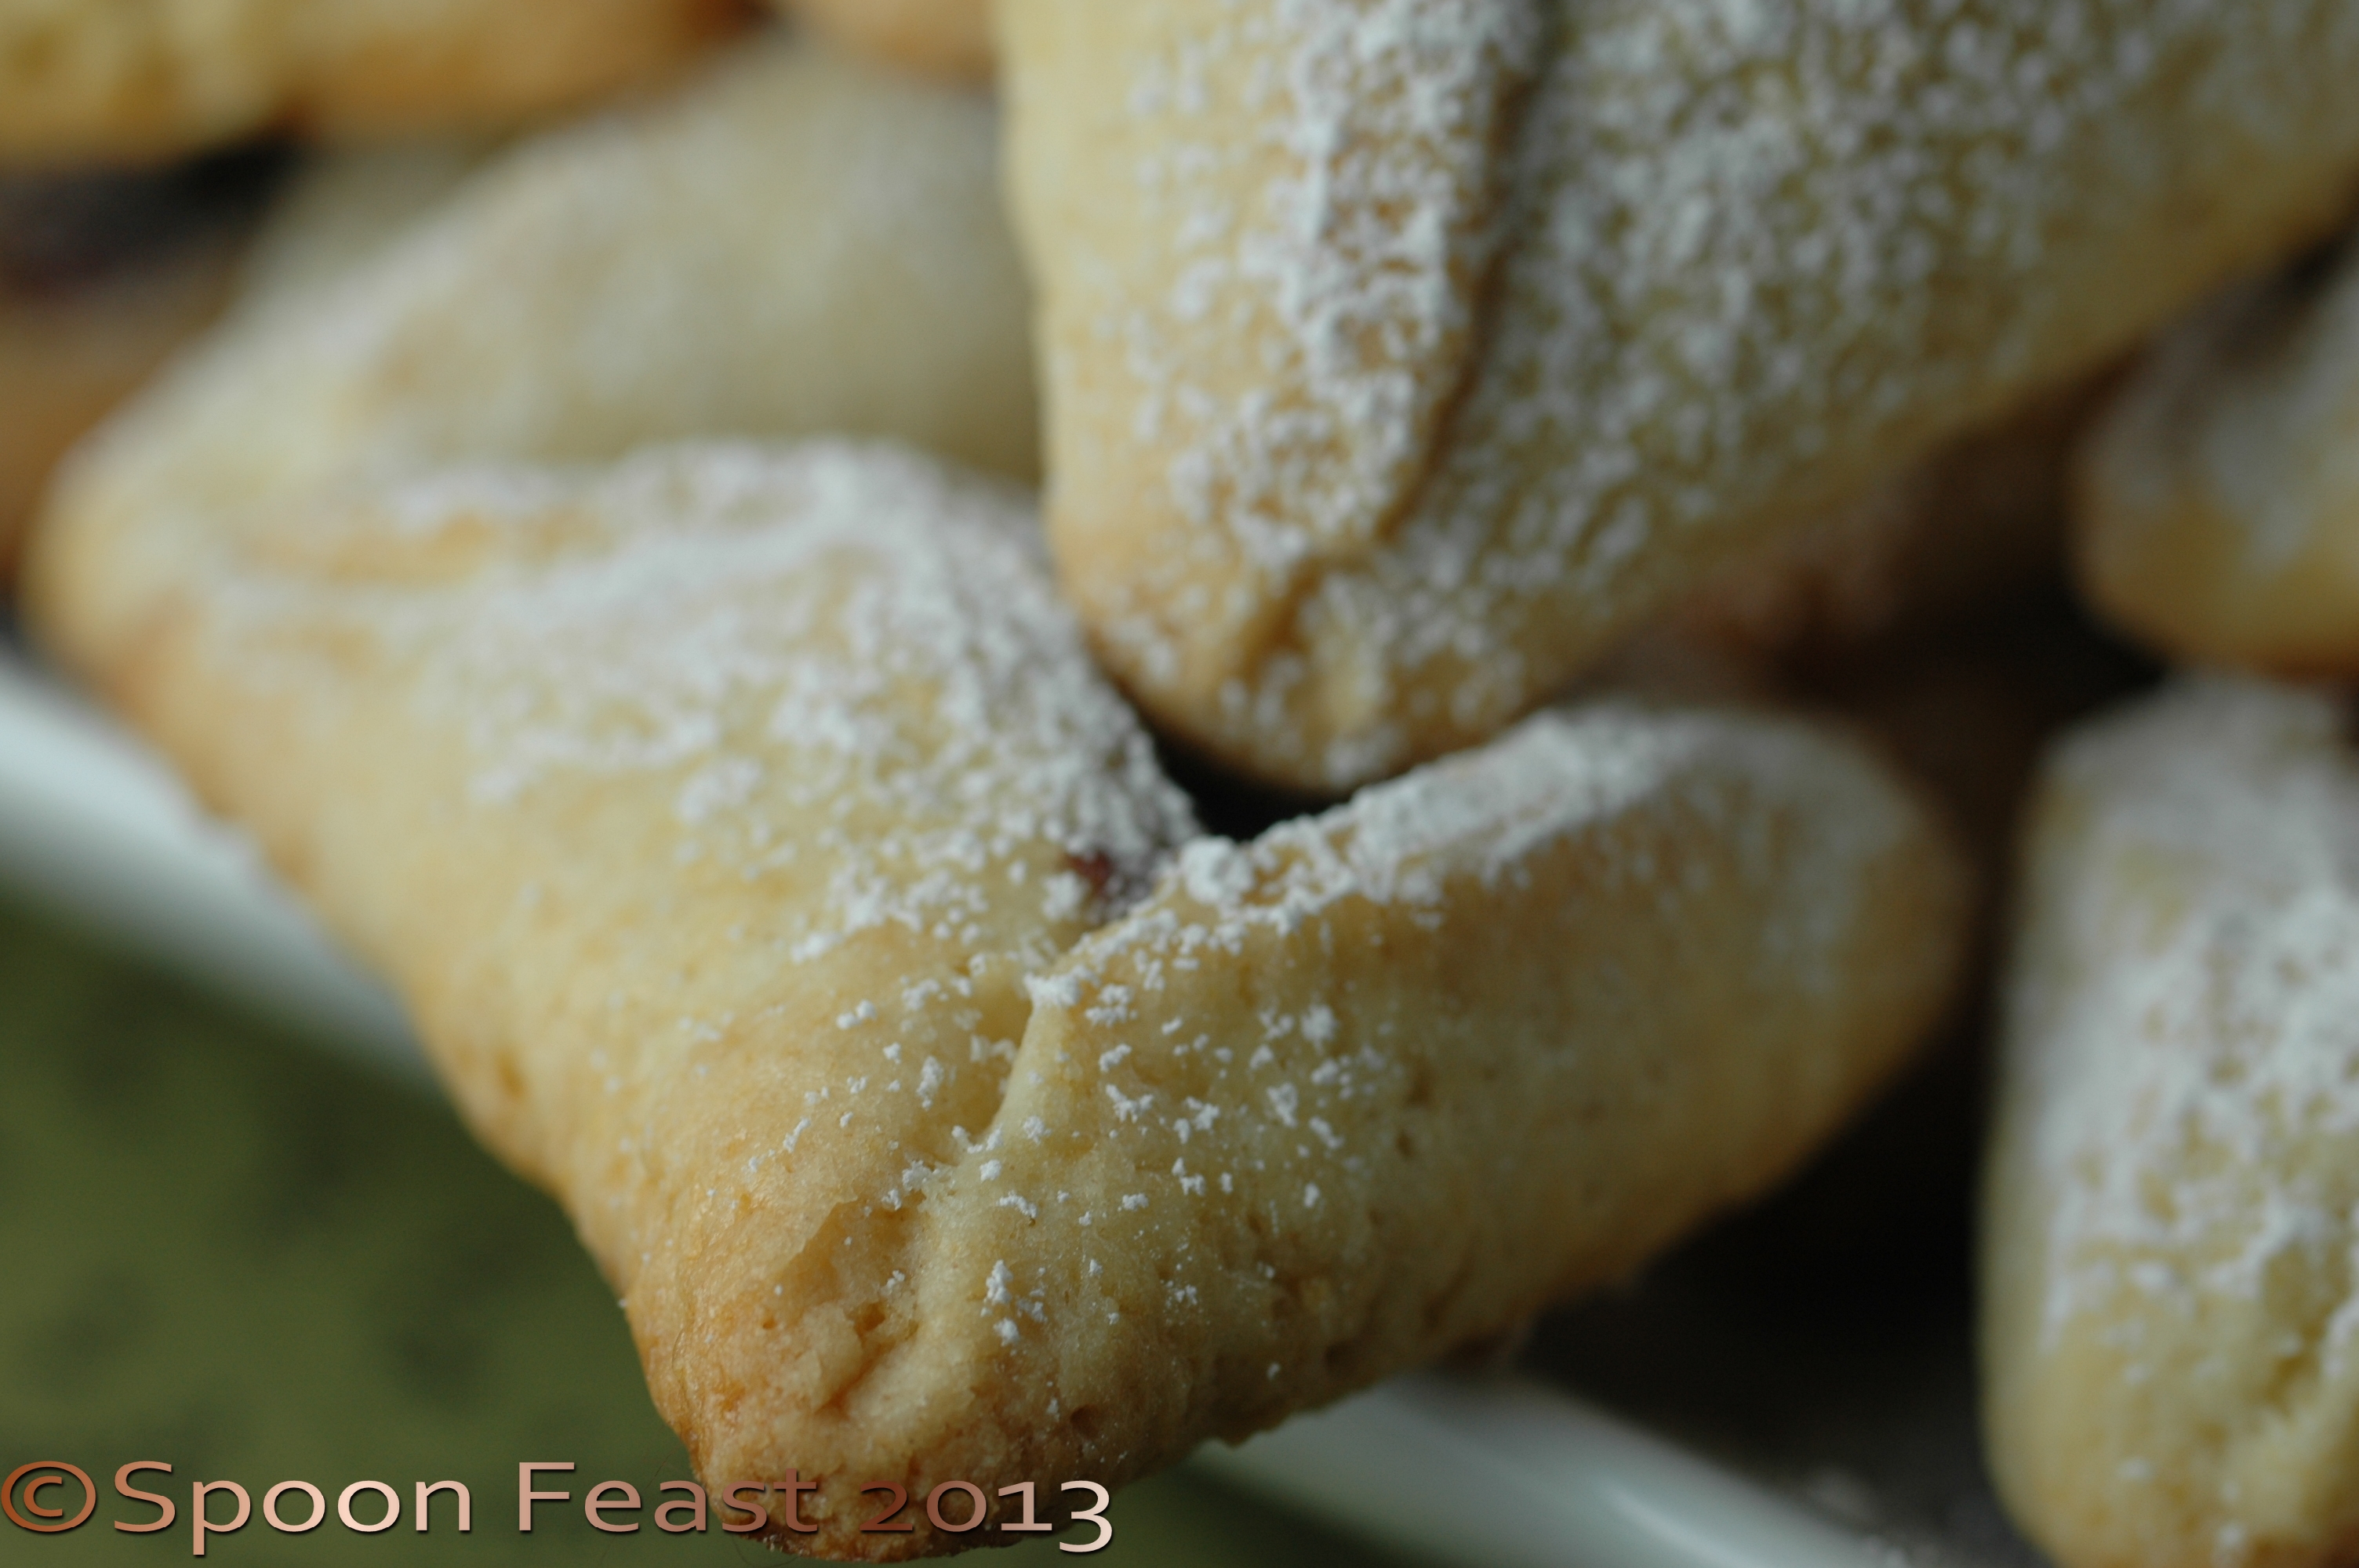
Remove the baked ring from the oven, place on a rack and allow to cool. Once cool, make a vanilla glaze by combining confectioners sugar with vanilla extract and a bit of milk to drizzle consistency. Drizzle it over the ring, slice and serve.
This is fantastic with a nice cup or coffee or tea. I like to serve it with fresh berries on the side.