A few of the potatoes, there are red, yellow fingerlings and Peruvian blue growing.
I harvested a few potatoes two weeks ago and was quite proud of my potatoes!
Somewhere, I read that they are supposed to dry a couple of weeks before you eat them so I put them in a bag and let them be until last night.
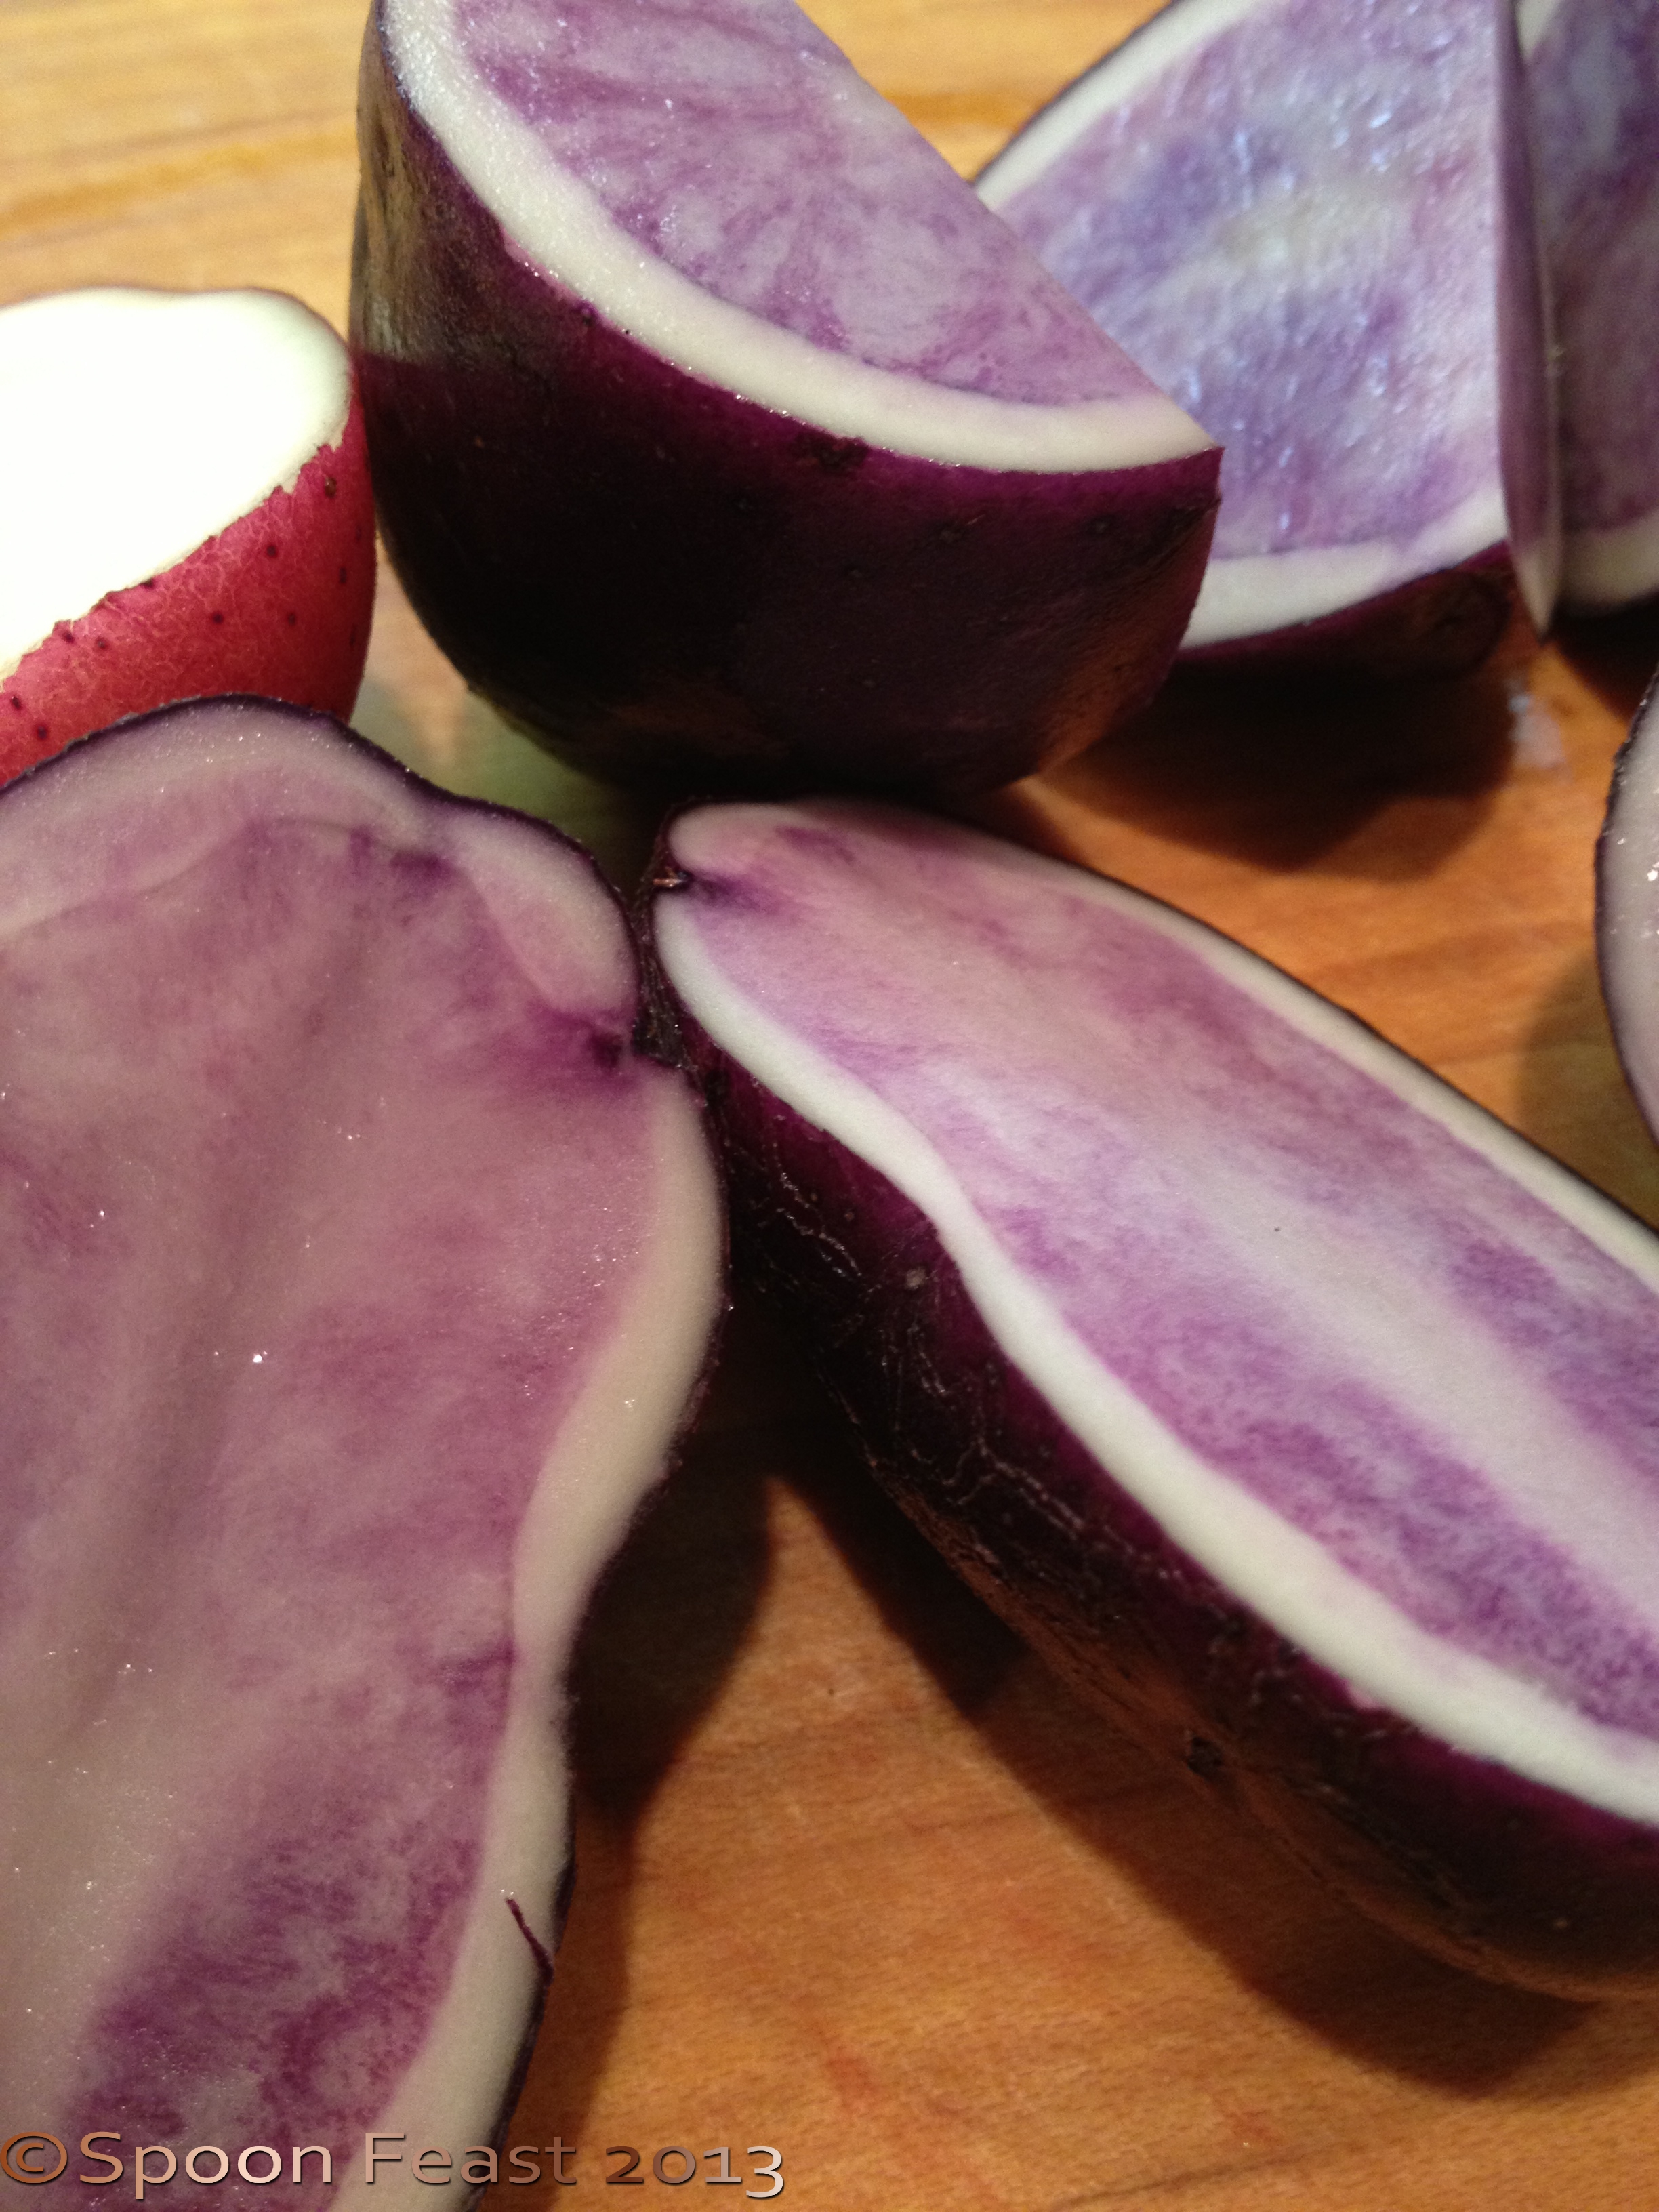
Look at the inside!
Scrubbed potatoes were cut and placed into a pot with cold water and put over high heat. Once the water boiled, salt and herbs were added to water to steep flavor into the potatoes as they cooked.
You can learn more about potato varieties on my post: All About Potatoes
Boil until the potatoes are done, drain and season with snipped chives and a small dab of butter or olive oil if you like.
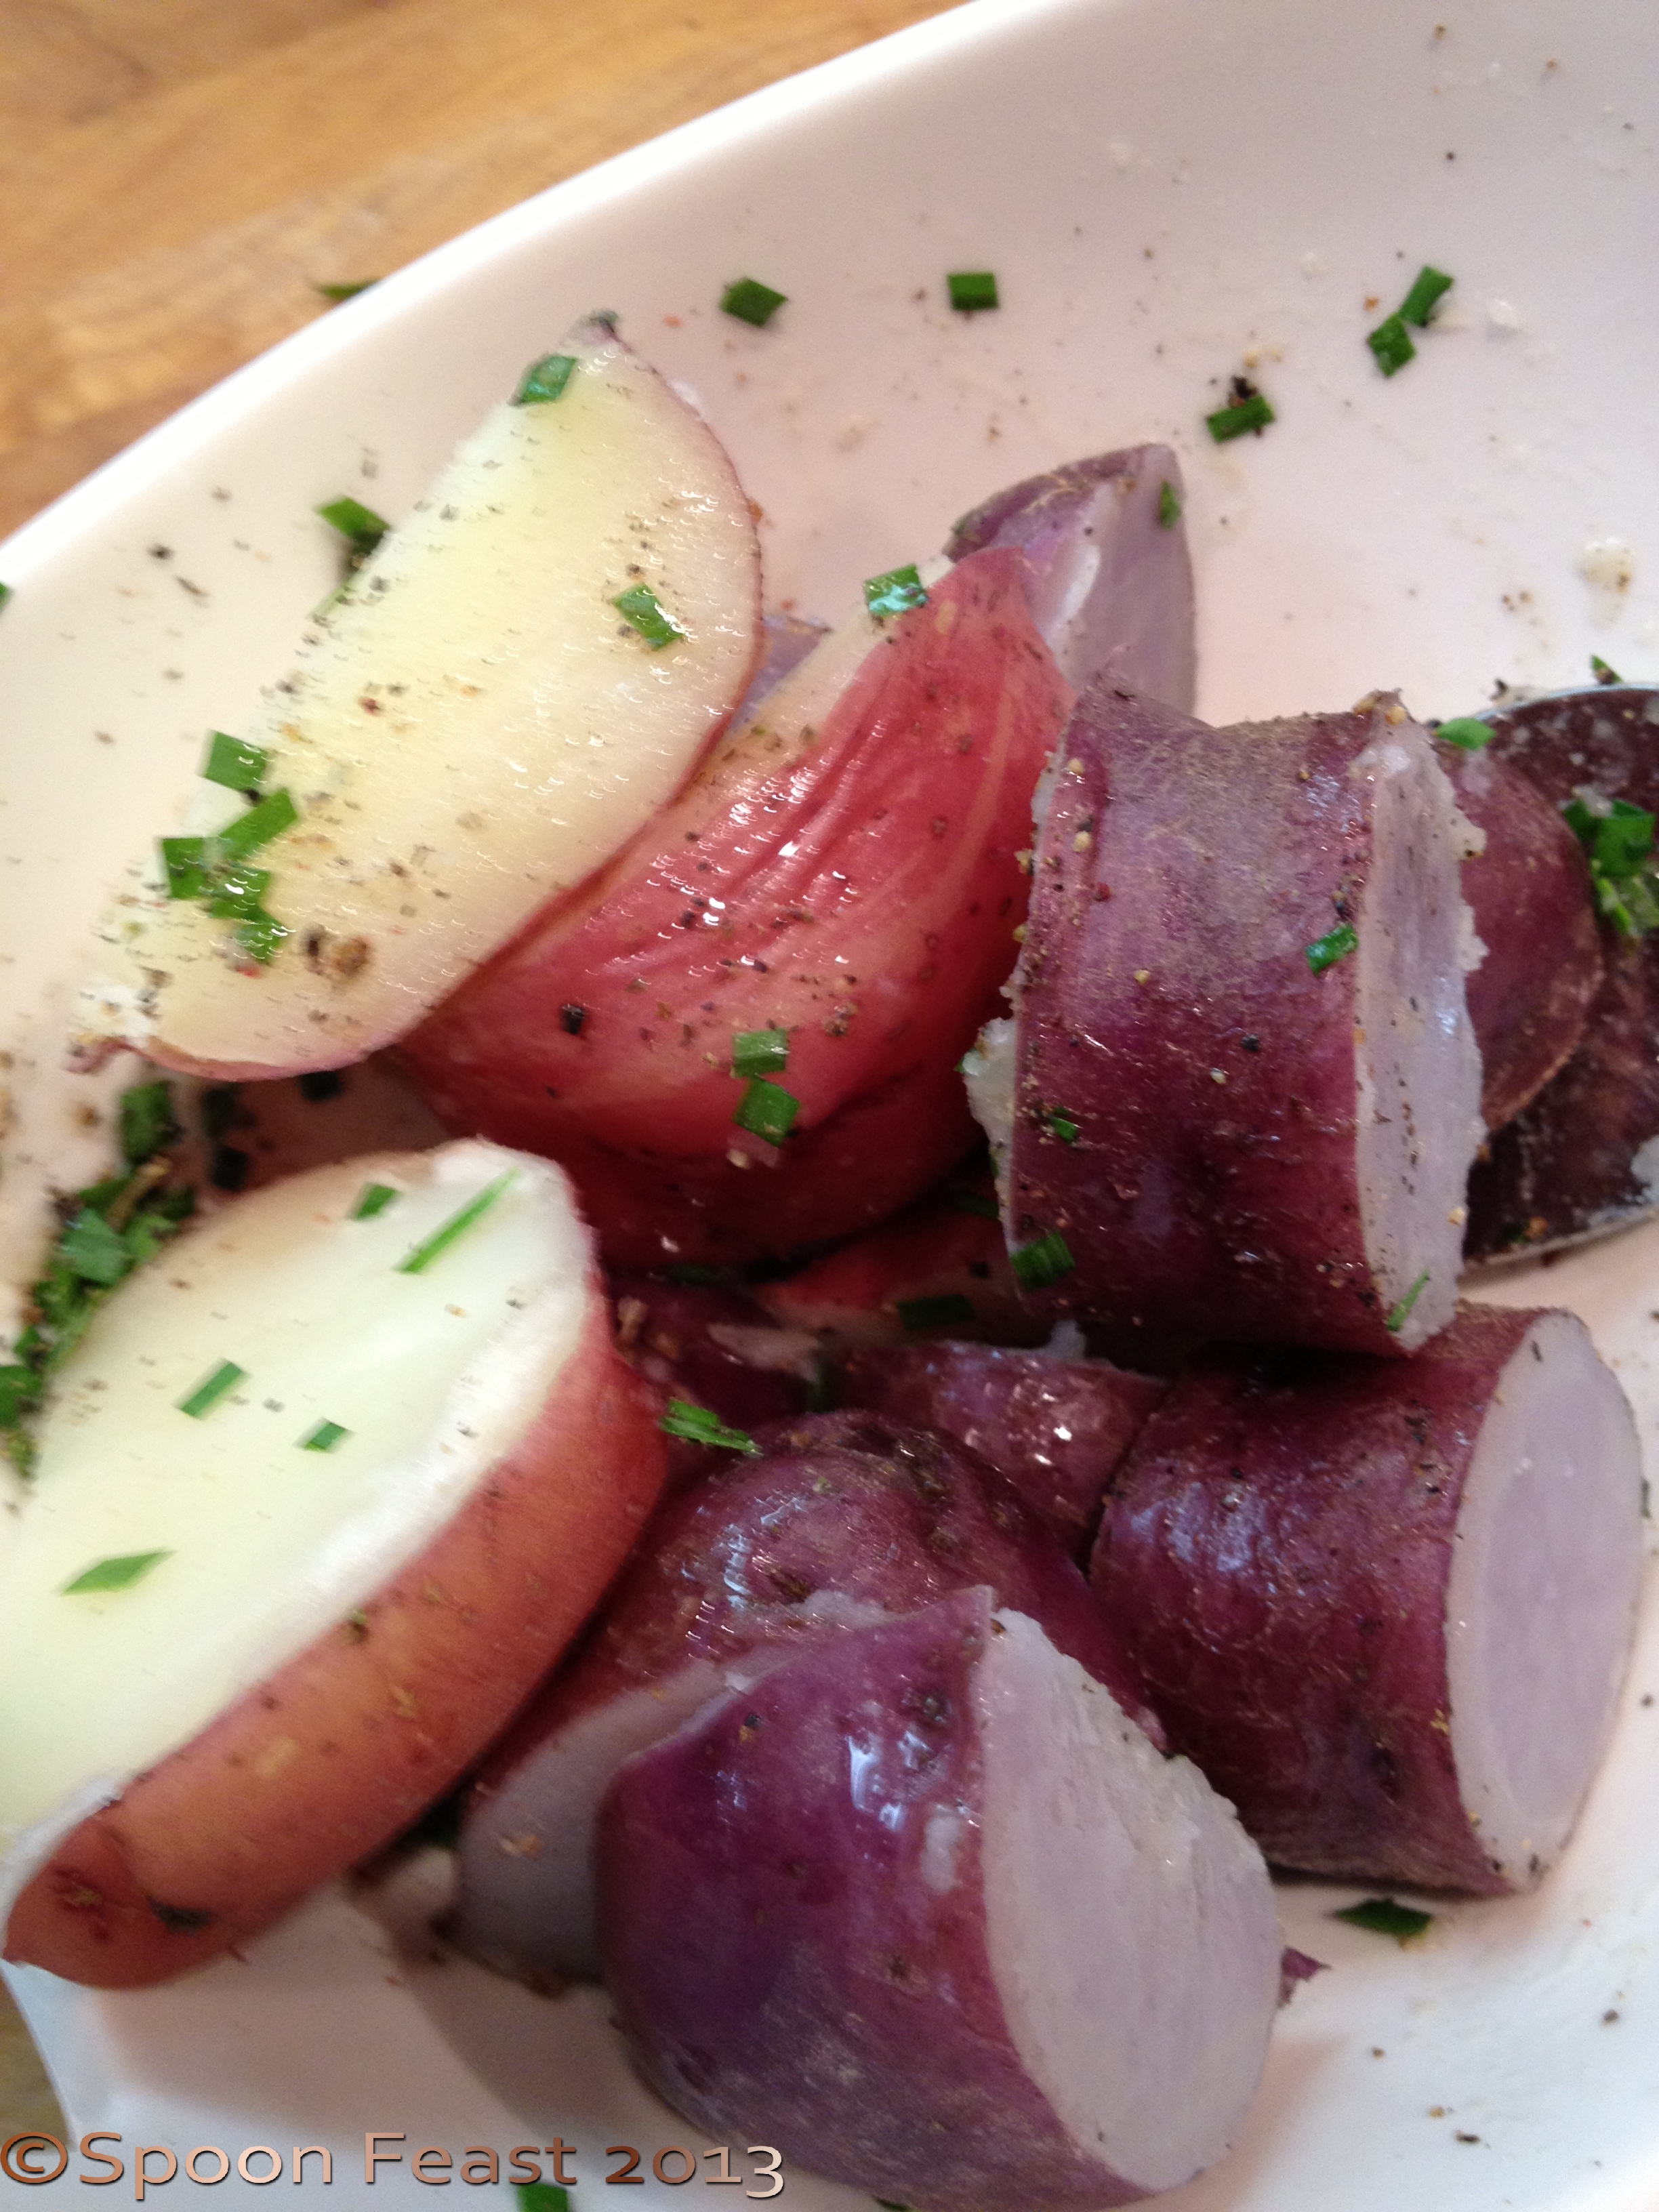
YUM!
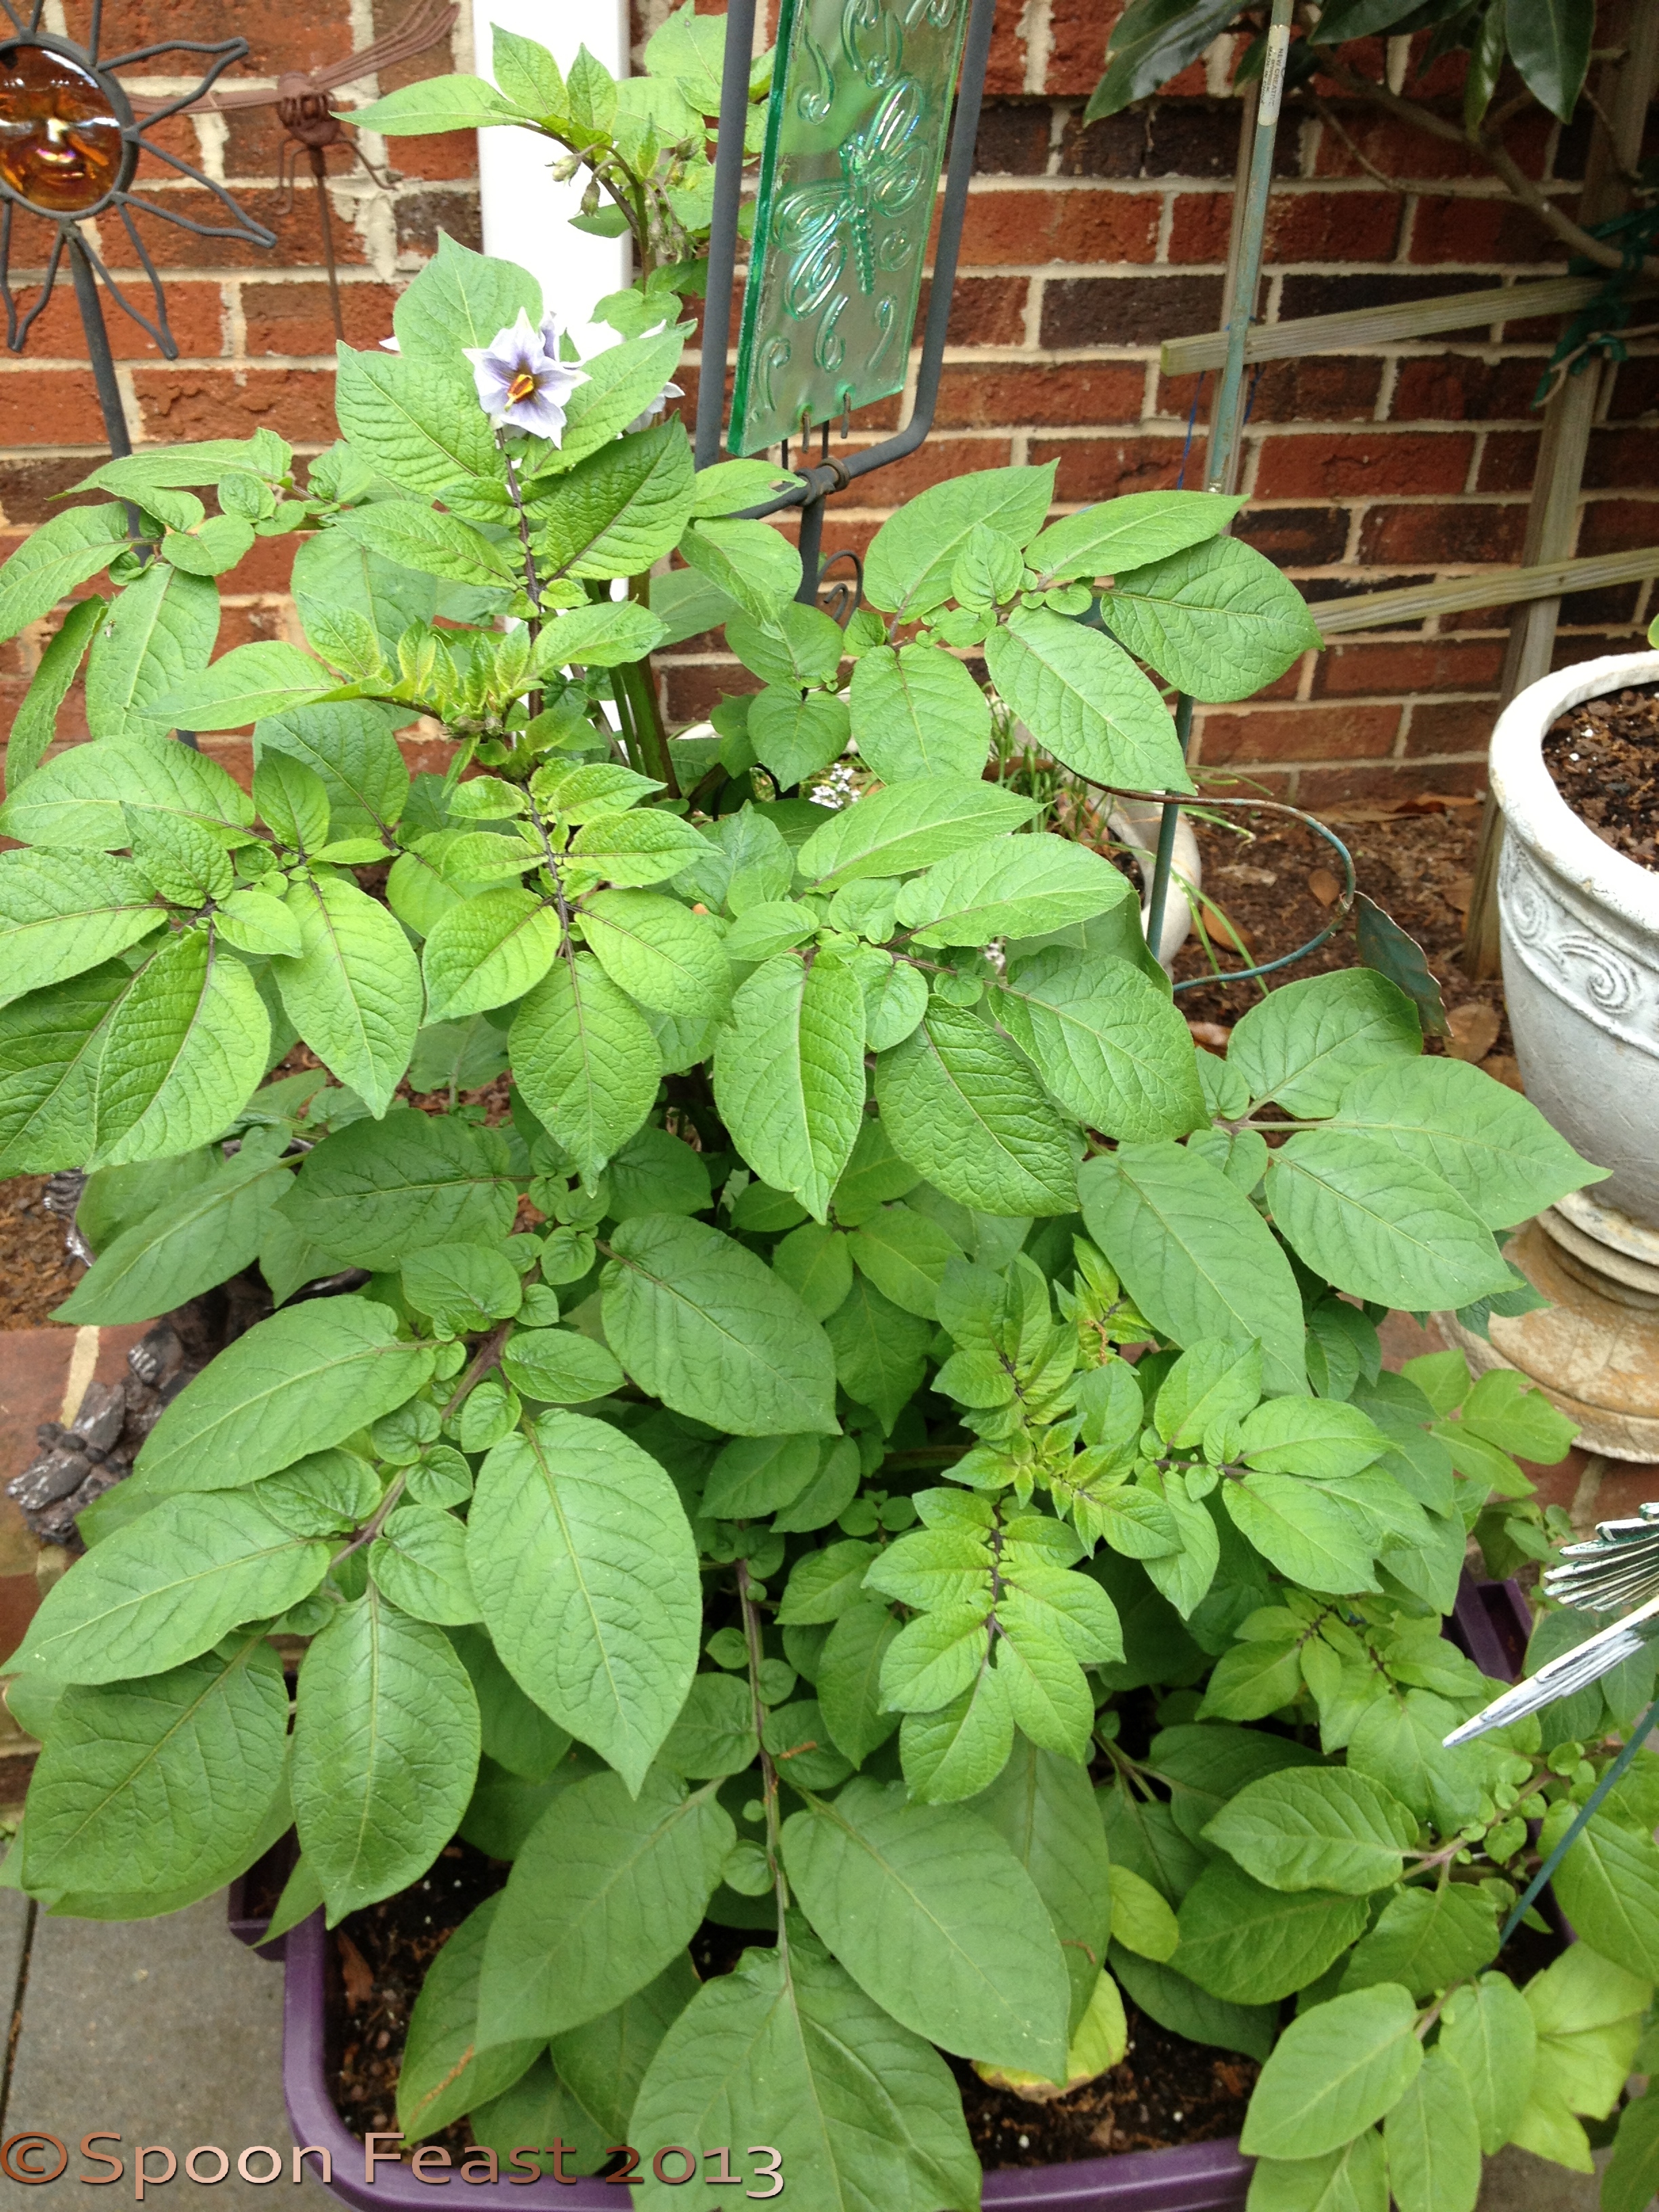
The Peruvian Blue Plant
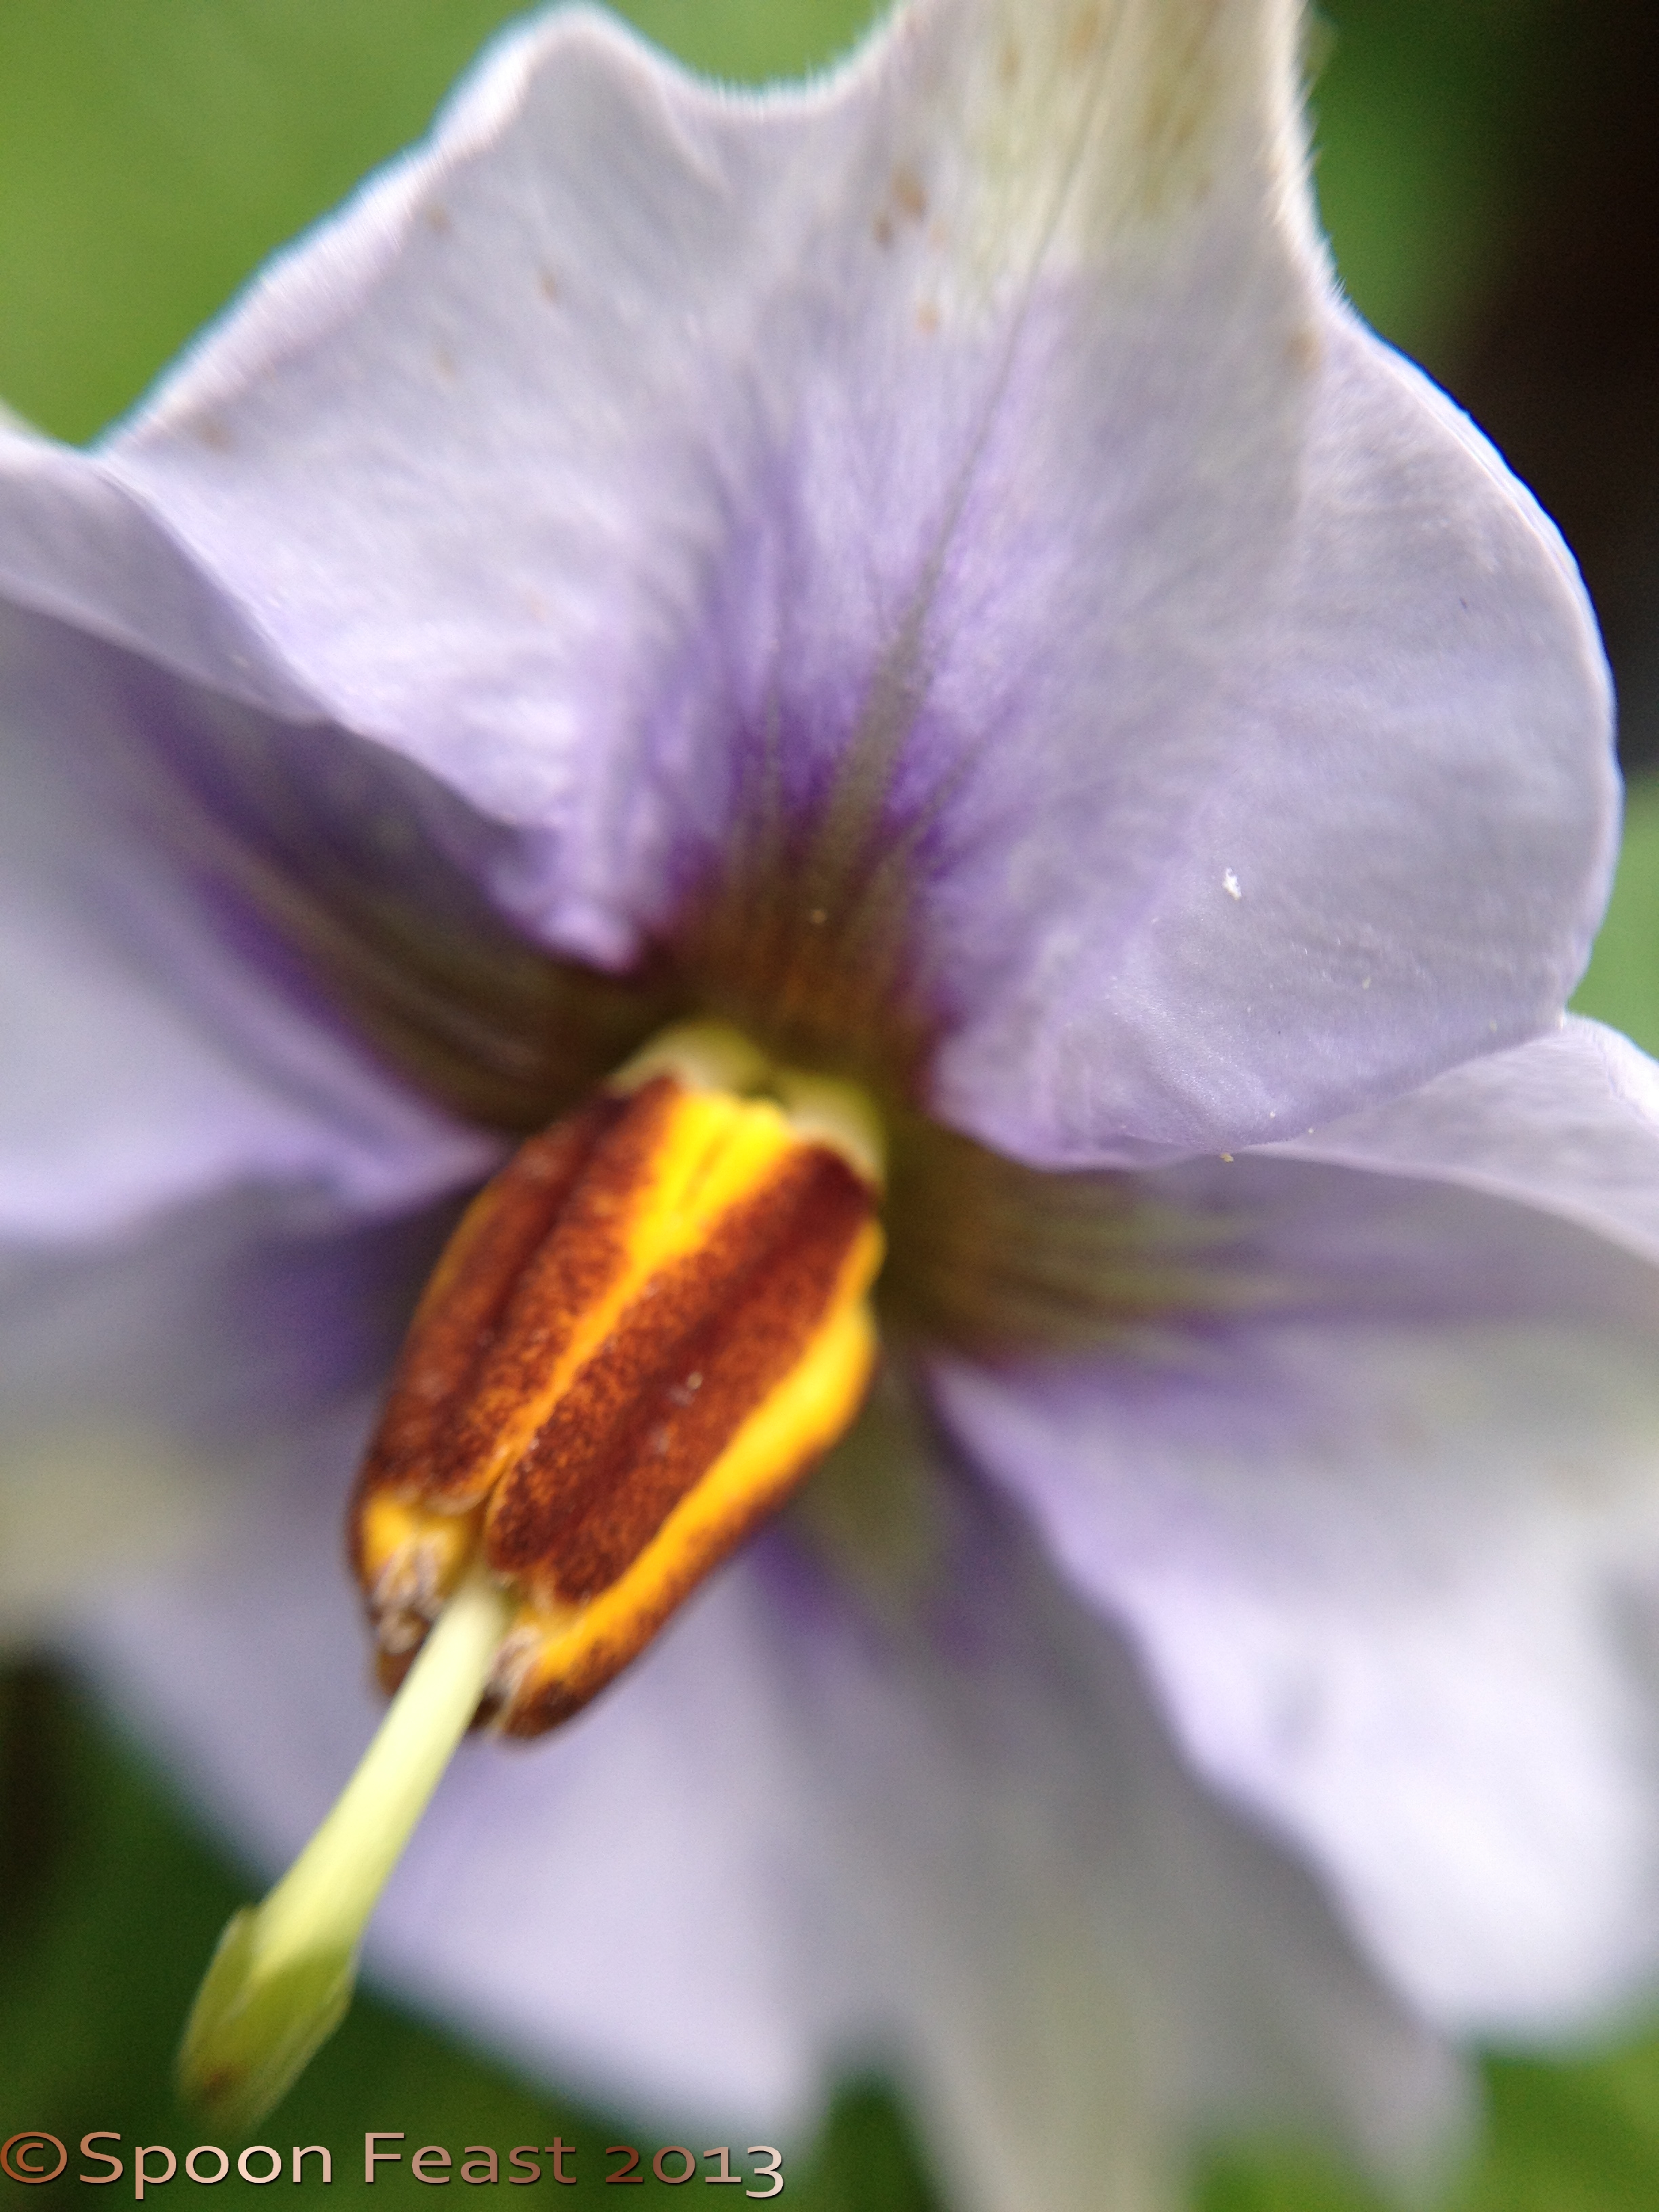
The flower

So far, it has been quite fun to grow the potatoes. The Peruvian Blue potato plants are actually quite lovely. I’ve kept adding more soil to mimic “hilling” and hopefully, this will result in decent results meaning actually having some potatoes.
I showed the first harvest to Robert he said “looks like its going to be a long winter.” I do hope there are more potatoes to find when it is time! It’s like finding buried treasure when it comes time to dig them out of the ground.
I grew the Peruvian Blue in a 55 gallon purple Rubbermaid bin that I drilled drainage holes in the bottom to drain excess water.
Someone told me that the bags rotted, a pot would have to be quite large so since I had a bunch of bins, one became the container to grow Peruvian Blue Potatoes.
Someone else told me of a large garbage can with a door cut into the side so you could open the door, reach in and harvest a dinners worth of potatoes, close the door and the plant carries on.
How cool is that idea?!
I’d have to think of how to build something though as I’m not to sure everyone would agree on a garbage can with a door cut into the side, growing a potato plant as part of the landscaping.
Now if I lived on a farm . . .
My tomatoes are pitiful. Blossom drop plague. But at least we have a few potatoes.
Related articles
- Potatoes Au Gratin (Spoonfeast.com)
- Real Mashed Potatoes made simple
(Spoonfeast.com) - Recipe: Smashed potatoes (allthingsnice.ca)
- Vinagrette Potato Salad with Fresh Chives (beniceorleavethanks.com)
- Iron Skillet Potato Cake with Chives (canned-time.com)


 with vari...")