Nut Crusted Fruit Tart Re-Visited was in the make as we ate the first tart.
So delicious, we started talking how we could modify the recipe.

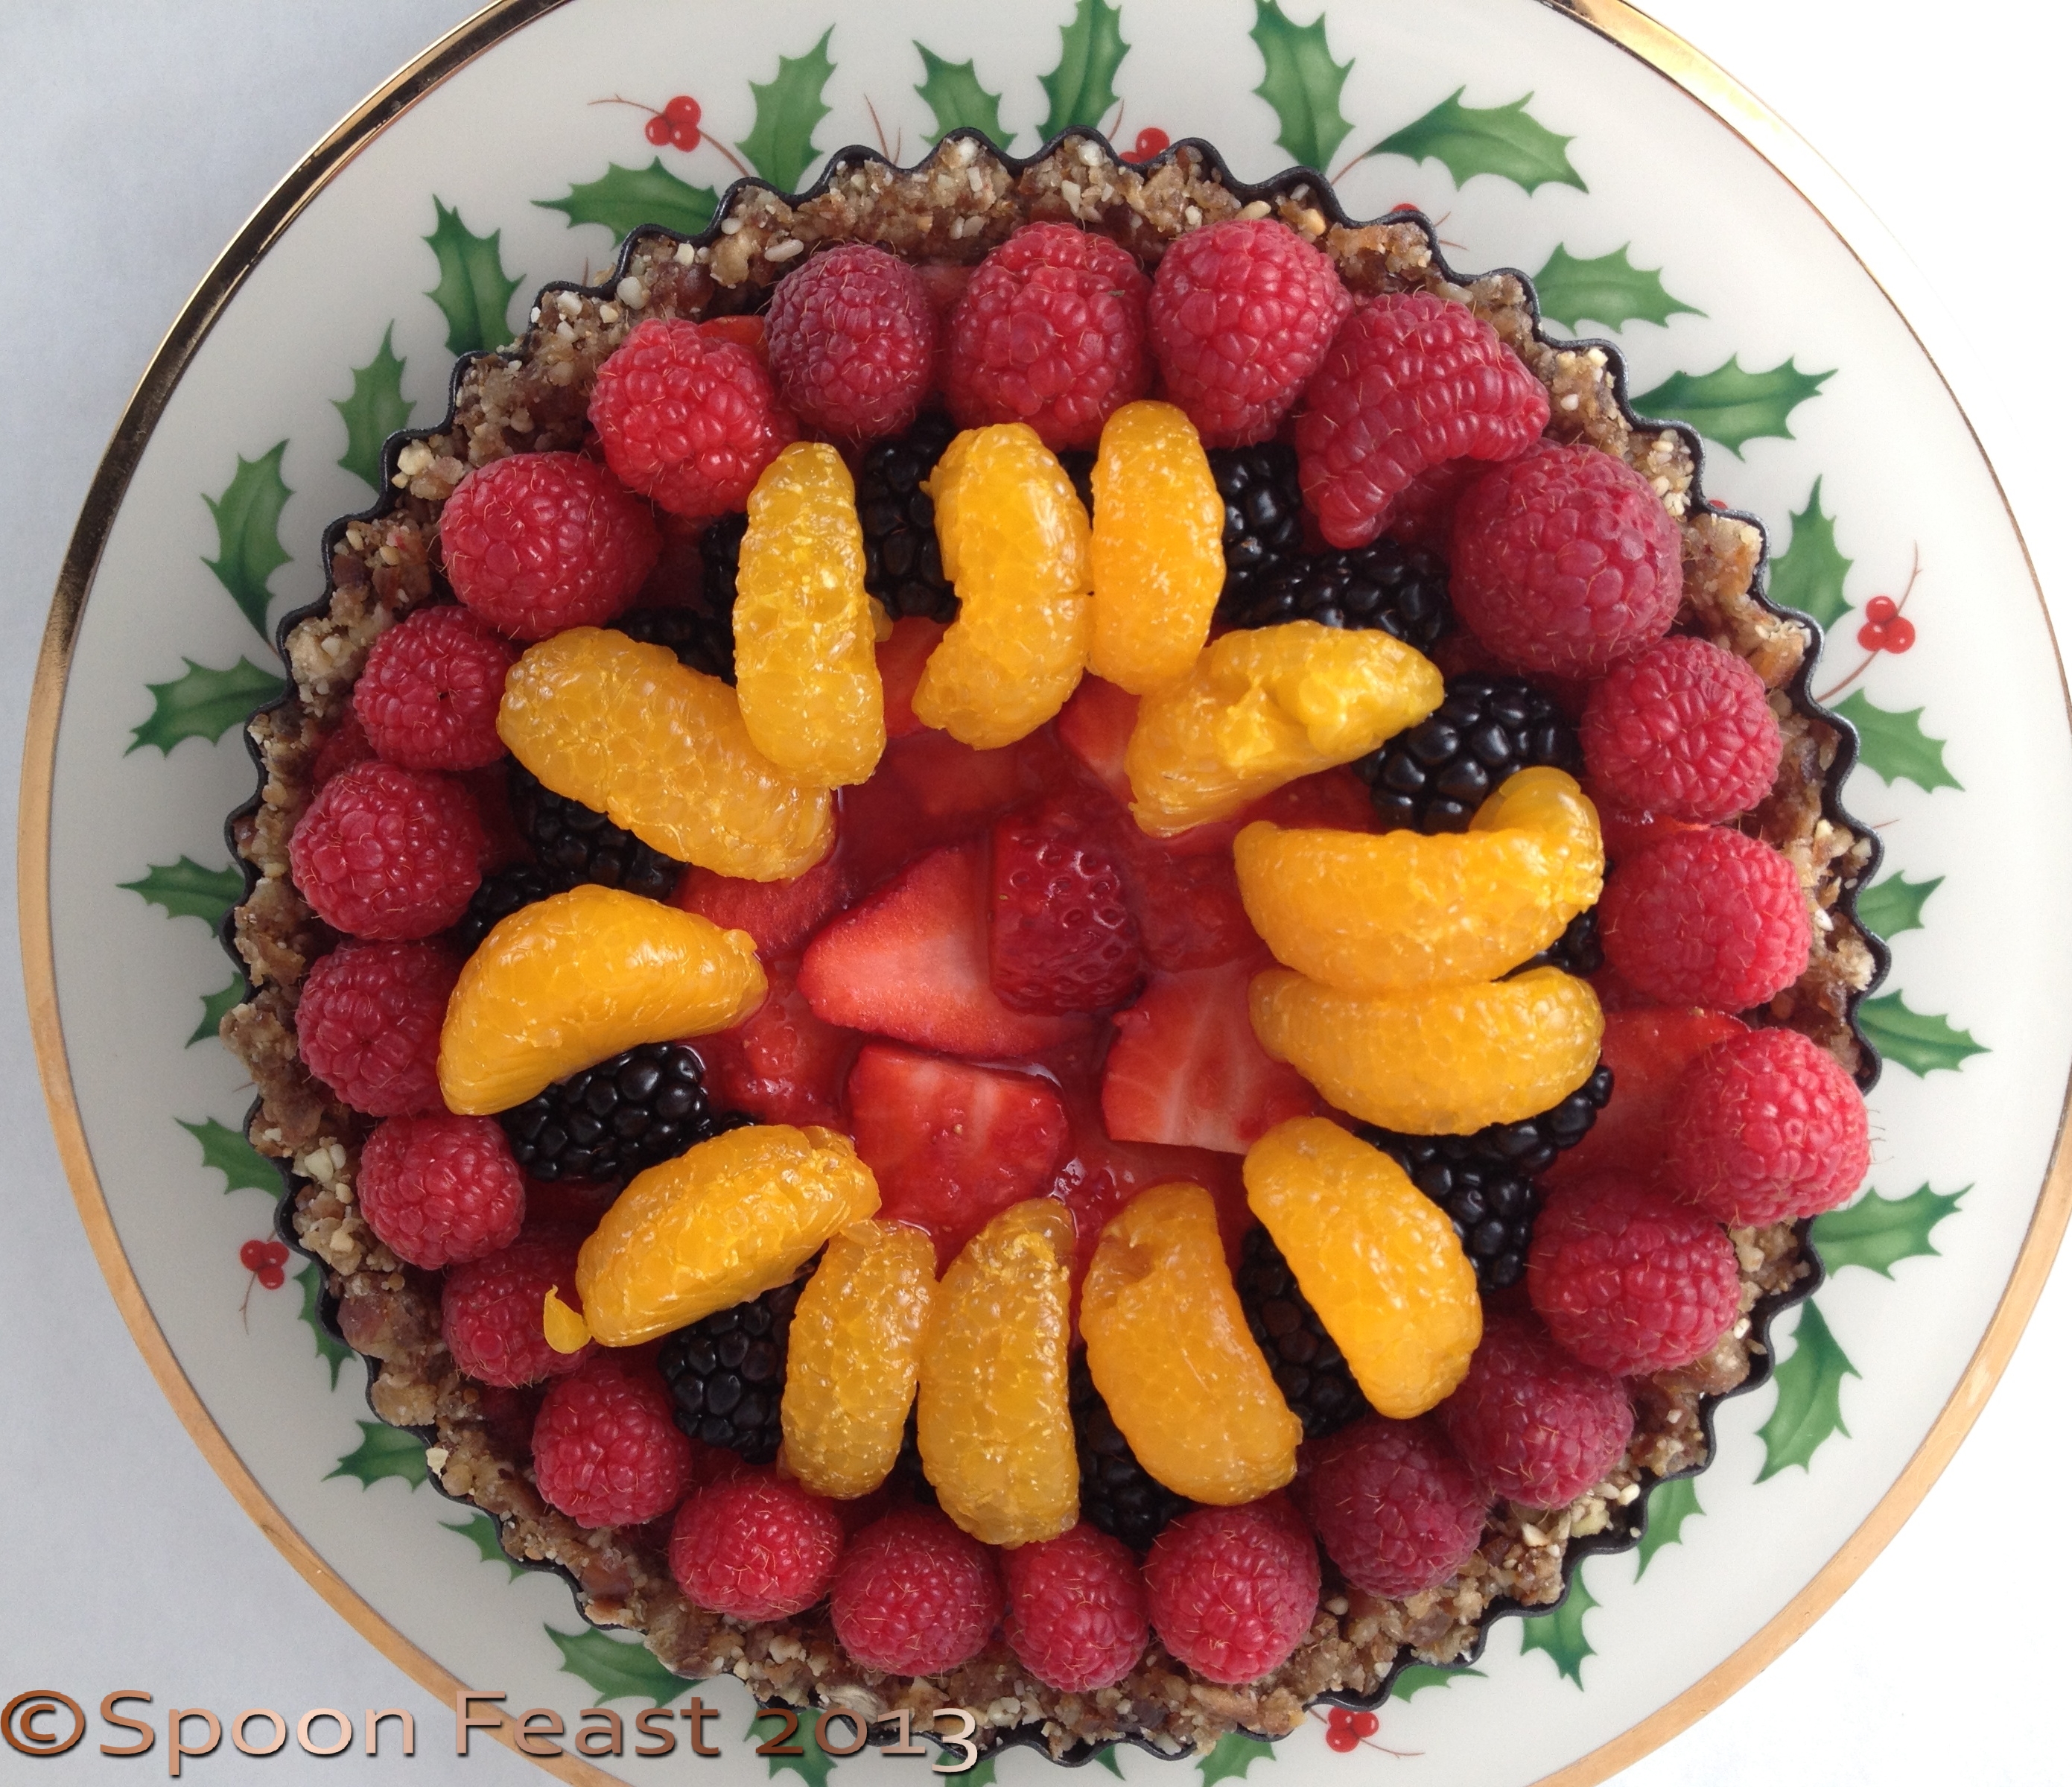
The second Nut Crusted Fruit Tart
This is how we changed it.
For the Crust:
Keeping in mind the ratio is 1 cup dried fruit to 1 cup nuts, the possibilities are limitless!
This time we used:
- 1/3 cup almonds
- 1/3 cup pecans
- 1/3 cup pistachios
- 1/2 cup dates
- 1/2 cup dried cranberries
- 4 pitted prunes
- 1 Tablespoon vanilla extract

Look at that crust! I love how the cranberries and pistachios look!
This made a beautiful crust! Just process it all in a food processor and press it into your pan. The consistency should hold together when your squeeze a bit of the mixture in your hand. If it doesn’t, add more dried fruit until it holds together.
Fruit Filling
This time we had a bit of each of these fruits on hand:
- Mango
- Strawberries
- Blueberries
- Blackberries
- Raspberries
- Bananas
This time I photographed how to lay in the bananas.
Tyler asked if the bananas could be substituted but the role they play is to provide a nice base for the fruit to lay on also, to absorb some of the juices. The bananas also mimic the custard, pastry cream or marzipan filling on traditional fruit tarts. Here’s how you lay the bananas in the pan.

Flatten the bananas into the pan, cut side down.
We were short on strawberries for the puree, so we pureed a mango instead. I think kiwi puree would look amazing!
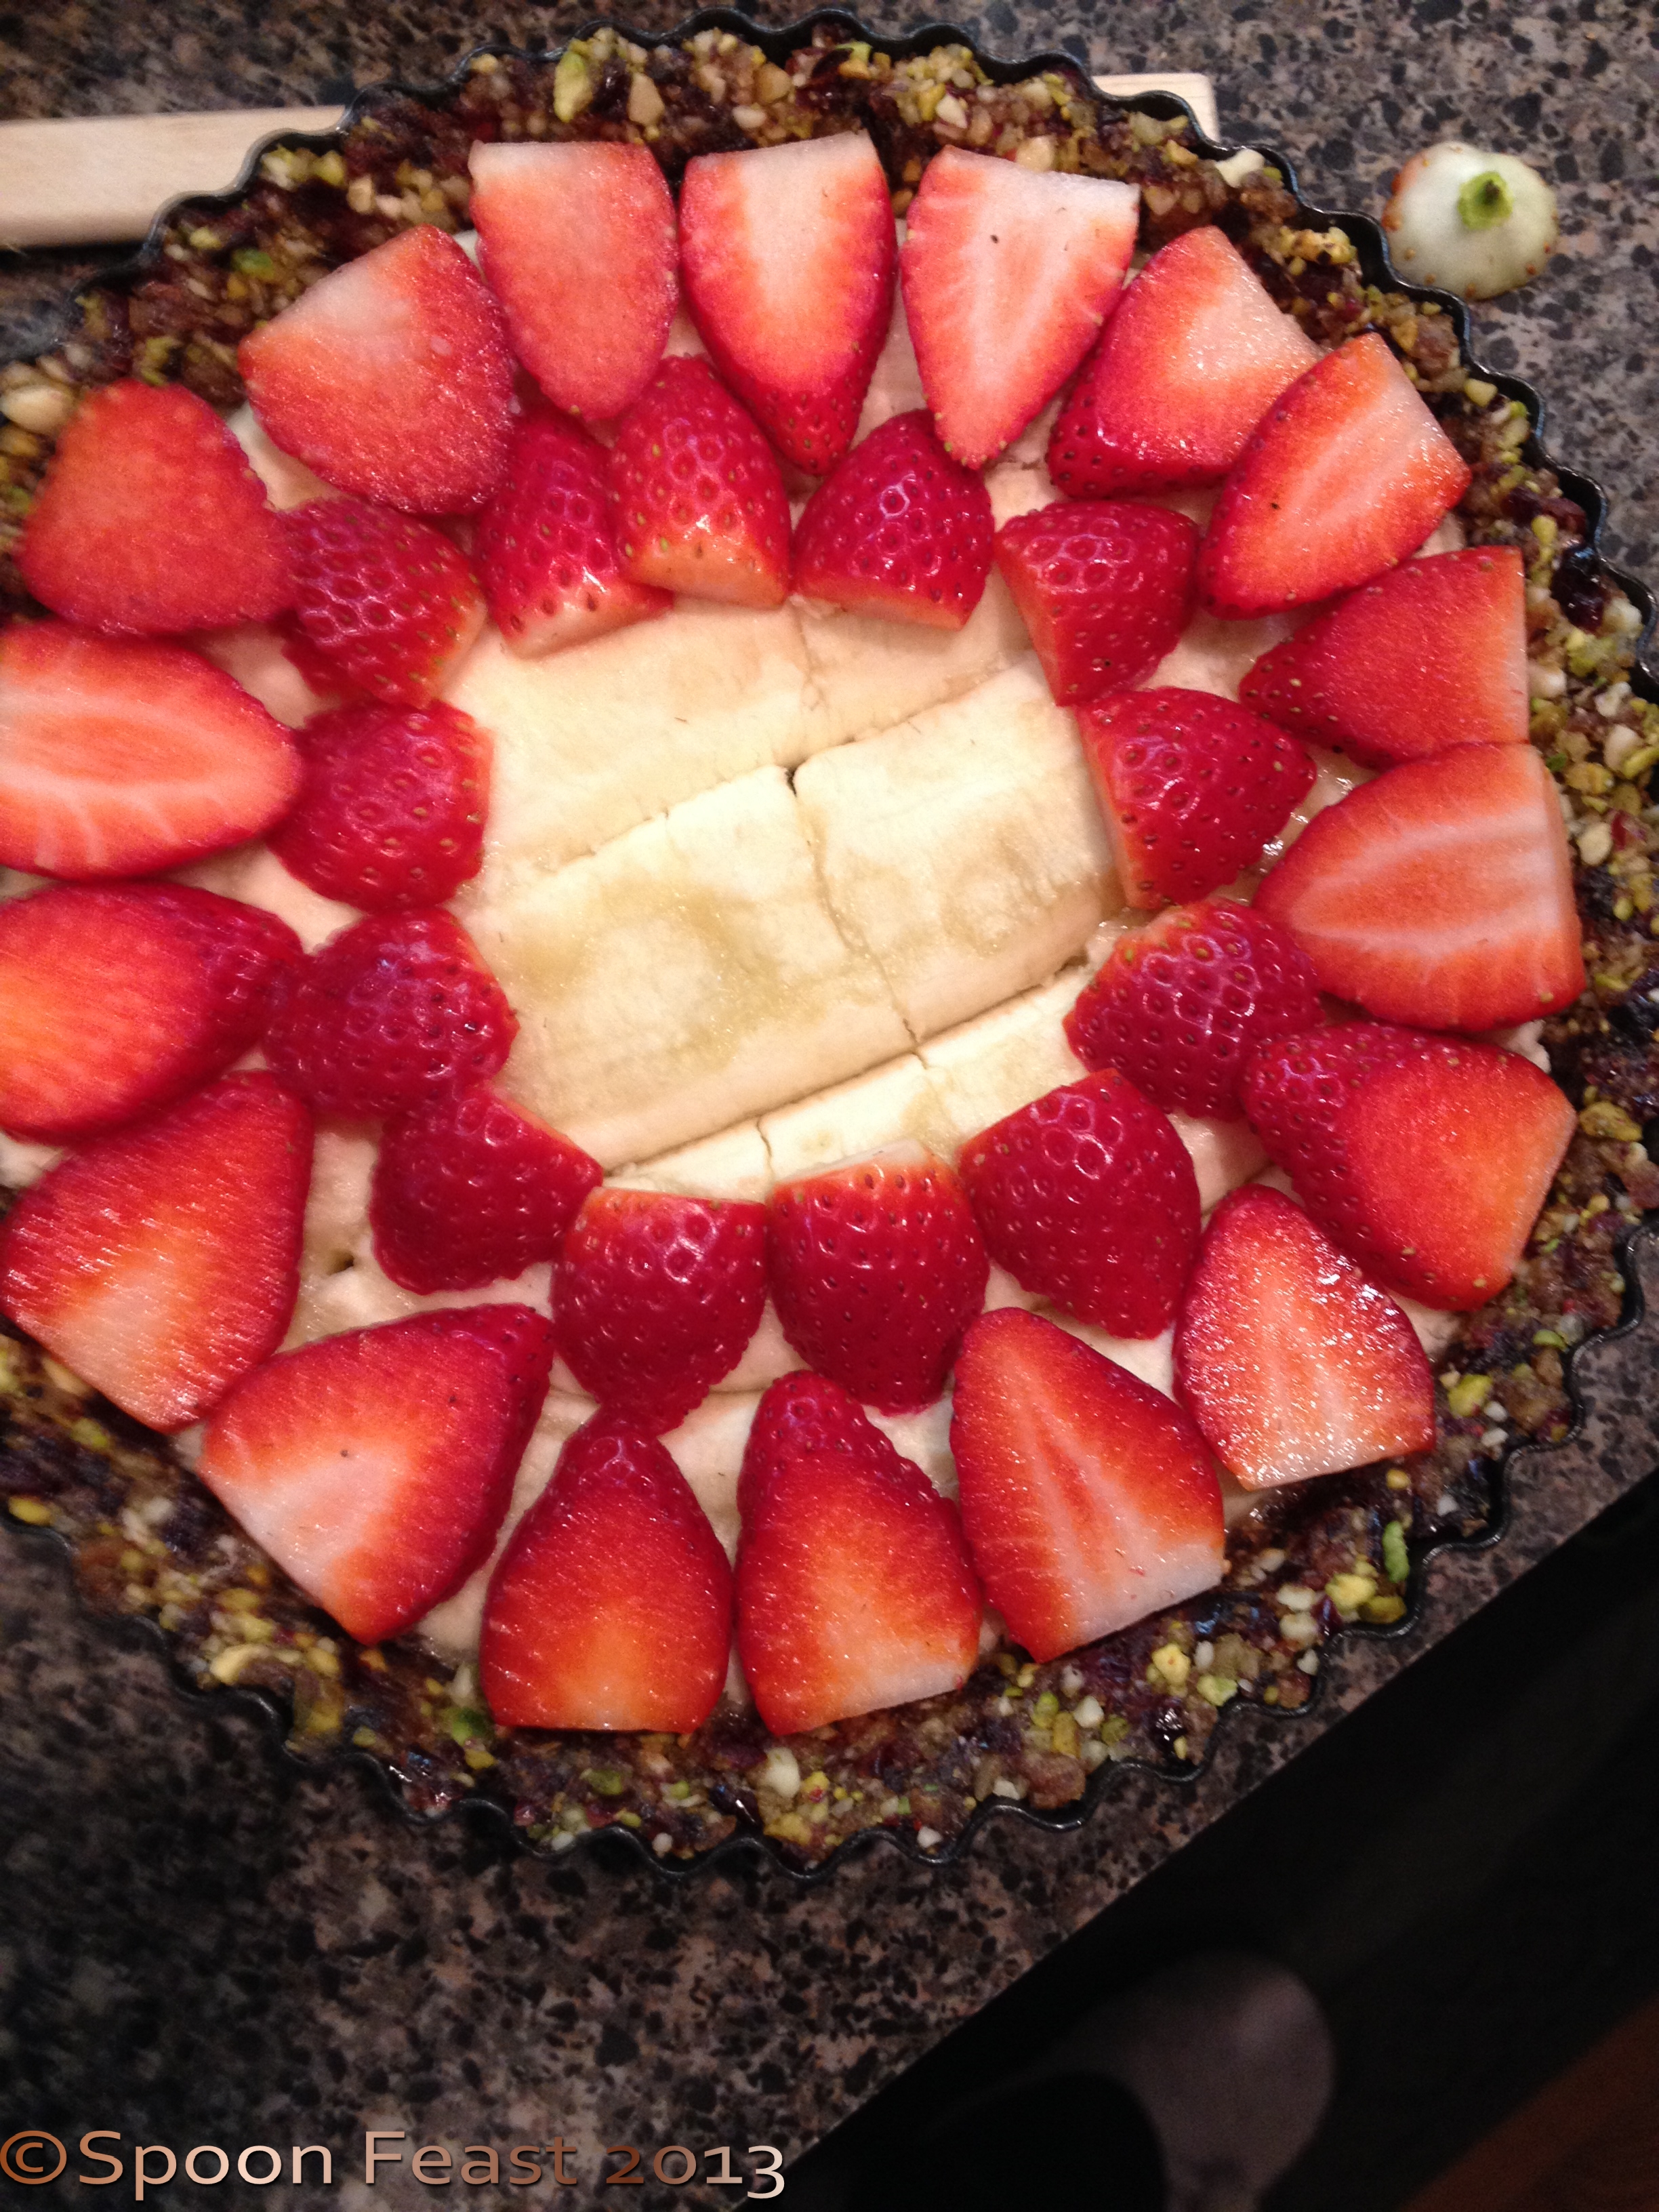
Place strawberries on top of the bananas

Add the puree the edge with raspberries and blackberries
On top of the bananas, we placed sliced strawberries, then poured the mango puree over the top of the tart. Then we placed raspberries and blackberries around the edge, a ring of blueberries, then a ring of blackberries, leaving the center open to show the brilliant mango color in the center.

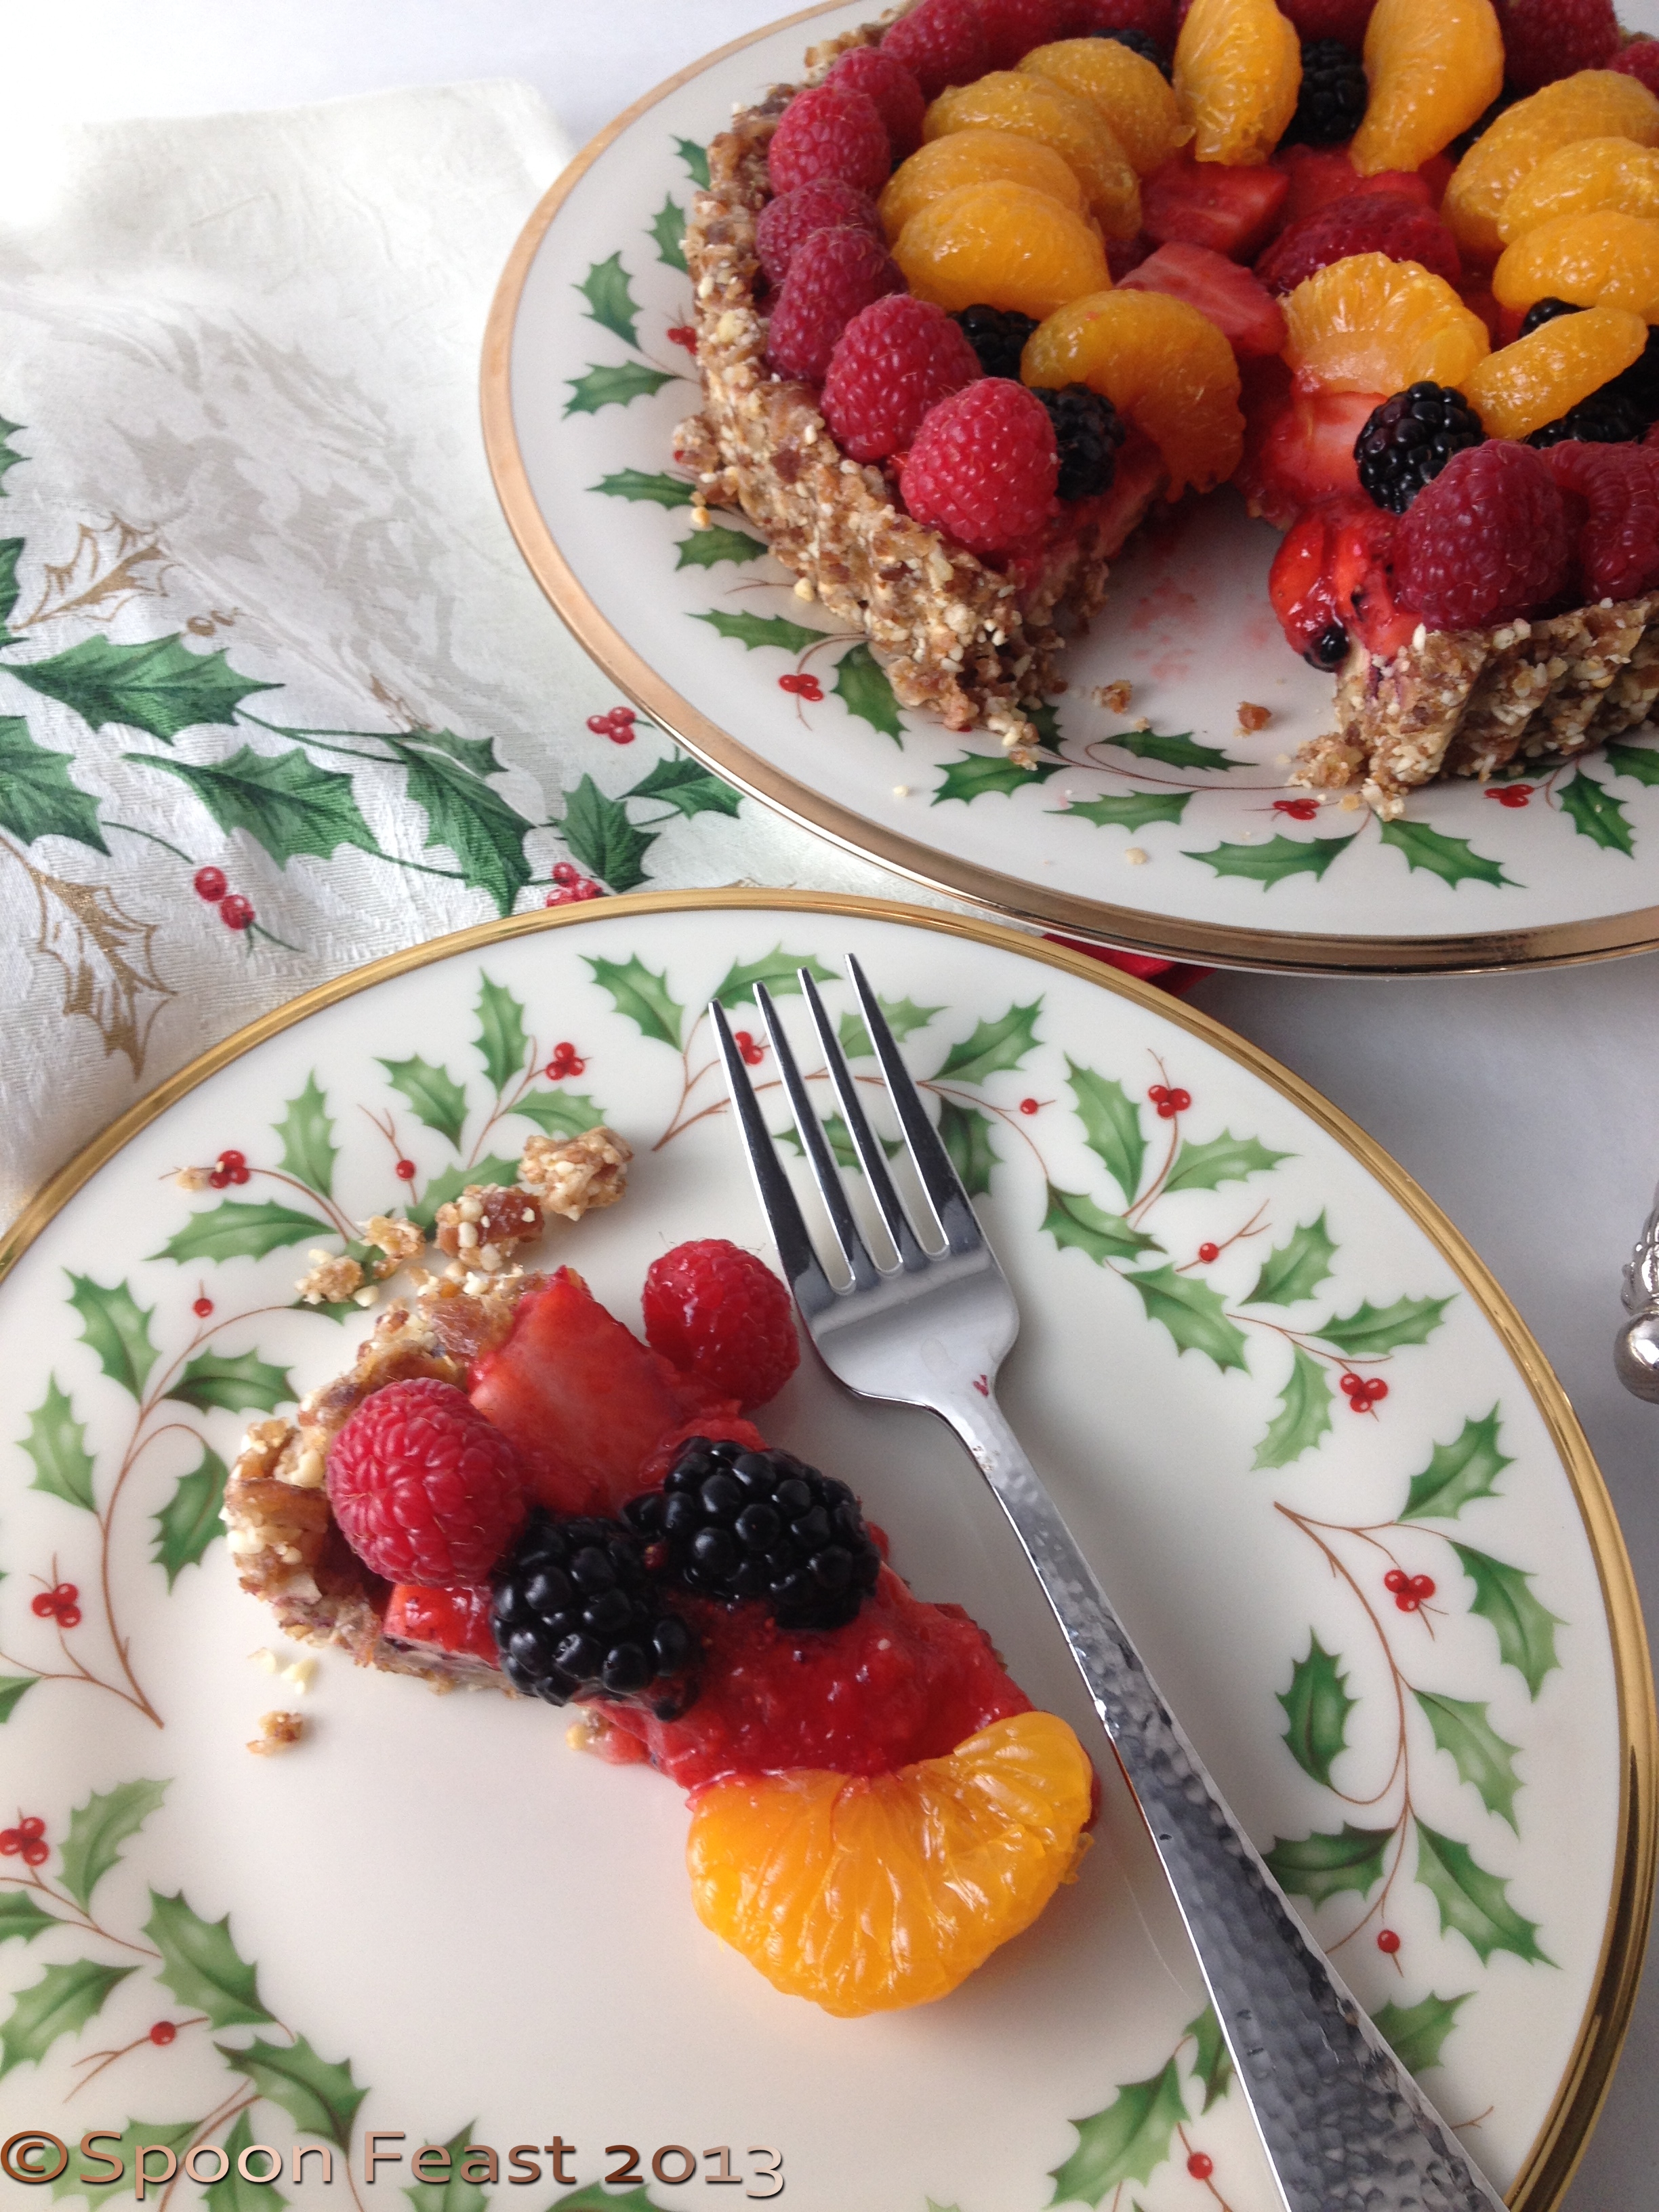
A nice slice!
To maintain a healthy dish, instead of adding that tempting dollop of whipped cream, use Greek yogurt flavored with honey and vanilla instead. And if mint was growing outside now, I’d also add a mint leaf or two.
Here’s the thing about this tart:
No cooking! All you need to make this is a knife, cutting board, a food processor large or small, a tart or pie pan.
Since Tyler is moving back on campus next semester, he will use his Kitchenaid “Handy-Chopper” which is a nice small convenient unit.
Tyler has decided to use this as his signature go-to dish. I think his roommates will be impressed.

Nut crusted Fruit Tart with Mango Puree
Related articles
- Nut Crusted Fruit Tart (spoonfeast.com)