
I nearly choked when I saw how many months have passed since I did one of Celia’s In My Kitchen Posts! Since this happens to be a long weekend in the US, I’m making time to do one this month.
Here goes!
In my kitchen this summer, is an egg plate that holds 6 deviled eggs. I loved the small version. Now Robert and I can have deviled eggs without having to make a whole dozen just to fill up the plate. (Yeah, I’m obsessive like that) I think it’s funny how the depressions in the photo have the optical illusion of being convex rather than concave.

I’ve been pickling up a storm this summer.

Vegetables ready to pickle!
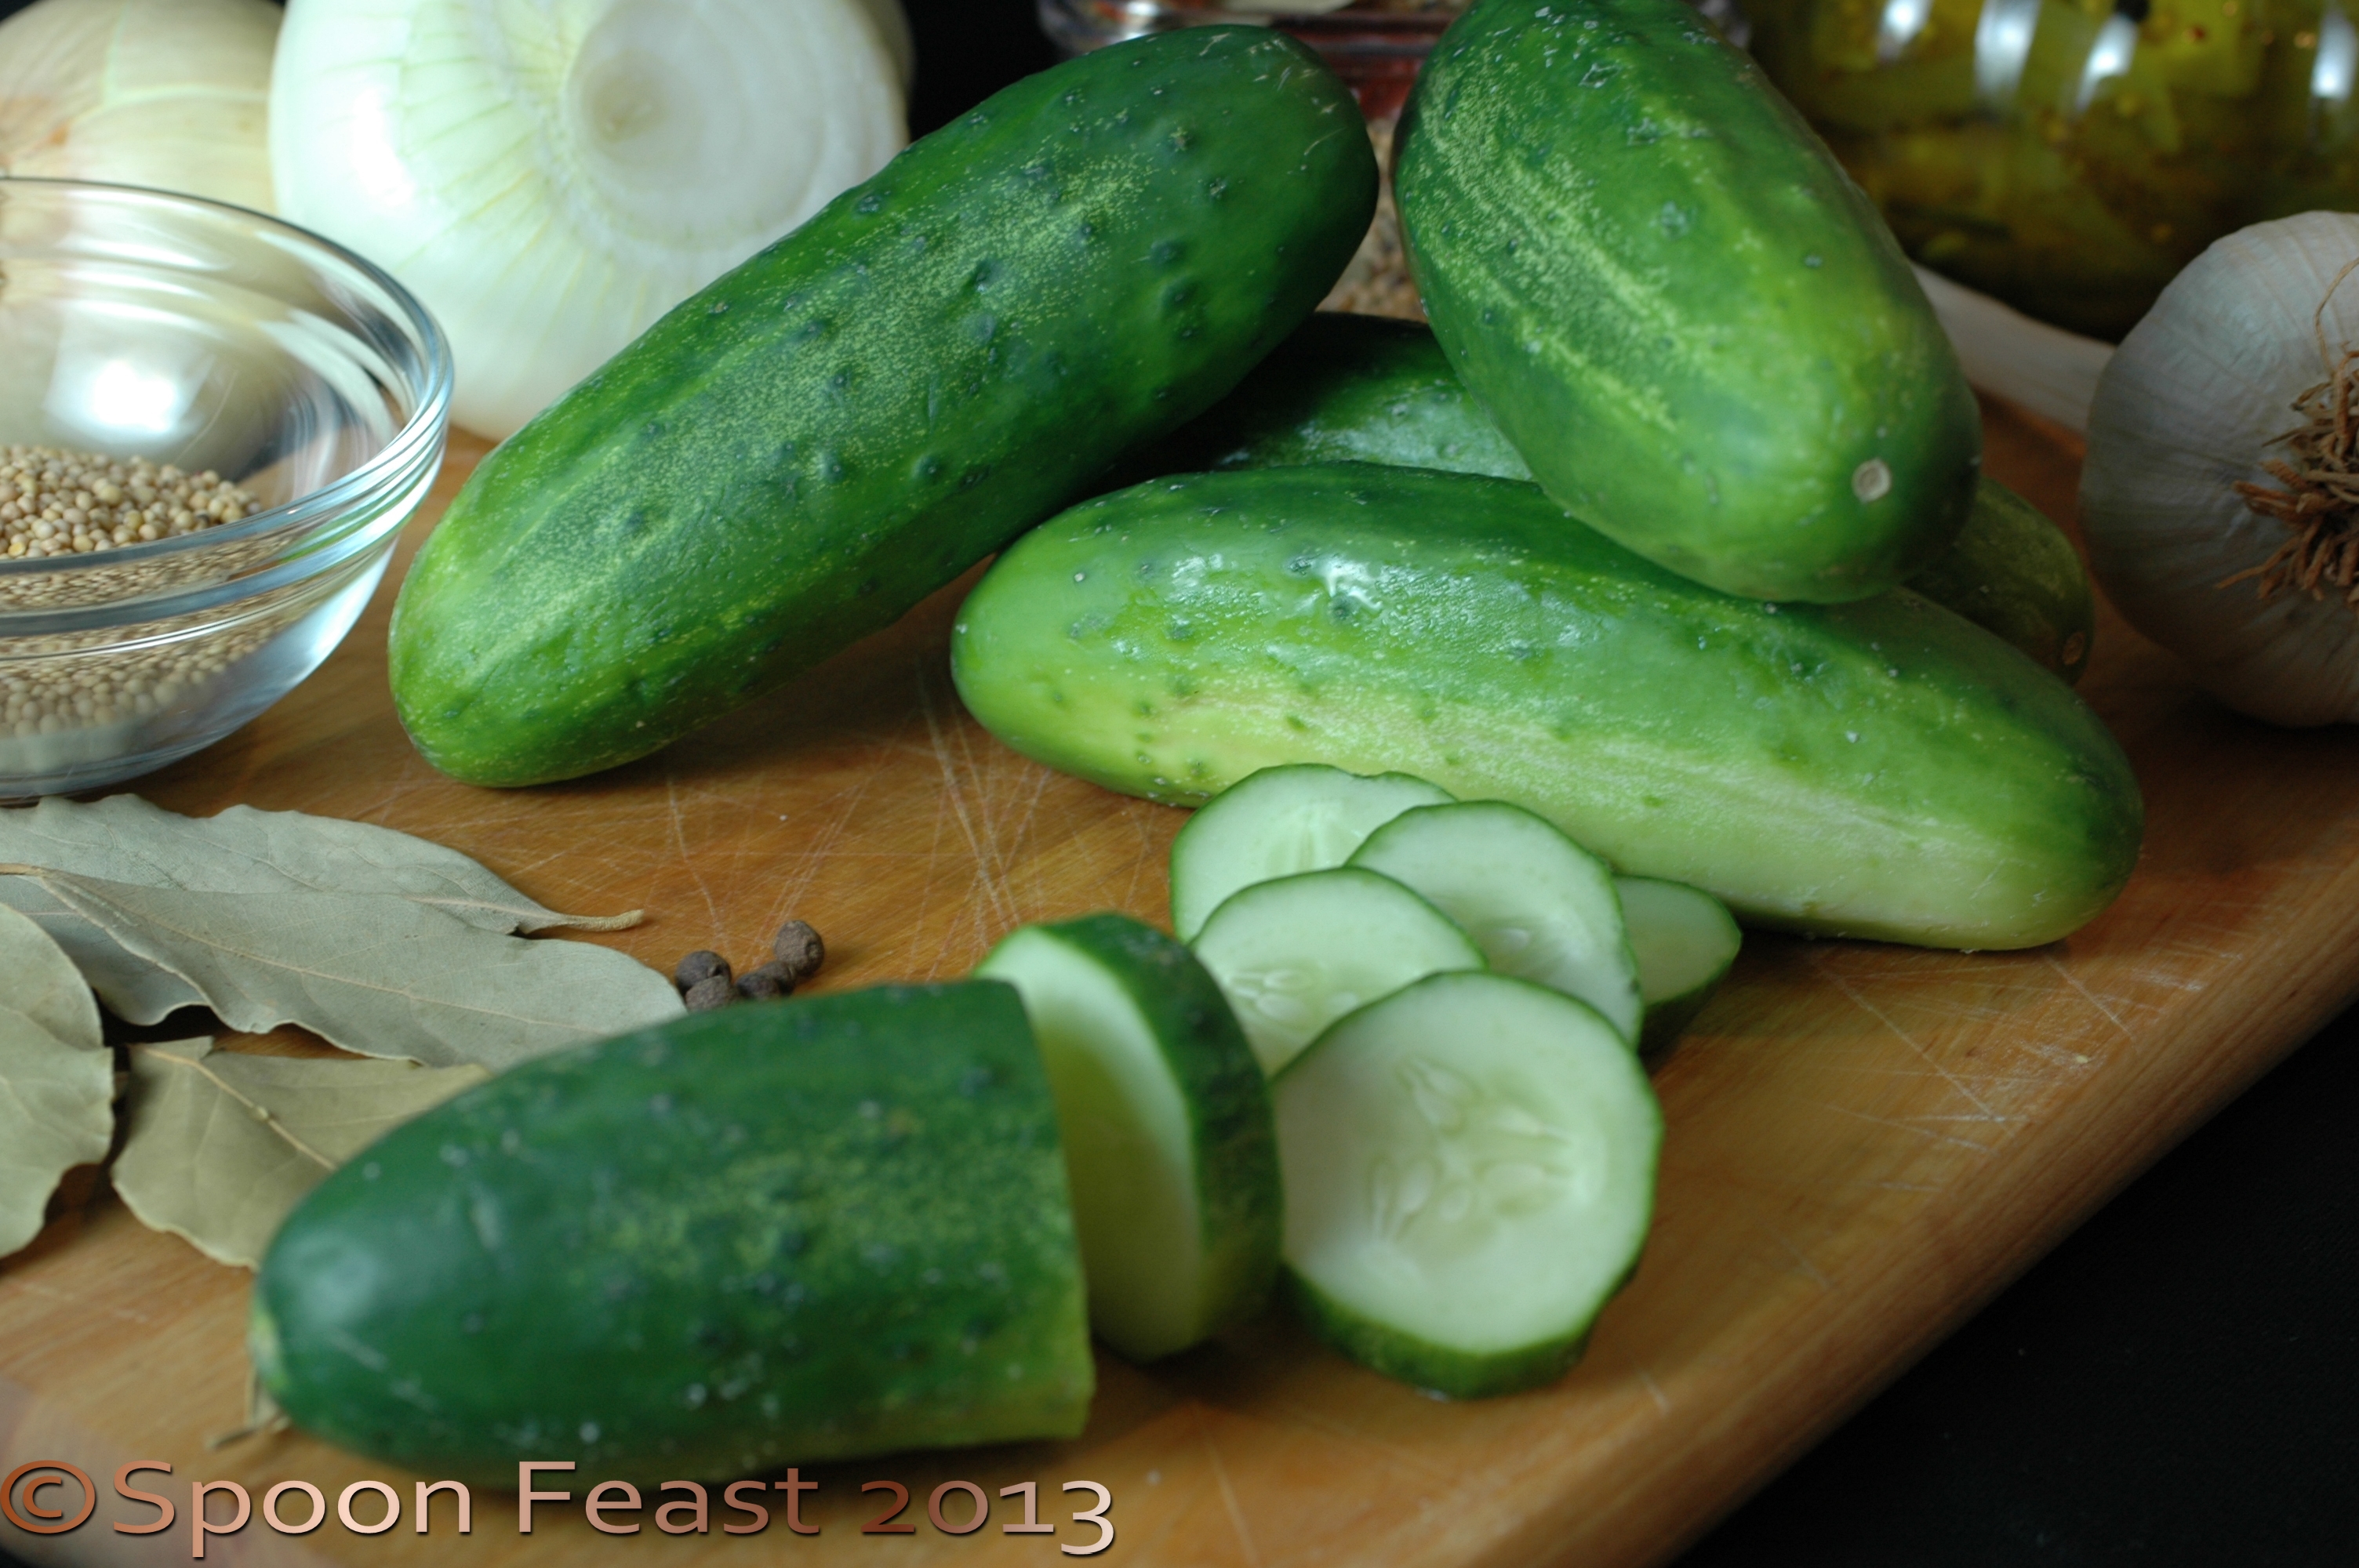
Pickling Cucumbers
I hope we have enough to last us this winter. I’ve made Sweet Pickle Chips, Half Sours, Dill Pickles, Pickled Cauliflower, Pickled Beets, Pickle Relish.
When I was done pickling, I made jams.

Simmering whole fig and lemon jam
Blueberry, Lemon and Thyme, Strawberry Basil Balsamic and Whole Fig and Lemon.
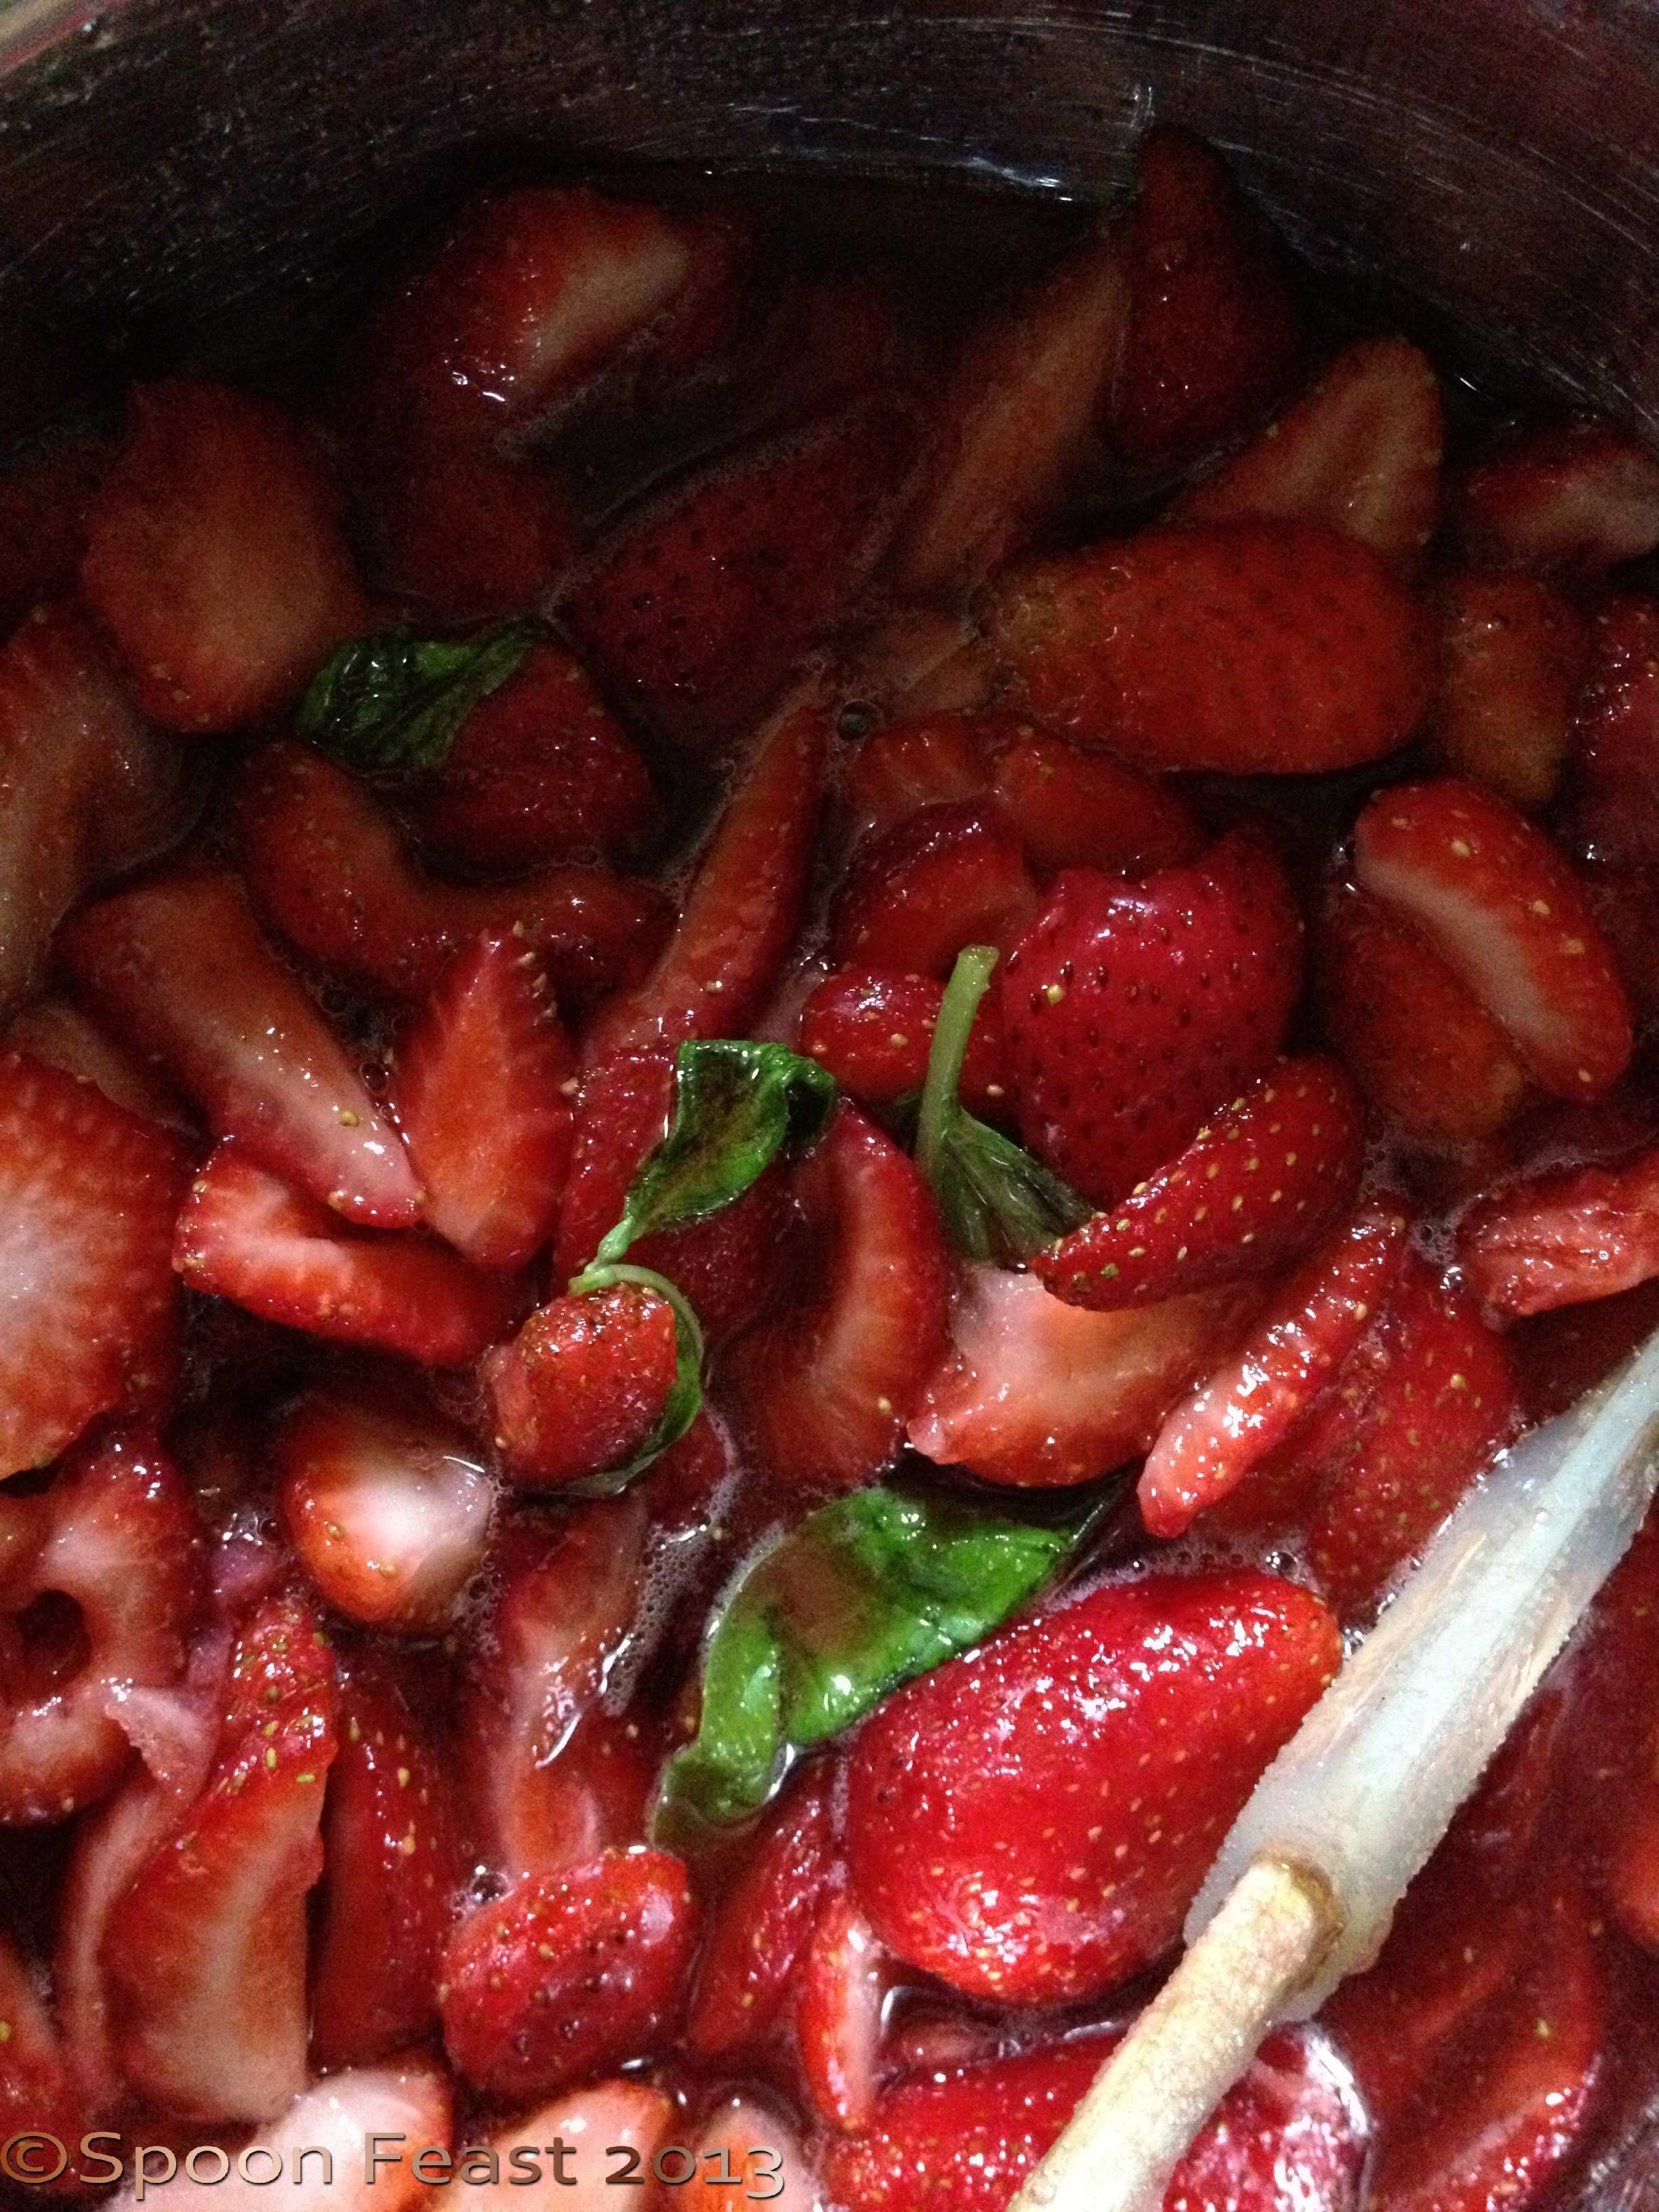
Strawberries and basil

Blueberry, Lemon and Thyme Jam
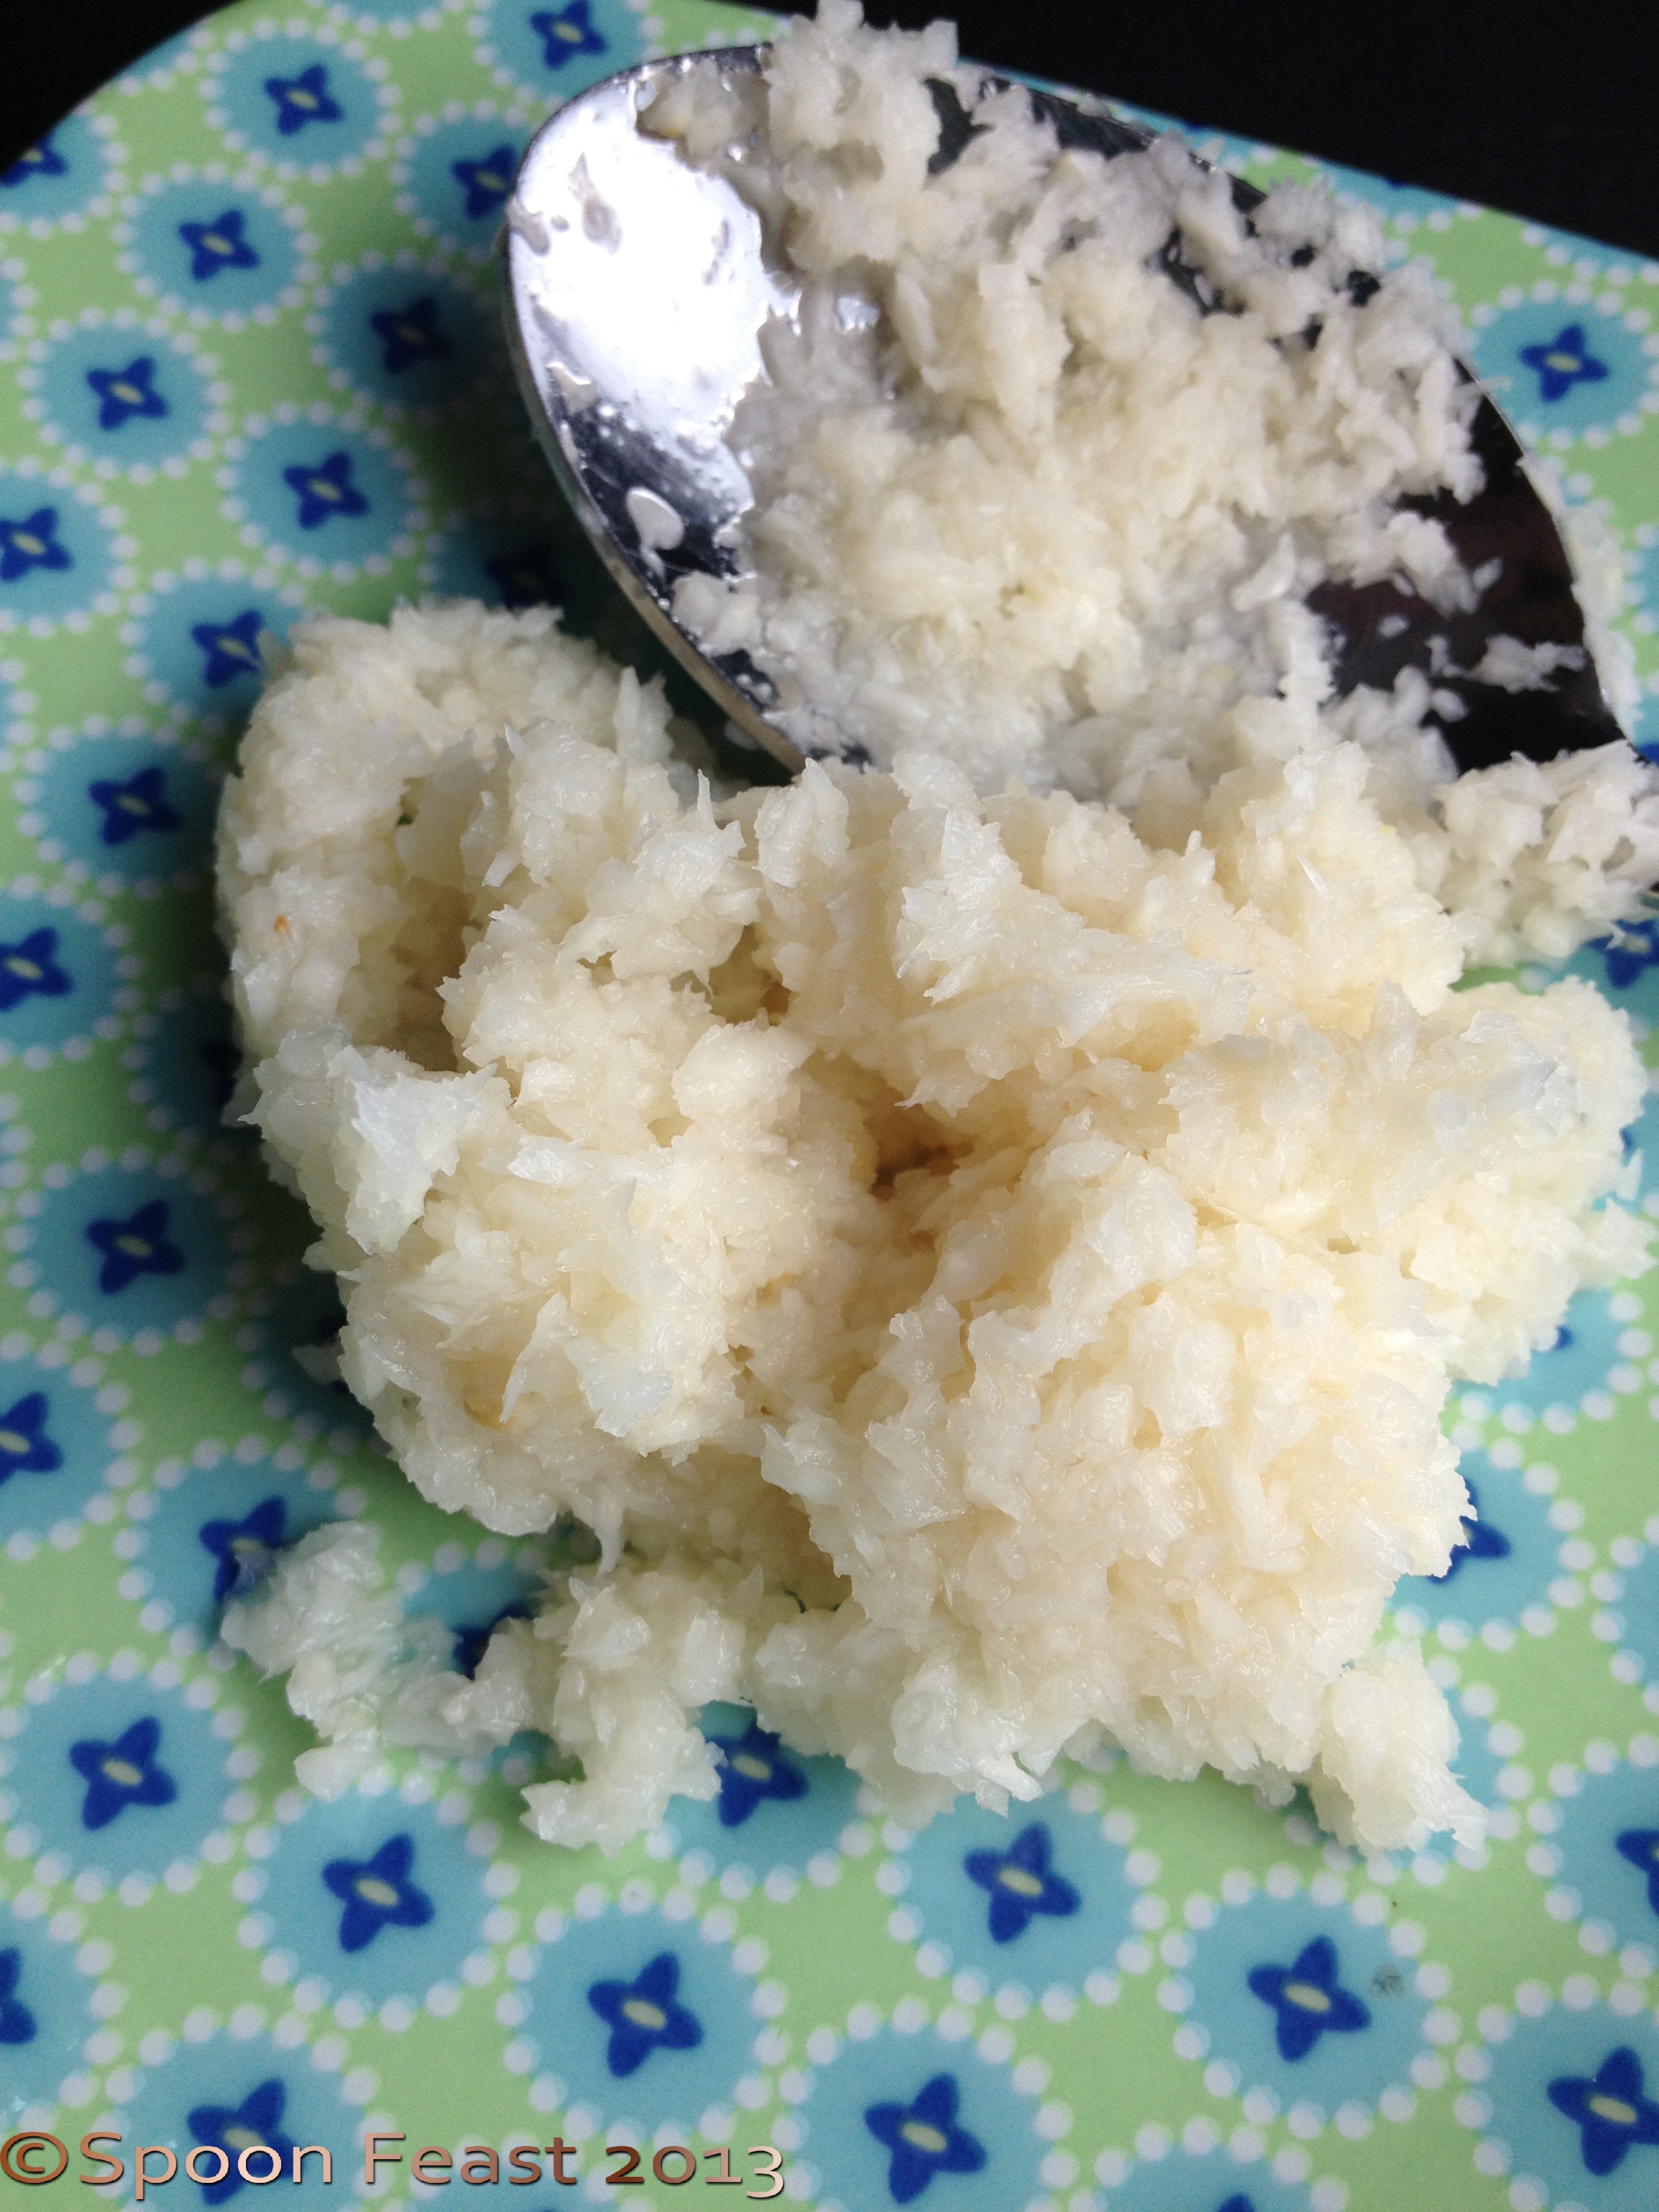
These two were also in the jam batch: Peach, Pepper with Ginger, and Mint Jelly. I used natural pectin by using grated apple peel.

Grate apple peel for pectin
While the canner was out, and to take advantage of 4 gallons of boiling water, I also threw together a batch of Heirloom Tomato Salsa, Homemade Ketchup, and Dijon Style Mustard and our own processed Horseradish.

Horseradish Root. See the sprout on the end? It sprouted so now it’s growing in the garden. In a pot since I understand it spreads and is hard to control. I just cut the sprouted bit off, stuck it in some dirt and before too long it grew.
Processed Horseradish, for the perfect Bloody Mary! I love horseradish on most any protein with a squirt of fresh lemon

Homemade Condiments
The “PING!” of cooling jars seemed to be non-stop for several days.
Now I have to find somewhere to store all these jars!
I found this great bowl and sauce server in the cabbage Leaf patters by Majorca Ware; I just love it!
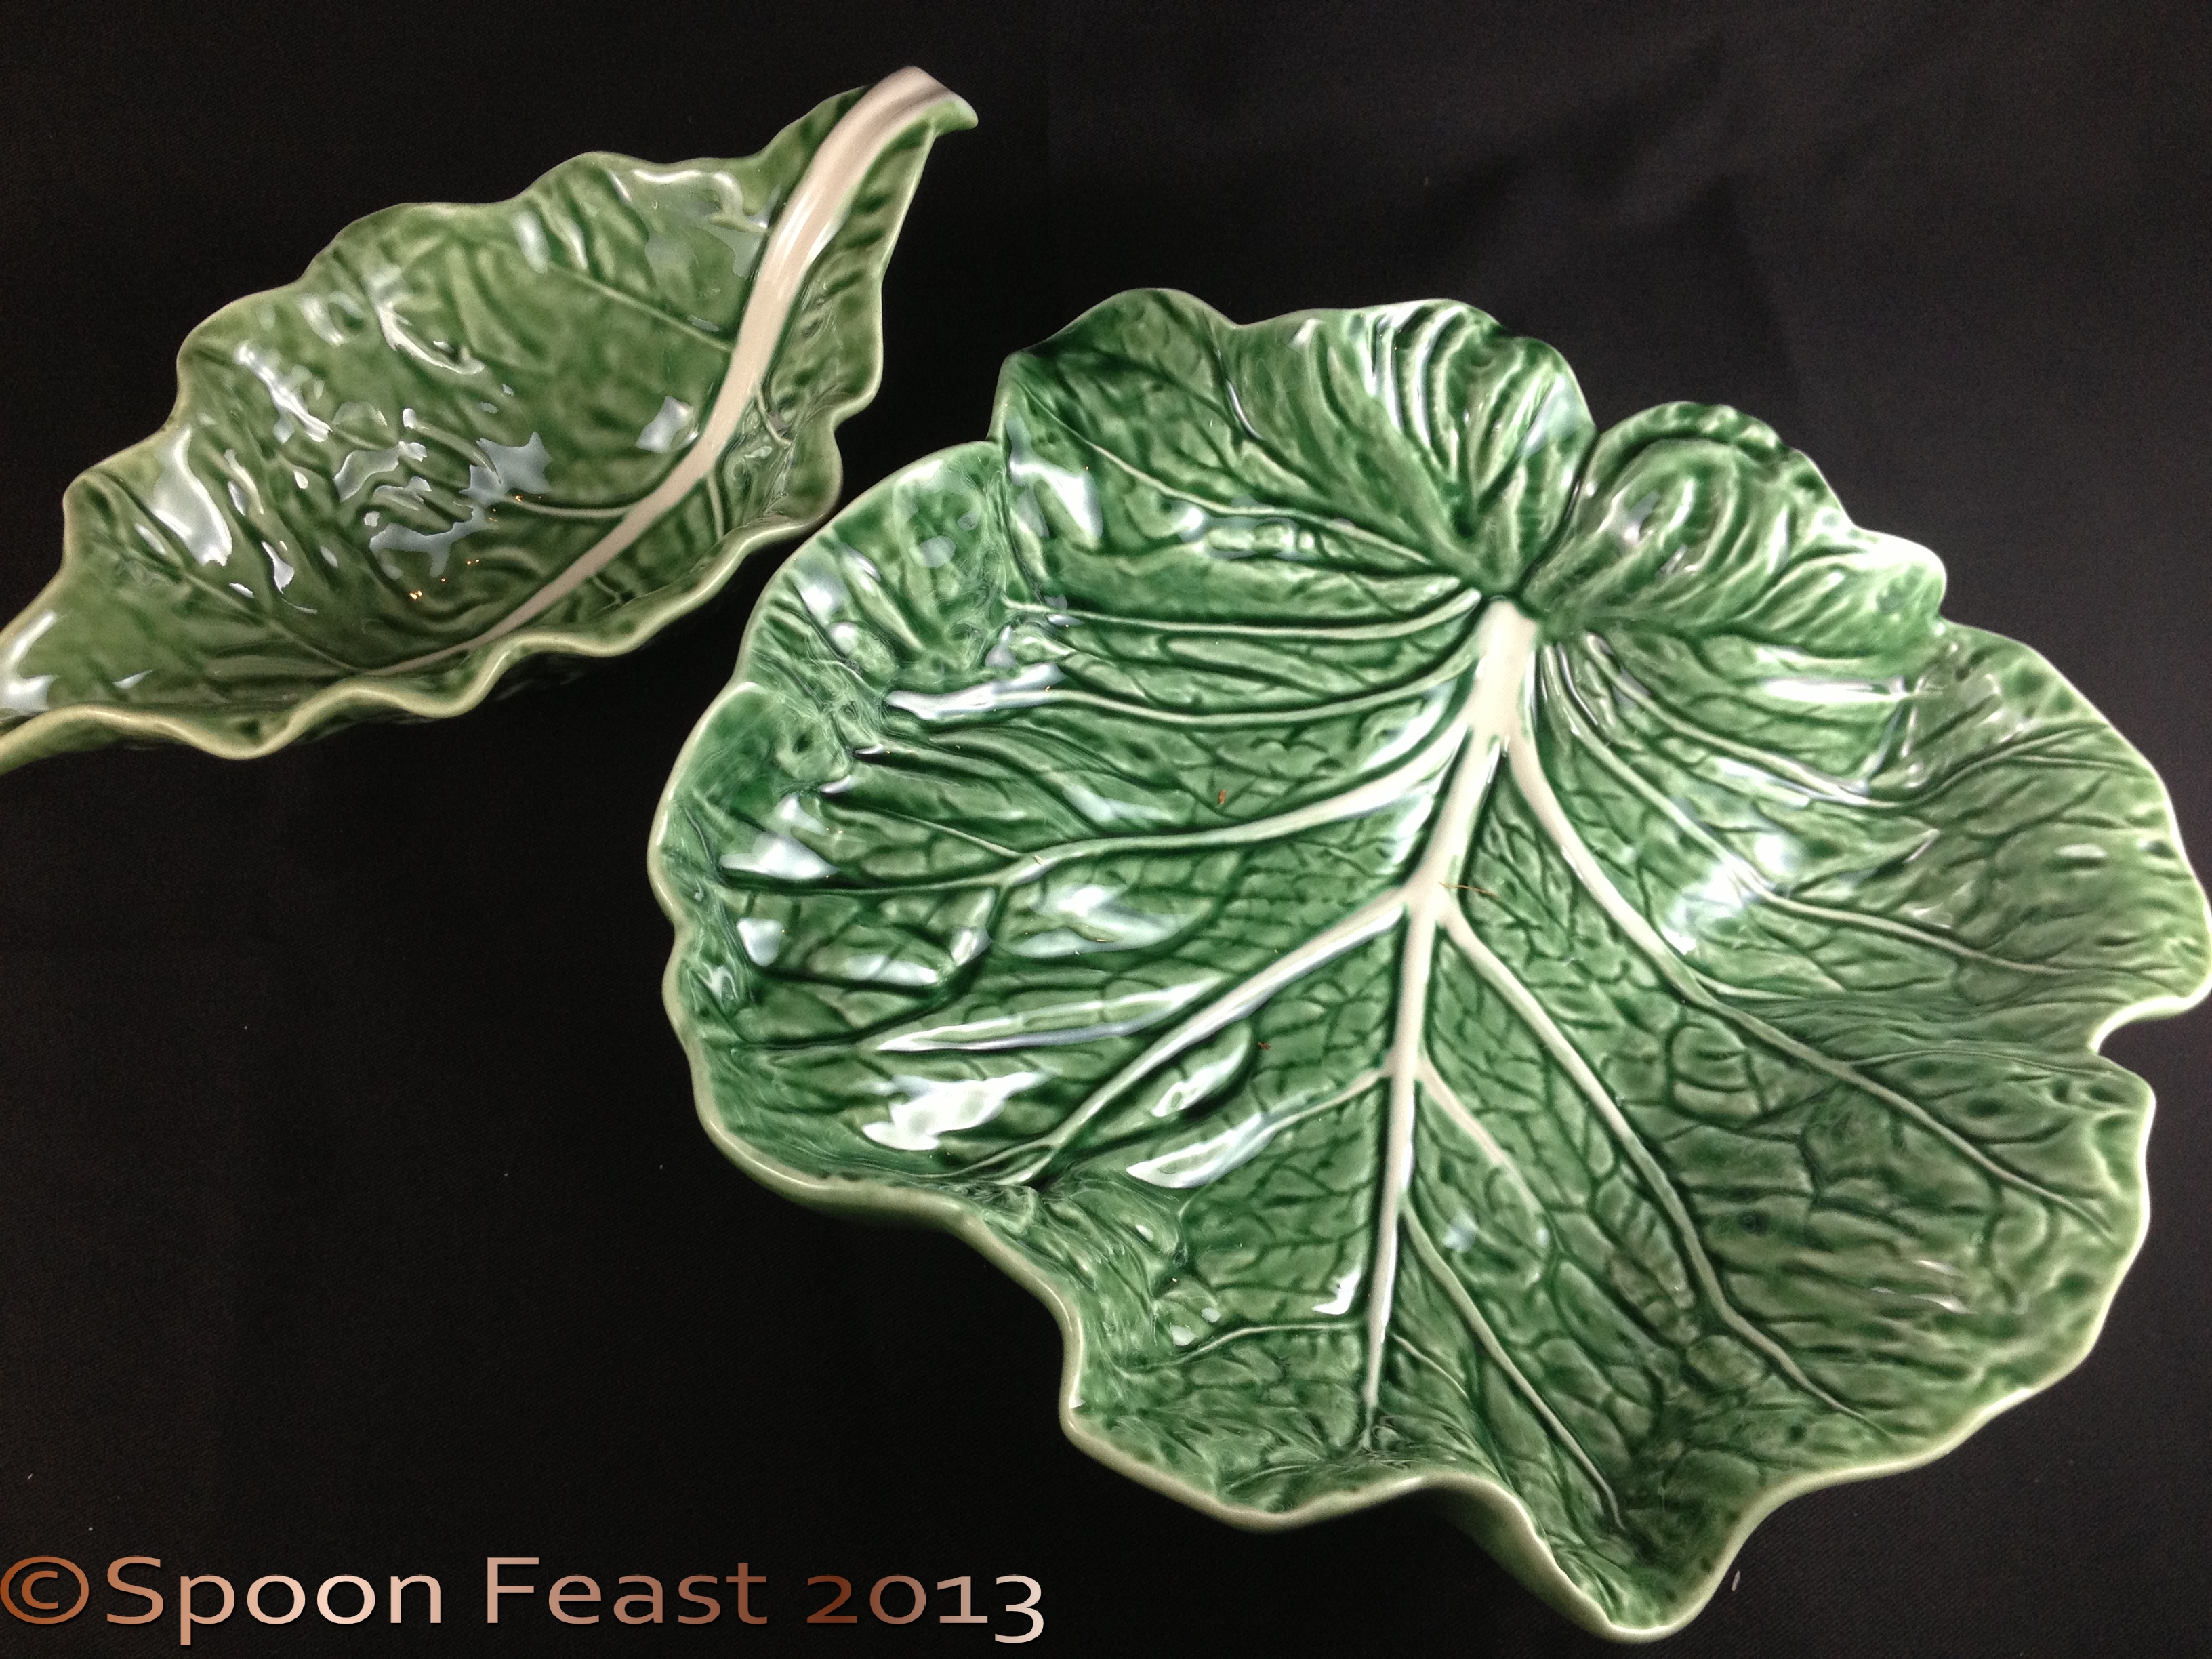
Cabbage Leaf bowl and Sauce Server
What’s happening in your kitchen?

Sweet Pickle Chips


