Here is a 20 minute video of how to make a crown roast for the upcoming holiday meal. Enjoy!
#crownroast #crownroastofpork #crownroastoflamb #holidaymeal #delicious

Here is a 20 minute video of how to make a crown roast for the upcoming holiday meal. Enjoy!
#crownroast #crownroastofpork #crownroastoflamb #holidaymeal #delicious
Whether you call it Ketchup or Catsup, we all love vibrant tomato ketchup for one reason or another. I can’t imagine eating pot roast without it, and it is divine with burgers and fries.
Did you know you can make it at home? Leave all the preservatives, artificial flavorings, high fructose corn syrups, red dyes behind you and follow this recipe. This looks vibrant, tastes great and your friends and family will simply LOVE it! Best of all, you know exactly what is in the food you are serving.

This is one small way we can take control of our food and avoid GMO‘s, high fructose corn syrup and other hidden sugars, fats, salts and preservatives. Take a stand against Big Food and learn to make your own ketchup! It’s small, but it will have a very healthy effect of your family!
Combine the first four ingredients. Bring to a boil; remove from heat then set aside to cool.
Wash the tomatoes. Bring a large pot of water to a boil. Remove the core from the top of the tomatoes and cut a shallow X into the bottom end.

A “Tomato Shark” makes removing the blossom end simple and quick
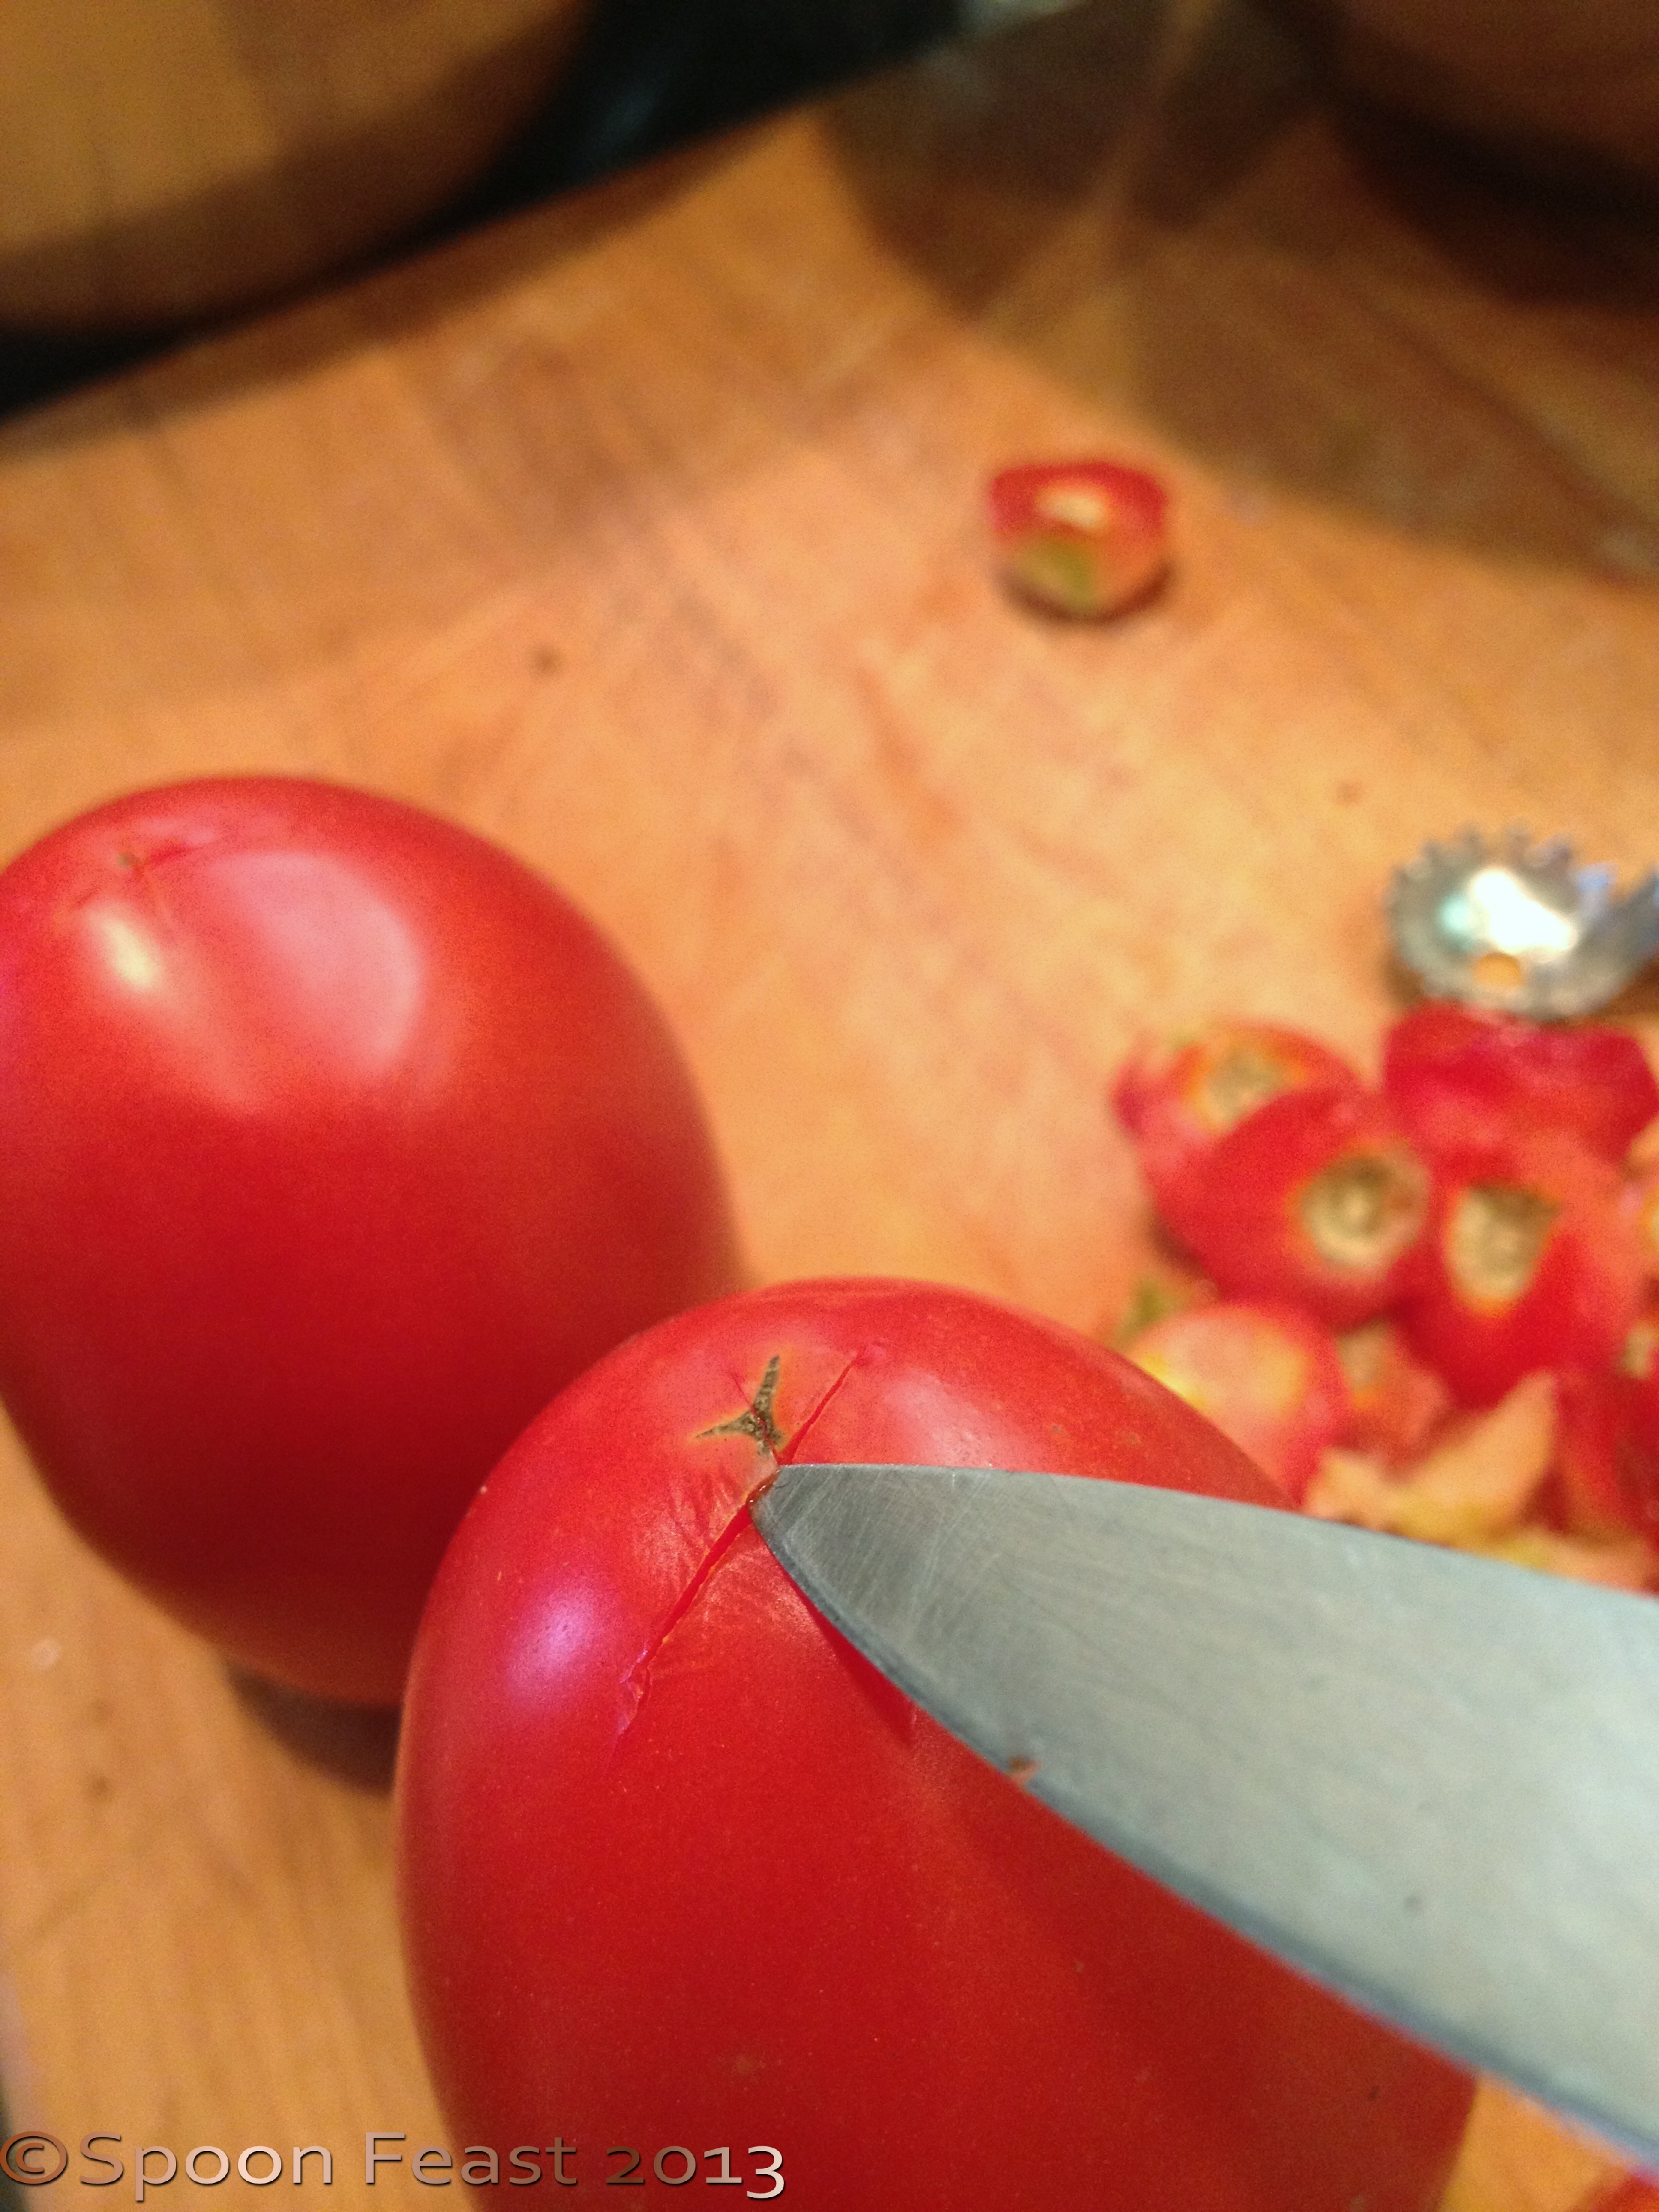
Scratch a shallow X on the bottom

The skin will split when ready, the more ripe the tomato, the quicker this happens.

When the skin splits, plunge into ice water to stop cooking.

Slip the skins off the tomatoes, cut and squeeze out the seeds.
Set a large bowl of ice water near the pot of boiling water. Place the prepped tomatoes into the boiling water. As soon as the skin splits, remove and place the warm tomatoes in the ice water to stop cooking.
Slip the skins off the tomatoes. Slice them in half around the center of the tomato, not from top to bottom. Squeeze gently to remove all seeds. Do this over a strainer that is over a bowl to catch the juices that come from squeezing the seeds out.
Cut the tomatoes in quarters. Combine half of the tomatoes with ½ cup sugar, onion, garlic and cayenne pepper in a deep stainless steel pot. Bring to a boil and allow the tomato mixture to boil vigorously for 30 minutes, stirring often to avoid scorching.
After 30 minutes, add the remaining tomatoes and sugar and boil for another 30 minutes. At this point you will need to stir it often as the mixture gets thick.
Strain the vinegar and discard the spices. Add the spiced vinegar to the boiling tomato mixture, stirring constantly for 15 minutes or until the desired texture is reached.
Test the consistency by placing a small amount of the ketchup on a small plate. There should be no watery run off. If there is, keep cooking.
For smooth ketchup, puree using a stick blender, or use a blender to puree the hot mixture. Bottle the hot mixture in sterilized jars or another non-reactive container.
Store under refrigeration unless processing in a water bath canner. An “Old Wives” trick is to wrap each jar in brown paper to protect the color during storage. Not necessary if you store the jars in the refrigerator.

A vibrant bowl of homemade ketchup
I made Fresh Goat Cheese!
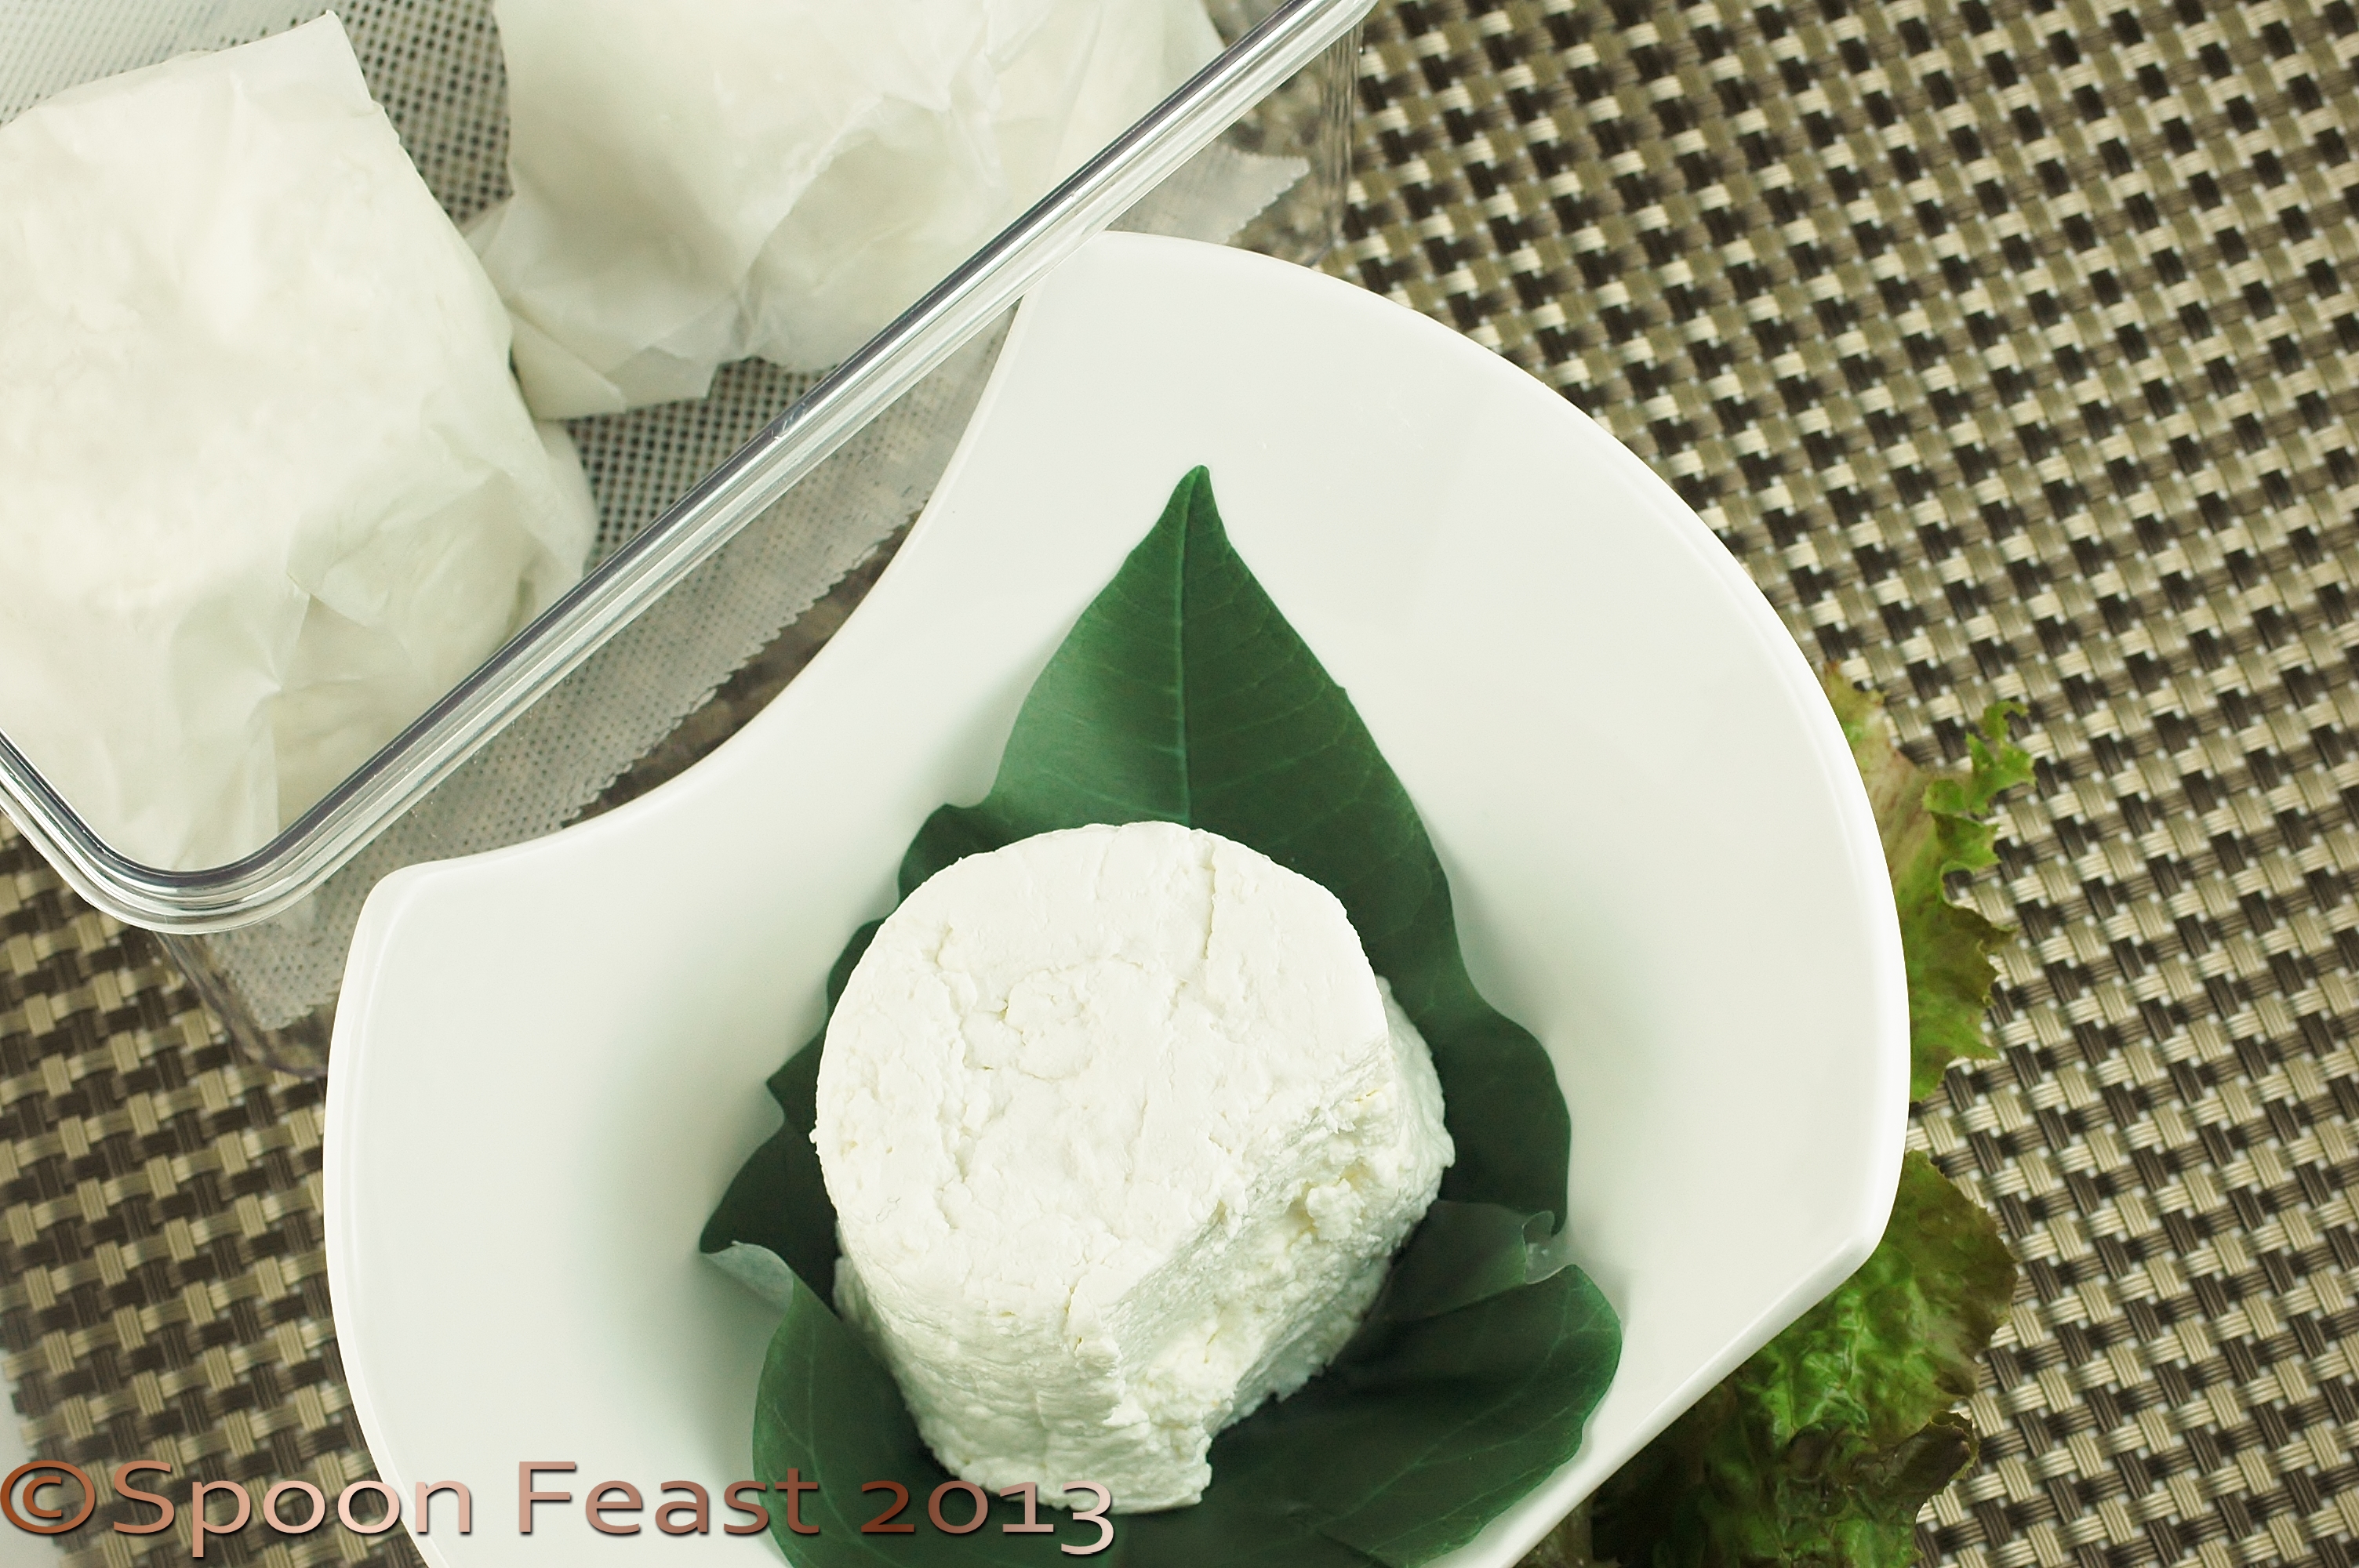
Fresh Goat Cheese!
Actually I was surprised at how quick and easy it actually was to make. Having the right equipment and getting good milk are key.
I get most of my supplies from The New England Cheese Making Supply which is a great resource for everything cheese.
Ever since I returned from the cheese making workshop a few weeks ago, my hands have been looking forward to getting into some milk.
First I had to find a source for good, clean, fresh goat milk for goat cheese and I still need to source Jersey cows for their milk for other cheese. For now, I have goat!
I LOVE the “barnyard” flavor of a strong goat cheese. While in France, I fell in love with Pouligny St. Pierre goat cheese which is a creamy smooth aged amazing bit of heaven to put into your mouth. It is my goal and intention to make some of that here, but obviously with the “terroir” of North Carolina.
OK, so here’s how I made this batch of Fresh Chevre:
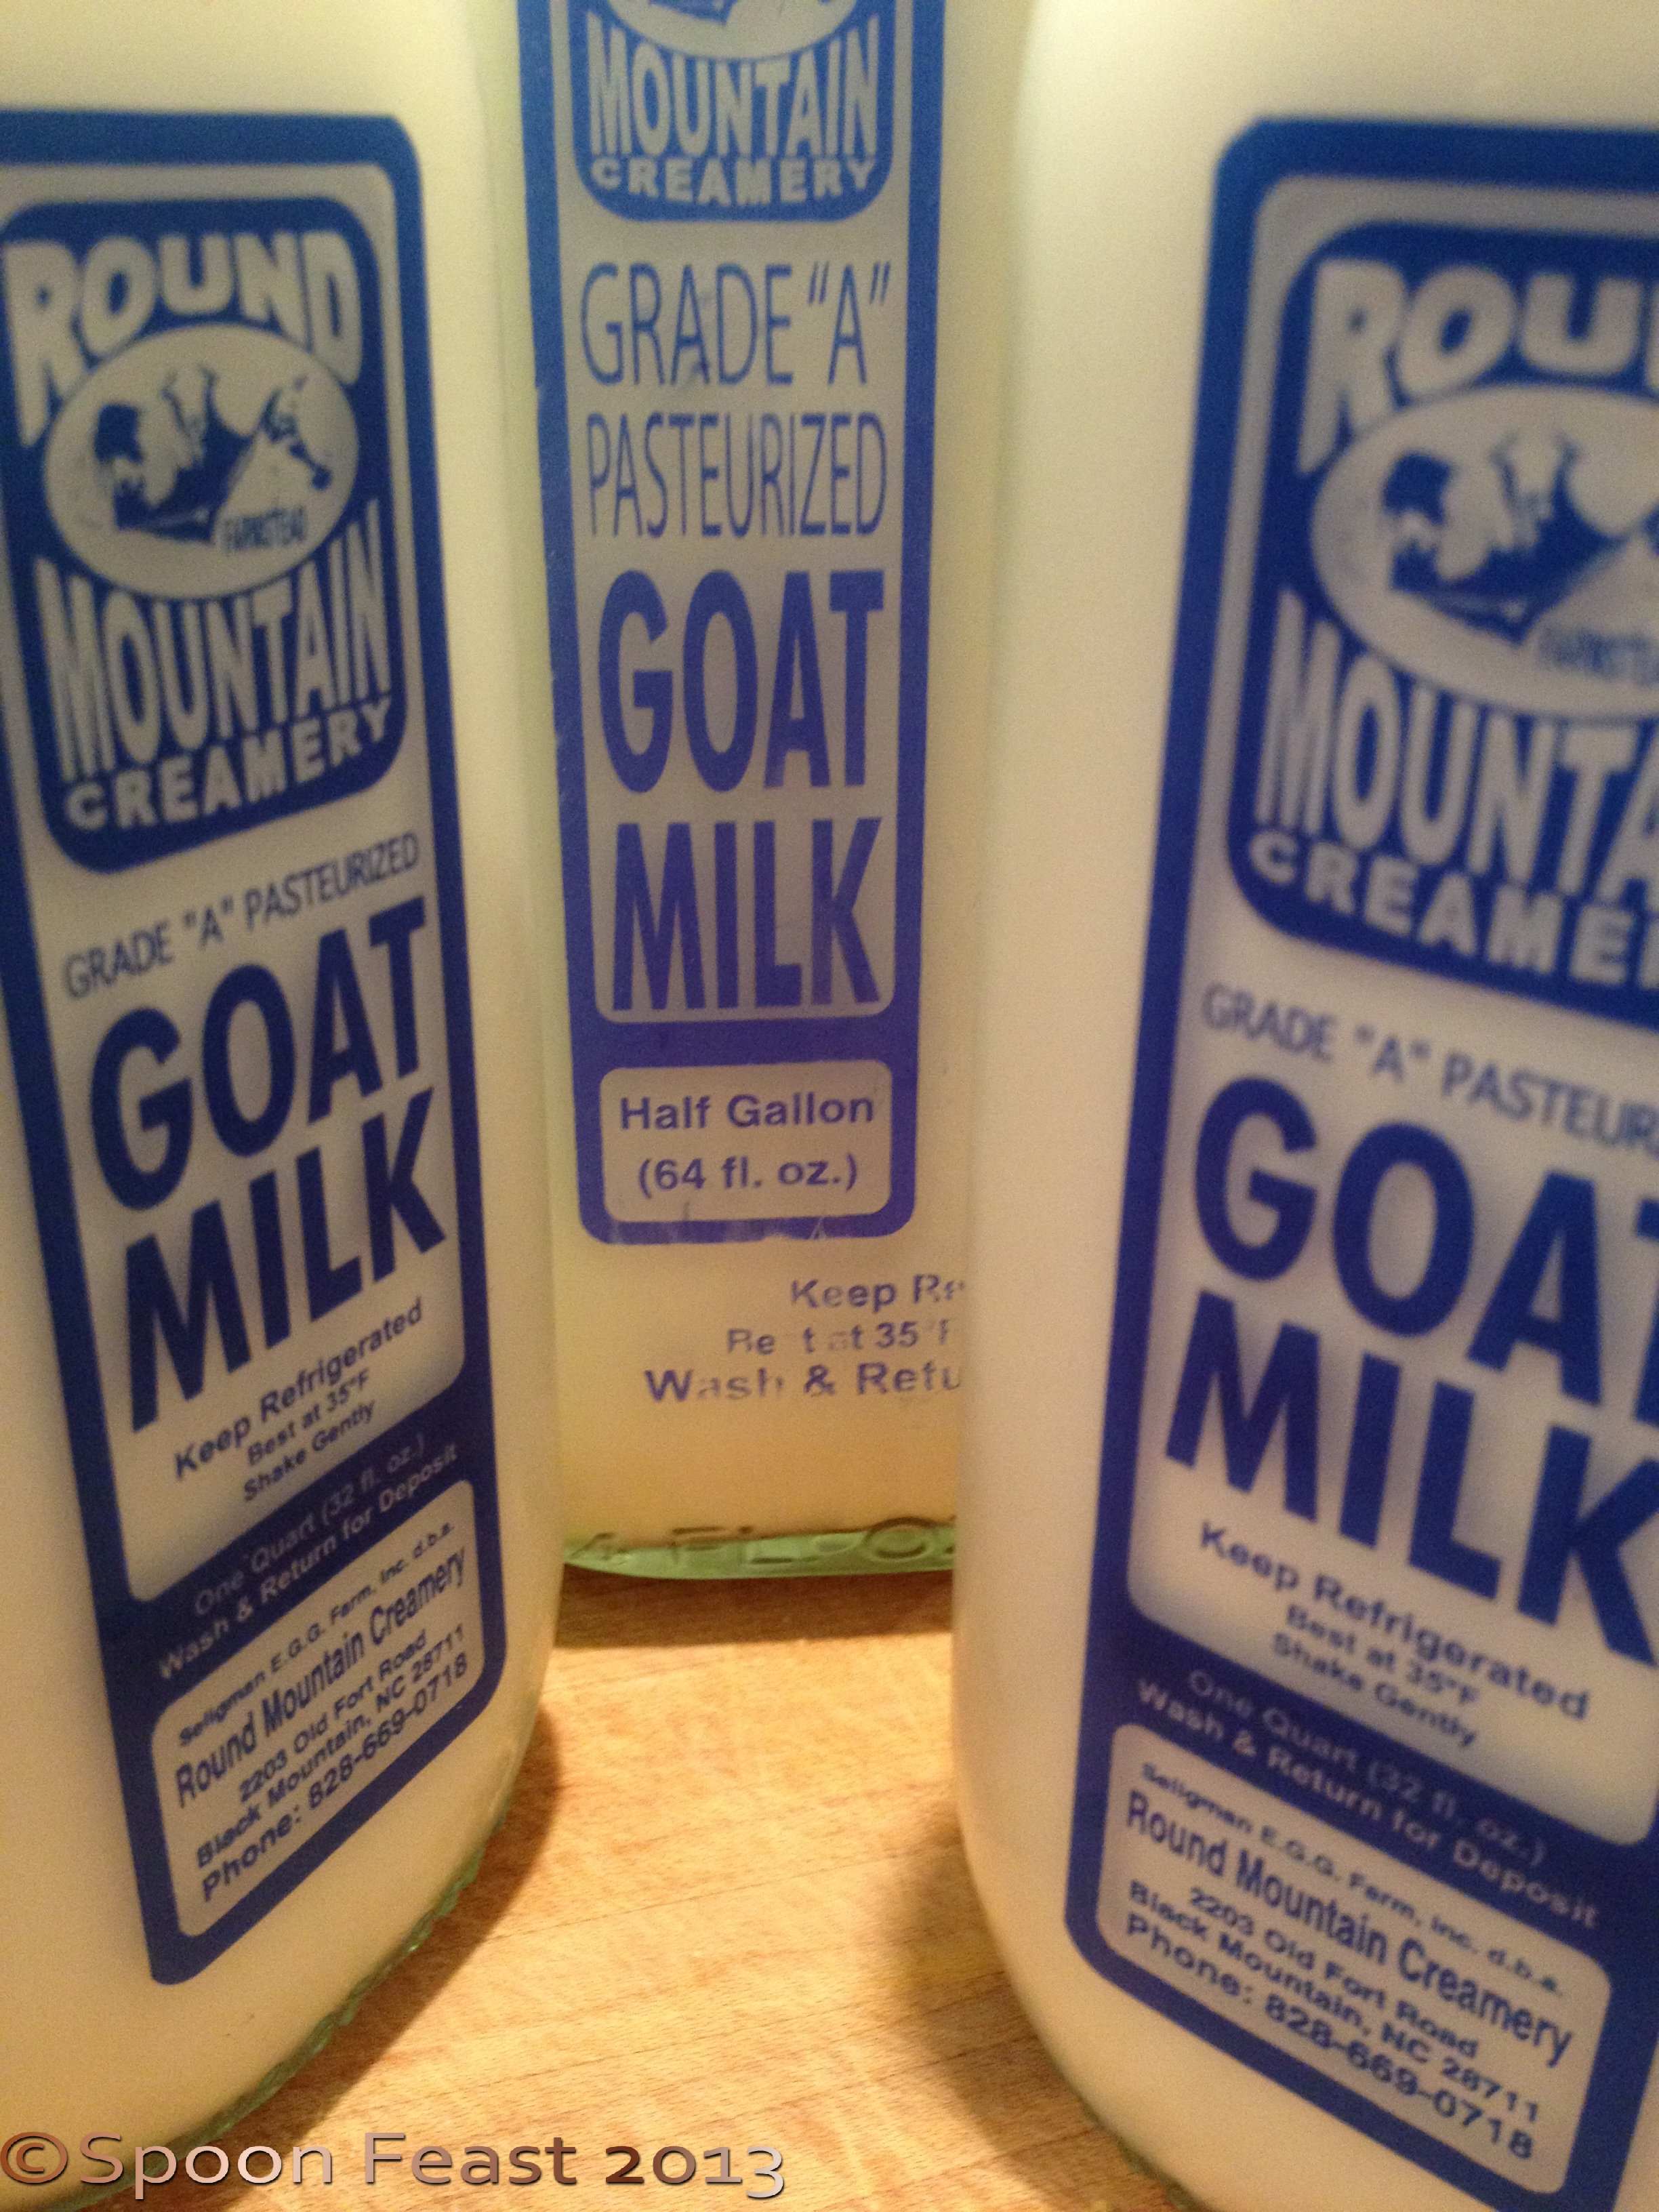
I started with one gallon of fresh Goat Milk from Round Mountain Creamery in Black Mountain, NC. The milk comes in glass bottles, which I love!
Order a batch of CHEVRE culture from New England Cheese Making Supply. One packet will culture one gallon of milk, so plan what you want to make. I never seem to order enough.
Additionally if your milk is pasteurized (PLEASE find milk that is low temp processed as Ultra-Pasteurized milk does not work for making cheese) you will need 1/4 teaspoon of calcium chloride per gallon of pasteurized, cold-stored milk.
In my next batch, I want to ripen it for a few weeks so I will be adding other cultures for different effects.
Equipment needed:

2 large pots; the small one holds 1 gallon easily. I can use the larger pot for larger batches. Just need to find a pot to nest it inside of for a reasonable price.
2 large stock pots: the one the milk goes into needs to be stainless steel (Non-reactive)
The second one needs to be large enough to make a double boiler or bain marie, the first needs to nestle into the large one so you can heat the milk easily and slowly.
A good thermometer: You NEED to be in control of temperatures, not too high or too low.
Cheese Muslin, butter muslin, closely woven cheese cloth– the normal loose woven is way too loosely woven. Invest in a yard or two, wash it and use it over and over.
Use cold water to remove any cheese particles, then hand wash. Rinse and boil it in a pot with some baking soda for 5-10 minutes, rinse and hang to dry. It will be fresh and good to go for the next round of cheese!
Here is how to make the cheese:
Wash and sanitize everything!! Have a pot of boiling/simmering water to drop cheesecloth, molds, tools into to sanitize them before they come into contact with cheese.
Pour the milk into the pot, place it over the water (about 80°F). Warm the milk to 72-78°F.
Please be aware that this will feel cold to the touch, this is not warm milk, just milk warmed from refrigeration to 72-78 degrees.
Open 1 packet of the Chevre culture and sprinkle it over the top of the milk. Allow it to hydrate for 2-5 minutes before stirring it into the milk.
 Add 1/4 teaspoon calcium chloride is using cold-stored pasteurized milk.
Allow this to sit undisturbed for 6-12 hours. This is the hardest part as you want to go see what is happening and you want it to hurry up and do its thing. But be patient, it takes time.
This batch sat for 8 1/4 hours before testing the cleave of the curd. When it is ready to test, you should see a thin layer of whey over the curd and a slight separation from the sides of the pot.

Testing the cleavage break
Insert a knife or a spoon, slightly on the surface, the curd should cleave clean and the whey that floats into the separation should be clear.
Carefully lift the curds with a strainer into a colander lined with cheese muslin. Be sure to place the colander over a large bowl to catch the whey.
Gently fold the cheesecloth over the curds and allow them to drain for 6-12 hours again, depending upon your desired finished texture. Less time for sweeter cheese, more for tangy cheese. The longer the whey stays in contact with the curd, the more tangy it gets.
You must be very careful NOT TO PRESS the curds. Allow them to drain gently at this point. The whey should be clear dripping, if it is cloudy, you are losing milk fat and your cheese will be dry.
You can also put it into molds at this point if you are using a mold. It will result in a smoother sided end product.
Control the room temperature and the curd temperature to maintain as close to 72-78°F as possible. I let the curds form while still in the bain marie as the water in the host pot will maintain the temperature of the curd mass.
I usually let this happen overnight while sleeping. The next day is such a surprise!
Unfold the cheesecloth and reveal your fresh cheese! Now it is time to salt. For this batch, 1.5-2 teaspoons of non-iodized cheese salt.
You can consider the cheese finished at this point but this is also where you can be a bit creative.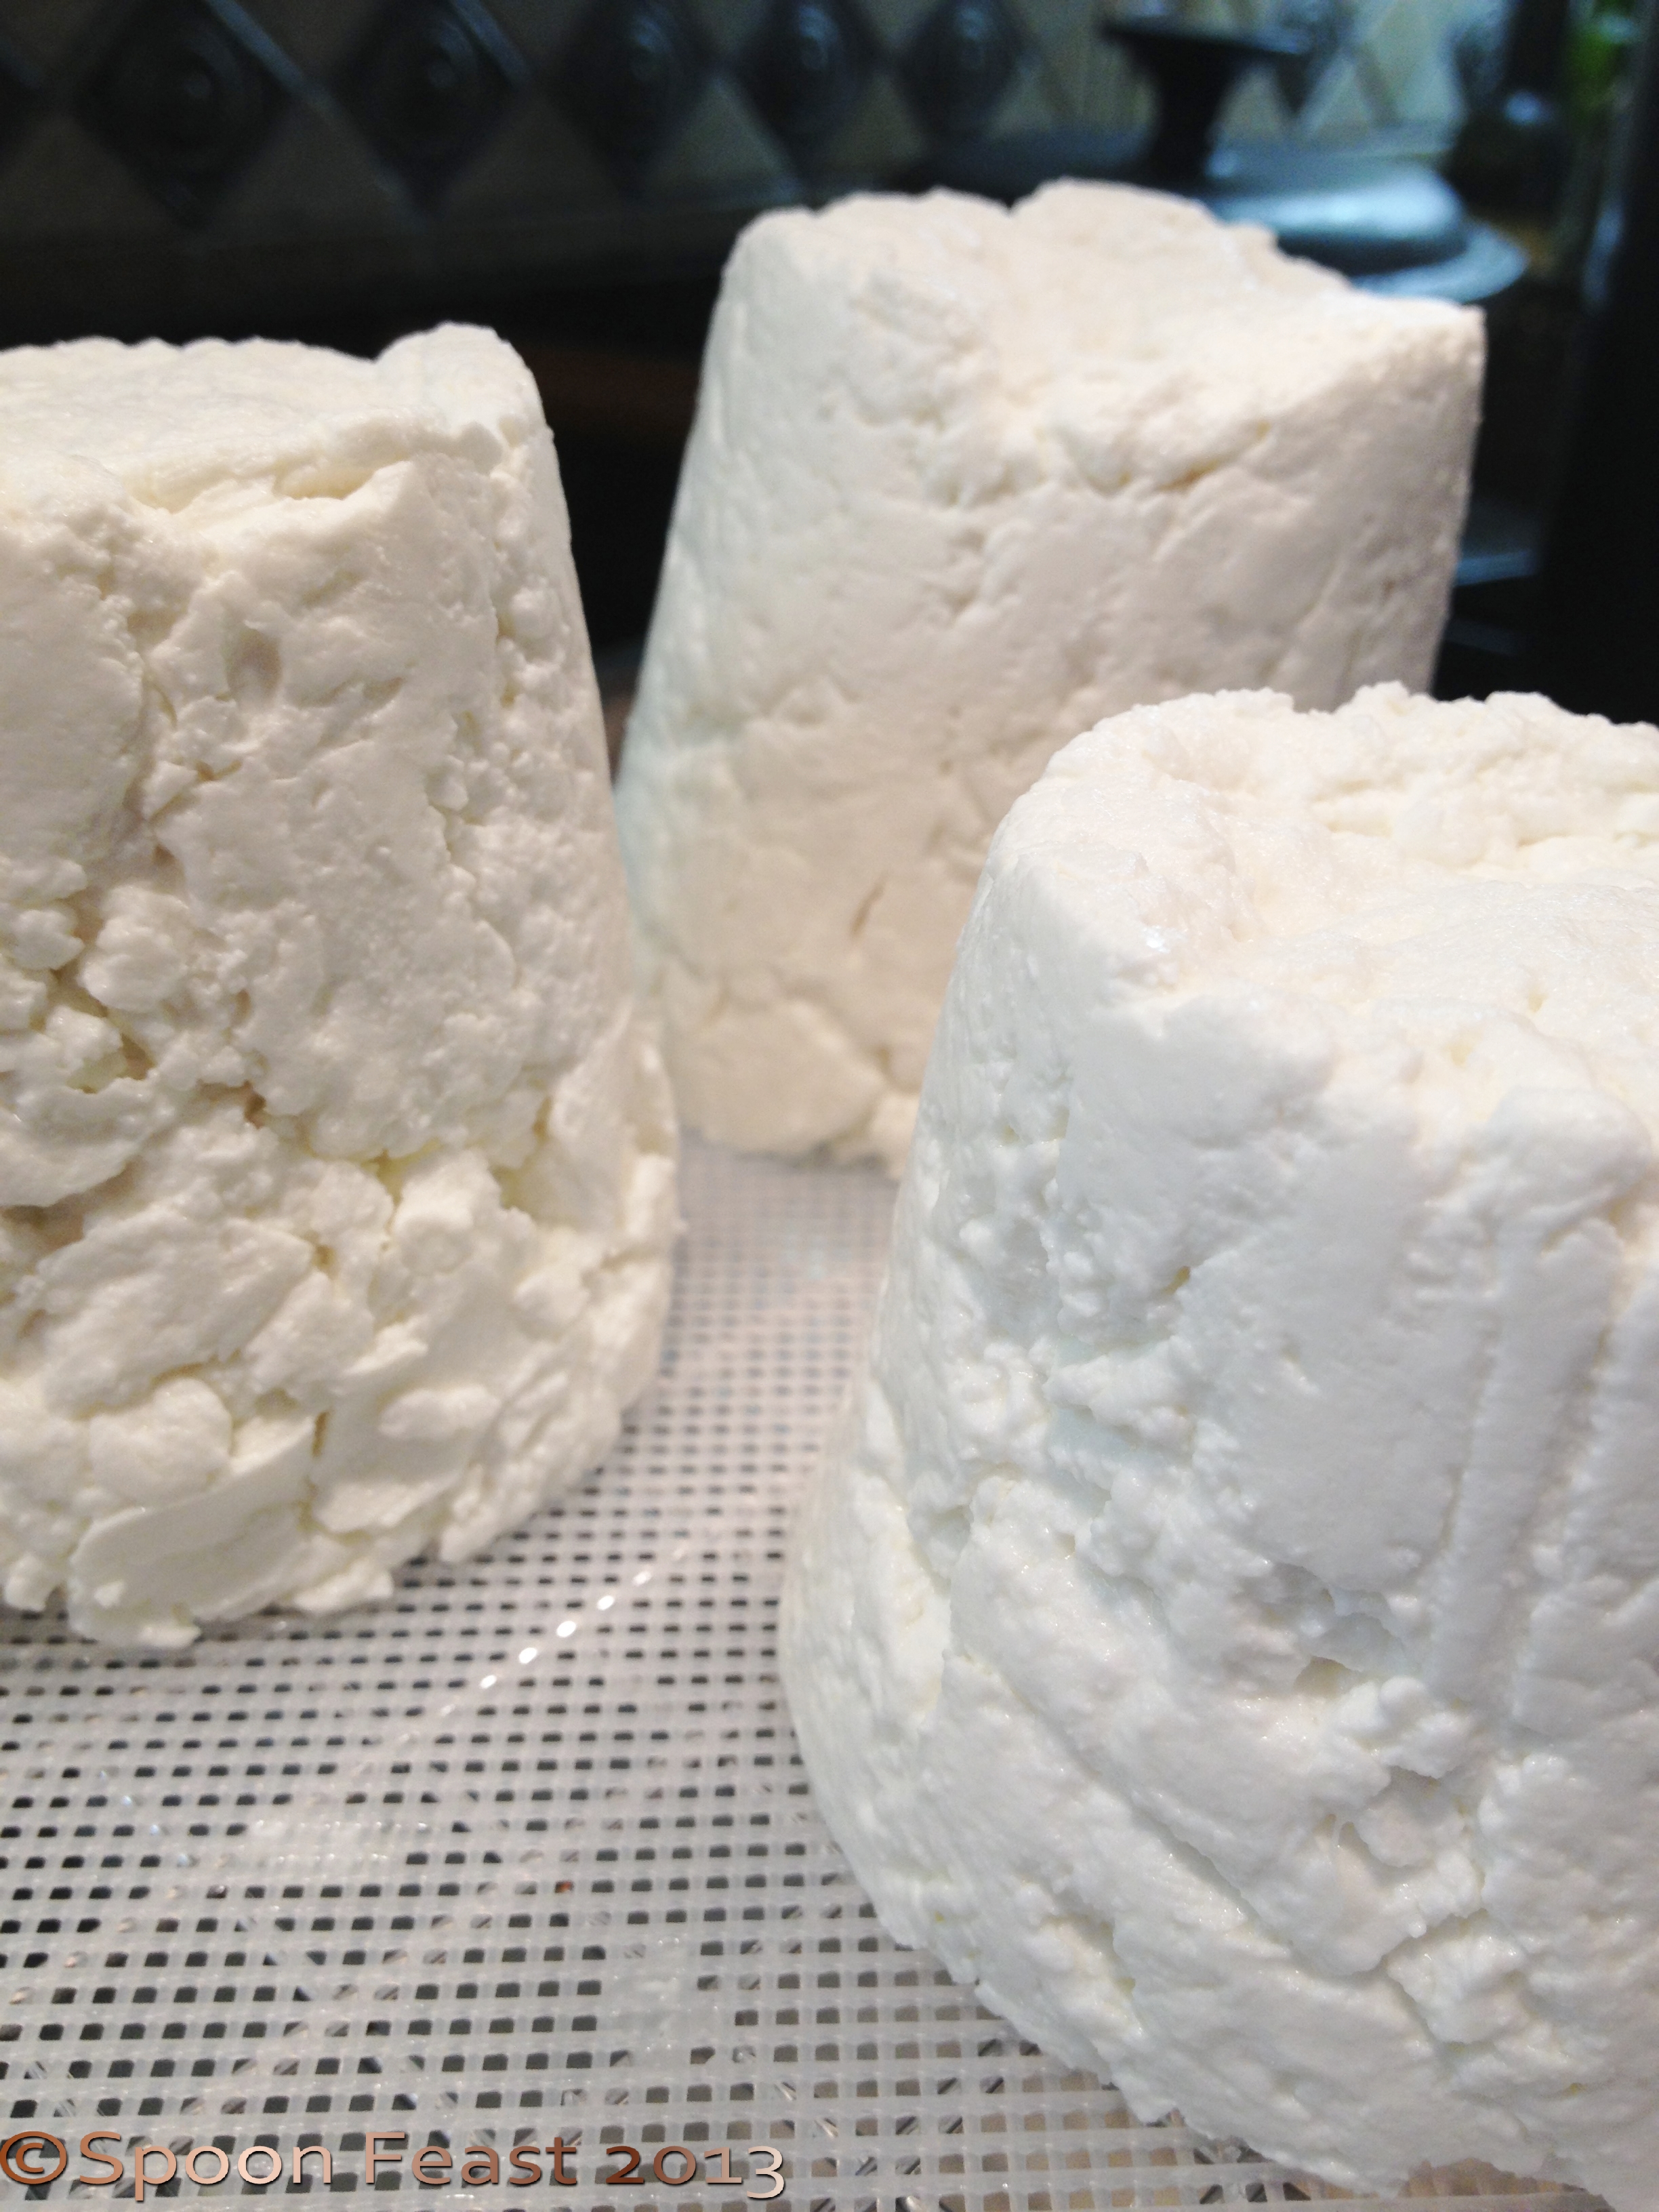
As you fold in the salt, also consider adding other flavors like herbs, minced garlic or shallots or onions, crushed peppercorns, ash, use your imagination.
 Store your fresh goat cheese in a bowl or tub and consume within 10 days. Refrigerate the cheese, but allow it to come to room temperature before serving to allow all the wonderful flavors to come through.
Please use dried seasonings and herbs due to the risk of bacterial contamination that may be introduced by using fresh herbs and seasonings. If you use fresh, be sure to eat the cheese soon. It can’t hang out for a while like plain cheese.
The temperature the milk gets processed is in a temperature range that is smack dab in the extreme temperature danger zone. Everything you use needs to be “sterilized” in the boiling water bath before it comes in contact with the curds or milk. I cover my curd formation and the curd draining with a glass lid (so I can see what is going on!) to prevent anything falling or flying into the curd mass.
Since my kitchen is FULL of wild yeast from all the bread I make, the introduction of wild yeast is totally possible. This could have a spoiling effect on the curd. This is another reason I boil things before they touch the milk/curds.
The hardest part is WAITING! I strongly suggest you get to a farmers market and buy some goat milk and try this. It is easy, very tasty and you will feel so good about making a tasty goat cheese you’ll make more.
If you do make any cheese, take notes on the temperatures, conditions, milk etc so you can repeat successful processes. Most of all remember DO NOT USE Ultra-Pasteurized milk!
So that’s Fresh Chevre in a nut shell. There is a lot of information out there on making cheese. I’m really just starting and am looking forward to making more!
Please let me know how you do if you make some fresh Goat Cheese!
This past weekend two of my colleagues and I got to travel to Shelburne Falls, Massachusetts to take a Cheese Making Workshop conducted by cheese master Jim Wallace.
Master Cheese Maker, Jim Wallace
We learned about the processes of making Cheddar, Camembert and Vacha Toscana, about a lot of the science, theory and instinct involved in cheese making as well as an evaluation of the cheese each of us brought for him to trouble shoot.
We had a great group: Seth from Vermont/New York, Martin from St. Augustine, Michael and Belinda from Pennsylvania who want to buy a boat soon and sail the eternal summer; two of my colleagues and myself.
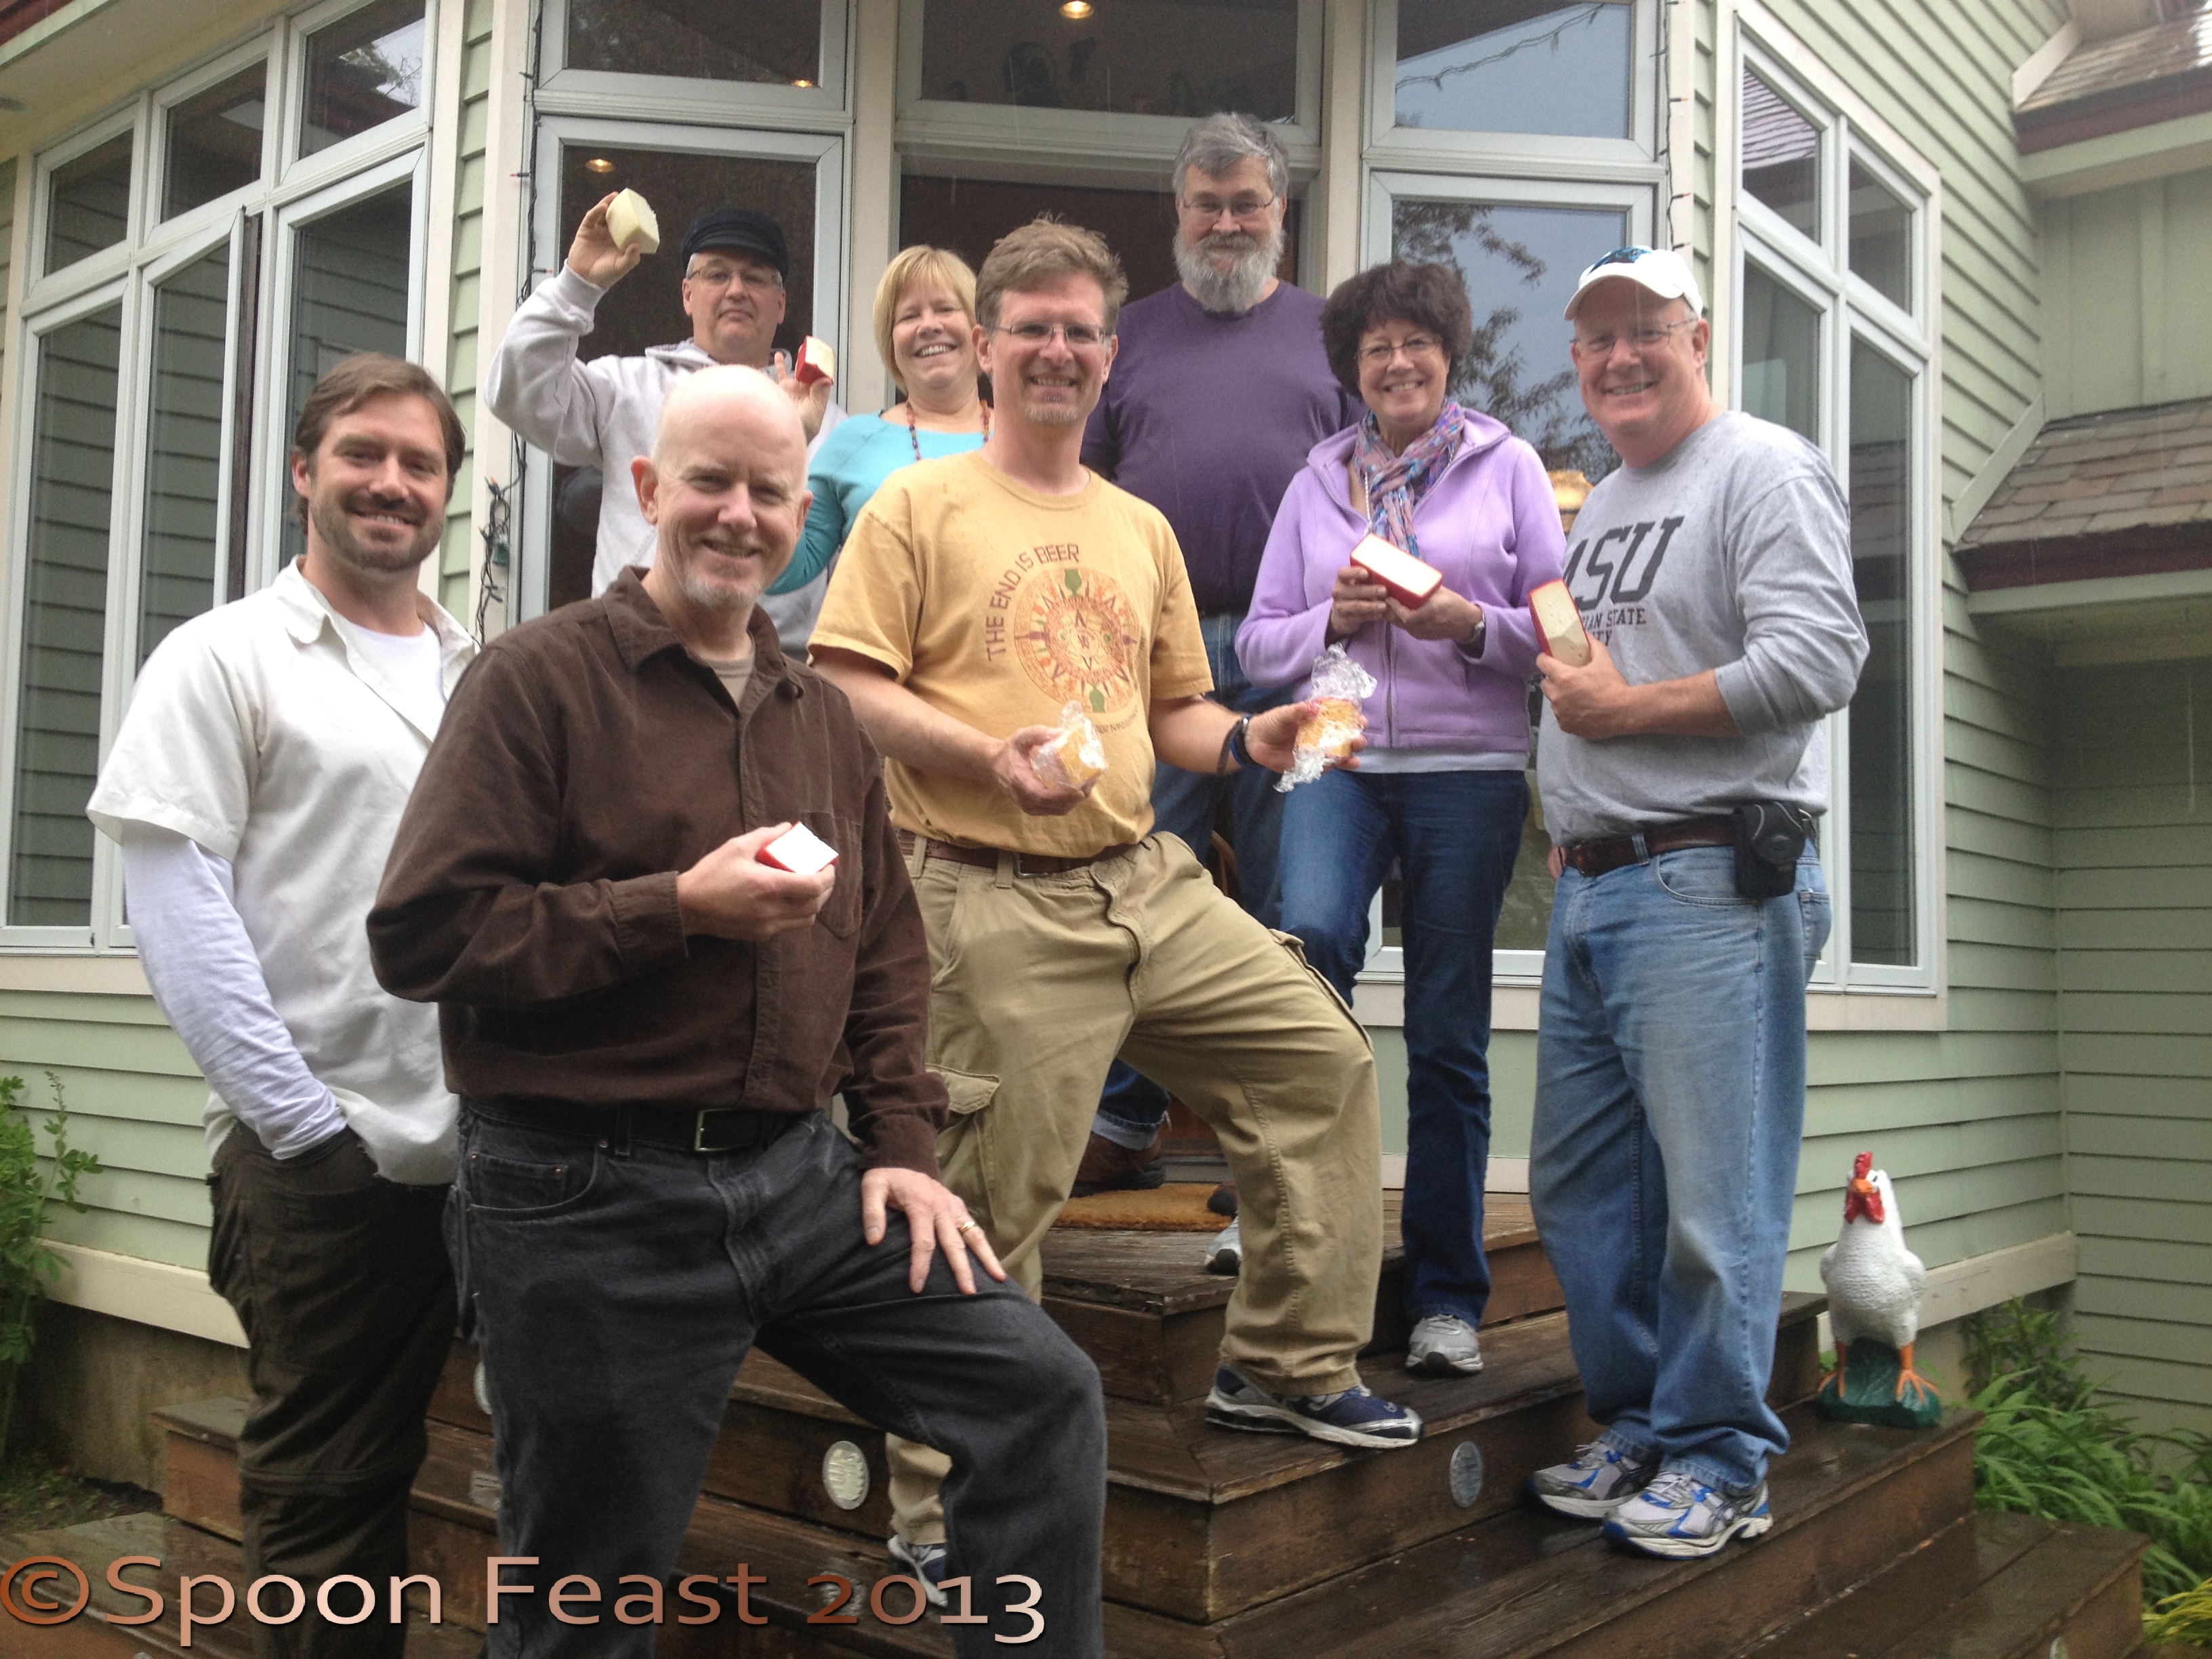
Our Group
Each of us have tinkered with cheese for a few years and this workshop allowed us to take our skills to another level. I hope we can stay in touch somehow, I want to hear about the cheese making adventures at sea!
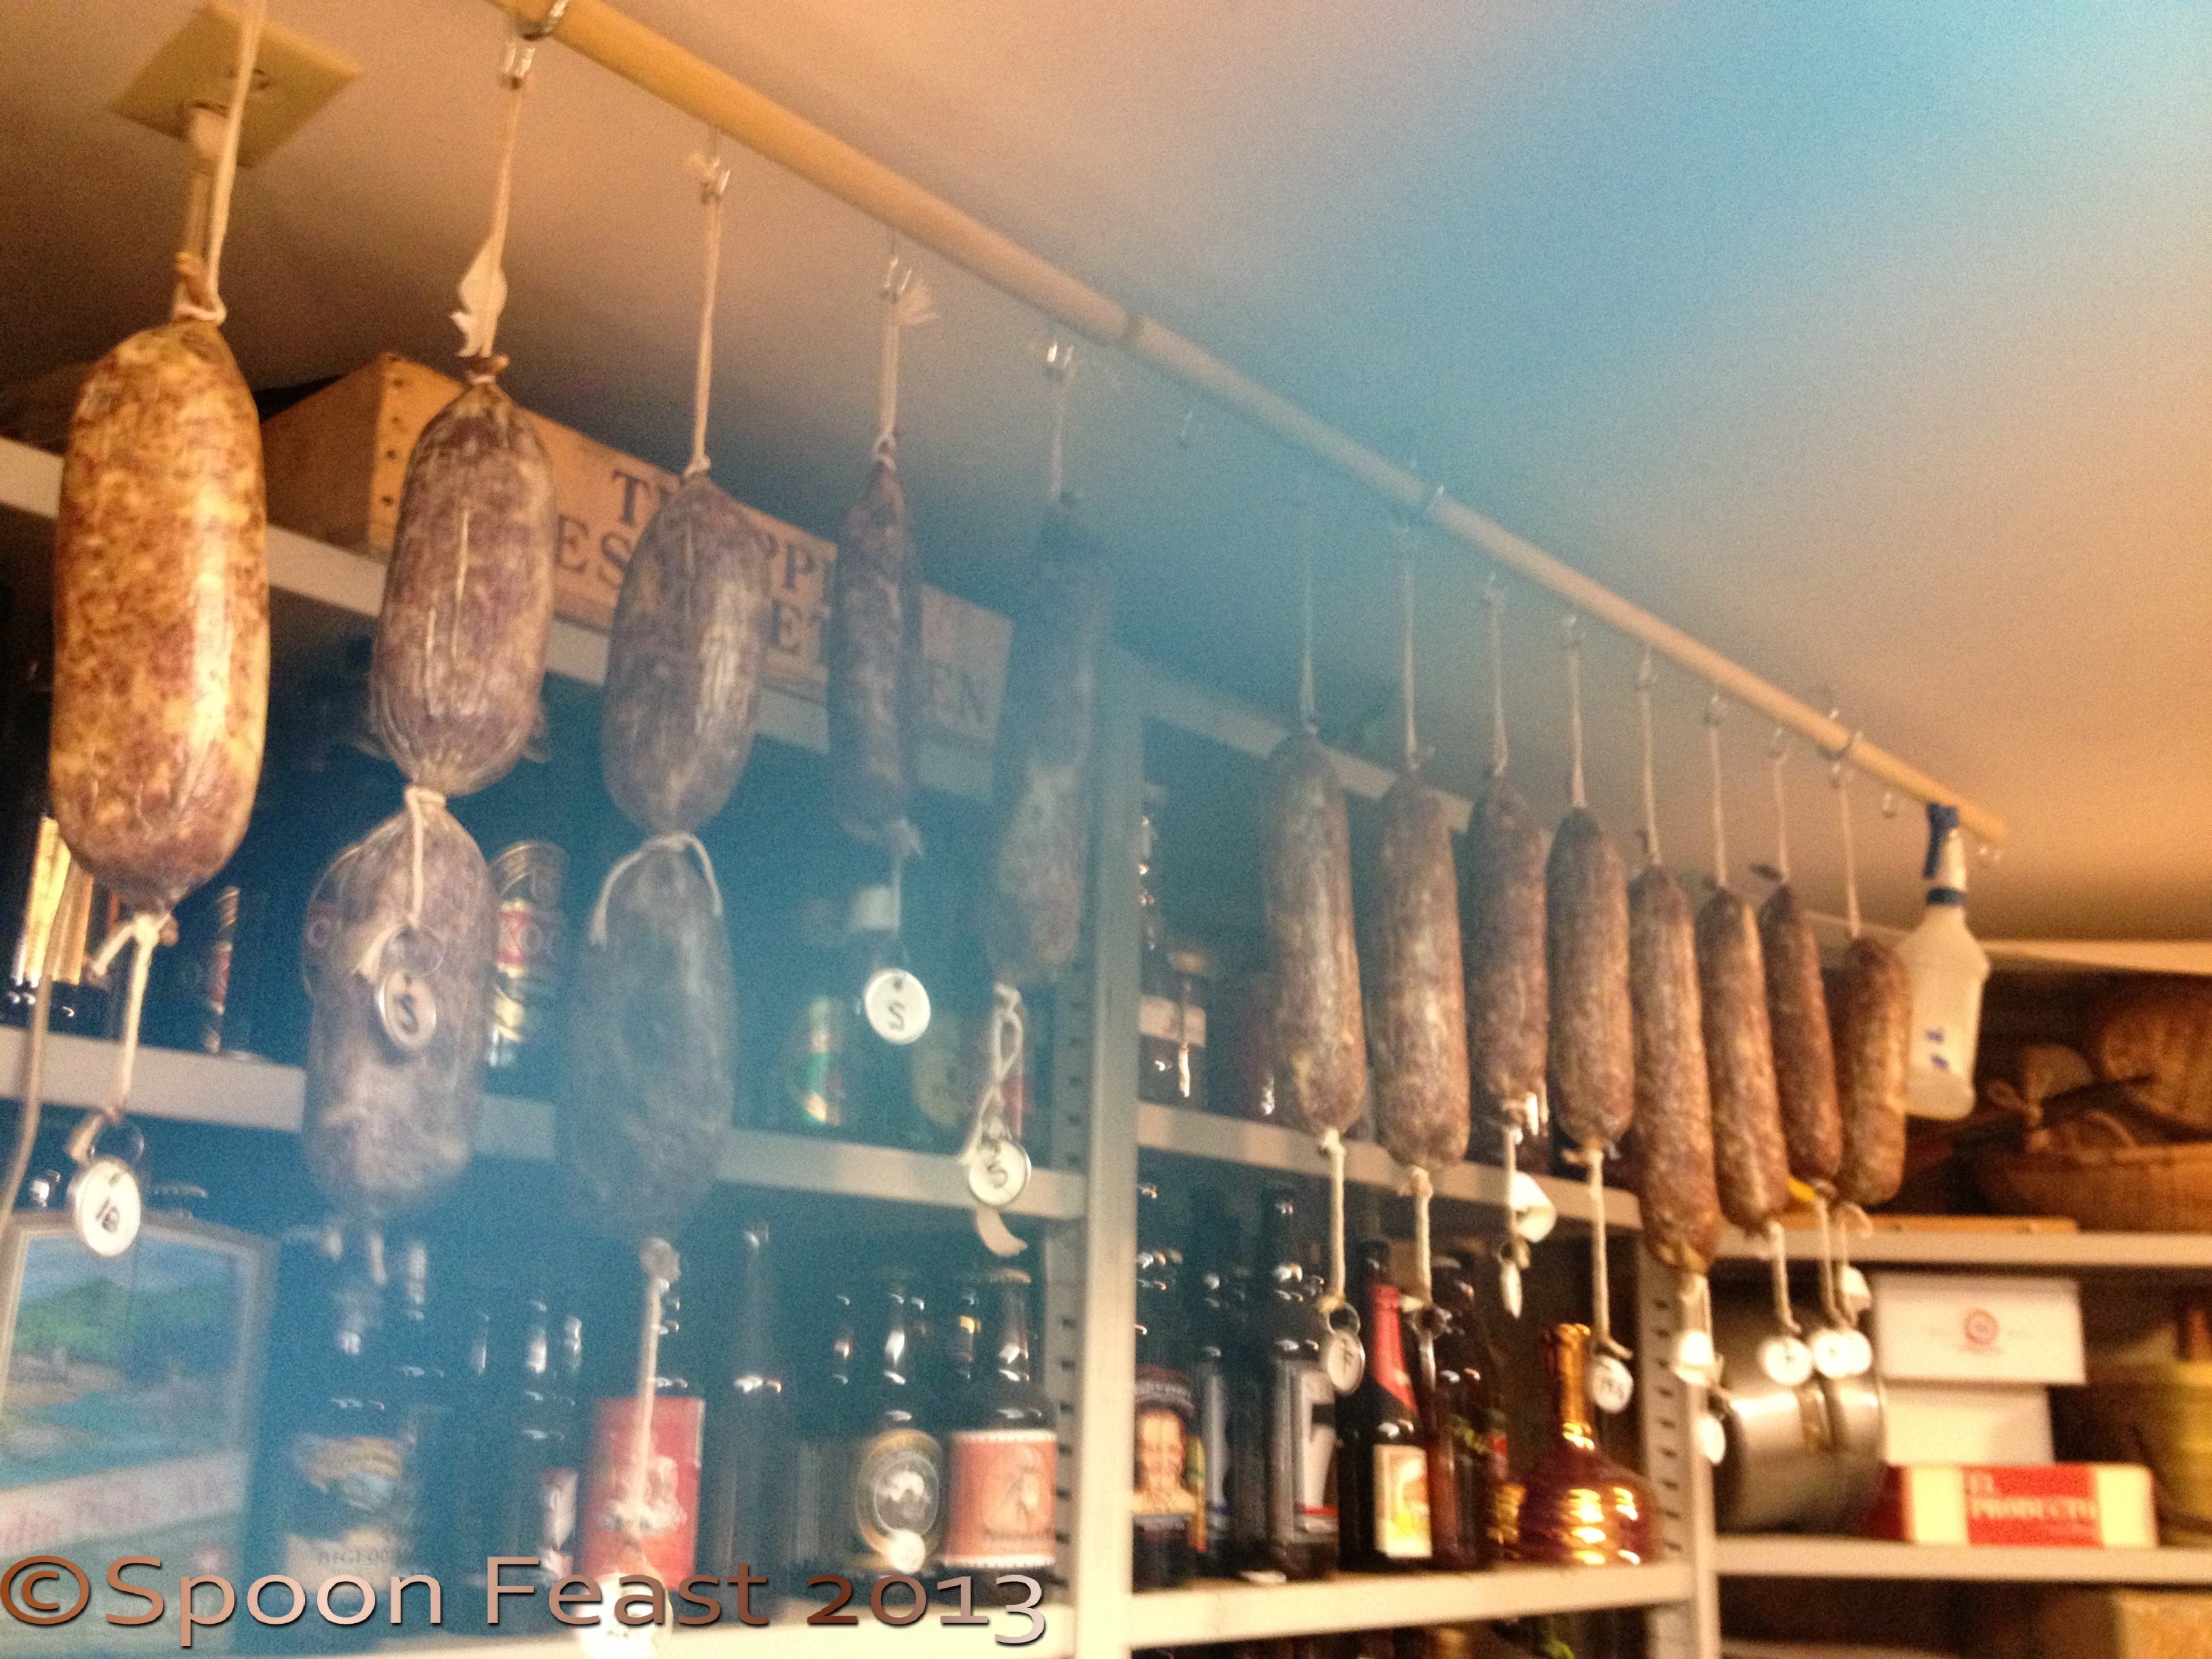
Jim’s cheeses are not only beautiful but very tasty.

Cheese in the cave
His “Cave” and drying rooms are places I could spend hours.
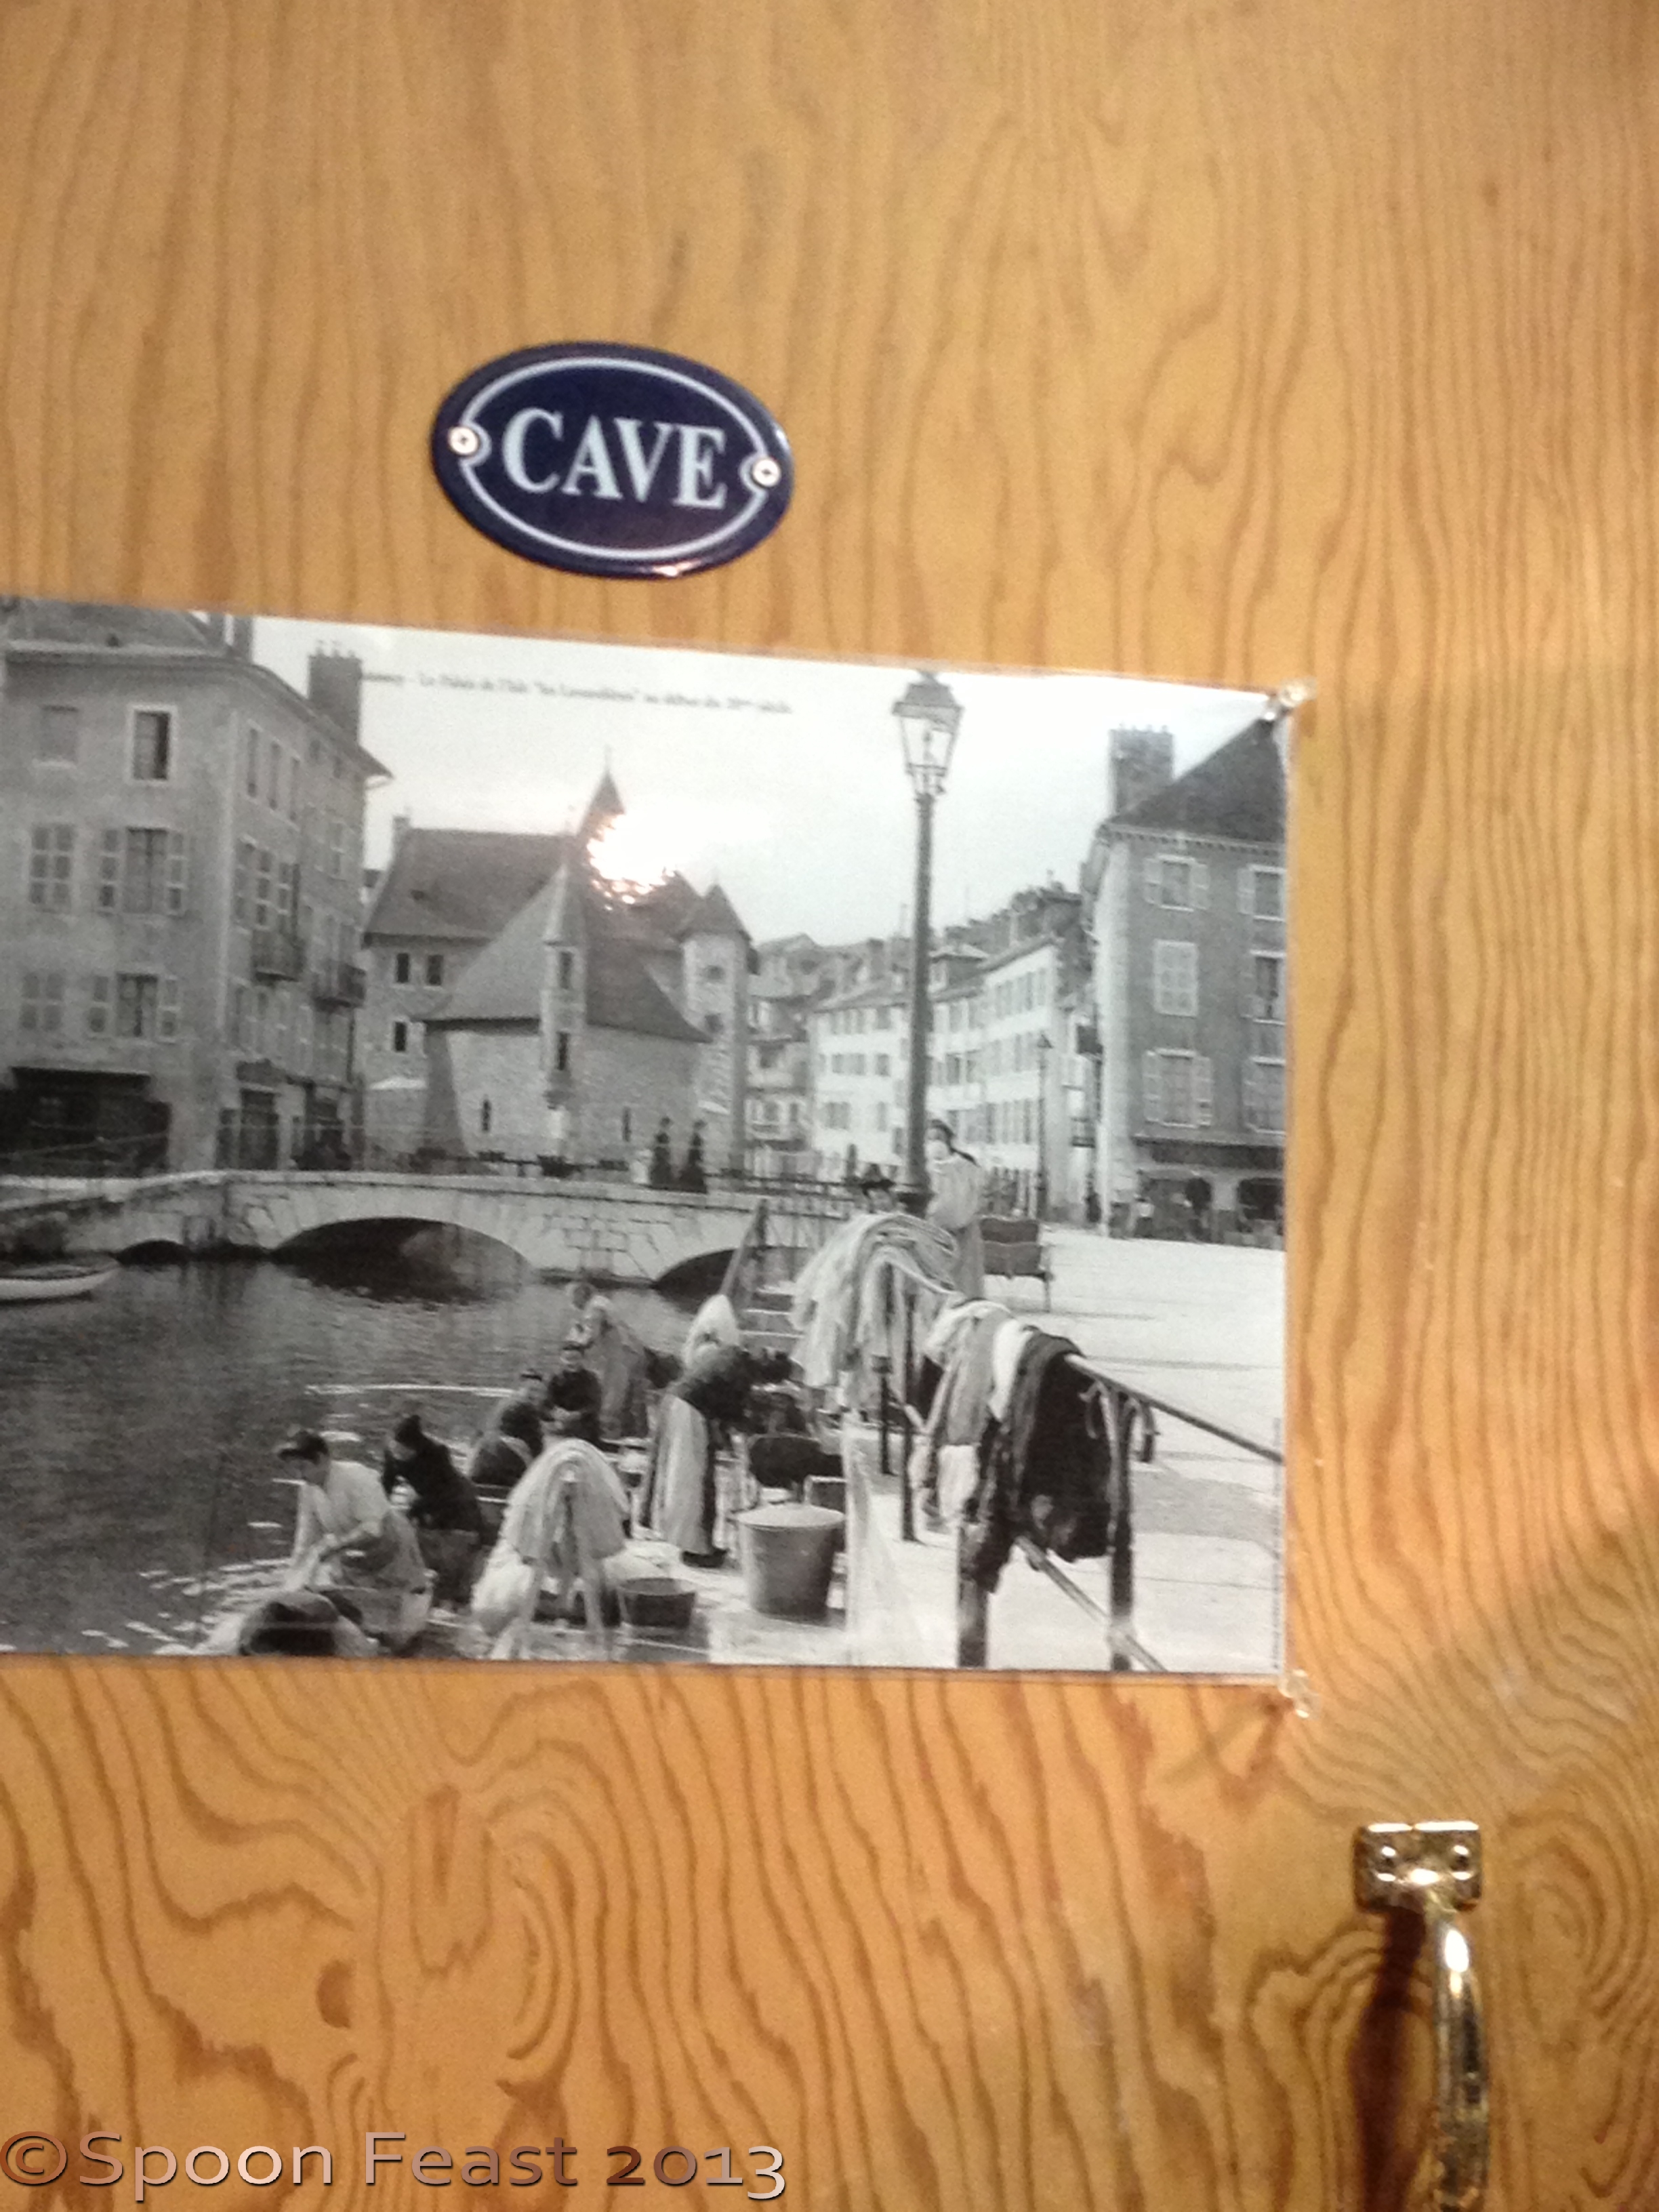
Cave door
The drying room
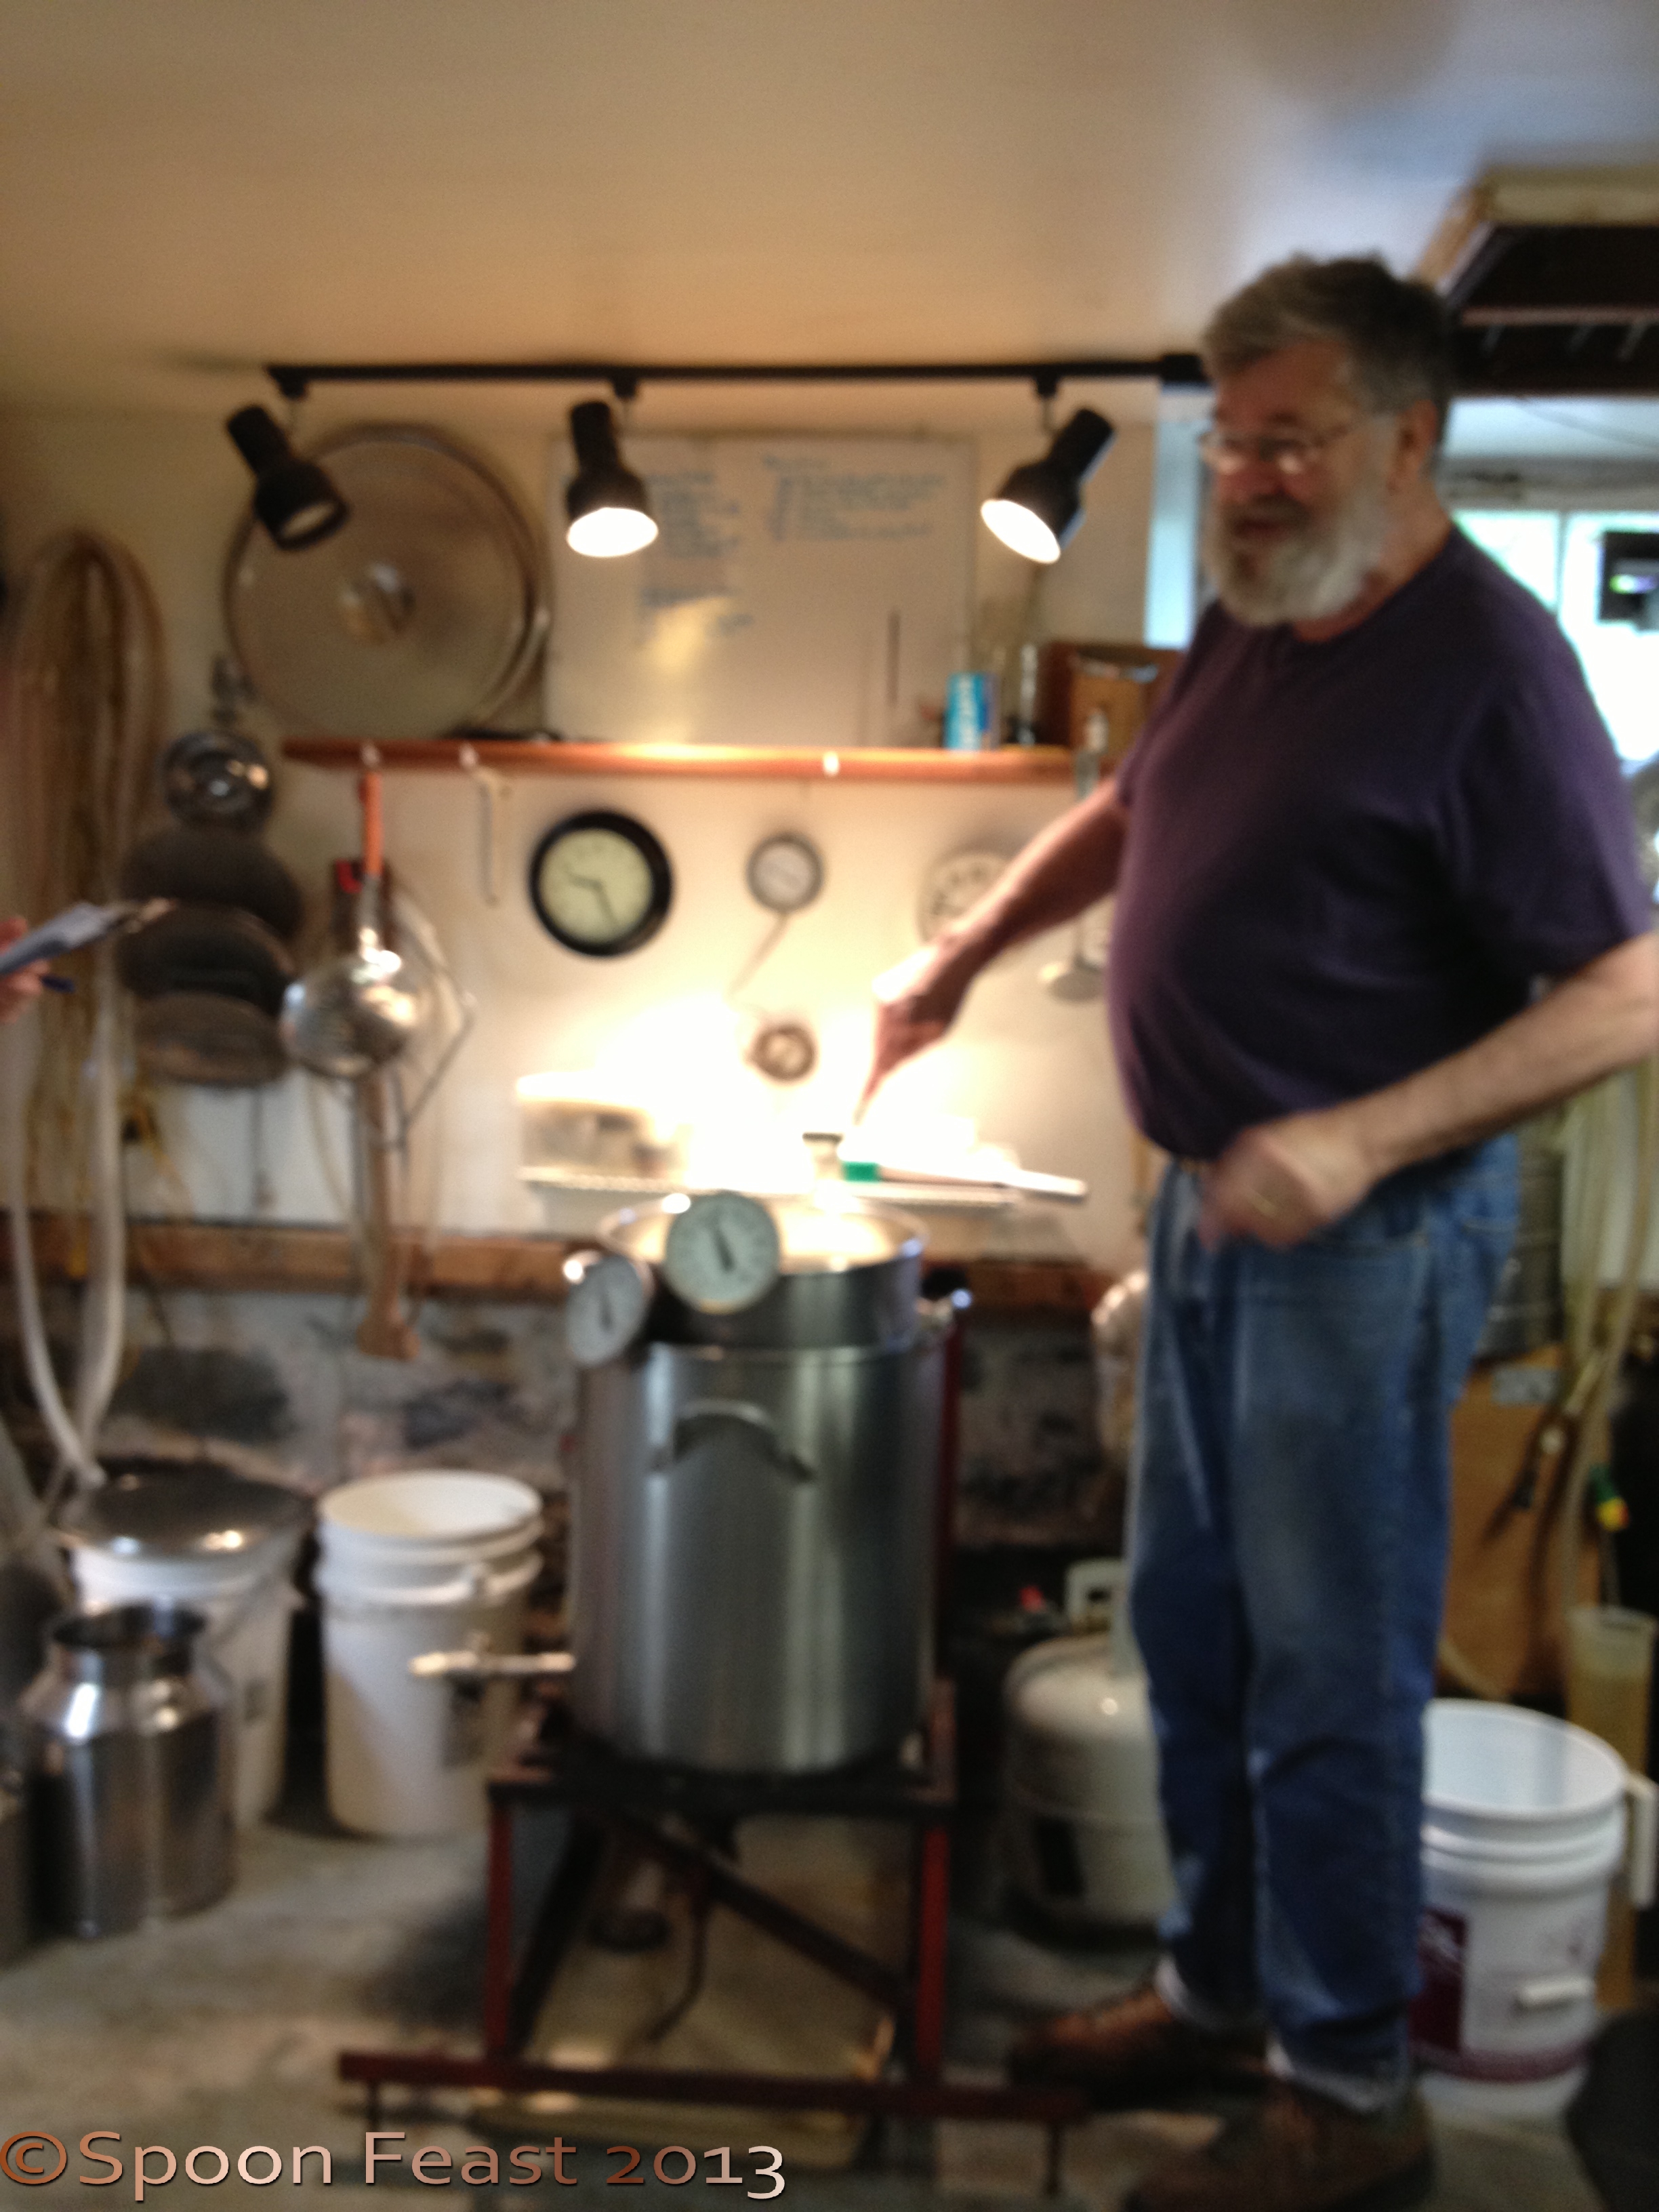
In addition to making cheese, Mr. Wallace also makes some lovely wine and impressive beer.
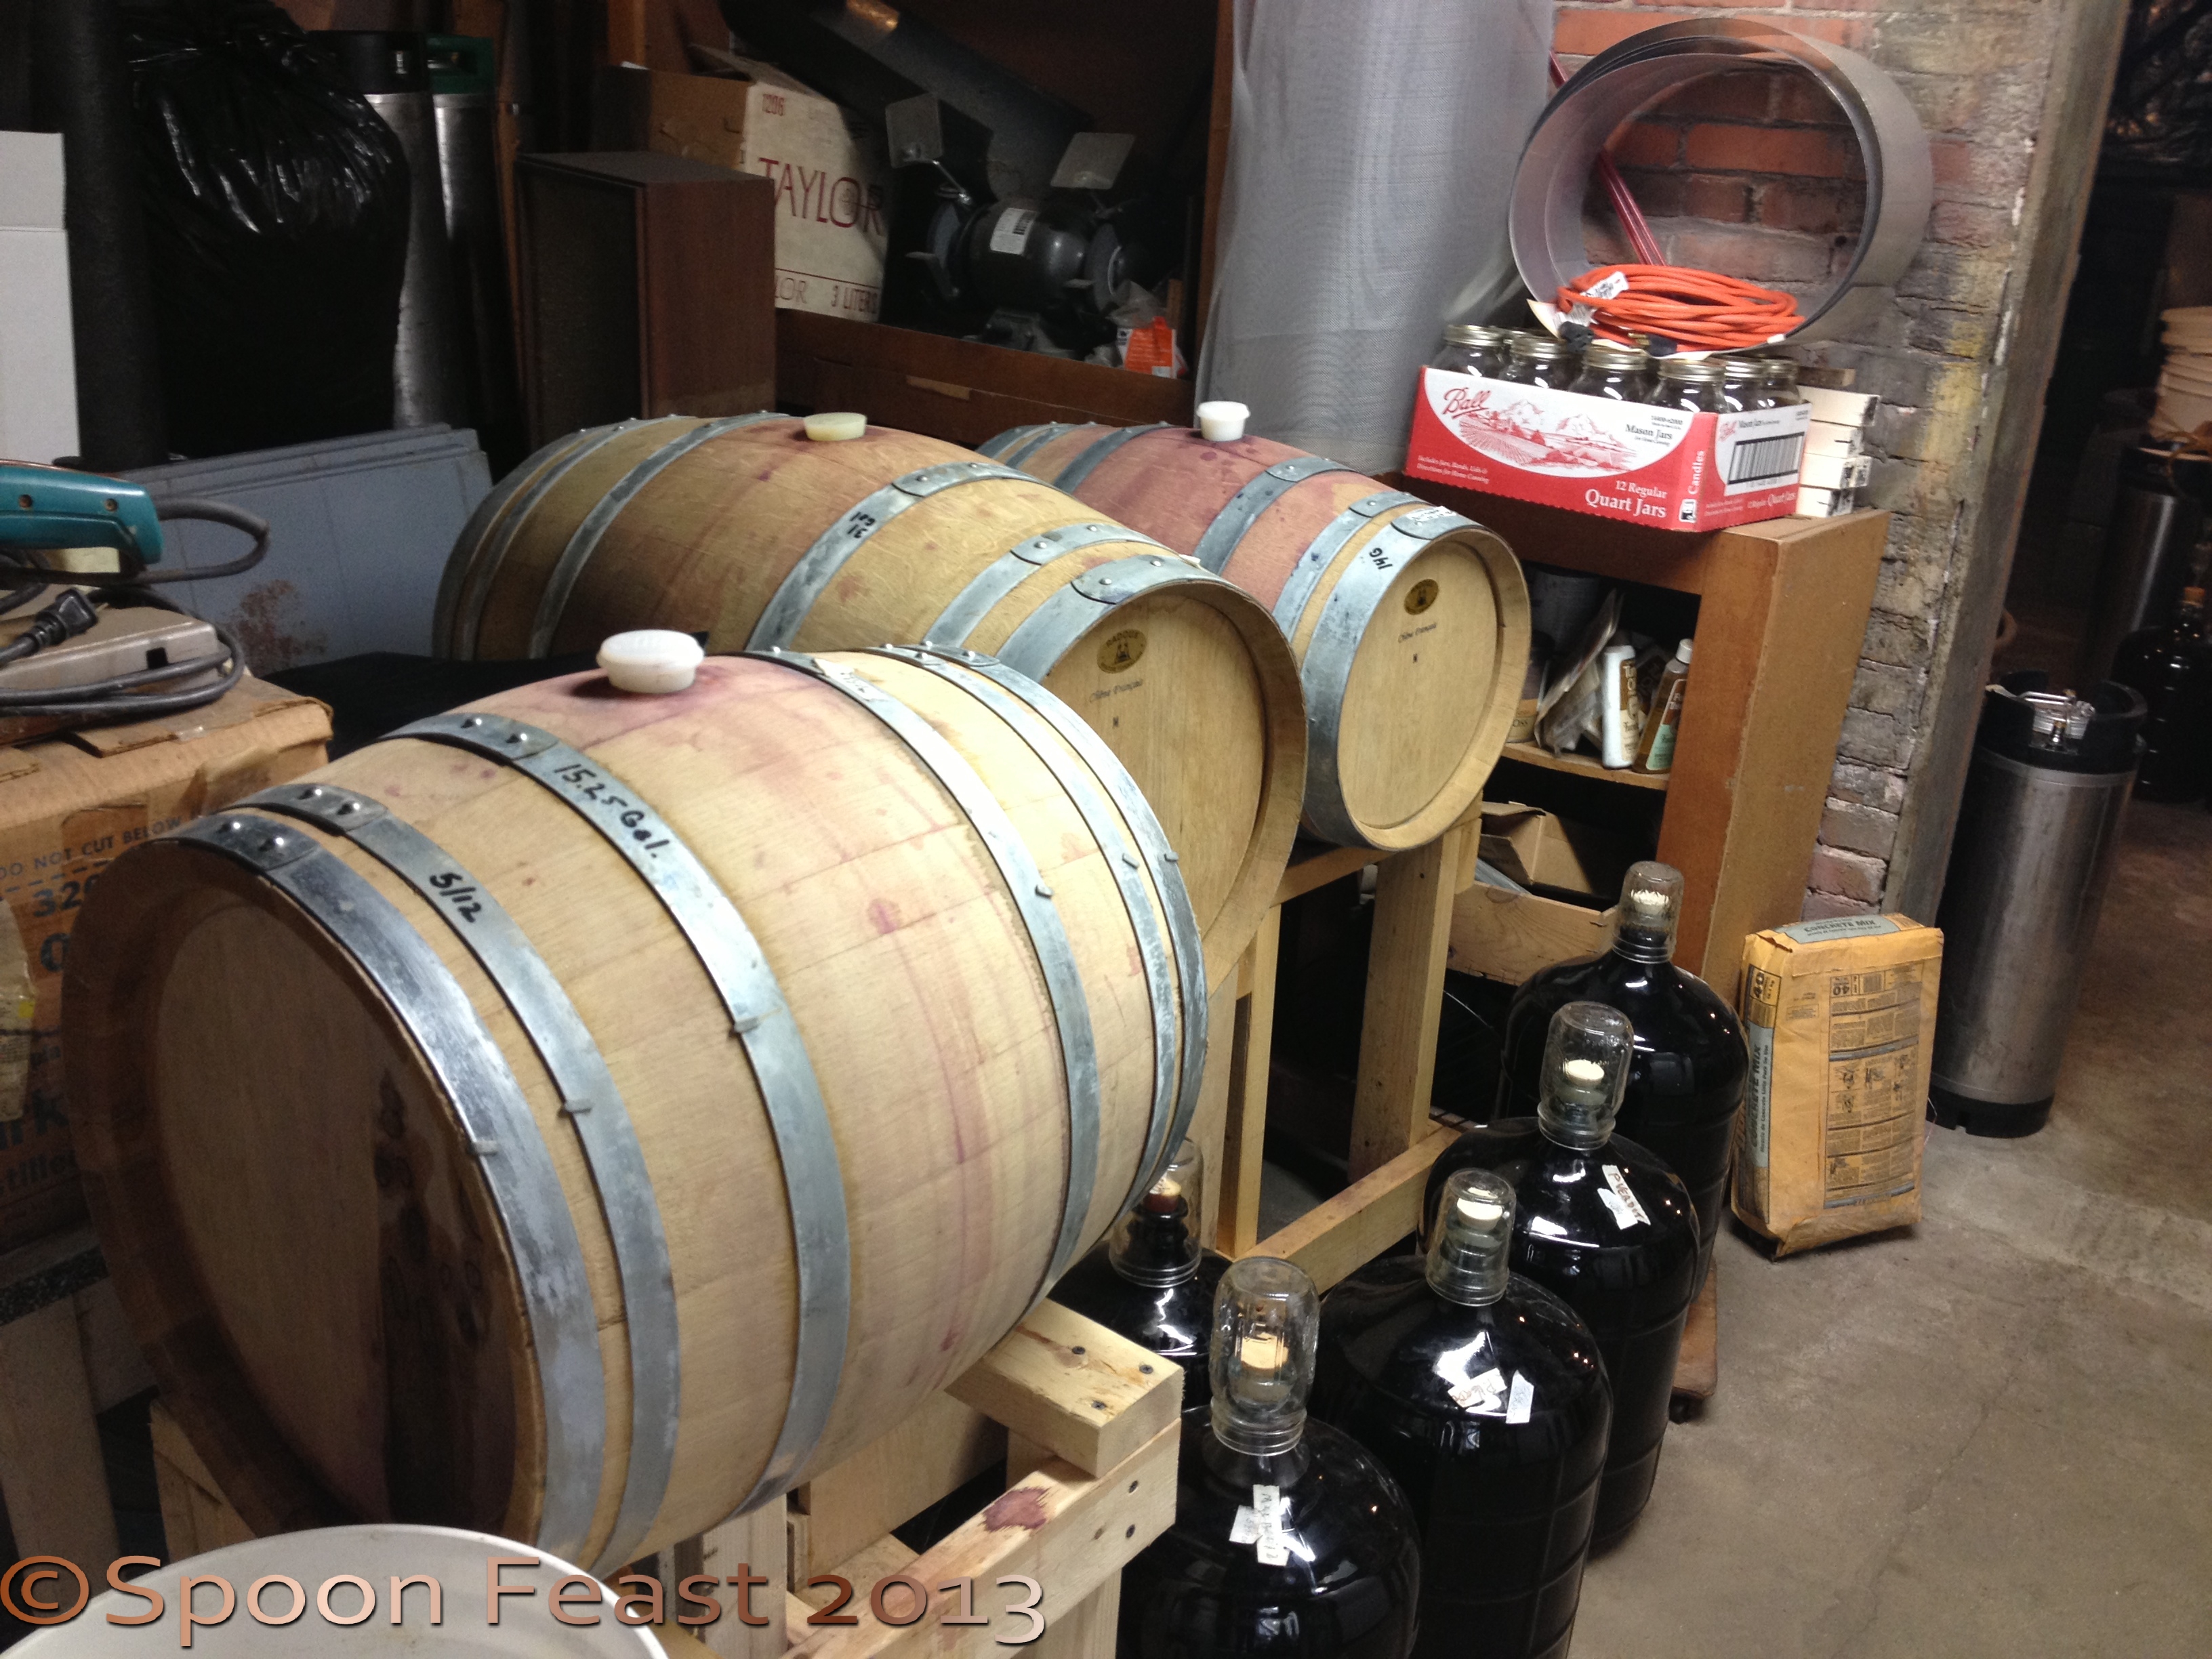
Wine making
The workshop began at 9AM with the introduction of milk, cultures, rennet, stirring, curd cutting,

PH lab
draining, molding and finally pressing.
I was amazed how easy it seems to be to make Camembert. Can’t wait to try it!
Jim’s lovely wife Robin made lunch for us both days. The table was full of lively conversations, great food, cheese, wine and beer. (Jim told us we must have been a special group as he doesn’t usually share his beer and wine with classes. So if you go, don’t expect it!)
Sunday morning, Robin and Jim were making fresh butter from the butterfat that floated to the top of the whey from Saturdays cheese making.
Really fresh butter! Boy did that butter taste good!
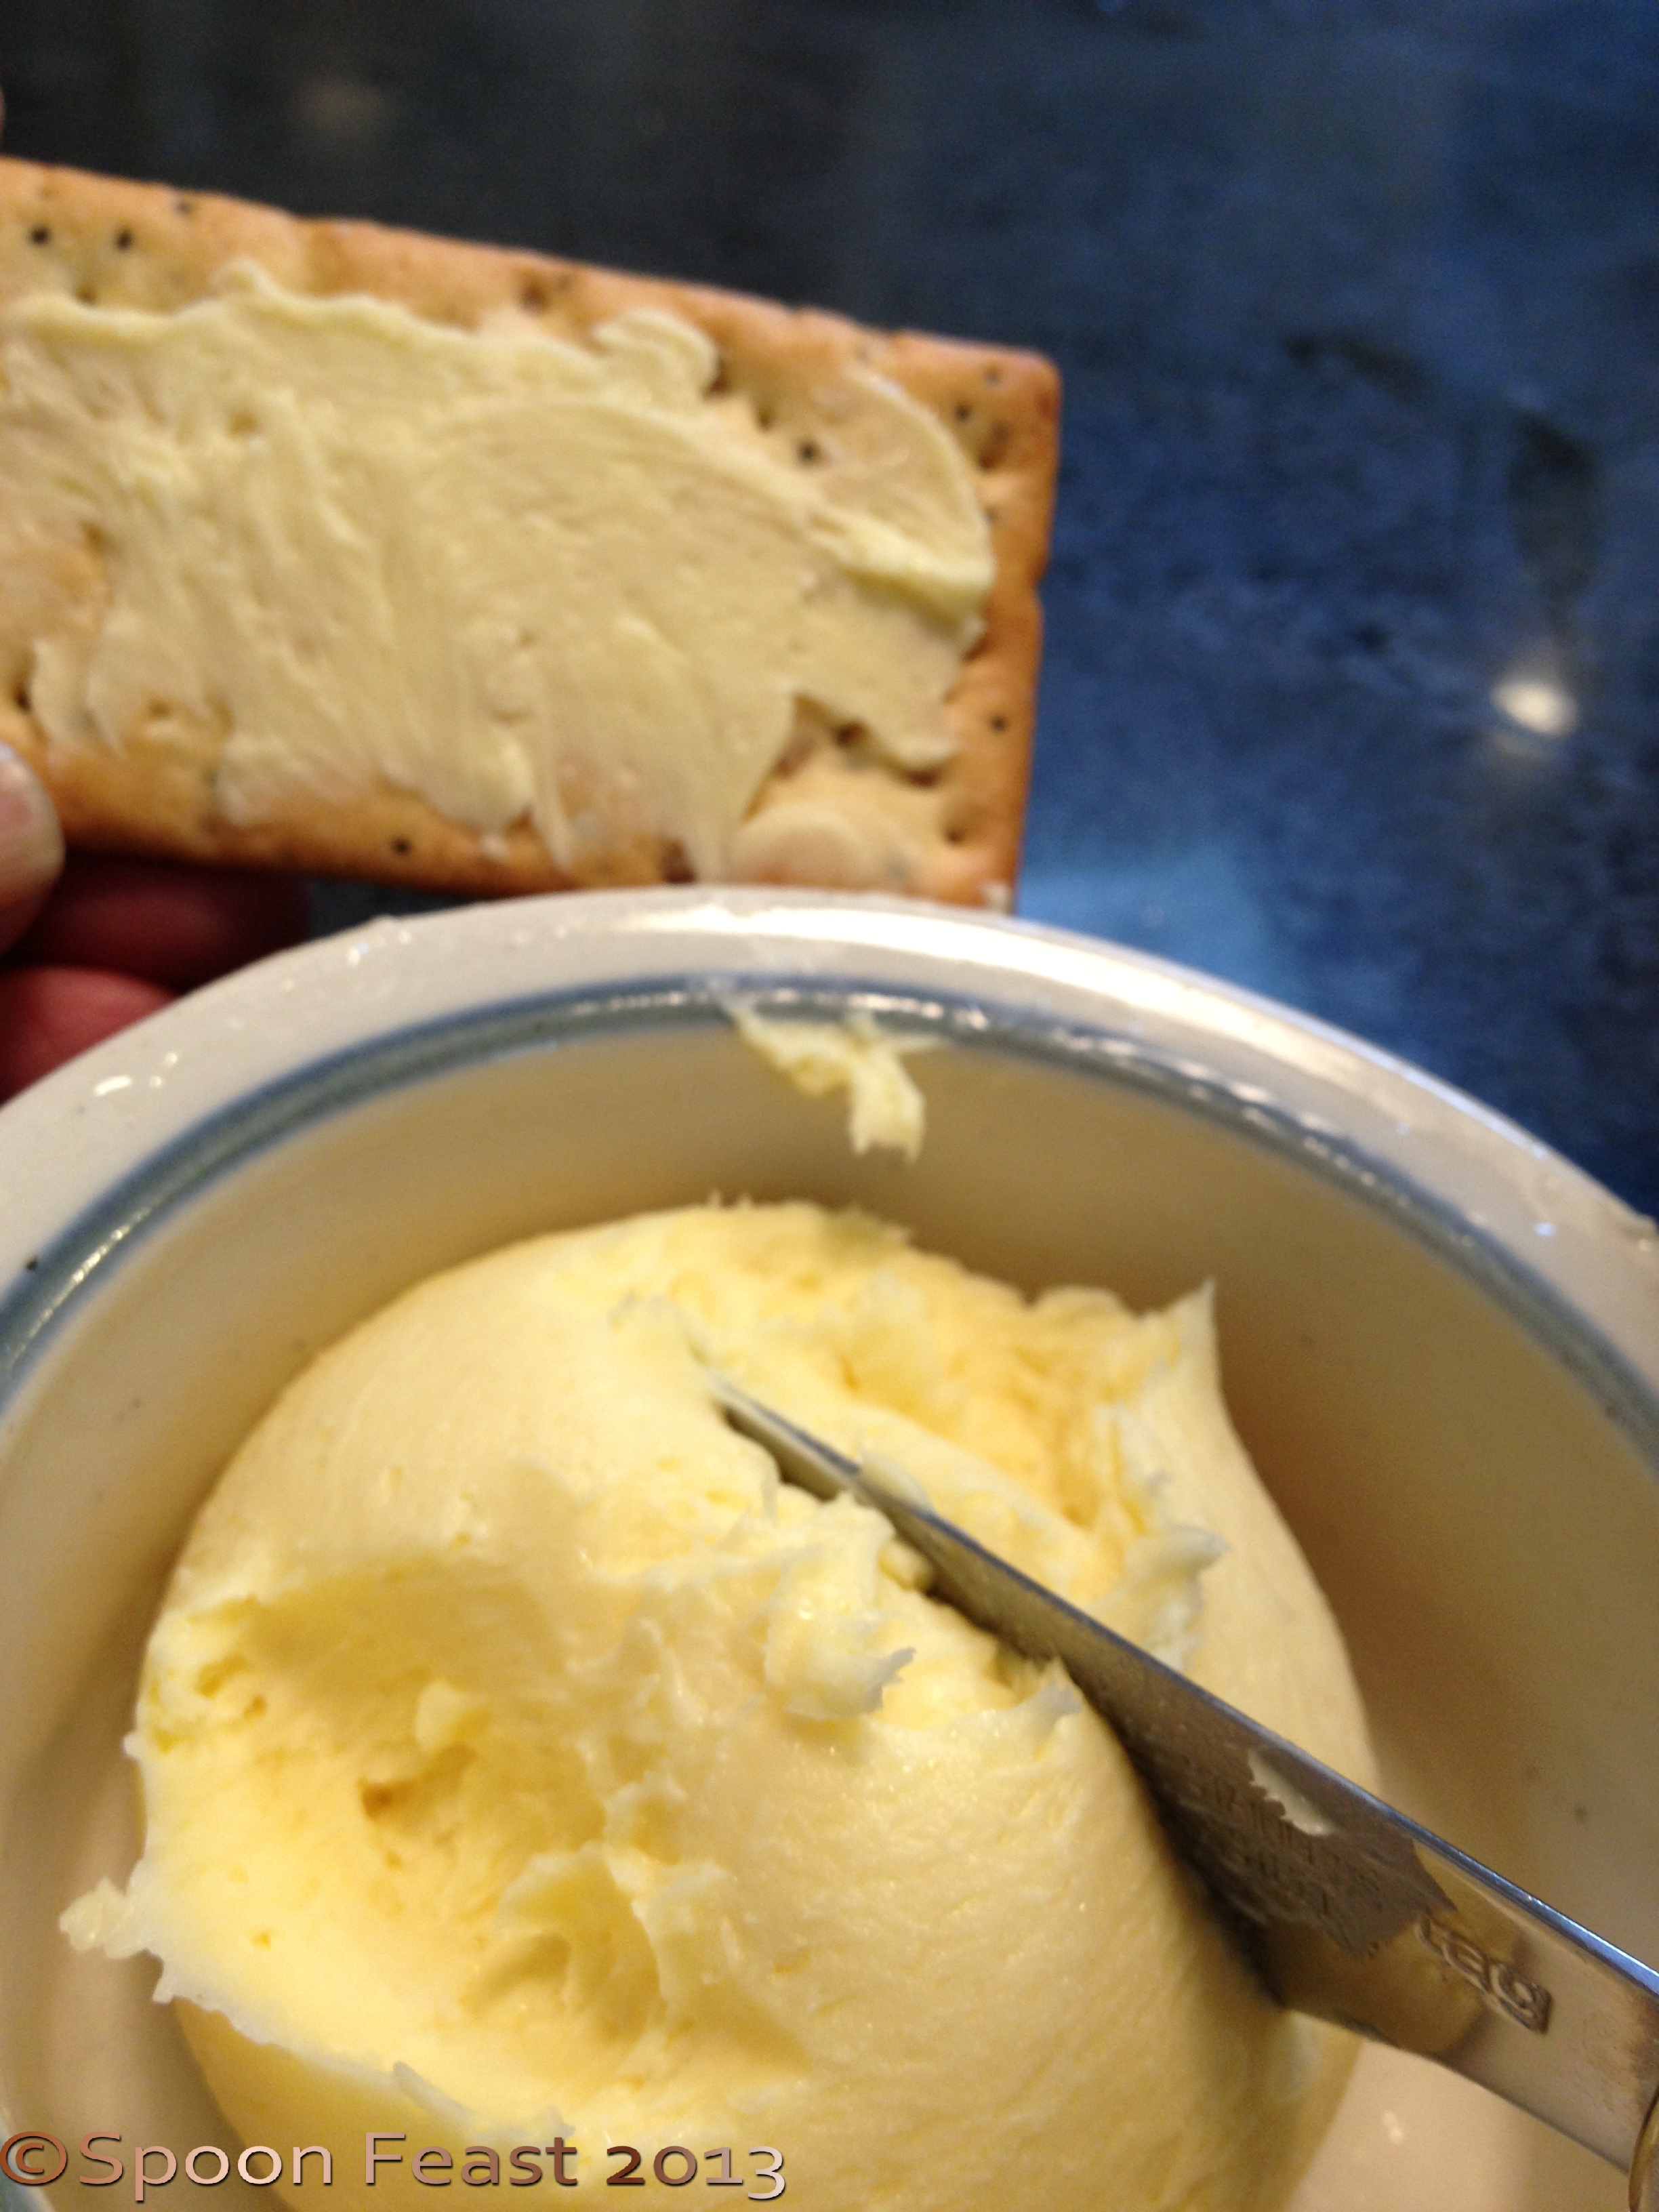
Really fresh butter and you know how much I love butter!
Both Jim and Robin were professional photographers who traveled and sold their work at shows. This resulted in an amazing collection of original art work from photographs of their own and others, sculpted art pottery, bead work, and dinner/serve ware style pottery. It was great to be in the presence of so much creative energy.
Jim works with Ricki Carroll of The New England Cheese Making Supply on development, workshops, recipes and website.
If you have any interest in cheese making, I highly suggest you get in contact with Jim to see what he has coming up. He has limited space so make you plans early.
You can contact him at jim@cheesemaking.com.
He can give you the cost, dates and availability of up coming workshops. I would say these aren’t for someone who has never made cheese before because he gets quite technical. If you never made cheese before, find a local class that teaches mozzarella, marscapone, lemon cheese, cream cheese and other quick, easy fresh cheese.
If you like the process, play with making a couple aged cheese, THEN go take a workshop from Jim.
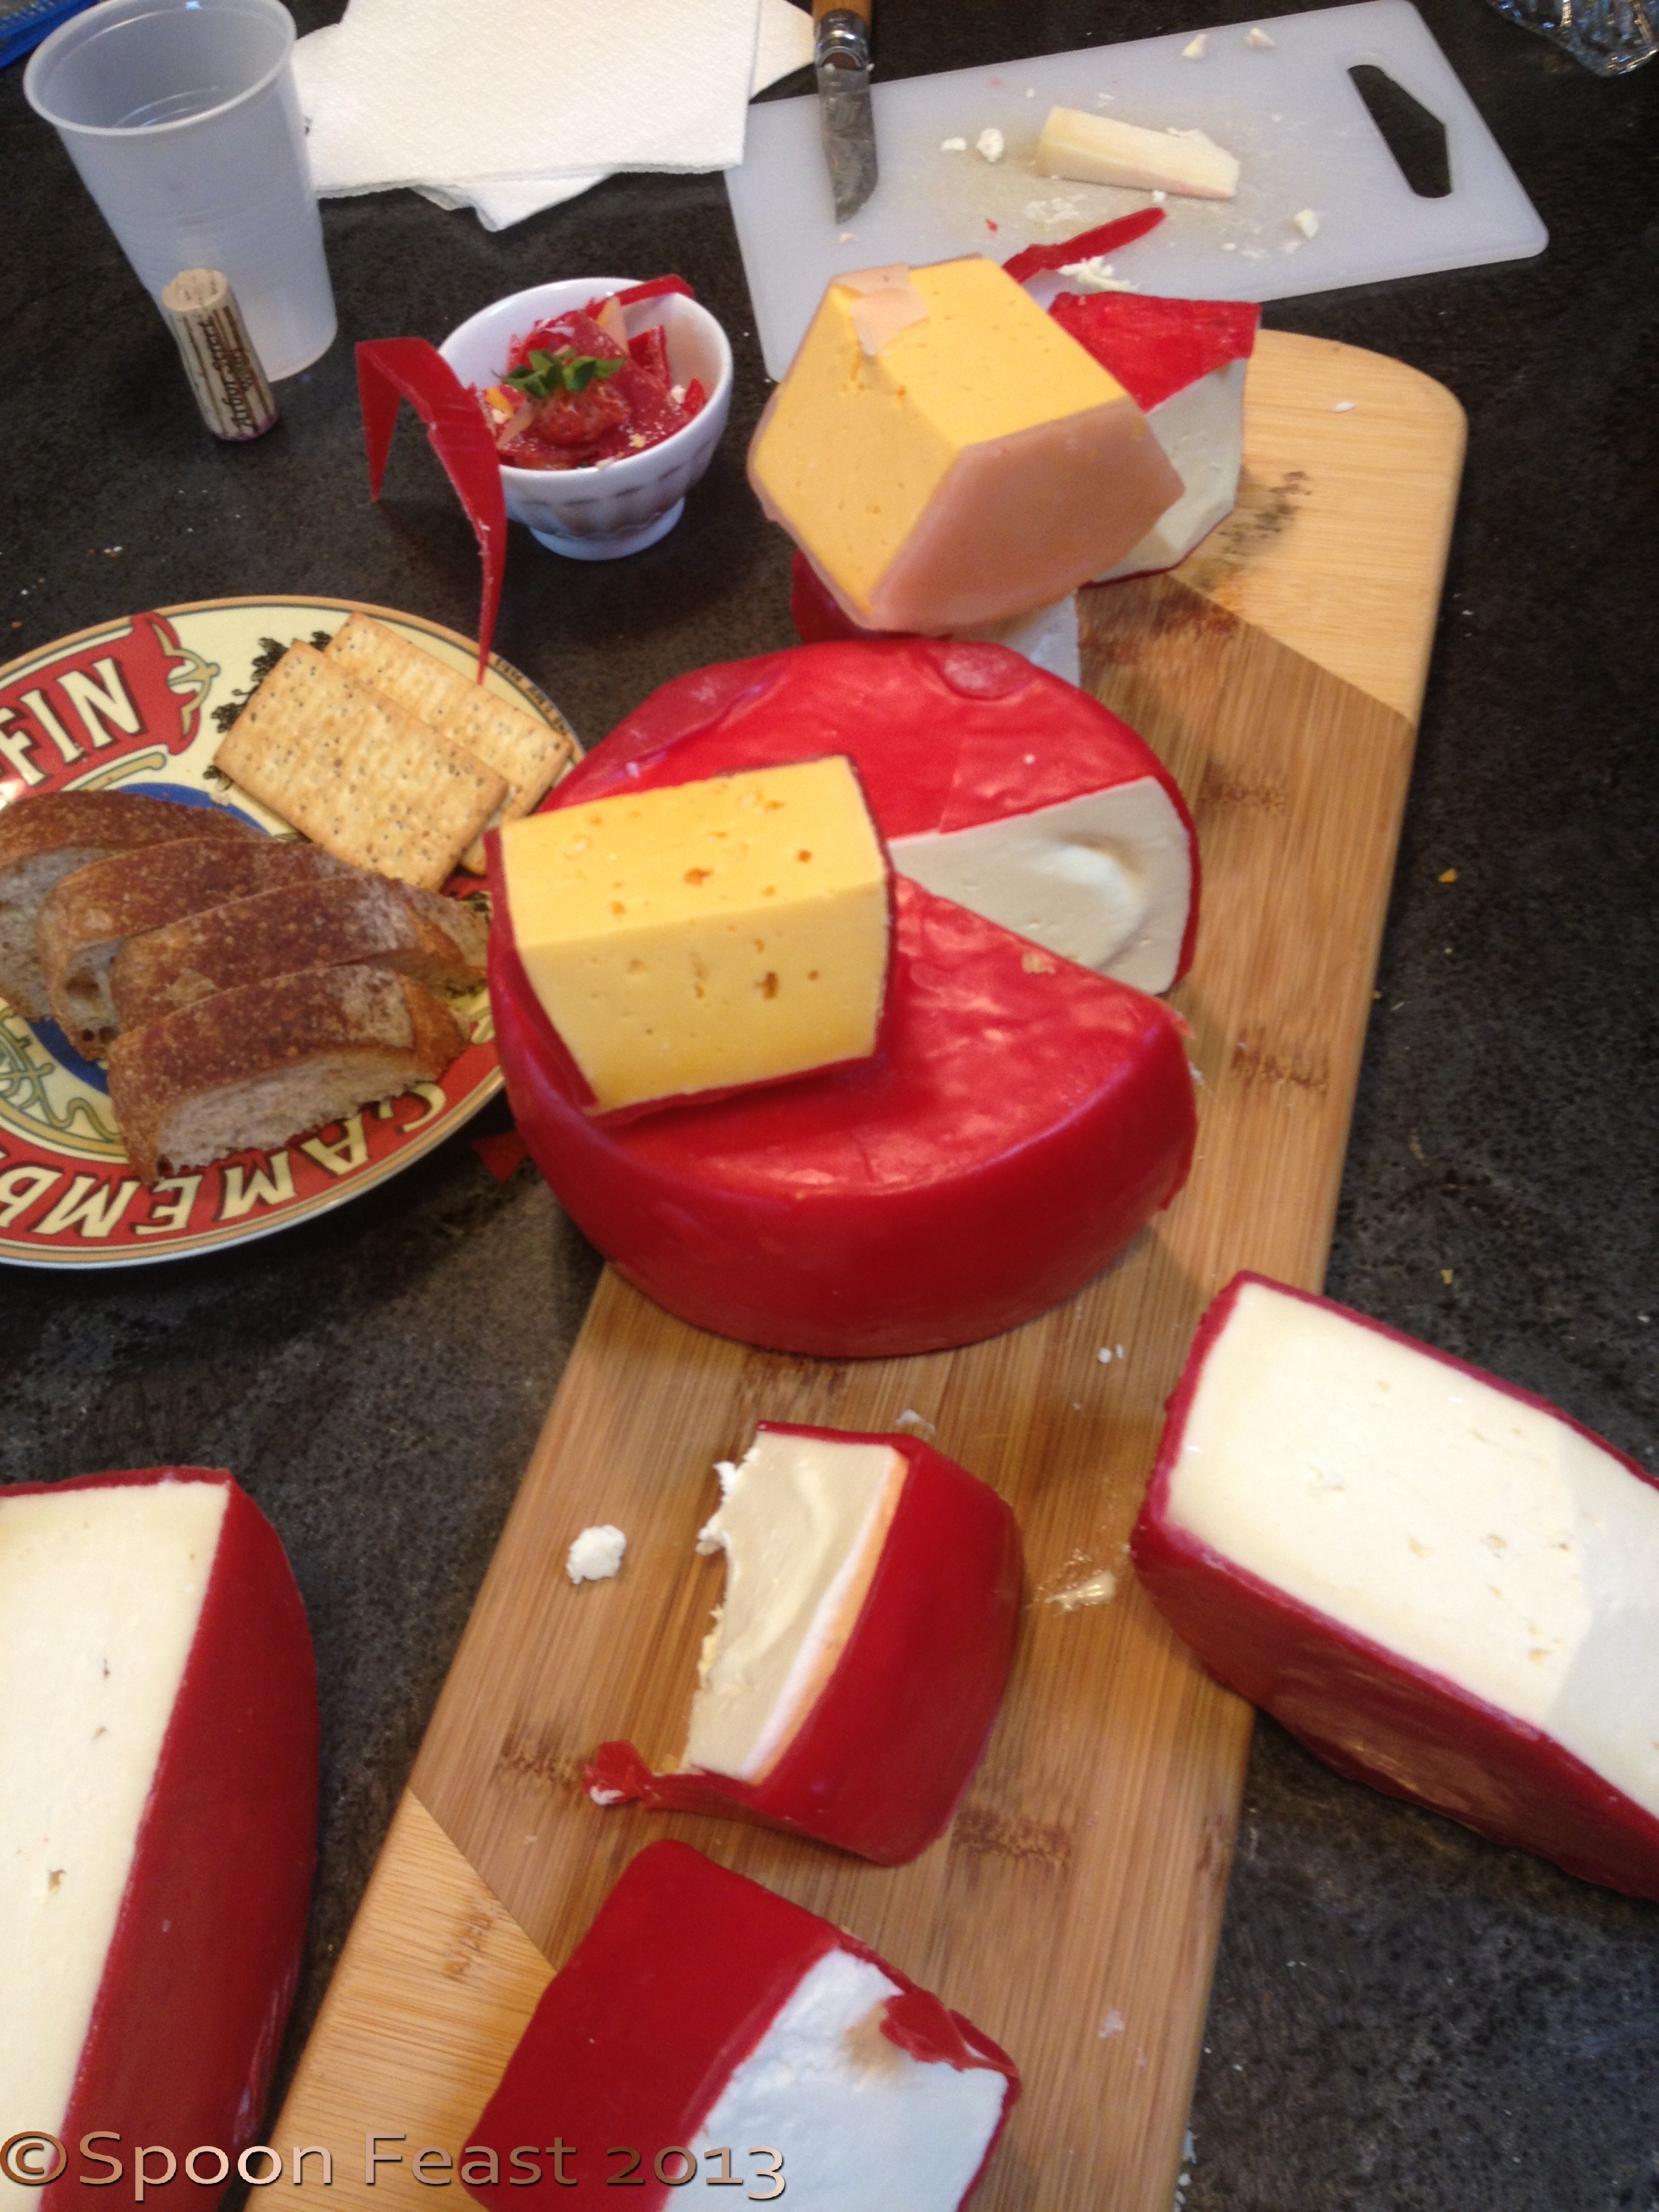
These are the cheeses that everyone brought for the evaluation session
Bring your cheese with you and he will tell you what you did right, what went wrong and give great advice about your cheese. Everyone got a lot out of this session.
I will create posts on the cheese we made and the cheese we make now that we are back from the workshop.
It will be quite fun and interesting to get to make these. The challenge will be in allowing them to ripen and age enough before cutting into them.
Some age for a couple of weeks, and others several months, We think once we get the process started, we can have a perpetual flow of amazing artisan and farmstead cheese.
Watch for these posts over the summer!
If you take a workshop from Jim, let me know what you get to make as his workshops are all different. We guess it depends upon what his cave needs and his social schedule as he always brings cheese.
You’ve got to pace yourself though, it is easy to get cheesed out if you don’t normally have a lot of cheese in your diet.
Let’s make some cheese!

Aged Cheddar

Almost ripe Camembert

Aging Vacha Toscana

Jim’s cheese we tasted at lunch. The Bavarian Feta (rectangle cheese top left) is my favorite!
The best video I have ever seen on how to do this process.
Buy some chickens, do it and practice!
Cooking time is about 2 hours at 350°F is a roasting pan.
Place a small bit of stock in the bottom of a pan with a couple of chopped carrots, onion and celery for flavor.
Use your favorite stuffing. When practicing, I make and donate the cooked chickens to Ronald McDonald House so we don’t get sick and tired of eating skills practice.
As Jacques says, you can do this with all birds.
What fun!

Paper cones ready to use
Knowing how to make a paper cone for decorating can save you a lot of headaches if you have some decorating of pastries to do.
The paper cones can be filled with melted chocolate, various glazes and thinned icing for writing on cakes or drizzling pastries or creating piped designs.
Best of all, no tip is needed and when you are done, simply throw the cone away.
It takes a few practice units to get it right, but after you do, it’s like learning to ride a bicycle, you don’t really forget how.
Here’s how:

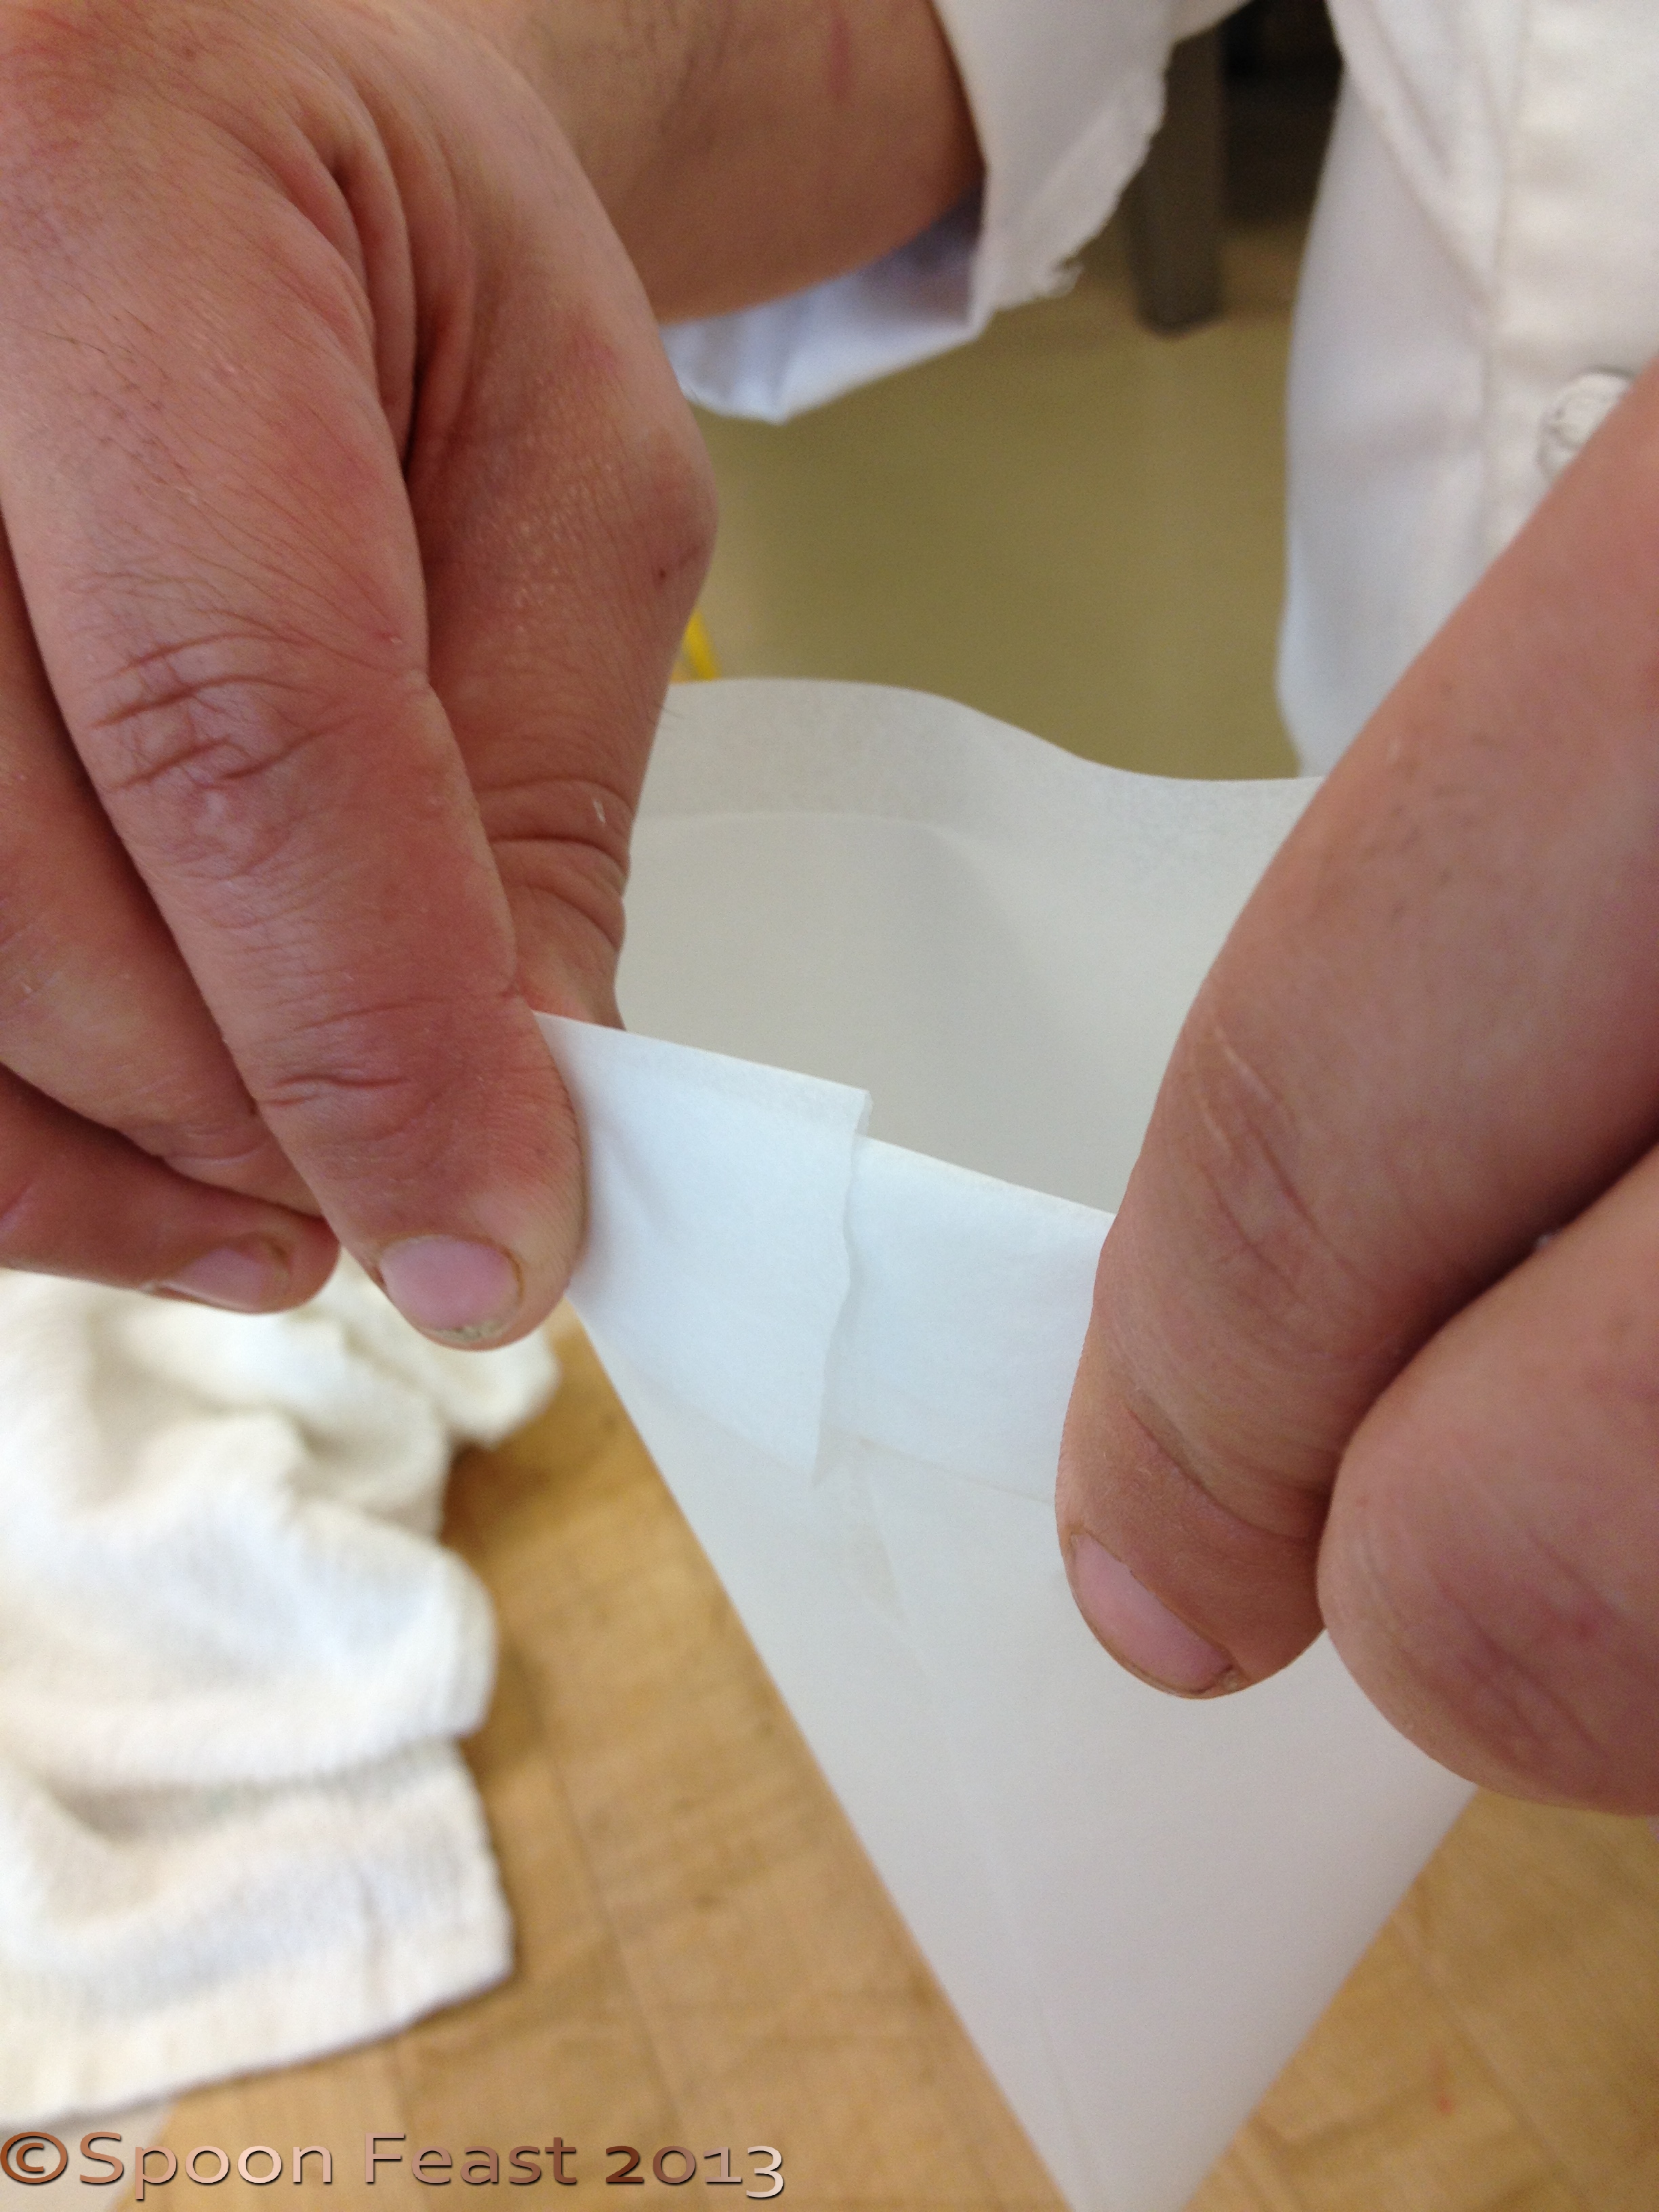
Lay out a piece of parchment paper.

Fold it so it forms a square. There may be an extra piece to cut off at one end.

Remove the piece you don’t need. I find cutting with a sharp knife works best.

Fold the square into a triangle and cut to make two triangles.

With the triangle, you have the top tip and two points along the long edge. Bring one of the bottom points up to meet the top tip as shown.

Close up, bring both points on the long edge up to this top tip.

With all three points together, adjust the cone so the pointy tip is closed. You can adjust the opening by moving the points. Play with this to see how it works. You will need to know how this works later when piping.

Using the tips, you can move them to adjust the size of the opening.
Fold the edges to secure. (NO TAPE!) Folding, if done correctly, is all you need to hold these together. Practice!

A finished paper cone

Moving the points on the long edge up to the tip on the top of the triangle allows you to control the size of the opening.

Paper cones ready to use!
It’s time again for another Soup on Sunday! Held the last Sunday of January, risking the wrath of possible inclement weather, Soup on Sunday has always been held on time and on date, except 1 year about 2 years ago. The community really supports this event.
Who wouldn’t like a lot of amazing soup on a cold winter day?

Yummy Soup!
Our culinary department hosts this event every year to benefit local Hospice. Typically we get more and more each year, both people attending and money raised.
Area restaurants bring 5 gallons of a signature soup to promote their restaurant.

Warming Soup

To round out the plethora of soups, Great Harvest Bread Company brings an amazing variety of fresh bread, the area culinary schools, Johnson and Wales, Art Institute and CPCC, do both soups and table-breaking loads of desserts, chocolates and cookies.
How it works:
Buy a ticket: $30 gets you in to taste everything available; A $40.00 dollar ticket allows you to pick a bowl valued at $10.00 from the pottery room.
Once you get in, you can eat as much of anything you want. The soup is served up in small bowls so you can TRY to have a bite of every one. With about 35 restaurants participating, if you only ate the soup and ate every one, you’d consume over 1/2 gallon of soup! And that does not include the pizza,
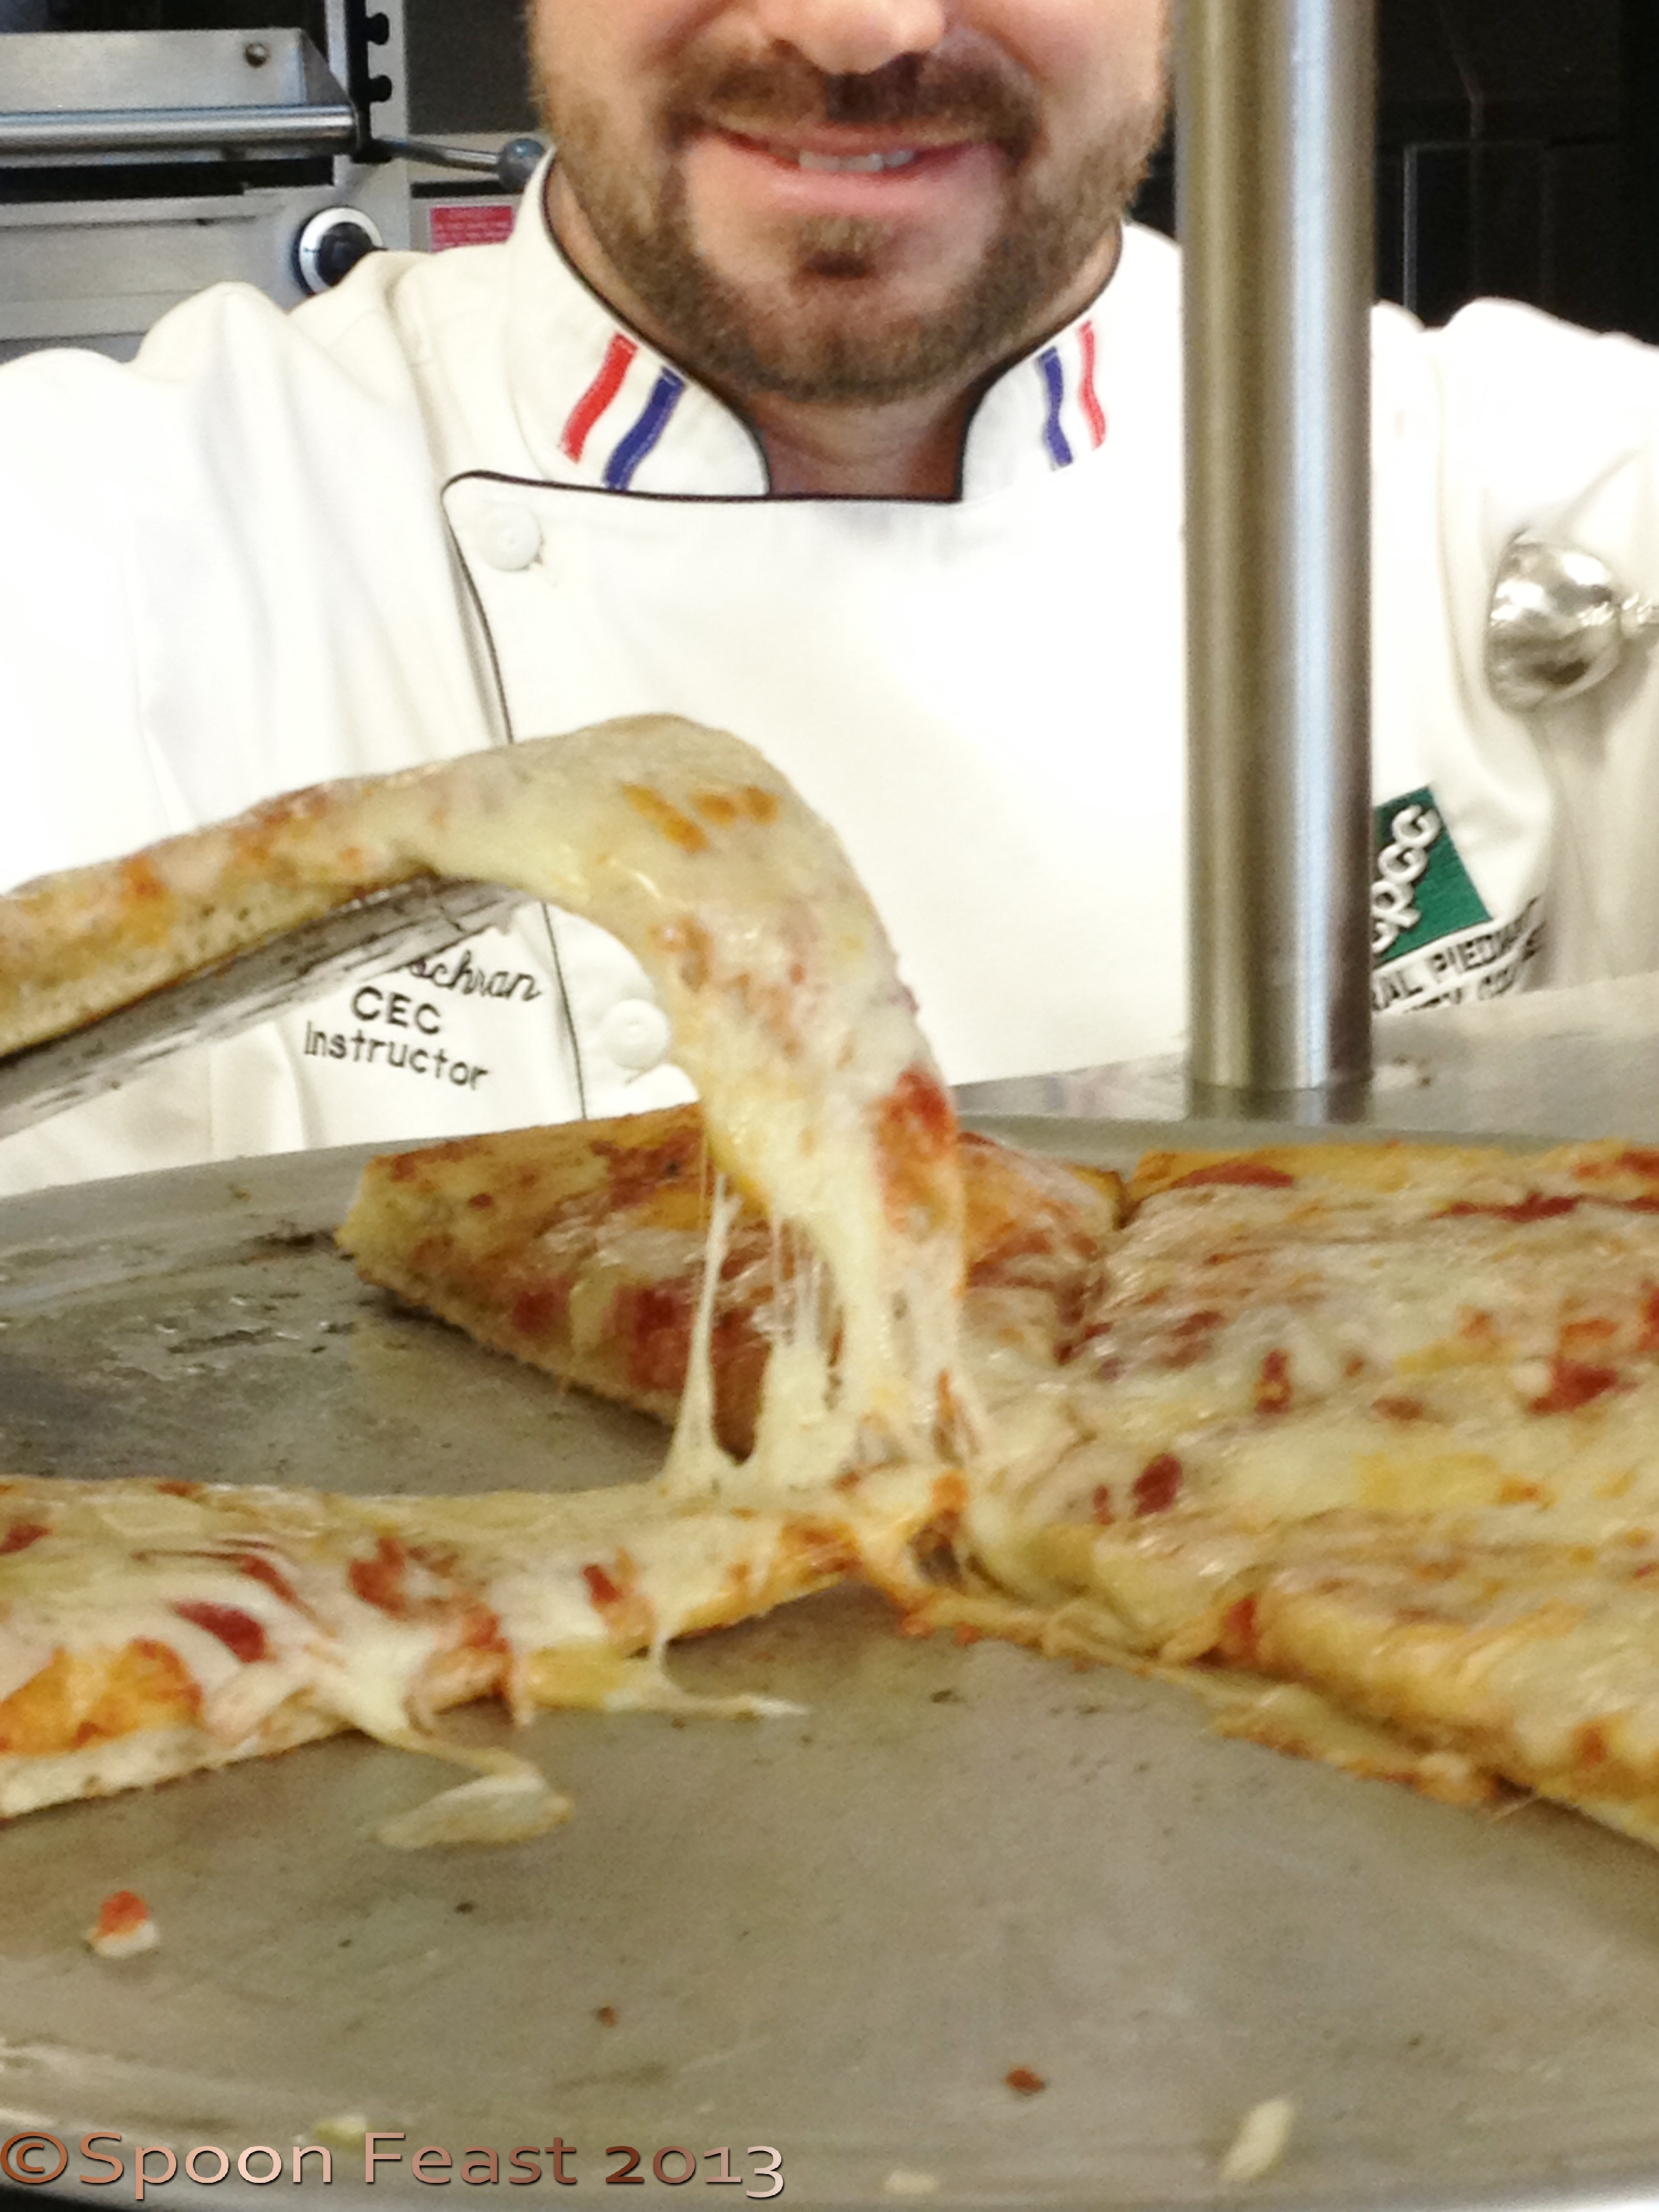
Pizza!
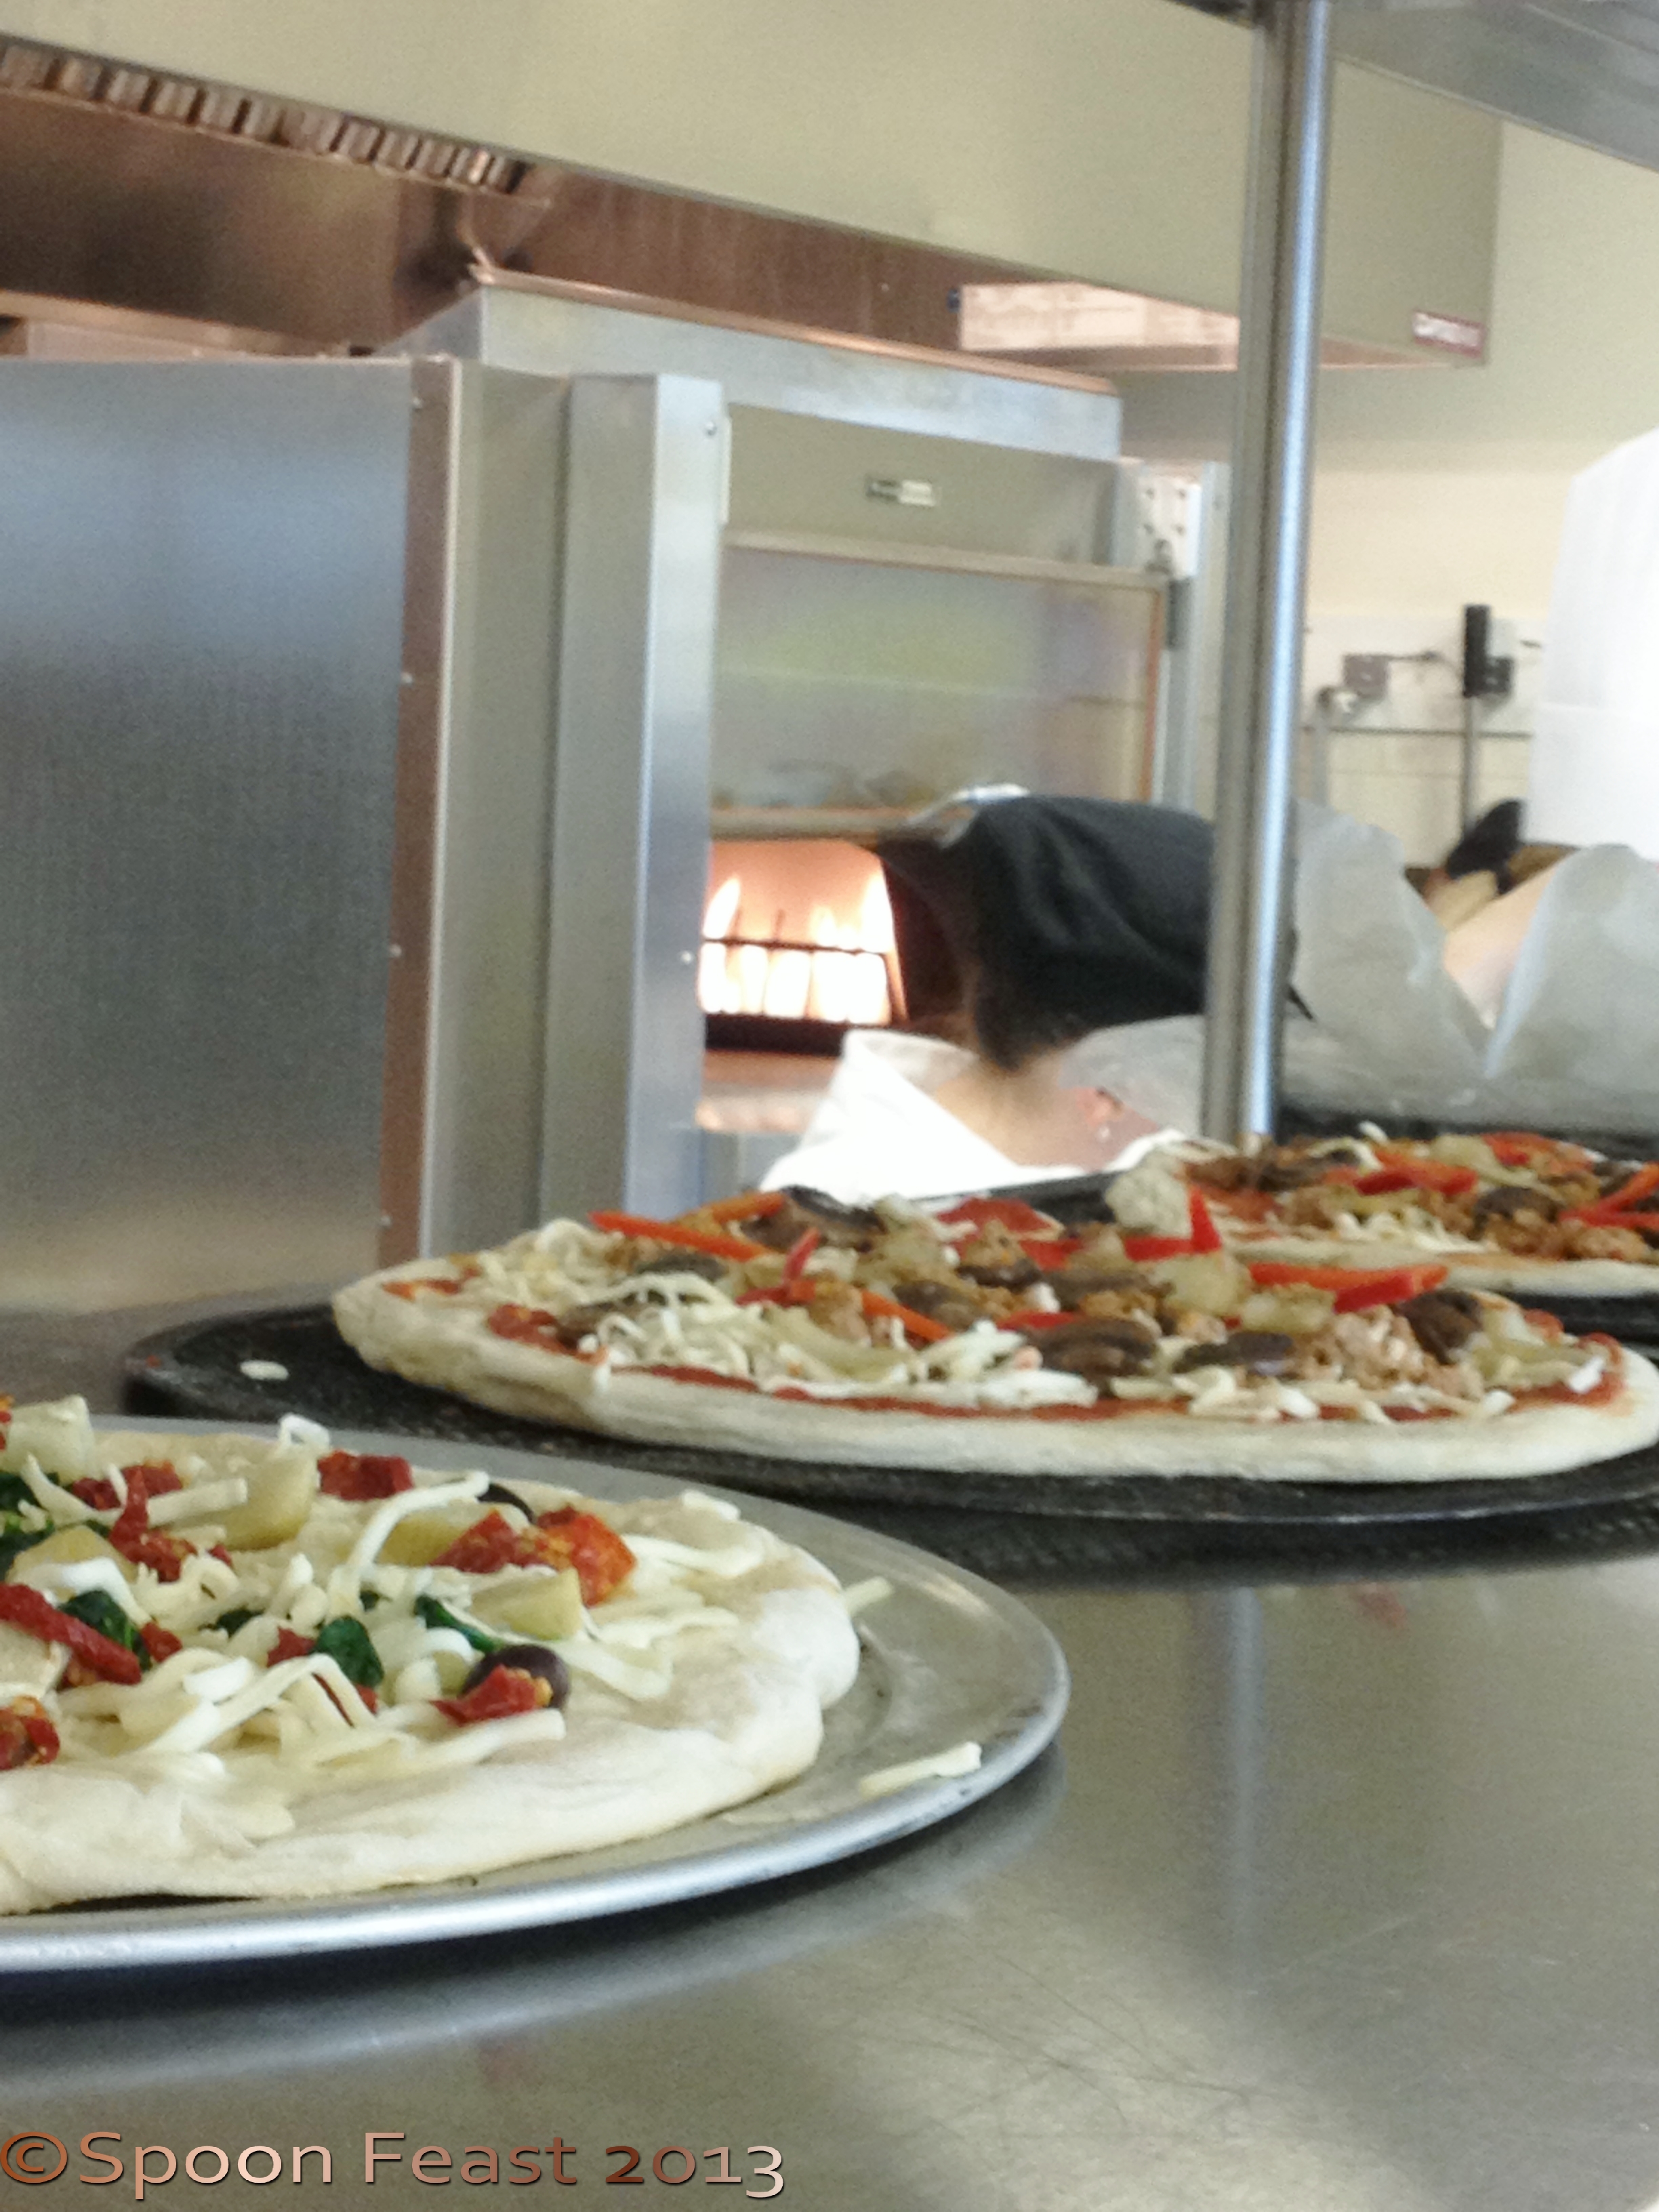
Pizza lining up for the oven

The Wood Stone Pizza Oven. Students have a blast using it!
or cookies or ah-hem the Chocolate Soup.

Chocolate Soup!
Not many people realize how important the dishwashers are to an event. These Johnson and Wales students volunteered their time and talent to the event and took charge of the dish pit. Thank You!
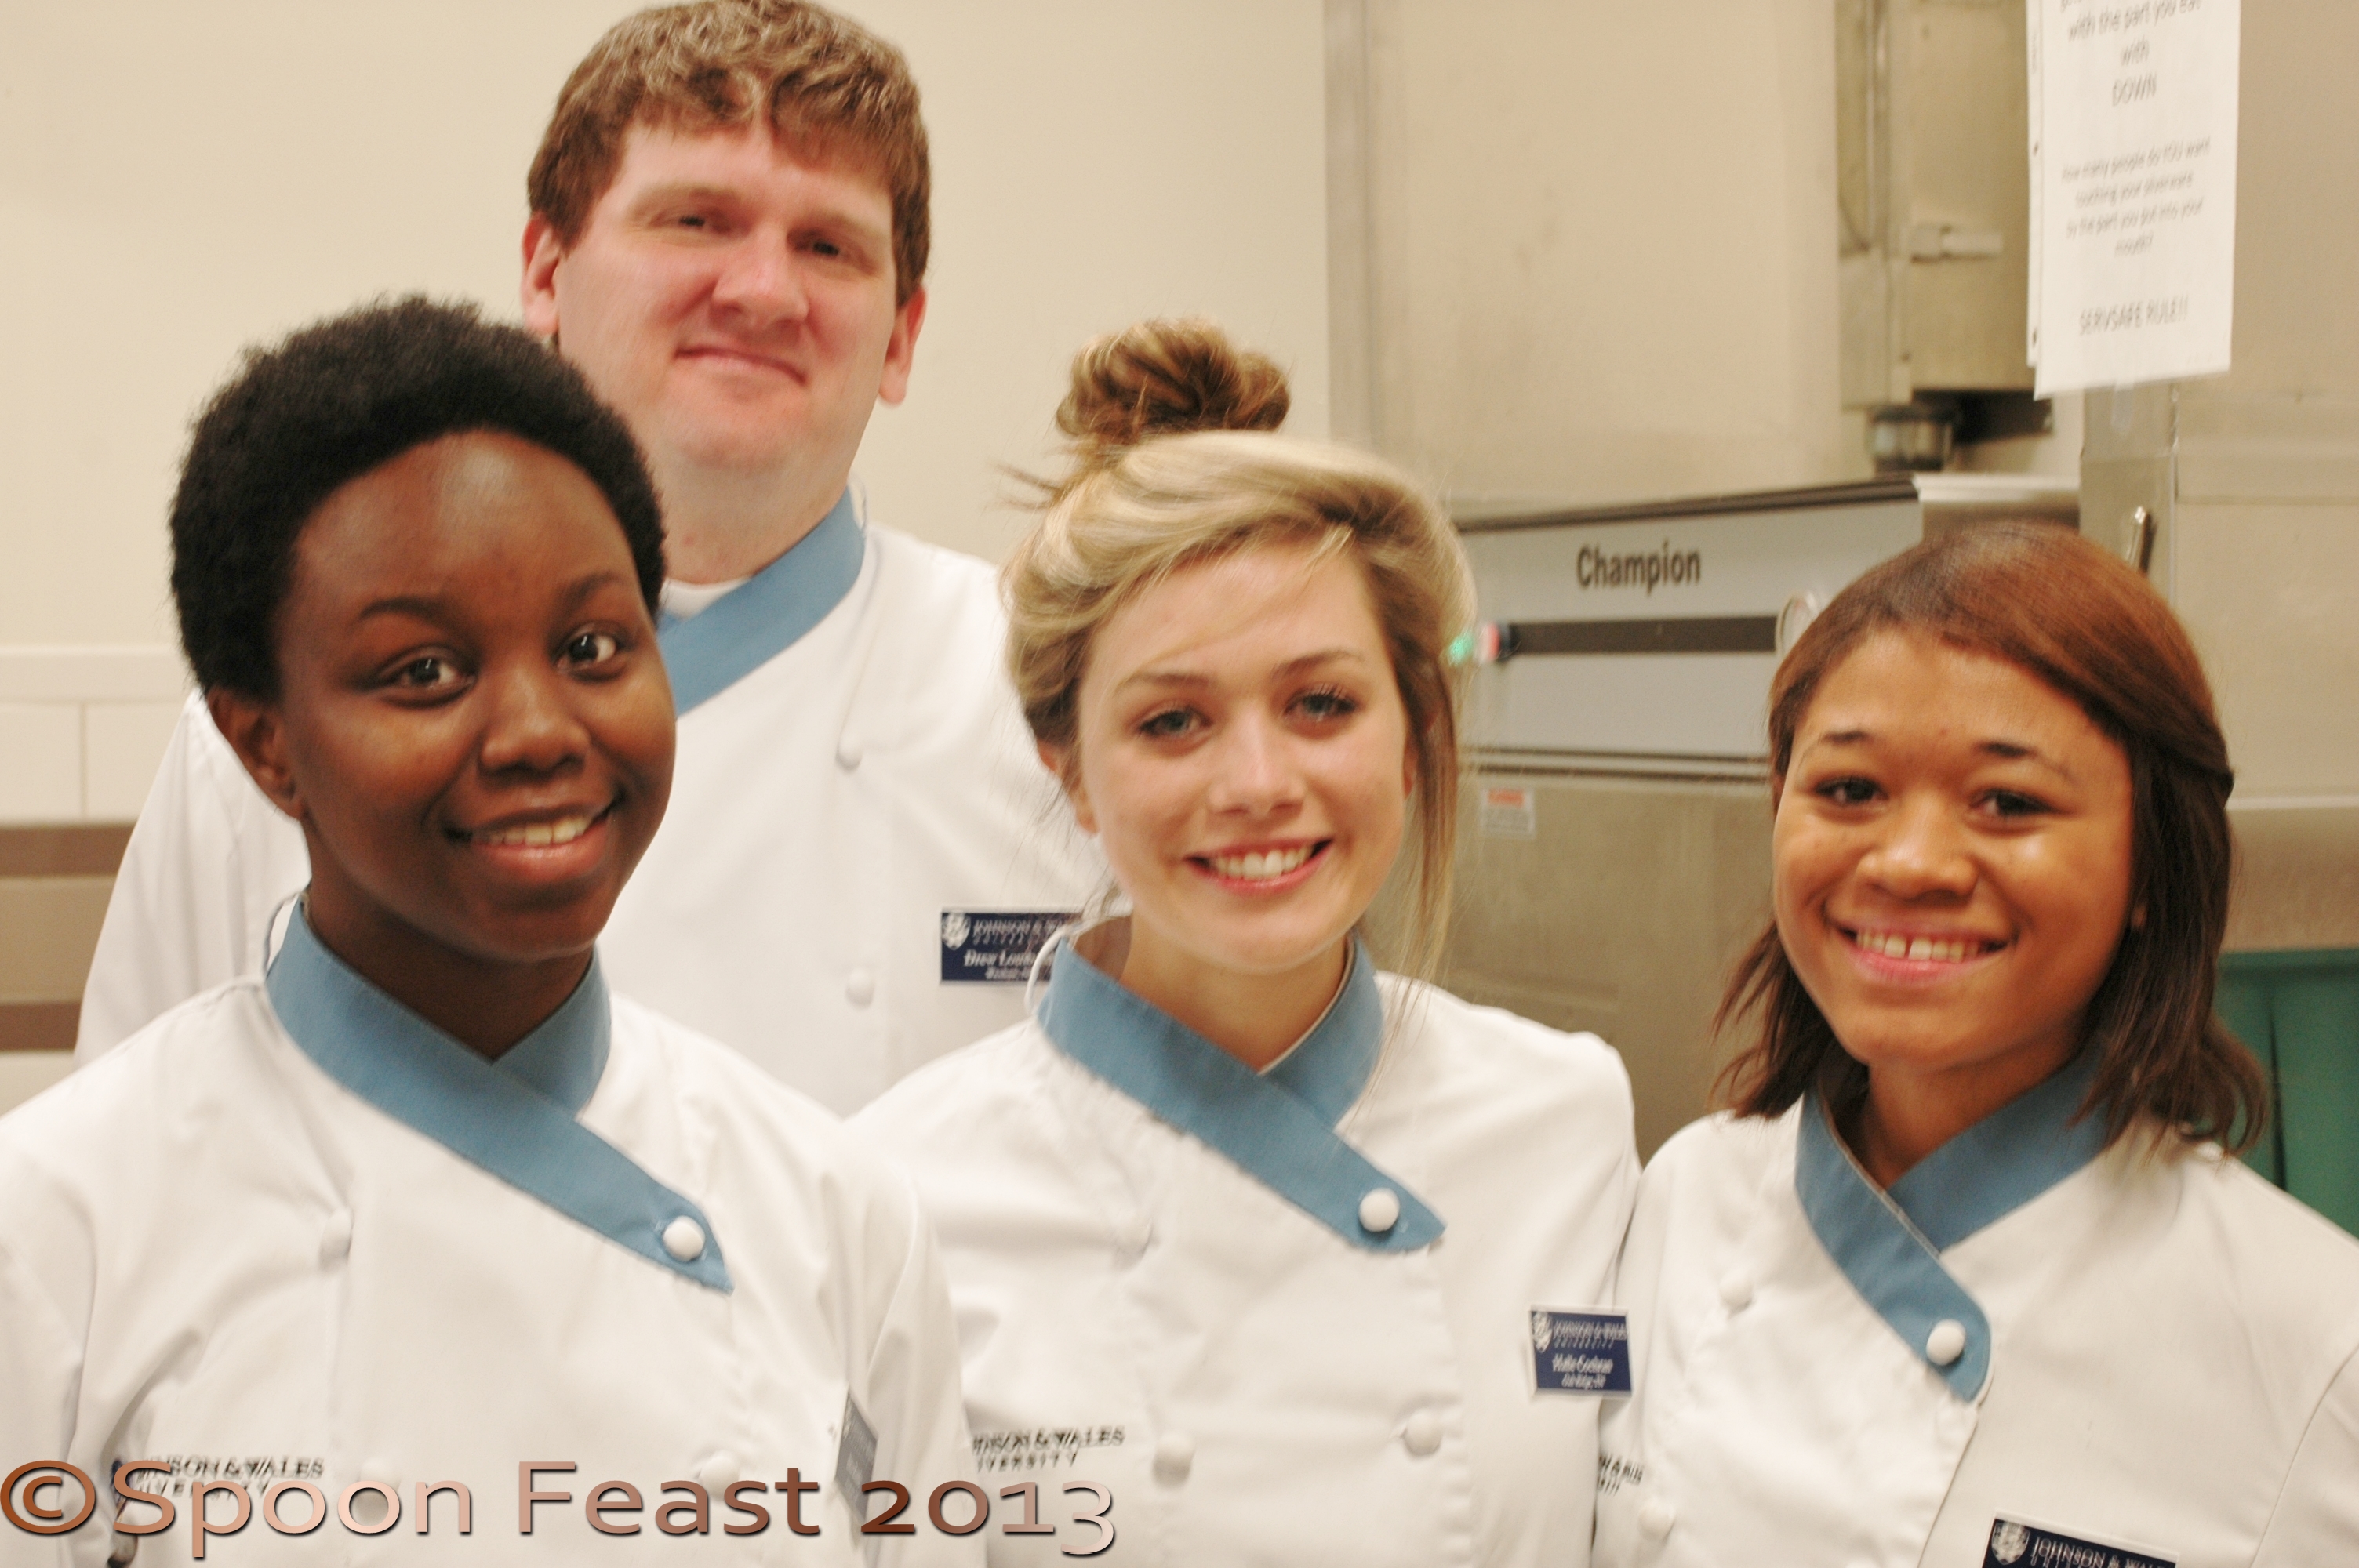
Awesome Dishwashers!
After the final numbers were tallied, over 770 people came by to support Hospice. The event is the major fundraiser for them and we are all so glad to be able to host and facilitate the event. Everyone gets involved and gives back.

Soup Bowls for sale
Area clay artists donate pottery bowls for sale starting at generally $10.00 and up. The quality ranges from really talented to rudimentary primitive ( typically done by kids), which can work, depending upon the decor of the area you are decorating. Each year, I buy at least 1 bowl, sometimes 3-4. We enjoy using them throughout the year. Last year I bought beautiful footed deep soup bowls, in previous years I bought fruit bowls and rice bowls. This years bowl is a condiment bowl, small and lovely; it is the bottom on in the photo below.

I bought the one in the bottom of the photo
This is my 6th Soup on Sunday and now I have 6 hand-made pottery bowls that we use and enjoy all the time.
Please enjoy the following photos of Soup on Sunday, 2013!

Great Harvest Bread Ladies – Loretta and Robin – Former students!
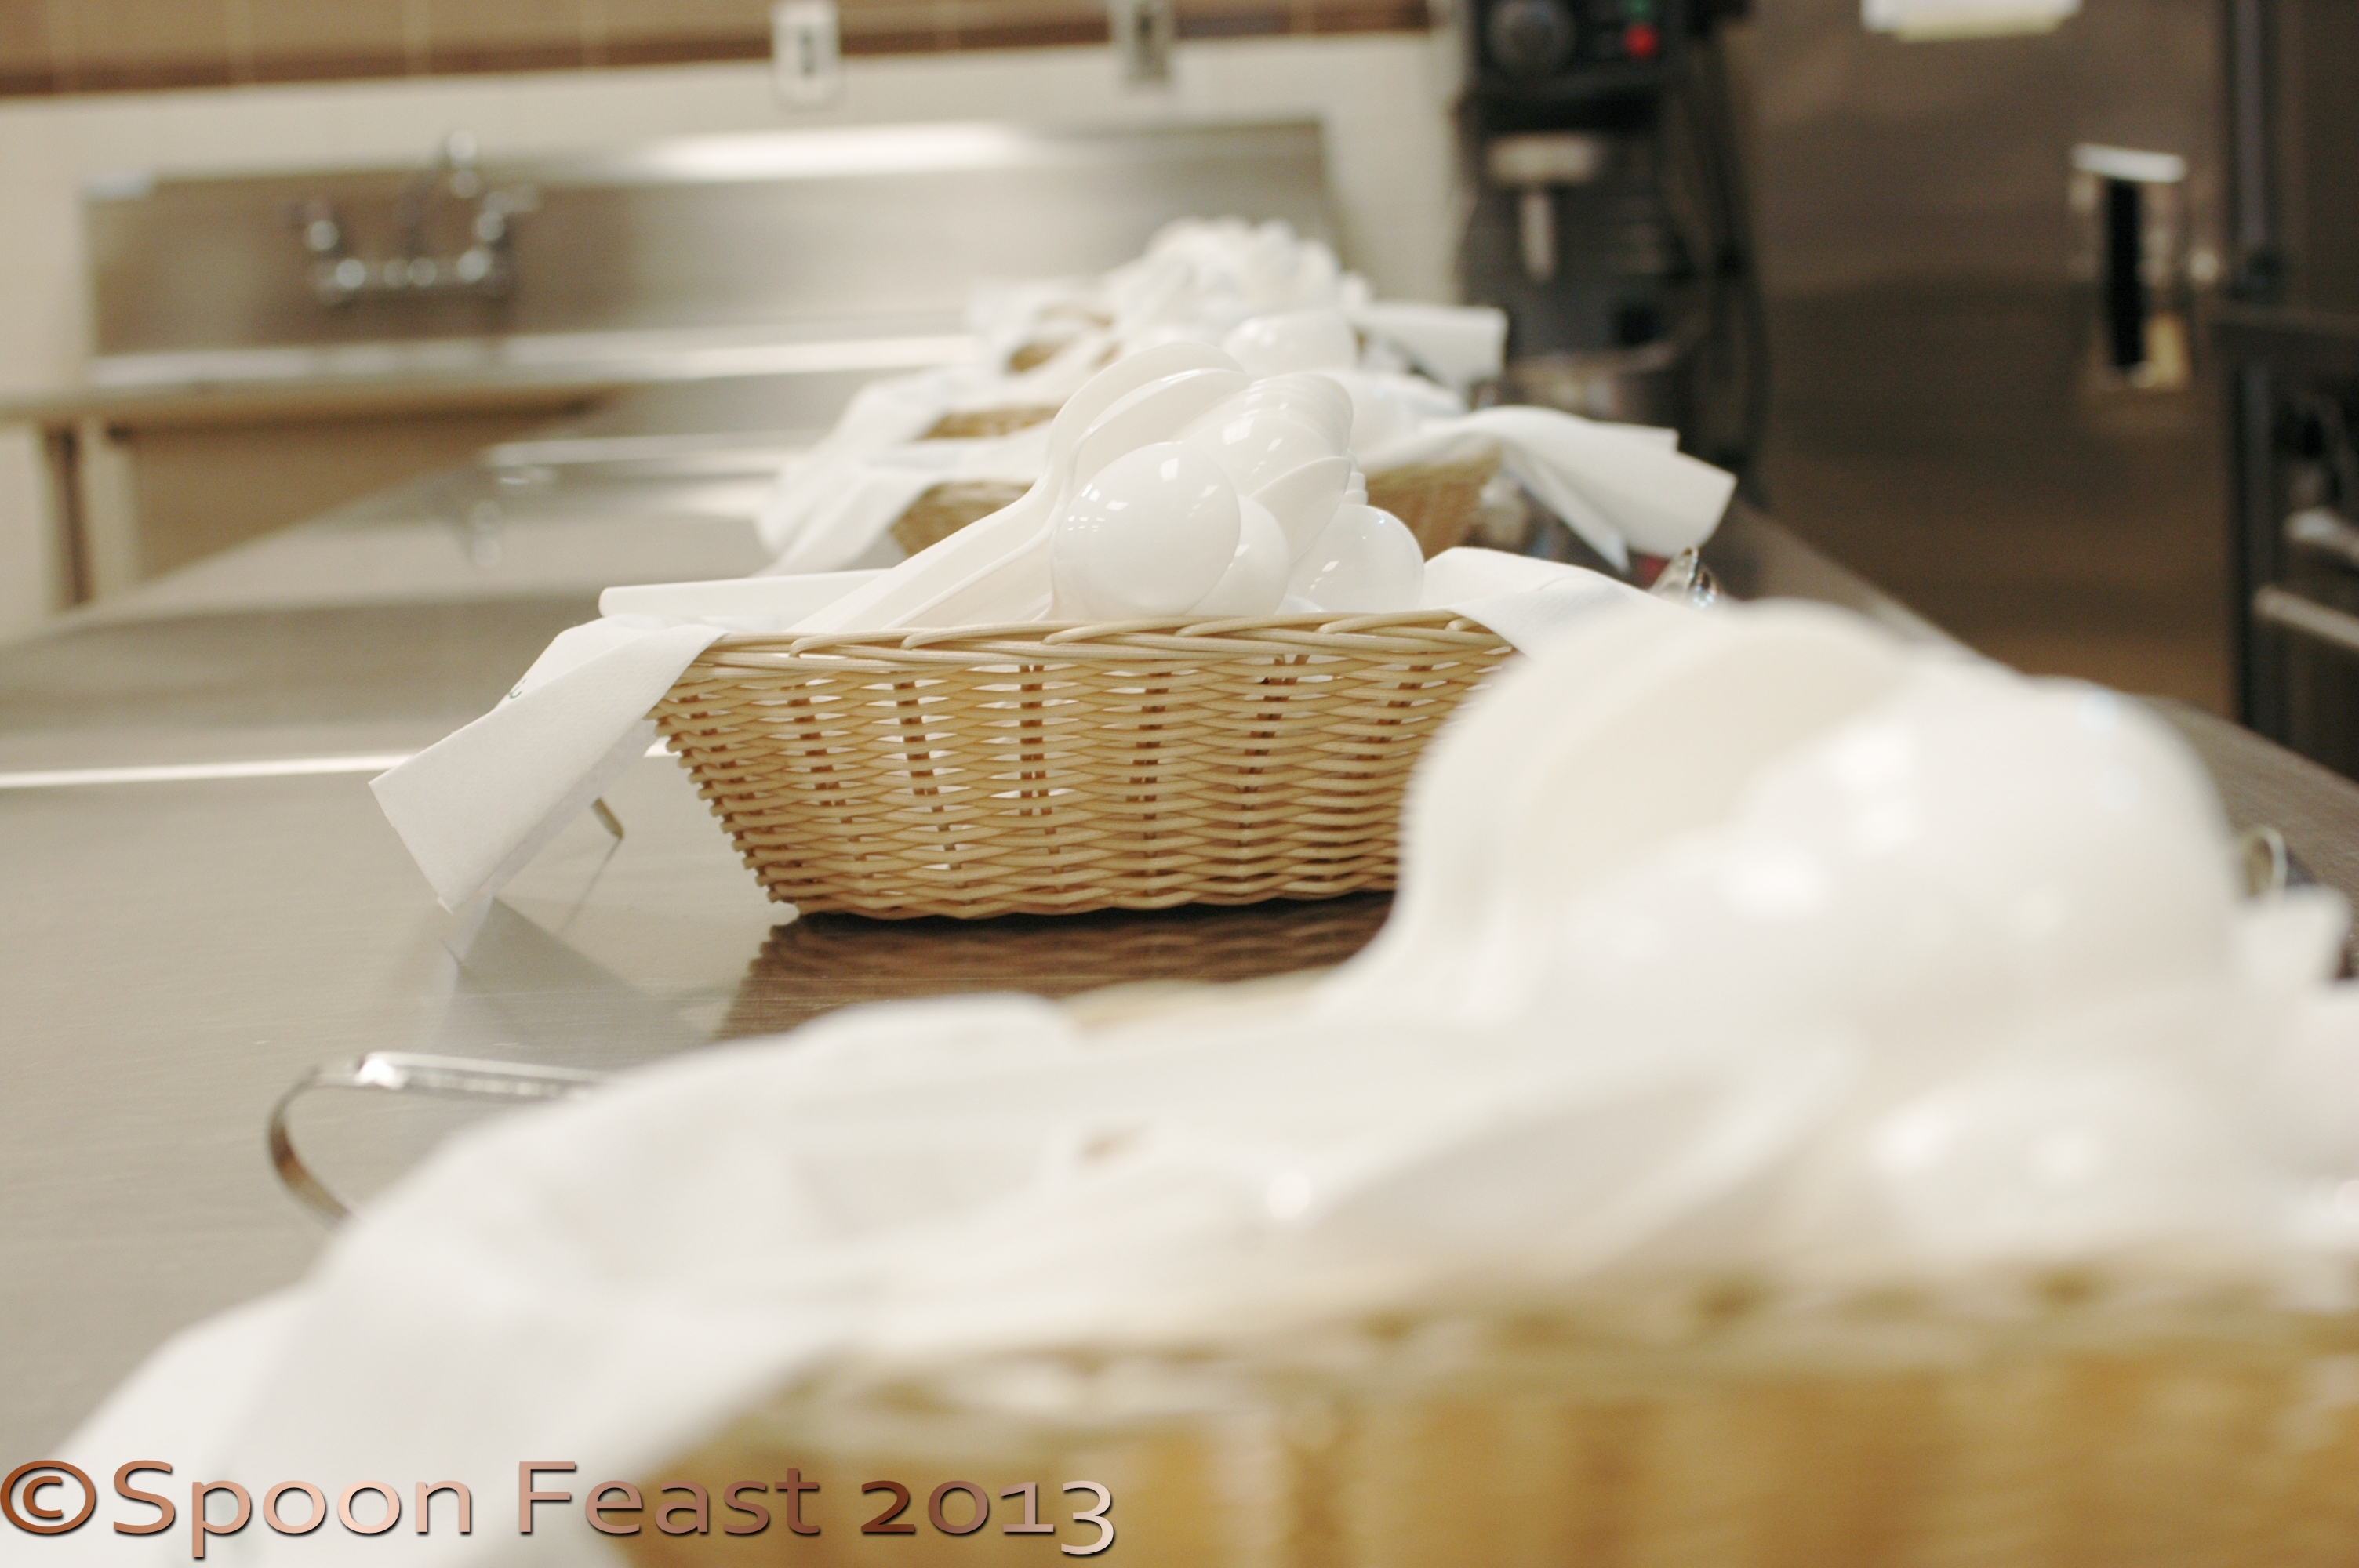
Each basket of spoons marks a spot for a different restaurant

They can decorate their 3′ table space
any way they want, tablecloths, flowers etc.

Over 770 people came this year!

Sorting supplies for each station

Serving soup, they stay busy with those 2 oz ladles!

Pouring Soup instead of using the ladle.
I taught a baking class one year at this time. The College hosted a “Christmas at the College” event so we built a Gingerbread Village.
We invited small children in to decorate graham cracker houses and students created large house. Here is a gallery of the different houses on display.
Notice the windows, inside lighting, stained glass and the one Thomas Kincaid House and look for the ice skater and the 3 little pigs houses made from “straw, sticks and bricks”.
There are a lot of ideas for decorating your gingerbread house. Some materials you can use are:
Happy Holidays!


Here is a super simple dough to use for pies and tarts. One key to working with any tart dough is to keep it cold. This allows the fat to melt while baking which creates light, flaky crusts.

Plum Blackberry Almond Tart
With lots of holiday events approaching, here is a simple basic approach to a nice pie or tart dough.
If you want a double crust, double the recipe. This only makes 1 crust.
Easily done by hand, you can also use a food processor, just pulse the ingredients without the water, add water, bit by bit to make the dough mass. You may use all the water, only some or you may need more. It depends on how much moisture your flour holds.
If creating the crust by hand, combine the salt and sugar with the flour. Cut the cubed butter into the flour using a pastry cutter, two knives or a fork.

English: A dough blender; also called a pastry blender. (Photo credit: Wikipedia)

Cut the fat into the flour
When the mix resembles a coarse mixture (you still want to see some globs of butter, don’t make it smooth) add the ice-cold water tablespoon by tablespoon.
The mass should come together. Only use as much water as you need to bring the ball together. You may need more water or less water. This is why you add it bit by bit.

Add enough water to just bring the dough ball together when you squeeze it.
You want to see blobs of fat in the dough, not smooth.
Press the dough into a ball and place it between 2 pieces of plastic wrap. Press it into a disk.
Refrigerate until cold.

Roll the dough between sheets of plastic wrap
Roll the chilled dough out to the size you need while it is still in between the wrap. This makes it easier to handle and is much easier to clean up too.
Remove one side of the plastic wrap. Position the dough over the pie or tart pan and press it into place.
Alternatively, you can press the dough into the pan and then chill while you prepare the filling.
Much easier is to use the fluted tart pans with the removable bottoms. Press the dough into the tart pan. Make sure you have at least 1/4 inch at the sides and at the curve of the pan so it is strong enough to stand on its own when the pan is removed.

Small fluted tart shells ready for filling
The fluted edge pans give all your tarts such a professional finished look, they are so worth the investment. Since they come in many sizes, you can make large tarts or small individual ones and any size in between.

Ready to fill and bake. See the fat? That means you will have a flaky crust.
Fill them just as you would a pie.
If you use a top crust, decorate it with dough cut outs instead of just a pile of dough on top of the filling.
Or use a strusel topping or leave the fruit exposed and glaze with melted apple or seedless raspberry jelly when the tart is done. This puts a “sealing glaze” on the fruit and makes it shiny. The photo of the Plum and Blackberry Almond Tart at the beginning of this post is finished with melted red currant jelly.
Butter: Fat is fat, at least the melting point of butter is lower than body temperature. Fat provides tenderness and flavor to the crust. I’d rather eat butter than Crisco or lard or hydrogenated oils like margarine. I have yet to try coconut oil.
Water: Some recipes will ask you to use vodka instead of water. It provides a flaky crust too. Alcohol evaporates faster than water therefore creating a flakier crust. Try it if you like. I don’t drink distilled spirits so it never occurs to me to use vodka.
Flour: Use a good quality organic flour. You can use gluten-free flours too. I’m just not too sure how strong the non-wheat flours will hold up in a fluted pan once the outer ring is removed. My experience is most gluten-free baked goods are crumbly due to the lack of gluten. Not sure how to over come that but since I’m not gluten-free, I use King Arther’s unbleached AP flour and I get pretty crusts.
I do know if I had to go gluten-free, I would miss pie crust, tarts, and good chewy bread tremendously.
No matter what liquid you use, just be sure it is ice-cold. I use a large measuring cup with lots of ice and water and scoop what I need from there. When finished, I pour the cold water into a glass and make lemonade or tea. I suppose you could do the same with vodka. Use lots of ice.
Bake off empty shells by lining with parchment and filling with rice or beans and baking until done. Fill with fresh fillings.
Fill unbaked shells with fruits, custards, fillings and bake until golden and bubbly. Times vary but usually take 45-55 minutes in a 350°F oven.
There are so many finishing and fillings!
Use any left over scraps to make dough cut outs. Egg wash them and sprinkle with sugar. Bake on a cookie sheet until golden brown. Use these on the top of the tarts, place them when the tart is still hot from the oven or serve as a garnish with each serving.
Be creative.

Color-enhanced scanning electron micrograph showing Salmonella typhimurium (red) invading cultured human cells (Photo credit: Wikipedia)
Food safety is a serious subject. I am passionate about preventing food borne illness. I have been teaching the subject to restaurants, hospitals, schools, dietary managers, nursing homes and at the college level since 1991. I am a Food Safety expert.
This is the launch of a series of food safety articles.
The first subject is on 4 Safe Methods of Thawing Foods.
There are 4 safe methods for thawing food. Following one of these methods can help prevent making your family and friends sick with a food borne illness.
This takes some planning. Sort out your refrigerator so you have a designated drawer on the bottom of your fridge to hold raw meats.
If you want to defrost a whole 3 pound chicken, it will take about 4 days to thaw. You need to plan a place where it can do so safely. All thawing meats should be positioned so they are not dripping onto any foods below them. Place them in containers to catch thawing juices.

In A Fridge (Photo credit: Nikita Kashner)
Store food according to:”Swim, Walk, Fly”
- Ready to eat foods on top
- Things that swim (Including oysters, clams etc. If it comes from the water, it is considered a “swimming thing.”
- Things that walk around (On hooves and feet and have fur or hair like pork, lamb, beef, or Ostrich.)
- Things that walk around but are ground up, like ground pork or ground veal or hamburger. These get cooked to a higher temperature than steaks, chops or roasts.
- Things that fly ( Chickens, ducks, squab, quail, and even though turkeys don’t fly, they also fall into this category)
- This is based upon internal cooking temperatures which will be explained in another post. For now remember and practice
- “Swim, Walk, (Ground-up Walk),Fly”
So what happens when you don’t have the time?
A bowl in the sink with cold water, but not hot, is fine for thawing a package of chicken for dinner. As long as you change the water about every half hour. If water logging is a concern, place the item in a zip lock bag and place that in the water.
The water should be changed every 30 minutes.
This is not a method to use while you are at work. Why? Because the water needs to be changed every 30 minutes or lightly running so the water is exchanged as thawing occurs.
Never thaw in the sink for longer than 4 hours! That is the amount of time it takes any bacterial colonies to grow to dangerous levels.
Never, ever thaw on the counter or just left in the sink. This is a very bad and risky practice.
Keep you eye on the product, it will thaw faster than you think it will.
My concern here would be the quality of the item. I can’t think of anything that benefits from a run in the microwave.
But, as long as you cook the item as soon as you finish nuking it to thaw, this is considered a safe method.
Be sure to clean and sanitize the inside of the microwave after you finish thawing.

(Photo credit: I Are Rowell)
The best examples here are frozen vegetables into soup stock, frozen french fries into the oven or fryer oil and frozen burgers going directly onto the grill.
Again, your call on the quality issue of cooking meats from frozen. I find the texture isn’t as nice than if you thawed it under refrigeration which is my thawing method of choice.
So there you have it. 4 Safe methods to thaw foods.
This information is from ServSafe® an educational division of The National Restaurant Association (NRA). These are the best practices that are used to train food handlers in all restaurants, hospitals, nursing homes, schools and dietitians.
I have a dual role with the NRA to both teach and administer the exam for ServSafe®. Food safety is a passion of mine. No one should ever suffer an illness from food you eat.
Learn how to prevent such things from happening. Become advocates for your own food safety. If you see a bad practice, speak up!
Implement good food handling practices every time you touch food.
It really is that important.
Please let me know if you have any questions!


