In My Kitchen February 2013

I missed out on last months post, mainly because I ran out of time and the other was due to being “suspended “ on WordPress. (Yeah, I’m such a bad girl!)

This In My Kitchen posting neatly summarizes what has been happening in my kitchen over the last month.

At Soup in Sunday I bought another bowl, for condiments this time.

The new bowl

The new bowl

There has been lots of information going around on how to grow things from kitchen scraps. I love scallions and have a hard time getting them to grow. My dad on the other hand gets things to grow for him just by thinking about it.

"Hydroponic" Scallions; They will need dirt soon!

“Hydroponic” Scallions; They will need dirt soon!

So scallions are now growing in vases for easy clipping and almost instant regrowth. They will need soil soon, I’m sure

In my kitchen this month are these lovely measuring cups.

Hedge Hog measuring cups

Hedge Hog measuring cups

You can use them as scoops too

You can use them as scoops too

How cute are these? They were a Christmas gift from Robert’s daughter Kim. Aren’t they adorable!

I started taking a class (just because) on Nutritional Concepts and Medical Nutritional Therapy so the awareness of what we eat has been in the spotlight. Eating/using  a lot of butter (I love butter!) is one thing that has changed. I used to keep at least 5# of butter on hand for baking but now, I hardly have any. If I want to bake, a to run to the store would be required. This step alone has really put a damper on the treats available in my kitchen.

So now baking sweet treats involves some actual thinking about it rather than just jumping in and baking my heart out.

I am teaching a baking class this semester so the advantage of this is I get to play with tons of dough and make all kinds of things all day long. When I come home, the treats aren’t staring me in the face demanding “eat me!”

However, Celia’s Chocolate Nutella frogs had me locating the jar of Nutella and slathering it on to  a Trisket and topping that with a few pistachios. Thankfully there are no incriminating photographs!

In my kitchen this month is a  new (to me) book, The Bread Baker’s Apprentice  authored by Peter Reinhardt.

I find it fascinating. Additionally, I bought a couche for when I make bread. the need has been there for a while, I’m just getting around to buying one.

Bread Baker's Apprentice and floured couche

Bread Baker’s Apprentice and floured couche

One of our friends is a friend of Peters. I am hoping to get the book signed one day.

In my kitchen are some great new lenses for the i phone!

i Phone lenses

i Phone lenses

There are three of them, wide-angle, fish eye and macro lenses. I am really looking forward to having the time to really learn how to use them effectively.

I’ll do a post on the shots the camera makes with the different lenses.

Here is a shot using the macro lens

Using the i phone macro lens

Using the i phone macro lens

So, now it is time to go make bread for the week. Celia’s pain-viennois and Richard Bertinet’s method of kneading the sticky dough mass until smooth and elastic seems just like the therapy I need today.

I’ll make some with chocolate!

Gratitude goes out to Celia of Fig Jam and Lime Cordial for hosting this fun series of peeking into one another’s kitchens each month.

Promise, I’ll get back on track and not be so late  submitting next month.

Pain Chocolate

Pain Chocolate

Turkey Sausage with Peppers and Tomatoes

It is cold and sleeting out today with a high of 27°F. A thin layer of ice coats everything.

Robert went out to do some foul weather errands before it gets really bad this evening.

Icicles

While he was out, I decided it would be quite nice to have a nice big pot of turkey sausage with sautéed peppers and tomatoes over some pasta for lunch. We just finished off a large pot of chicken soup last night so it was too soon to eat soup again.

English: Green, yellow and red bell peppers fr...

English: Green, yellow and red bell peppers from the capsicum annum plant. (Photo credit: Wikipedia)

I used yellow and green peppers, onions, garlic and diced tomatoes. Everything got chopped into a large dice and set aside. Choose yellow and green peppers  because of the red in the tomatoes. This dish looks so good with lots of different colors.

A pound of turkey sausage (remove the casing if you want) gets sliced and sautéed, add the vegetables and simmer everything while you boil pasta and make a salad.

Add fresh garlic bread if you like.

A steaming bowl of sausage and peppers over some spaghetti is a perfect lunch for a day like today. Let’s eat by the fire!

Turkey Sausage and Peppers

  • 2 Tablespoons vegetable oil
  • 1  large diced yellow pepper
  • 1 large diced green pepper
  • 1 large onion, diced
  • 2 large cloves of fresh garlic, minced
  • 2 pounds  peeled, seeded and diced tomatoes
    (Canned diced tomatoes are a good substitute)
  • 1/4 cup tomato paste
  • 2 bay leaves
  • 1 tablespoon herbs de Provence
  • kosher salt to taste

Method:

Prepare all the vegetables and sausage. Keep items separate until ready to cook.

Heat the oil in a deep saute pan, add the turkey sausage, toss to brown the sausage. When sausage begins to brown, add the onions, peppers and cook for 5 minutes over medium high heat.

Add the bay leaves and the herbs de Provence and garlic, stir to combine.

When the bottom of the pan begins to turn brown, add the remaining ingredients, stir well and simmer for 15-20 minutes, stirring from time to time.

Like I mentioned earlier, you can make a salad and garlic bread while the pasta is cooking or just pour yourself a glass of wine.

Enjoy!

DSC_0087Turkey sausage and peppers

Raw Kale Salad – Give it a Massage!

I was reading a recipe the other day on the Food Network website regarding a Massaged Kale Salad from the Aarti Party Show.

Kale is on the edge of being overdone but this is worth exploring. Give it a try before you get sick of eating so much kale!

Kale saladPrevious thoughts had me thinking kale was too tough to eat raw. A quick saute, dip in hot oil, plunge into a hot oven or dropped into soup is how I prepared it before this recipe caught my eye.

So I tried it. Massage your kale, sounds kinky right?!

I had to come up with another way of massaging the kale as not everyone likes to have their food handled to this extent by someone else’s bare hands.

Use a dough hook instead of your hands

Use a dough hook instead of your hands

Bare hand contact can be a health issue if the person touching the food does not wash their hands correctly or is carrying some kind of germ.

While the recipe wasn’t followed, the massage technique was. The result is an addicting, tender kale salad that can be dressed in so many ways.

After massaging the kale, create your salad. All you need to add is other ingredients and the salad is already dressed.

Choose a toasted nut and a favorite fruit, fresh or dried. Add some cheese and you can go forever with the combinations that can be created as additions for this most excellent salad.

This is what I did last night:

Kale Salad with Toasted Pine Nuts, Dried Cranberries and Shaved Parmesan

  • 1 pound kale
  • Juice from 1 fresh lemon
  • 1 tablespoon extra virgin olive oil
  • A light sprinkle of salt and fresh black pepper
  • 1/2 cup dried cranberries
  • 1/2 cup shredded Parmesan cheese
  • 1/4 cup toasted pine nuts
Trim the stems from the leaves

Trim the stems from the leaves

Trim leaves from the stems, wash thoroughly in cool water to remove any garden friends, sand and dirt.

If the kale is very sandy or has a lot of soil on it, soak it in a deep bath of salty water. Dip and lift the kale from the water so the soil is left behind in the bottom of the soaking bowl. You may need to do this several times to get rid of all the dirt.

Chop the kale leaves small, but not too tiny; bite size is perfect.

Place the chopped kale into a bowl. Drizzle the kale with lemon juice, olive oil, salt and pepper. The amount you use depends on how much kale you use. Only use enough to lightly coat the leaves, you don’t want anything on the bottom of the bowl.

Using your hands (washed of course! and wear gloves) or in a stand mixer on low with the dough hook, massage the greens for 2-3 minutes.

You will notice the leaves changing texture, becoming more tender and turning a brighter green as well.

Peel Parmesan into the salad with a peeler.

Peel Parmesan into the salad with a peeler.

After 2-3 minutes of massage, add toasted pine nuts, dried cranberries and use a peeler to shave Parmesan into the salad.

The above amounts can be adjusted to your liking.

Try other fruits, nuts and cheese in this salad, avocado is amazing too.

Top the salad with beef, grilled chicken, shrimp or fish to make it an entrée salad.

Serve and enjoy!

eating kale saladThis salad was so good, I came back down and scarfed another bowl in the middle of the night and another after breakfast.

Now I need to go buy more kale.

DSC_0051

Coconut Oil – Myth and Reality

Coconut oil has become the latest buzzword in healthy diets these days.

Healthy coconut oil? This goes against everything we have been told for the last 65 years.

English: This is a photo of one of my painting...

I must admit I held a lot of misconceptions about coconut oil until I started doing research and talking to people about using the oil.

If you want to know a very simple analysis of what I found read below.

How to use coconut oil in the kitchen is after the research. If you get bored by the technical stuff, drop down to the kitchen section.

“Coconut oil is high in fat and therefore bad for you.”

The fat found in coconut oil is a medium-chain fatty acid or triglyceride. Most vegetable and seed oils are composed of long-chain fatty acids. The medium-chain fatty acids are easily processed in the liver without insulin spikes. They are easy to break down therefore are used by the liver as energy rather than stored as fat cells like the long-chain fatty acids.

Coconut oil is a rich source of lauric acid, rarely found in nature, lauric acid is known as a ‘miracle’ element due to its ability to

Chemical structure of Lauric acid created with...

Chemical structure of Lauric acid created with ChemDraw. (Photo credit: Wikipedia)

promote health in the body. The body converts lauric acid into an anti-viral and anti-bacterial and anti-protozoa substance.

(Bacteria, viruses and parasites such as some protozoa, like Giardia and Cryptosporidium, are major sources of food borne illnesses.)

“Coconut oil is a saturated fat. It can build up in your system and cause clogged arteries, obesity and heart disease.”

Actually the opposite is what is true.

We have been told for the last 65 or so years, all saturated fats are bad for you. Consuming saturated fats can lead to health issues.

The health issue list includes obesity, heart disease, clogged arteries, high cholesterol, just to name a few.

Some saturated fats occur naturally and some are created, like margarine.

Bombarding  molecules with hydrogen to produce a thick sticky substance has no health benefits whatsoever. Yet this is what has been sold to us in the form of margarine and preached to us by the ad agencies as being “beneficial, healthy, and a better choice than butter. Witness the popularity of things like Country Crock, Parkay and I can’t believe it’s not Butter kind of products.

The created products are full of trans-fats, which we should avoid completely.

The marketing industry convinced us that because coconut oil was solid at room temperature, it should never be consumed. It was used in cosmetics to benefit the skin, but it was shunned as an ingredient in our diets.

Research has discovered these negative myths about coconut oil are not true. Studies have been done on cultures that thrive on coconut oil in their diets to show lower rates of obesity, no cardiovascular disease, and over all better general health than we have in the USA.

Coconut oil helps equalize cholesterol levels by promoting HDL in the blood which helps improve the HDL/LDL ratio. Additionally coconut oil helps promote healthy thyroid function thereby also assisting cholesterol and boosting energy and endurance. A boost to the thyroid can also pump up your metabolism, which is a great benefit!

Consumption of coconut oil helps the body absorb fat-soluble vitamins. It helps blood sugar stabilize, it can help resist fungus and yeast and can improve how the body uses insulin.

Consuming 2 tablespoons of coconut oil daily, in this 2009 study, demonstrated benefits. In this 12-week study, the women did not gain weight but actually lost stomach fat during the study. Reading this study made me decide to give coconut oil a try.

English: Coconut oil in solid state

Coconut Oil in the Kitchen

Selecting Coconut Oil:

You want extra-virgin, organic coconut oil. Read the labels!

Not all coconut oil is the same. Some is hydrogenated which is what you want to avoid.

Storing Coconut Oil:

Coconut oil has a low melting point (76°F) and a high smoke point (350°F). Store the oil in a cool dry place like a cabinet.

Do not store the coconut oil in the refrigerator.

Do not store it near the stove because it could cause it to melt.

Store it in a cool cabinet away from the stove. It should last about 2 years without going rancid.

But if you are using it, it shouldn’t last that long.

Using Coconut Oil:

Use Coconut Oil to saute or pan-fry your meals and snacks. Popcorn is wonderful popped in a bit of coconut oil.

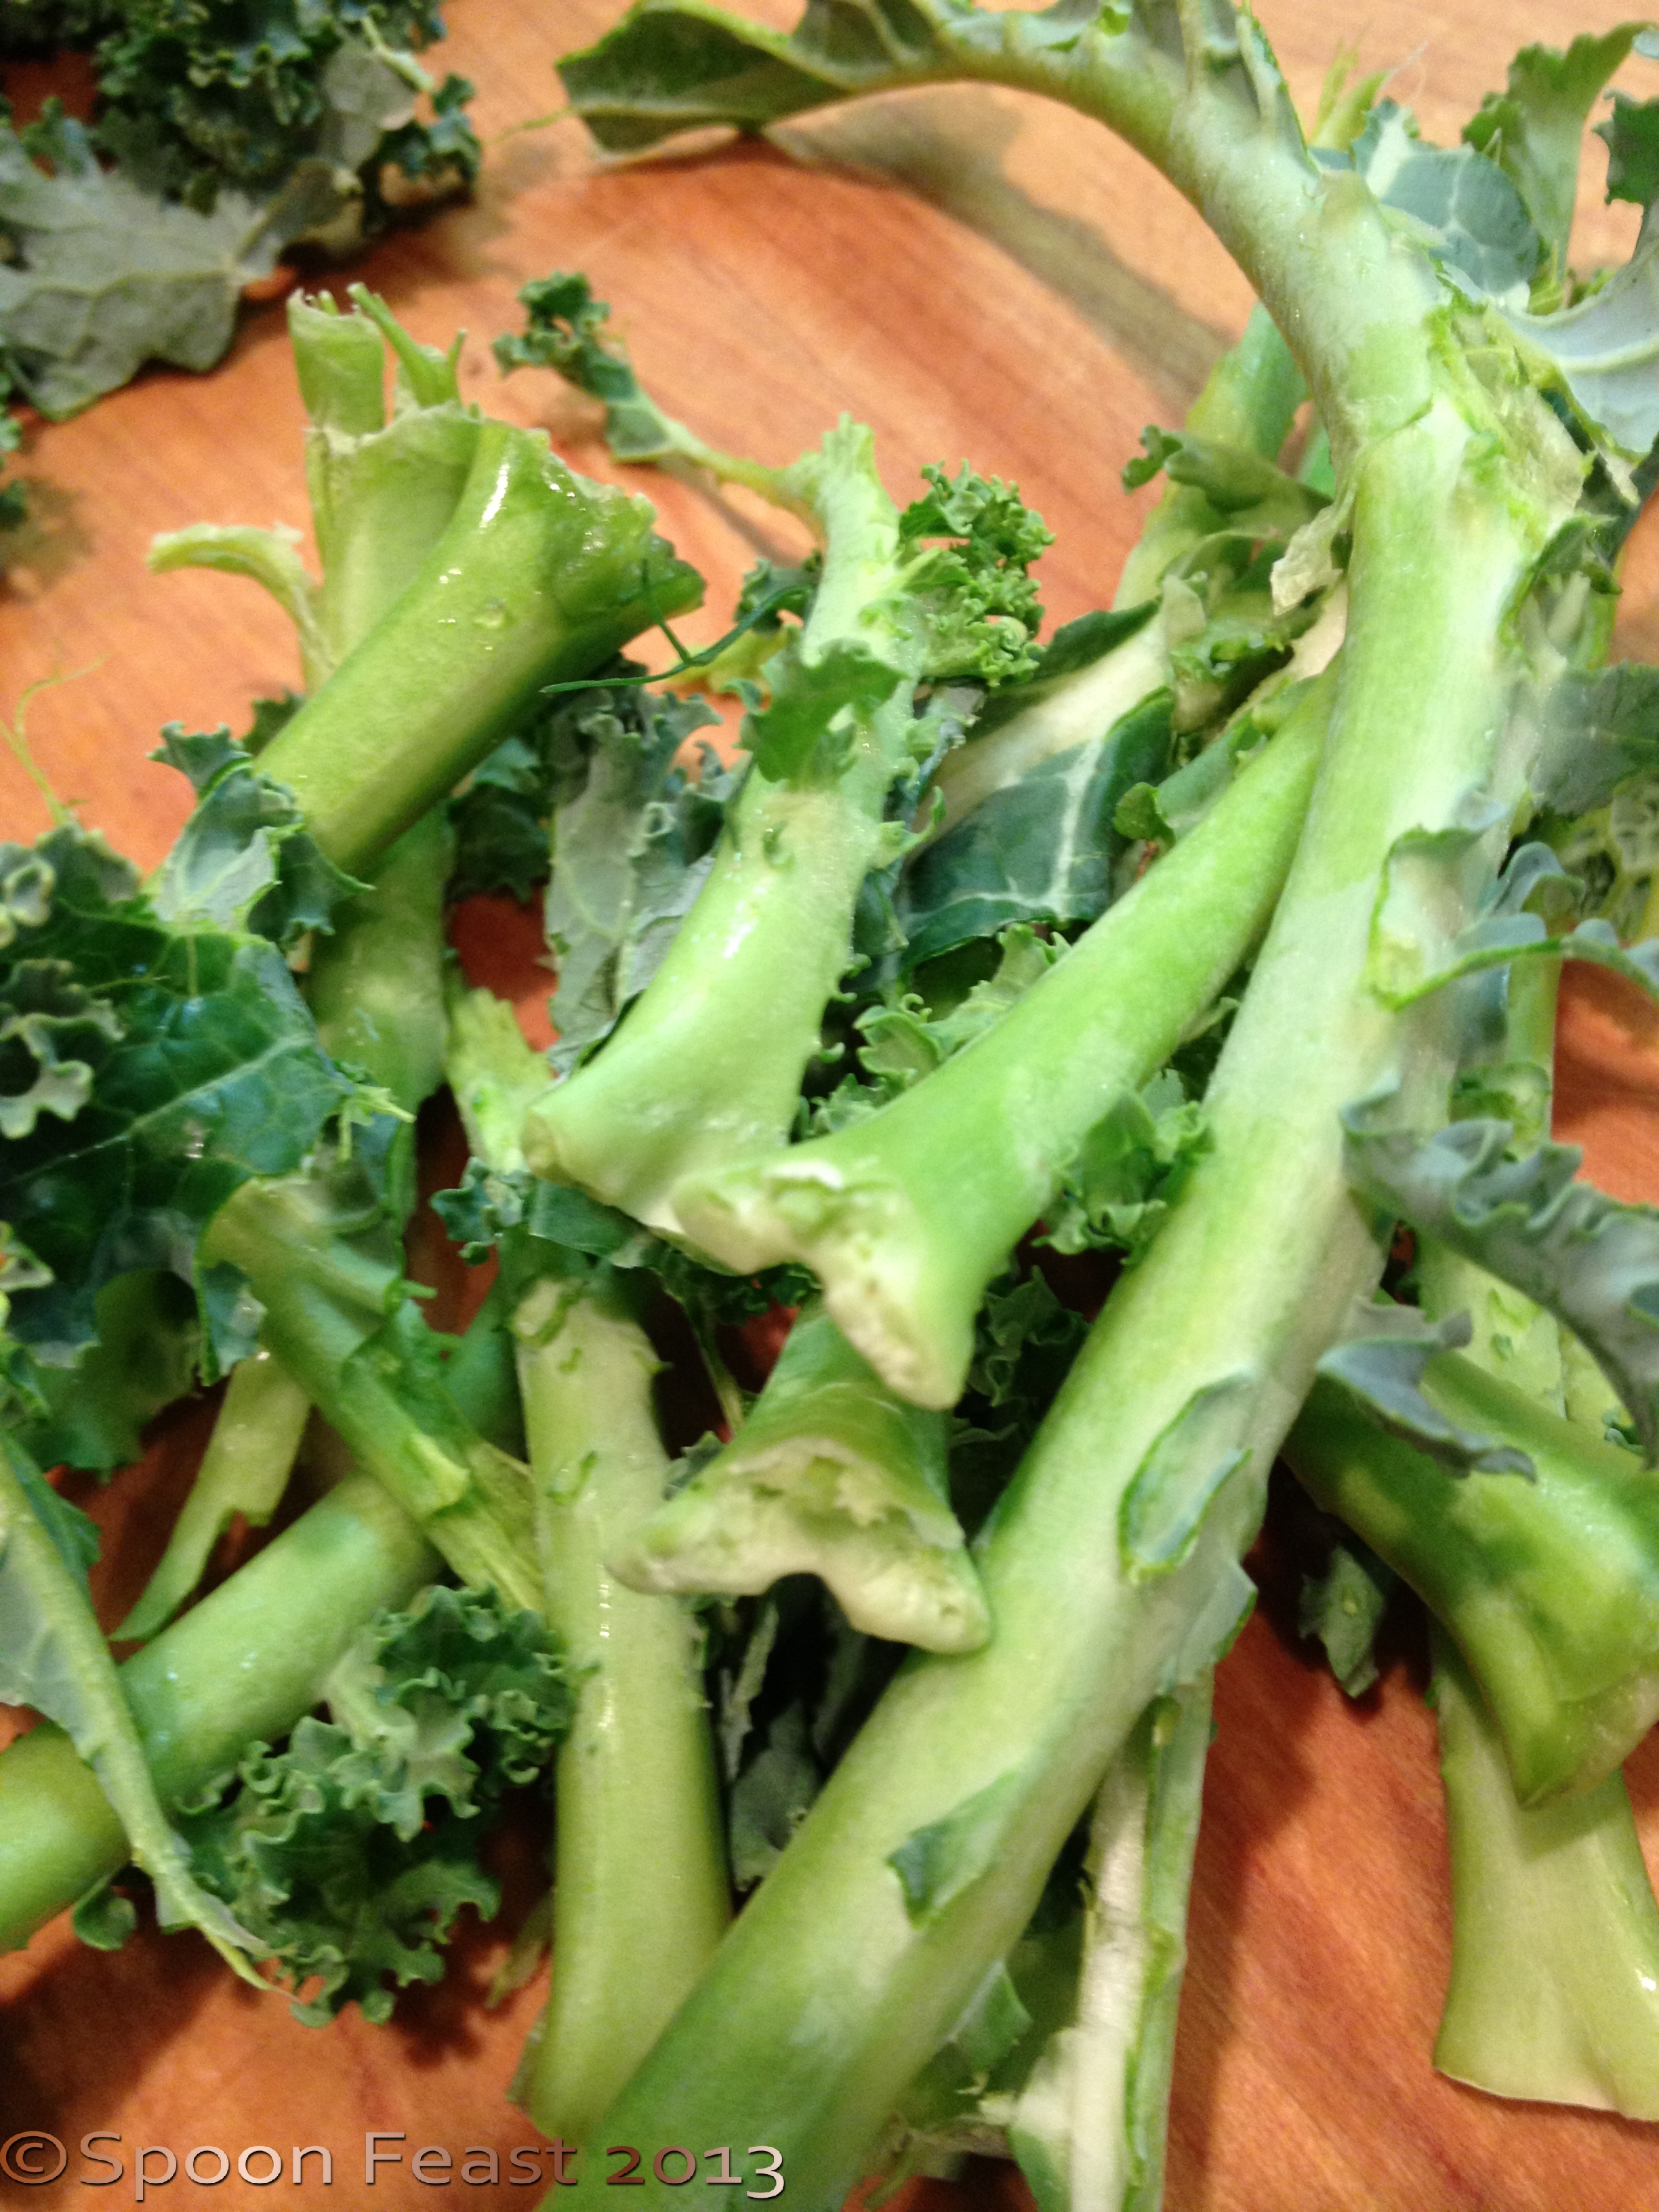
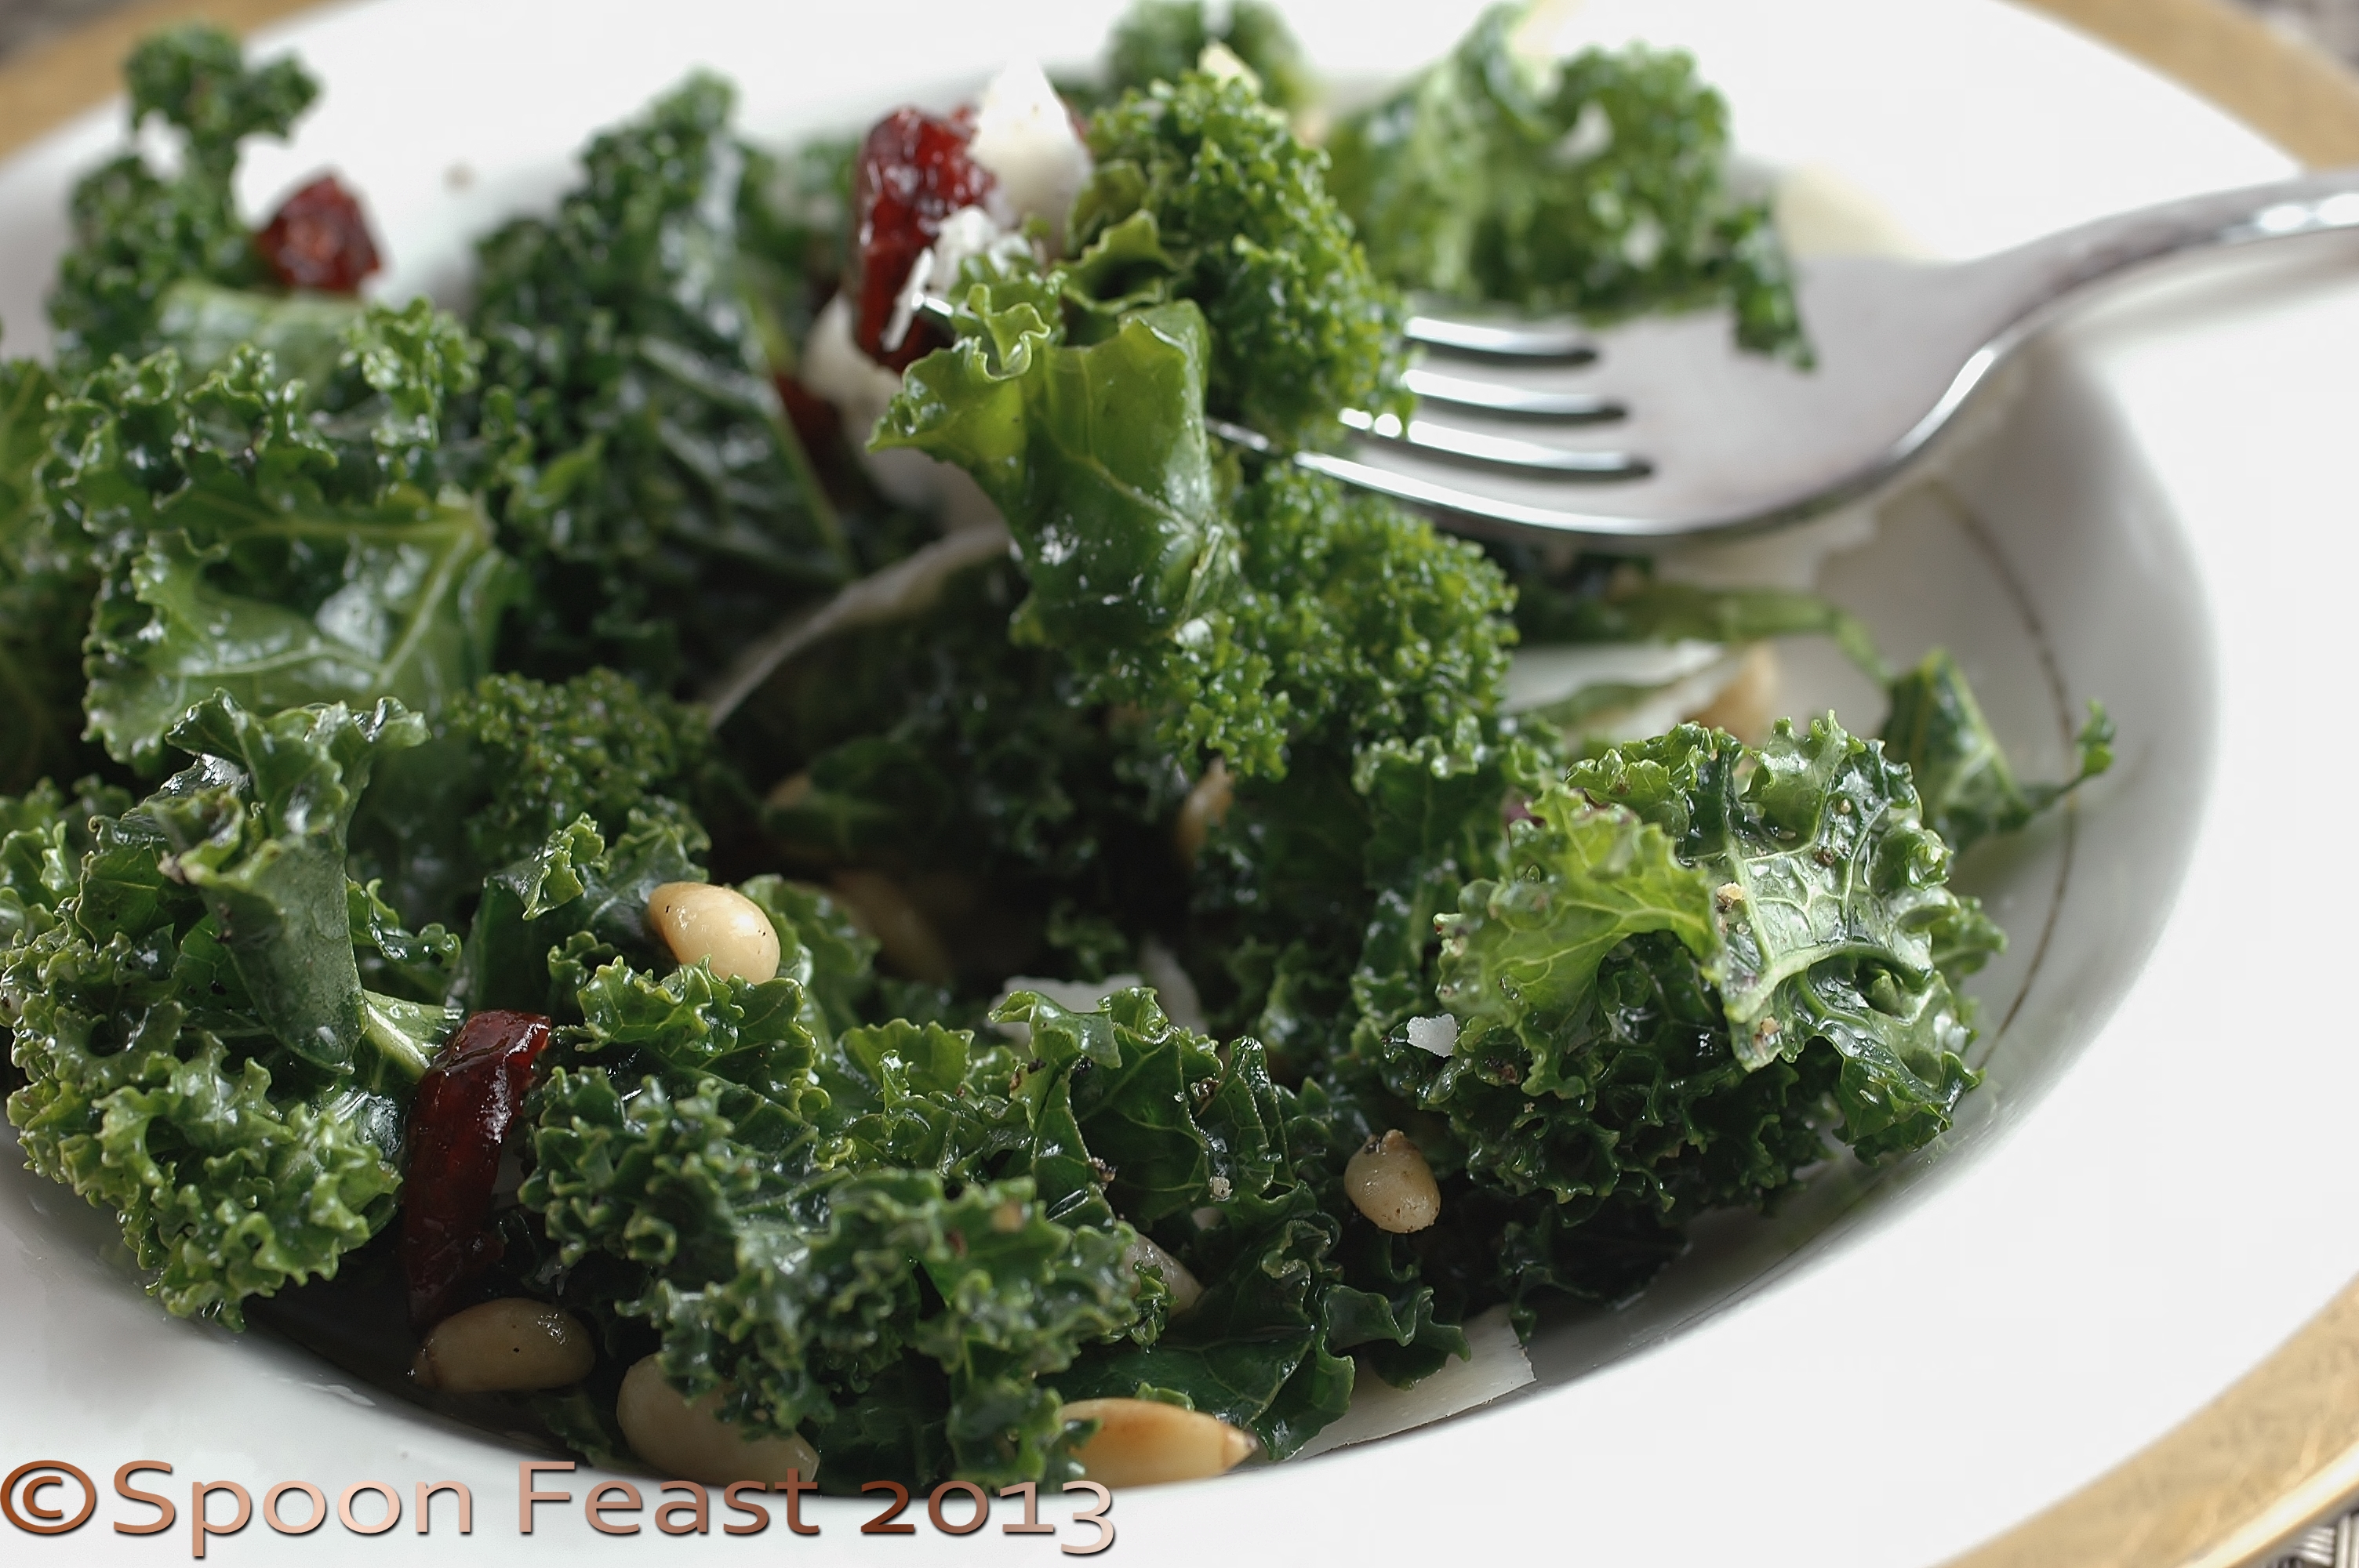
Saute kale for an incredible flavor! The sweetness of the coconut oil really enhances and tames the bitterness of kale.

Use it to saute any vegetable, chicken, fish, or meat.

Use it just as you would any cooking oil. However because it is solid below 76°F, it is best not used in dressings or marinades. Use a quality grade of olive oil for these items instead.

Here is another use for coconut oil: replace butter or solid shortening (Crisco or margarine)with equal amounts of coconut oil in baking recipes. Your baked goods will be amazing and much healthier.

Does it make everything taste like coconut?

While the oil has the very mild scent of coconut, so far I cannot detect the flavor of coconut when I cook with it. Sometimes things may taste a bit “sweeter” but not like sweet as if you added sugar.

Just an enhancement of the natural sweetness that is already there.

Last night I marinated some chicken breasts in a spicy “Cockalacky” sauce which is made with sweet potatoes. After the marinade, the breasts were breaded in panko and pan-fried in coconut oil until done.

The oil really brought the flavor of the sweet potato used in the marinade, such a nice flavor surprise!

While I have added coconut oil to our diets, we still use other oils as well. I enjoy the flavors of various seed and nut oils in salad dressings. Additionally the various oils also have other health benefits.

This is not about giving up other oils but about making smarter choices, more informed choices.

The key thing to remember fat is fat.

Just because it is coconut oil does not mean you can consume mass quantities of it. As with all fats, use it in moderation.

For the next 12 weeks, I am going to get 2 tablespoons a day of coconut oil into my diet. I am looking forward to seeing the results. Hopefully my skin and hair will not suffer winter dryness, my tummy fat will start to disappear and I will feel great. I have a physical in soon so it will be interesting to compare the numbers from last year to this.

Summer 2013 Update

This summer I heard of using coconut oil instead of sunscreen. Personally, I think that’s taking it a bit too far. I love using coconut oil on my skin, it feels so good but instead of sunscreen? “They” may say that coconut is naturally SPF 30 but I think I’ll back it up with some SPF 50 just to be sure.

Before foregoing coconut oil for sunscreen, ask your dermatologist their professional opinion!

Skin cancer is no laughing matter and not worth a risk.

Use all fats in moderation, including coconut oil.

While I have lost 13 pounds so far, my goal is 10 more, it isn’t all because of coconut oil. It’s more about making better choices.

Do you use coconut oil? Why or why not?

Please share your thoughts and experiences so we can all learn something from each other.

Coconuts

Zink American Kitchen

Zink American Kitchen is a fabulous restaurant here in Charlotte, NC. They have a menu feature called “Feed Me Chef” which I thoroughly enjoy.

Last night I took Tyler and Robert out for dinner for the Feed Me Chef. (Robert didn’t have the “feed me” option but was well fed anyway!)

Tyler at dinner

Tyler at dinner

The premise is to tell them what you like, don’t like or have allergies to so they can create a 5-course menu for you. Our chef for the evening was Chef “DJ” Donald Ivey, Jr a graduate of Johnson & Wales University. He has been recently promoted to a sous chef position at Zink and if what I ate last night is any indication of what he can do, he has a bright future in front of him for sure.

Settling in for Feed Me Chef!

Settling in for Feed Me Chef!

Our First Course was a salad from “Rosemary Pete” a local vegetable and herb grower.

Something really nice about Zink is that they know who is growing their vegetables and source locally as much as they can. Rosemary Pete got his name by selling rosemary at local farmers markets. I must say the vegetables were spectacular.

DJ pointed out each vegetable he used on each plate. You can tell he was as proud of those vegetables as he was the beautiful proteins he served us.

We indulged in exotic radishes, turnips marinated in Prosecco and vanilla; bok choy and garnet potatoes.

The small touches like preserved lemons, micro greens and smooth as silk peanut fondue and fresh crisp house made caramel corn really put the meal in high gourmet category.

Most plates went back clean, what was left we brought home. After a while your stomach just gets full and rather than forgo any courses, a nice taste and then eat the rest later.

I just finished the last of my lamb course a few minutes ago and the flavor and aroma’s brought back the entertainment of watching the cooks working back and forth; paying precise attention to every task, sliding across the floor and working in tandem with each other.

I love watching a kitchen at work. I suppose that might be because I did it for so many years and I recognize the value of a well orchestrated team.

Feed Me Chef Dinner Menu

December 27, 2012

-First Course-

Rosemary Pete’s Spicy Greens

Turnips marinated in Prosecco and vanilla, exotic radishes, pomegranate seeds, bleu cheese and preserved lemons

Rosemary Pete's Spicy Greens Salad

Rosemary Pete’s Spicy Greens Salad

Second Course

Braised Pork Belly

Melted sweet dumpling squash, Pete’s bok choy, House made chow-chow and apple cider reduction

Braised Pork Belly

Braised Pork Belly

Melt in your mouth tender

Melt in your mouth tender

Did they like it?

Did they like it?

Kitchen view

Kitchen view

-Third Course-

Corn Crusted Grouper

Pete’s carrots, snow peas, purple sweet potatoes, red bell peppers and celery root puree

Corn Crusted Grouper

Corn Crusted Grouper

Another view of the Corn Crusted Grouper

Another view of the Corn Crusted Grouper

Chef's at work

Chef’s at work

-Fourth Course-

Charred Onion Marinated Lamb

Fingerling sweet potatoes, Russian black kale, fried red peppers and apple butter

Charred Onion Marinated Lamb

Charred Onion Marinated Lamb

Charred onion Marinated Lamb; another view

Charred onion Marinated Lamb; another view

-Fifth Course-

Molten Chocolate Cake

Vanilla ice cream and peanut butter fondue

IMG_4885

Molten Chocolate Cake with Peanut Butter Fondue

Although Robert didn’t order the Feed Me

A bit of Robert's salad

A bit of Robert’s salad

option, he had a salad and their award-winning White Turkey Chili and a house salad.

House made caramel corn

House made caramel corn

What a suburb experience! Every morsel was full of flavor, complementing textures and extremely high quality in every detail.

Zink American Kitchen is located at 4310 Sharon Road Suite W01, Charlotte, NC 28211

(704) 909-5500 is the number to call for reservations or use Open Table. However, you will need to talk to the staff to arrange your unique menu.

We have had Chef Amy Kumpf and Chef DJ Ivey create some amazing meals, I suggest you experience it too, soon.

Garlic Confit

Slow roasted garlic Confit is easy to make.

A delicious bowl of slow roasted garlic confit

A delicious bowl of slow roasted garlic confit

It takes some time in a low oven and your house will smell amazing in the meantime.

English: A basket of garlic (allium sativum) o...

English: A basket of garlic (allium sativum) offered for sale at the farmers’ market in Rochester, Minnesota (Photo credit: Wikipedia)

Pre-heat the oven to 250°F.

Take a deep baking pan, fill it with peeled garlic cloves.

English: Waitrose ready peeled garlic in a pla...

Use peeled garlic if you don’t want to peel all of what you make.This is Waitrose ready peeled garlic in a plastic pot. (Photo credit: Wikipedia)

Cover the garlic with vegetable oil.

Add a sprig of fresh thyme and a light sprinkle of salt.

Cover the dish tightly with tin foil. Place the pan into the oven; overnight is best. If not overnight, then 4-6 hours.

The confit is done when the garlic is soft.

Remove from the oven and allow to cool before transferring into storage containers or gift jars.

Keep refrigerated.

Use the garlic in sautéed vegetables, potato dishes, spread it like butter on bread, fold it into pasta or knead it into bread dough to make a roasted garlic bread.

Garlic confit on toast

Garlic confit on toast

There are so many uses for this. Having a jar handy in the fridge is a real treat!

DSC_0015Perfect for a gift from your kitchen.

Christmas Sugar Cookies

Cut-out Christmas Sugar Cookies are some of my favorite cookies not only to make but sneaking one in with a cup of tea is pure heaven.

A festive plate of Christmas Cookies

A festive plate of Christmas Cookies

Although they may look sweet, they really aren’t too sweet. Well, kinda sorta.

They make great little gifts to children and adults enjoy them too.

To make the cookies, make the dough and cut out the shapes you want. I like using impression cutters so decorating is more like coloring.

Impressed snowmen

Impressed snowmen

The angel impression

The angel impression

Rolled Out Christmas Sugar Cookies

  • 8 ounces soft butter (or 2 sticks, or 1 cup)
  • 1 cup granulated sugar
  • 2 eggs
  • 1 teaspoon vanilla extract
  • 2 – 3/4 cup all-purpose flour
  • 1 teaspoon baking powder
  • 1 teaspoon salt

Preheat the oven to 400°F.

Cream the butter and the sugar, add the eggs one at a time, add the vanilla and mix to combine.

Measure and mix the flour and baking powder together in a separate bowl.

Scrape the bottom of the bowl; add the flour 1 cup at a time, until it all comes together.

Separate the dough into 2 balls. Cover 1 and roll out the other.

Roll out he dough and lay the cutters out.

Roll out he dough and lay the cutters out.

Lightly flour the counter and rolling-pin. Roll out to 1/4 inch thick or the thickness you desire. Just don’t make them too thin or else they will be very hard to decorate.

Cut out the desired shapes and place them on a parchment lines baking sheet.

Bake in a pre-heated 400°F oven for 6-8 minutes. The bottom of the cookies should be golden brown and the top will be pale when they are done.

Cool completely before frosting.

Lay the baked cookies on a baking sheet, organized by shape. It will make it easier to decorate them faster.

Lay the baked cookies on a baking sheet, organized by shape. It will make it easier to decorate them faster.

Butter Cream Frosting for Decorating Cookies

  • 1 cup Crisco or vegetable shortening’
  • 1 cup butter (or 8 ounces or 2 sticks)
  • 1 teaspoon vanilla extract
  • 1/2 teaspoon vanilla extract
  • 1/2 teaspoon salt
  • 4 cups 10x confectioners sugar
  • 3 tablespoons milk

Whip the Crisco and butter together, add vanilla and salt.

Add the 10x sugar a little at a time, moistening with milk as needed.

Color with food coloring and use piping bags to create your own designs, outlines, fill ins etc.

Make them as detailed as you want. Personally, I like making these things come to life and do details with all kinds of decorating sugars and piping tips.

I bought a Wilton box of 18 gel food colors and decided to make a bit of every color. I also bought a roll of disposable piping bags and some tips for each bag. There were a lot of bags and colors which makes coloring with frosting in piping bags quite fun.

Take a clean rimmed sheet pan, line it with parchment. Choose 4-5 cookies to decorate and lay them on your sheet pan. With the coloring bags and decorative sugars laid out in front of you, pick and choose and start decorating.

Eat your mistakes.

Get friends, family and kids involved. It really is quite fun!

DSC_0051

One of the snowmen

One of the snowmen

A red-headed angel with a blue dress on

A red-headed angel with a blue dress on

Holly in her hair. . .

Holly in her hair. . .

A fun tray of decorated cookies. Decorating on a tray catches all the tiny sugar bits that don't stick to the cookies.

A fun tray of decorated cookies. Decorating on a tray catches all the tiny sugar bits that don’t stick to the cookies.

A cozy snowman

A cozy snowman

DSC_0012


After the cookies are decorated, I lay them out to look at them all.

After the cookies are decorated, I lay them out to look at them all.

DSC_0015

Each gift box will get at least one of these. They make great additions to cookie platters and kids love them.

Actually, I do too. I make them every year and love giving them away.

Turn on some Christmas music, whip up some frosting and decorate to your heart’s content.

Entertaining

Entertaining is a word that can strike fear or pure pleasure in people.

Hors d’oeuvres spoons

The prospect of entertaining need not be a burden, just have a plan of action to make everything go smoothly. Don’t be afraid to begin planning well before your party. Allow yourself time to work on the details so when your party time arrives you will be well prepared to host a spectacular event.

Choose your location

Consider using your home to host your party. Take a look around and see how many people can comfortable fit. If they are going to be seated, is there enough seating and adequate space? Is this a standing conversing party? The occupancy changes if you are doing a seated dinner vs. a cocktail style party.

If you live in a small apartment, there may be a communal area you can reserve. If you live is a temperate climate or at the beach, consider holding your event outdoors. On the beach, in a park or back yard are all great locations.

Determine your guest list

Choose a varied guest list to keep the conversations lively. If everyone had the same interests, there will be a lot of ‘shop-talk’ instead of exchanging ideas and discovery conversations.

Please be considerate and don’t invite ex’s or enemies to the same events.

Strive for a balance of genders. Be considerate of those who are couples and who are singles. Being the only single at a party full of couples can be socially odd as can being the only couple at a singles party. Strive for a good mix.

Is there a theme?

It could be Christmas or Holidays, Halloween, Valentines Day, Kentucky Derby Day, Wedding, St. Patrick’s Day or Talk Like a Pirate

International Talk Like a Pirate Day

International Talk Like a Pirate Day (Photo credit: ParaScubaSailor)

Day or a just because.

Having a theme will make your choice of decorations and menu easier.

Plan you menu

Plan your menu

Unless you are having a dinner party, most party food should be small and able to be eaten without the use of a knife. Think about trying to balance a drink and eat while trying to impress someone you are just meeting.

My rule is 1-2 bites in size.

Make your favorite nibbles in bite size. Martha Stewart’s Hors d’ Oeuvres is one of the best references out there. If you ever see it, buy it.

Cover of "Martha Stewart's Hors d'Oeuvres...

Cover via Amazon

This post is not about menus or recipes but about how to plan a party so you don’t lose your mind in the process.

As I host a party or two this season, I will have menus and recipes.

Look at the space you have to display food. You are going to make yourself miserable if you plan more food than you can accommodate.

Decide what tables and surfaces you are going to use for what. A kitchen counter (clean and uncluttered) is nice for a beverage station.

If you need to borrow a table or two, make arrangements.

Write out your menu and make small labels. Take out your plates and dishes and decide what food is going on what plate. Put a label on each dish you decide to use. Arrange to borrow or buy or rent what you need beyond what you have.

Your menu should not require you to be in the kitchen longer than 10-15 minutes while guests are present. Plan a do ahead menu so you can spend time with your guests.

If you are planning an elegant holiday gathering and need stem-ware or nice glasses you can

A table full of glasses

go to the dollar store and see what they have. Often they have exactly what you need.

If you really don’t want to store 60 wine glasses, you can always rent them. Same with china and silverware, unless you choose to go

Rental Party Accessories

paper and plastic.

If you plan on entertaining more than once every year or so, you may want to buy a few nice display pieces. Large platters, staggered tray displays, small chafing dishes. Evaluate what you use and if it is worth storing.

Hint: If you go paper, buy a good quality. There is nothing worse than cheap paper plates and cheap plastic silverware. Same with paper napkins. Quality matters.

Plan your decor

Decor does not need to be elaborate. Use branches, pine cones, leaves, candles, berries, fruit, nuts, ribbons, even glass vases filled with Cheetos work.

Once I bought river stones and put them through the dishwasher. I lined trays with the hot rocks and placed food on the hot rocks to keep food warm. The rocks were scattered all over the table along with geodes, slabs of cut rock, and slate.

Ball and Mason jars make great candle holders for outdoor events.

Send your invitations at least two weeks ahead of time, three weeks is ideal. Ask for an RSVP so you have an idea how many to expect.

Make your shopping list.

Make your ‘need to do’ list.

Plan your activities on a calendar so you keep track and get everything done on time.

Make your parties enjoyable. If you want casual, make it casual, formal, make it formal. Make it what ever you are comfortable with hosting.

If you find you need help, either ask friends or hire one or two to clean things up and keep platters and dishes full.

Beverages

Don’t feel obligated to provide a full bar. Provide a party cocktail for everyone, red or white wine. Ask people to bring their own drinks. Be sure you have non-alcoholic beverages too.

Be a good host and NEVER allow your guests to drink and drive.

Have the number of a taxi service on hand so you can call inebriated guests a ride home. If you allow a drunk person to drive away, you could be held liable for any damages they cause if they were to get in an accident.

With December approaching, plan on having a party this season.

I always love the energy that remains in the house after a nice party, especially during the holidays.

How to make Cranberry Sauce – easier than you think!

Dear Tyler:

Cranberry Sauce is easier than you think! Glad you asked. It is very exciting to be cooking your first Thanksgiving Feast! So here is the recipe you asked for:

How to make cranberry sauce

Forget the can. Grab a bag of fresh cranberries, sugar and some water, oranges and sherry (a fortified wine, like Marsala) and we can have an array of cranberry sauces to amaze everyone.

Here are 3 super easy and full of flavor cranberry sauces. The only one I don’t think you’ll try is the sherry one, but one day, perhaps you will enjoy the complexity of flavors of sherry and cranberry.

The first recipe is found on nearly every bag of fresh cranberries.

Easy Cranberry Sauce

  • 1 12-16 ounce bag of fresh cranberries or equivalent  of frozen berries.
  • 1 cup water
  • 1 cup sugar
  • pinch of salt

Put it all in the pot and bring to a boil

Add all ingredients to a  deep sauce pan. Bring to a boil, reduce heat and simmer at an active simmer for 5 minutes.

Boil then actively simmer for 5 minutes. Serve warm or cold.

Serve warm, room temperature or cold with roasted or grilled meats. Especially Thanksgiving Turkey!

Cranberry Orange Sauce

  • 1 orange, cut into quarters
  • 1 12-oz bag fresh or frozen cranberries
  • 1/2 cup sugar
  • pinch salt

Remove the pithy core and seeds’ cut into quarters. Use a blender or food processor to puree.

Remove the seeds and the pithy core. Add the oranges, cranberries and sugar to a food processor or blender and puree until almost smooth. Thin with either cranberry or orange juice if needed.

Process until smooth

Place in a container and serve with just about whatever you want. I like turkey especially.

If you make this with frozen cranberries, you get a sorbet like consistency. Delicious!

Sherried Cranberry Sauce

  • 1 12-16 ounce bag of fresh cranberries or equivalent  of frozen berries.
  • 1 cup water
  • 1 cup sugar
  • pinch of salt
  • 1/4 cup dry sherry
Cranberry Sauce 003

Cranberry Sauce 003 (Photo credit: MGF/Lady Disdain)

Add all ingredients to a  deep sauce pan, except the sherry. Bring to a boil, reduce heat and simmer at an active simmer for 5 minutes.

Stir in the sherry. Blend until smooth if desired. Strain if you want a smooth sauce.

Serve warm, room temperature or cold with roasted or grilled meats.

These are the 3 most popular cranberry sauces our family uses.

So here you go. You can now carry on Turkey traditions!

3 Cranberry sauces from left to right: Orange Cranberry, Easy Cranberry Sauce and Sherried Cranberry Sauce

Tomorrow:

Since you are cooking your first turkey Thursday, I’ll write a post on:

How to Roast a Turkey

Love,

Mom

An Easy Crust for Pies and Tarts

Here is a super simple dough to use for pies and tarts. One key to working with any tart dough is to keep it cold. This allows the fat to melt while baking which creates light, flaky crusts.

Plum Blackberry Almond Tart

With lots of holiday events approaching, here is a simple basic approach to a nice pie or tart dough.

If you want a double crust, double the recipe. This only makes 1 crust.

Easily done by hand, you can also use a food processor, just pulse the ingredients without the water, add water, bit by bit to make the dough mass. You may use all the water, only some or you may need more. It depends on how much moisture your flour holds.

Easy Pie or Tart Crust

  • 1 cup all-purpose flour
  • 1 tablespoon sugar
  • 1 teaspoon salt
  • 3 ounces cold butter, cut into small cubes
  • 3 – 5 tablespoons ice-cold water

If creating the crust by hand, combine the salt and sugar with the flour. Cut the cubed butter into the flour using a pastry cutter, two knives or a fork.

English: A dough blender; also called a pastry...

English: A dough blender; also called a pastry blender. (Photo credit: Wikipedia)

Cut the fat into the flour

When the mix resembles a coarse mixture (you still want to see some globs of butter, don’t make it smooth) add the ice-cold water tablespoon by tablespoon.

The mass should come together. Only use as much water as you need to bring the ball together. You may need more water or less water. This is why you add it bit by bit.

Add enough water to just bring the dough ball together when you squeeze it.
You want to see blobs of fat in the dough, not smooth.

Press the dough into a ball and place it between 2 pieces of plastic wrap. Press it into a disk.

Refrigerate until cold.

Roll the dough between sheets of plastic wrap

Roll the chilled dough out to the size you need while it is still in between the wrap. This makes it easier to handle and is much easier to clean up too.

Remove one side of the plastic wrap. Position the dough over the pie or tart pan and press it into place.

Alternatively, you can press the dough into the pan and then chill while you prepare the filling.

Much easier is to use the fluted tart pans with the removable bottoms. Press the dough into the tart pan. Make sure you have at least 1/4 inch at the sides and at the curve of the pan so it is strong enough to stand on its own when the pan is removed.

Small fluted tart shells ready for filling

The fluted edge pans give all your tarts such a professional finished look, they are so worth the investment. Since they come in many sizes, you can make large tarts or small individual ones and any size in between.

Ready to fill and bake. See the fat? That means you will have a flaky crust.

Fill them just as you would a pie.

If you use a top crust, decorate it with dough cut outs instead of just a pile of dough on top of the filling.

Or use a strusel topping or leave the fruit exposed and glaze with melted apple or seedless raspberry jelly when the tart is done. This puts a “sealing glaze” on the fruit and makes it shiny. The photo of the Plum and Blackberry Almond Tart at the beginning of this post is finished with melted red currant jelly.

Here are some of my thoughts about using other ingredients besides water and butter.

Butter: Fat is fat, at least the melting point of butter is lower than body temperature. Fat provides tenderness and flavor to the crust. I’d rather eat butter than Crisco or lard or hydrogenated oils like margarine. I have yet to try coconut oil.

Water: Some recipes will ask you to use vodka instead of water. It provides a flaky crust too. Alcohol evaporates faster than water therefore creating a flakier crust. Try it if you like. I don’t drink distilled spirits so it never occurs to me to use vodka.

Flour: Use a good quality organic flour. You can use gluten-free flours too. I’m just not too sure how strong the non-wheat flours will hold up in a fluted pan once the outer ring is removed. My experience is most gluten-free baked goods are crumbly due to the lack of gluten.  Not sure how to over come that but since I’m not gluten-free, I use King Arther’s unbleached AP flour and I get pretty crusts.

I do know if I had to go gluten-free, I would miss pie crust, tarts, and good chewy bread tremendously.

No matter what liquid you use, just be sure it is ice-cold. I use a large measuring cup with lots of ice and water and scoop what I need from there. When finished, I pour the cold water into a glass and make lemonade or tea. I suppose you could do the same with vodka. Use lots of ice.

Bake off empty shells by lining with parchment and filling with rice or beans and baking until done. Fill with fresh fillings.

Fill unbaked shells with fruits, custards, fillings and bake until golden and bubbly. Times vary but usually take 45-55 minutes in a 350°F oven.

There are so many finishing and fillings!

Use any left over scraps to make dough cut outs. Egg wash them and sprinkle with sugar. Bake on a cookie sheet until golden brown. Use these on the top of the tarts, place them when the tart is still hot from the oven or serve as a garnish with each serving.

Be creative.