Honored with the Liebster Award!

How wonderfully flattering to have been nominated for The Liebster Award from Virginia at Our Growing Paynes!

Liebster-award

LIEBSTER AWARD RULES:

1. List eleven random facts about yourself.
2. Nominate eleven bloggers for the award.
3. Let them know about the nomination.
4. Answer the eleven questions you were asked when you were nominated.
5. Ask eleven questions for the new award winners to answer.

11 Random Fact about Me:

  1. I really hate shopping for anything but food. I love food shopping and everything about food.
  2. If there were someone who would pick out my clothes, shoes, accessories and say “Here, wear this today, let me do your hair and make-up” I would be a very happy girl!
  3. I float on the top of water really easily. Fresh water, salt water, swimming pools, I can float. I am also afraid there is a fish out there that wants to eat me. gulp. I believe the lake only has little fish. . .
  4. Going for a good gallop on a fast running horse is an exhilarating experience! We used to do that as kids, but now there’s nowhere to go for a full gallop. Anyway I’d need a horse and don’t have one of those either.
  5. I don’t drink distilled alcohol. Love wine and champagne. Beer, not so much unless its a Stella Artois on Blvd. St. Michele looking at Notre Dame.
  6. When spending time alone, I like to turn the music up really loud and sing and dance until I loose my breath. I don’t care what the neighbors think; they haven’t complained. Luckily, I can’t keep it up for long. Just a few good songs. (I don’t like ear buds)
  7. I have started a Spoon Feast Pinterest page but don’t know how to get people to find it! Same with Etsy, I have a store but I can’t find it anymore so I gave it up. geesh. But really, Can anyone find the Pinterest page? I should have a contest. . .
  8. I can do 20 push-ups, on my toes, guy style. Really! I can life one leg also, but can’t do one armed or clap yet. 😉
  9. I know a lot about gemstones. I studied once to be a Graduate Gemologist. I never took the final exam. Message: Don’t Give up! Finish what you start!
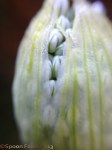
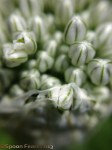
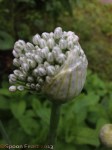
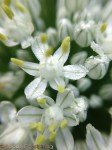
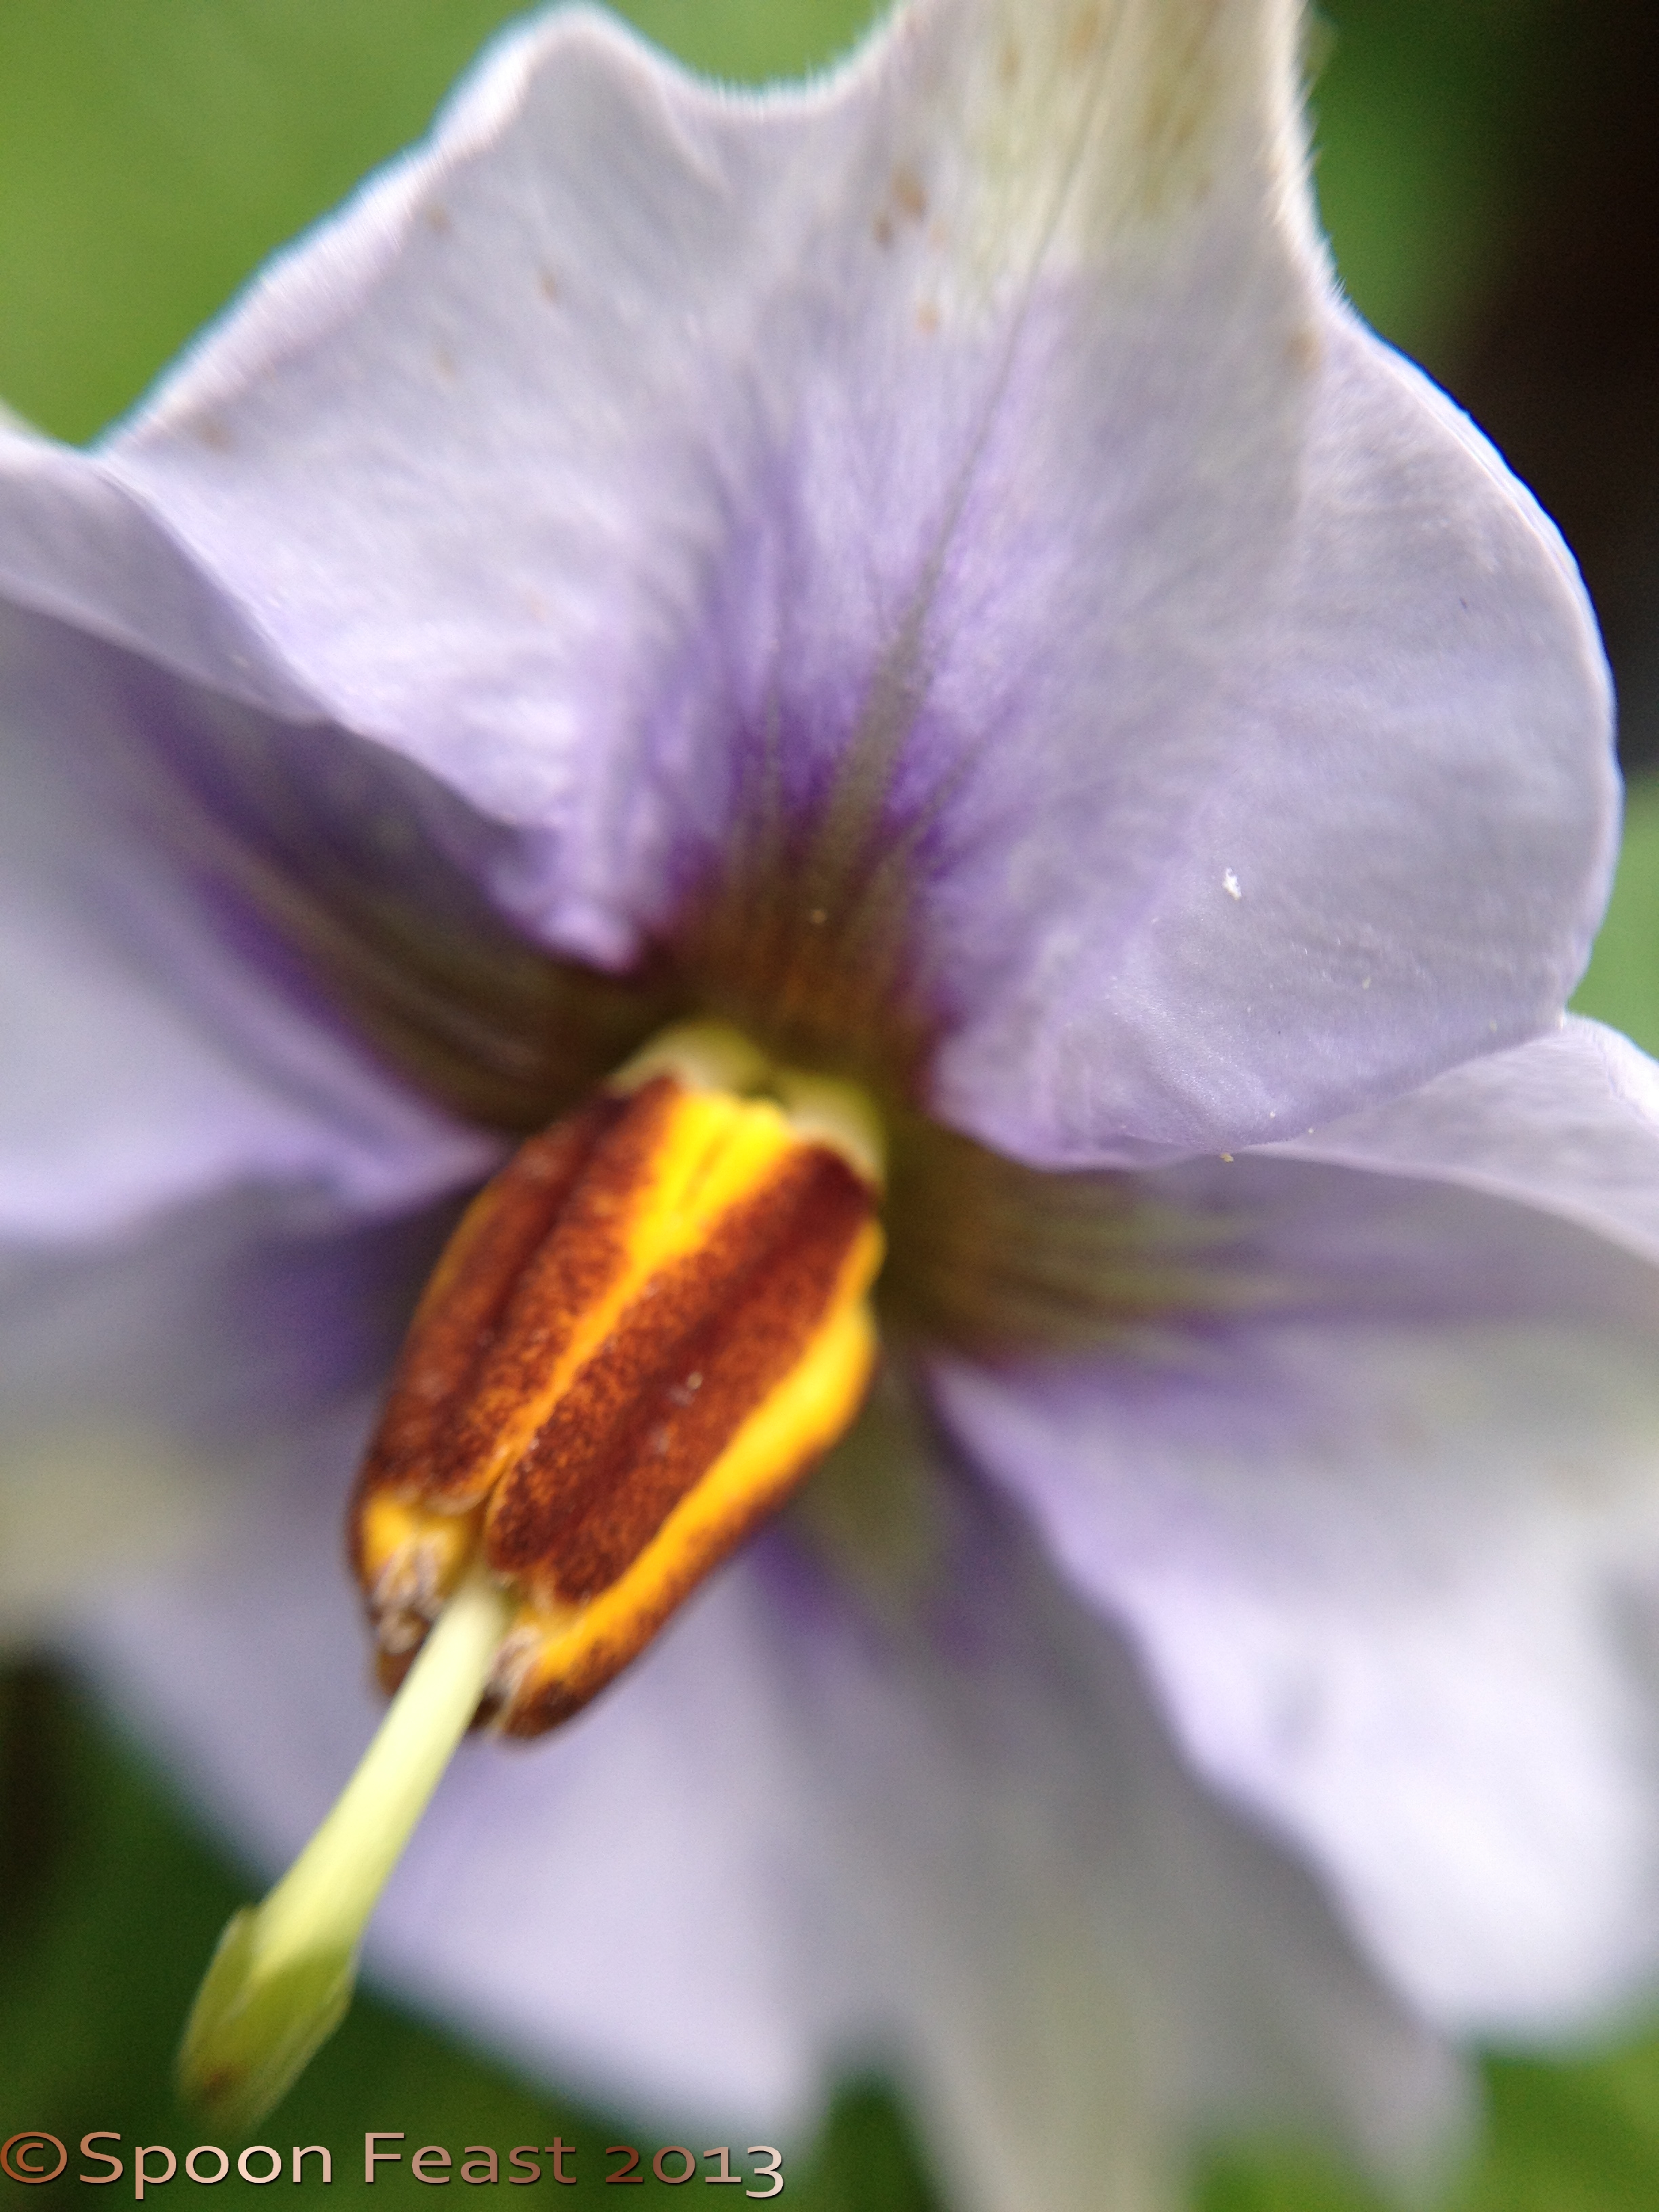
  10. I adore flowers as much as food. I like to capture the beauty in photos. I should give up trying to grow vegetables and grow a nice seasonal cutting garden. Hum! That sounds like a good idea! Have you ever eaten/tasted a sage flower? Simply amazing! First the beauty, the color and the scent and then how it disappears like a drop of honey on your tongue , really, have you ever had that?! I insist you must try it. Keep your eyes out for fresh sage flowers.
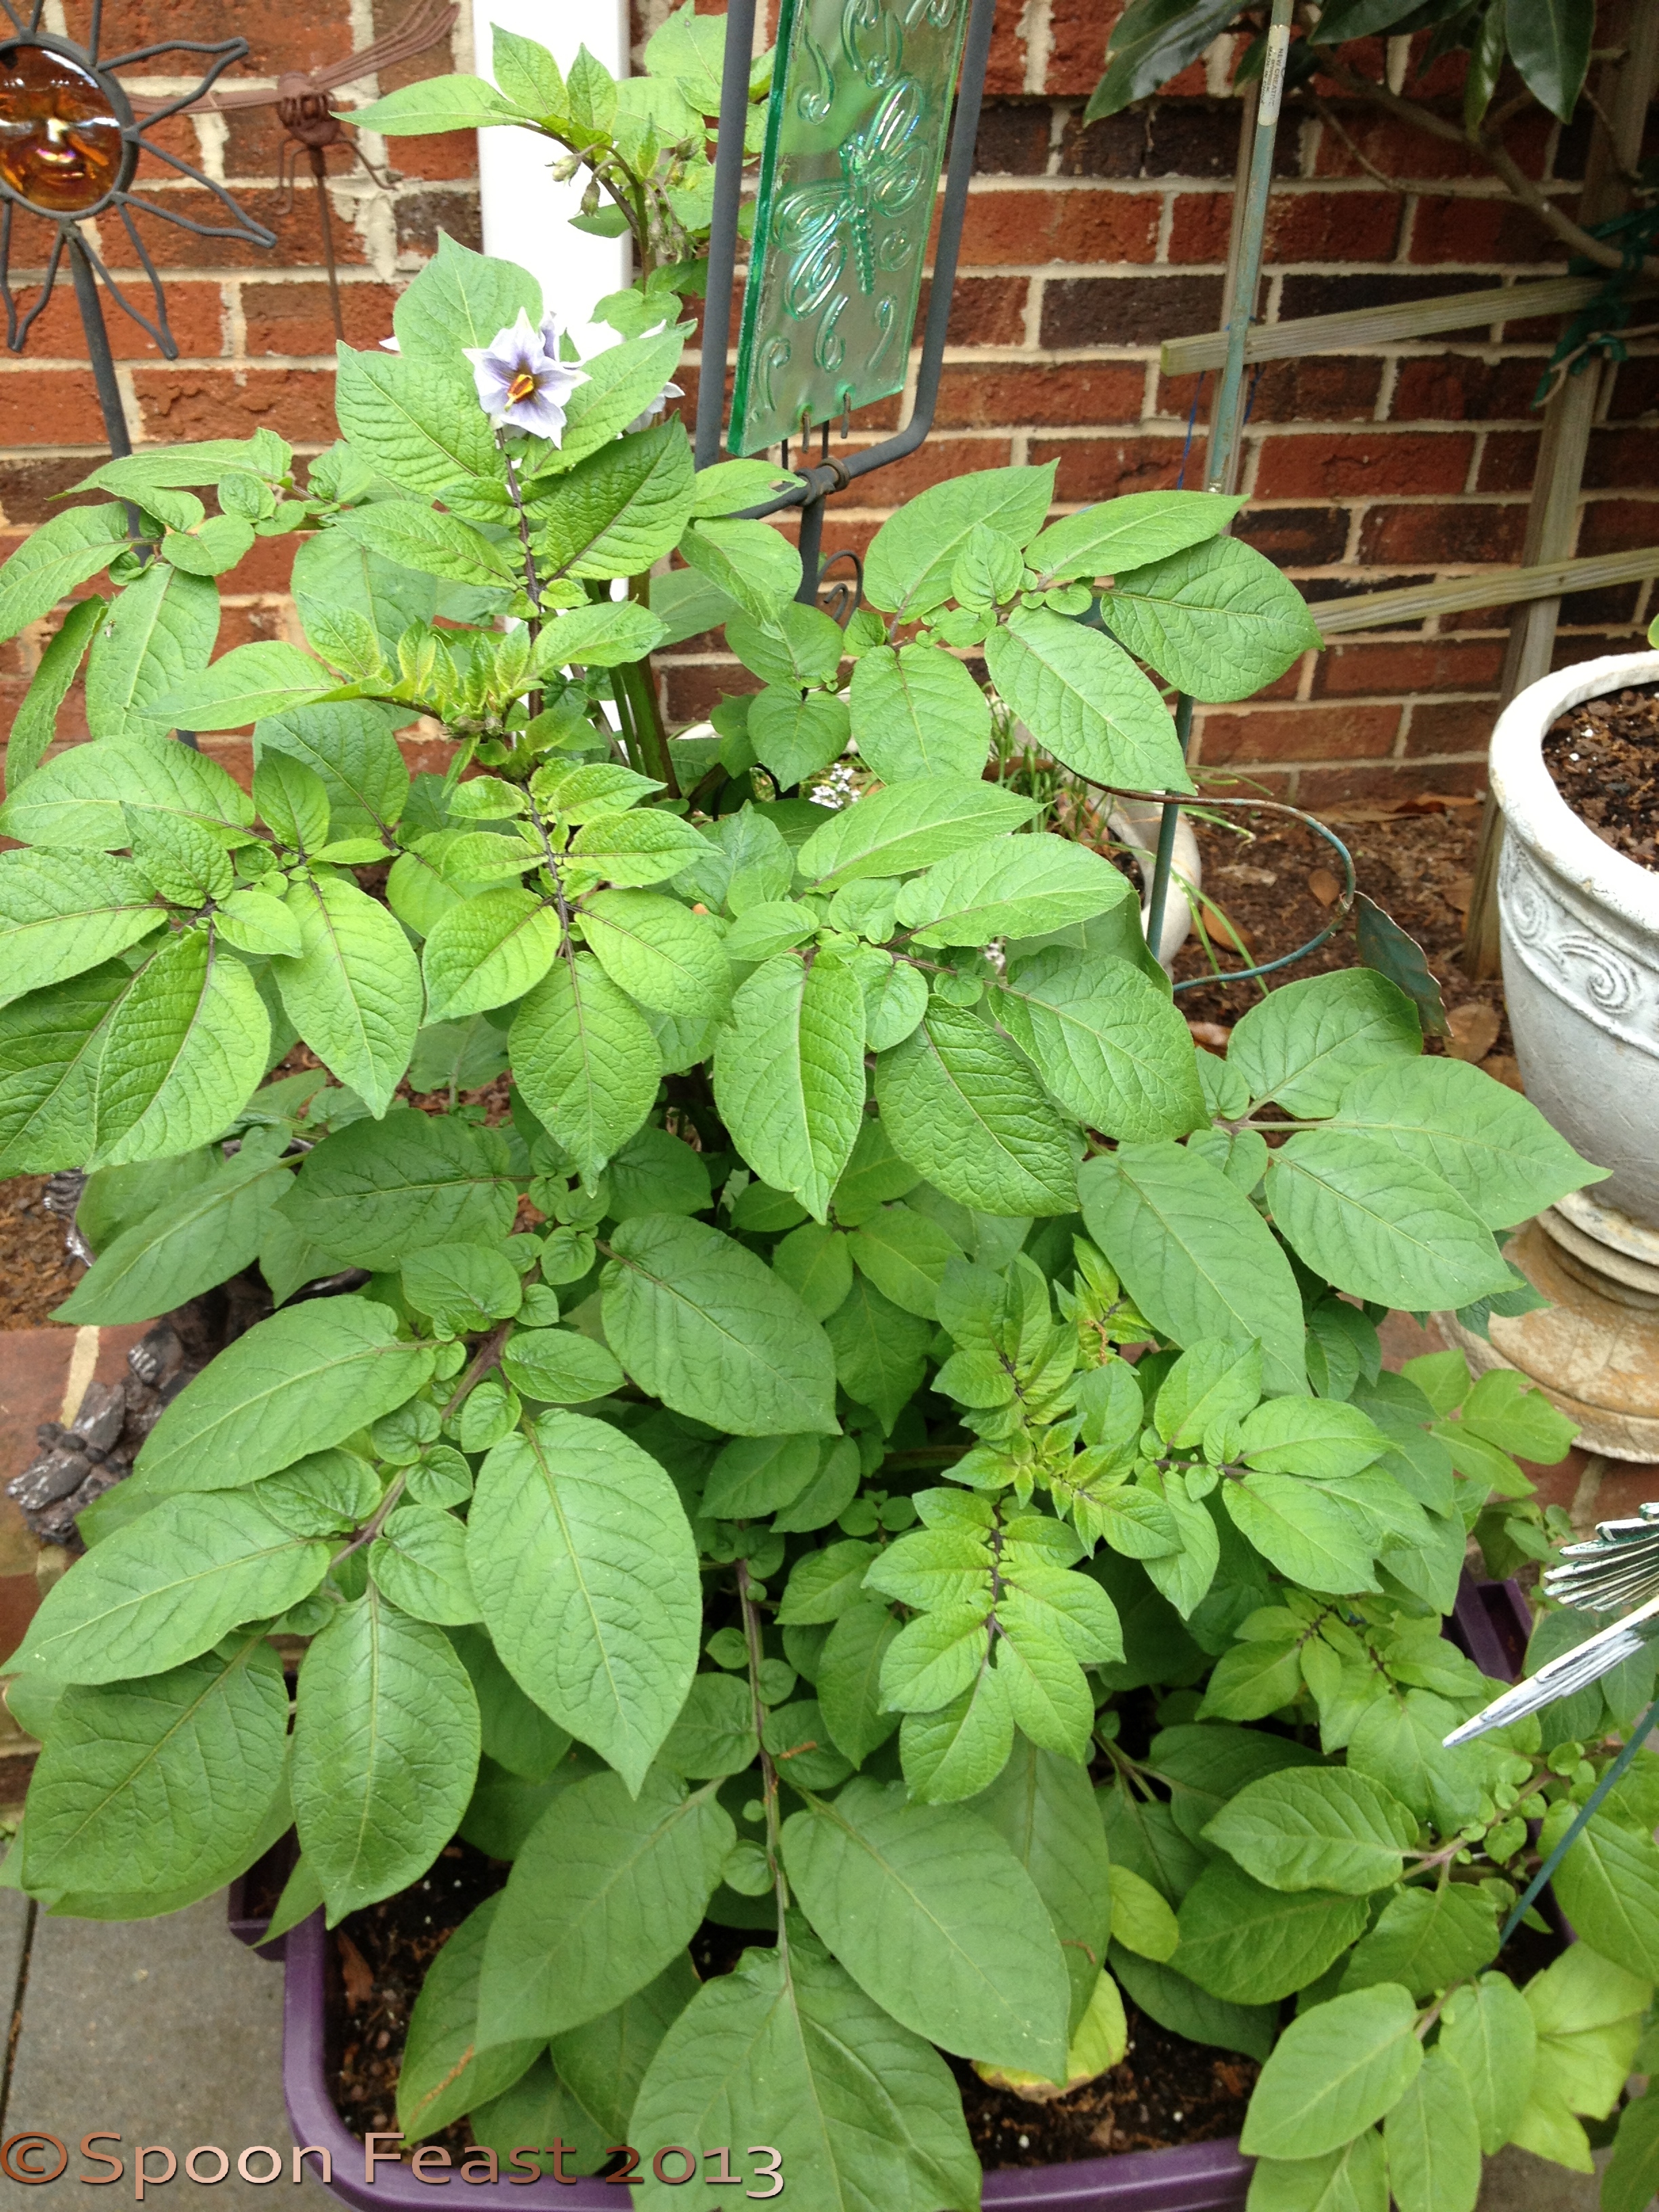
  11. I talk to my plants and believe it does them good. My house if full of plants, inside and out!

Nominate 11 Bloggers and let them know:

I know some of these bloggers will respond and pass this award along and others won’t. They all deserve a shout-out and a visit anyway!

These are some of my favorite blogs:

Celia at Fig Jam and Lime Cordial – I adore her In My Kitchen Posts she sponsors each month. Celia is from Australia

Mandy at The Complete Cook Book –  She finds whale bones on her beach! Fascinating blog from South Africa

Mimi at Chef Mimi has inspiring recipes and cooking adventures

Amy at A Health Life For Me inspires me to make healthier choices.

Clarissa at Dishing it Out With Clarissa has something for everyone. Pretty Nifty Blog!

Dinner of Herbs is fresh and vibrant!

Robert at MentorBoom while not a food blog, he has some great articles that serves food for thought

LuLumiere sees the world with wonderful eyes and captures it in photos.

Anne at Uni Homemaker shares her cooking adventures with enthusiasm.

Roz is a food and travel junkie and she writes a blog that could get you inspired to meet up with her somewhere sometime. Find her at Taste Travels

And CityHippyFarmGirl shares great discoveries and is a fun read.

11 Questions for the nominees:

  1. Why did you start your blog?
  2. Where in the world do you live?
  3. What inspires you to write or photograph?
  4. What did you eat for dinner last night? Who made it?
  5. What is your favorite food?
  6. Do you eat to live or live to eat?
  7. What do you make in your kitchen that people would find unusual?
  8. What makes you happy?
  9. Do you garden? Any luck? What do you grow?
  10. What is the greatest challenge you face now?
  11. What do you do for fun?

And now questions from Virginia at Our Growing Paynes:

1.  What is your earliest memory?

I vaguely remember traveling on a train with my mom to Canada from Michigan. My sister and I would hold coloring book pages to the window and color the opposite side, for some reason we were highly entertained by this.

2.  What food would you like to try but haven’t had the chance?

I have had a vast food exposure all my life, but I think it may be Durian if I can get it past my nose!

3. If you were able to form a charity what would it be?

I would start a college scholarship to be awarded to anyone who needs funding for college. There would be qualifying criteria. Additionally, i would start a business incubator to help people start their own businesses and gain financial independence, and the knowledge and the ability to do so.

4. What fashion trend should be banned?

The one that has everyone showing their undergarments! Cover up for crying out loud! I don’t need to know your bra color or that you wear superhero underwear.  Enough of this PLEASE!

5.  What makes you crack up?

I laugh at the silliest things. Mostly from observing people and interactions.

6. What is your pet peeve?

Incompetence and people who don’t follow through with what they say.

7. How far do you live from where you were born?

I was born in Mt. Clemens, Michigan but never lived there. I’d be guessing to find it on the map. I currently live in a totally different part of the USA, the Southern States and love it down here. Charlotte, NC is my home but I have relatives all over. My mom is from Nova Scotia and my Dad, Michigan so we are well represented all over it seems.

8. What is your favourite season?

SPRING! I love the change from cold drab to the total awesome beauty of flowers! (Only I don’t like the sneezing!)

9. What is your day job?

I am a Certified Executive Chef (lots of other certifications too) and teach culinary school at the largest community college in North Carolina. I love teaching and I especially love teaching Garde Manger which is where students learn all about salads, sandwiches, curing meats, pickling, making condiments, smoking, sausages, and artistic carving skills.

Peacock carved from Daikon Radish in Garde Manger

Peacock carved from Daikon Radish in Garde Manger

10. Where do you want to retire?

While my initial reaction is to say in the South of France, a nice big country house on a clean deep lake would be rather nice. Location will have to be determined later but somewhere in the American South or the South of France.

11.  What is your favourite hobby?

HA HA HA HA HA HA ! COOKING! Surprise!

A Pickling Primer – Tips and Hints to Making Perfect Pickles

A basket of goodies to pickle!

A basket of goodies to pickle!

Here is a pickling primer that will provide some basic guidelines on making your very own homemade pickles.

There are no recipes but here are some basic steps to follow to ensure your pickles turn out amazing.

I really want to encourage you to try making your own pickles!

Sterilize everything you use. Use the Sanitize button on your dishwasher or boil jars, utensils, and lids to ensure no bacteria will interfere with the pickles fermentation process.

While this step sounds intimidating, please be assured, it isn’t.

Wash towels you use in a bleach cycle, then heat dried.

If you don’t have a dishwasher, simply bring a very large pot of water to boil in the stove and then, using tongs, dip the jars, lids and seals, spoons etc. into the boiling water and let them sit until ready to use. (Turn the heat down to a low simmer once it boils). It is not necessary to cover the pot but you can if you like, to control the amount of humidity in the room.

Pickling Hints and Tips

  • Select perfect produce. No blemishes or scars, cracks, avoid bruised food.
  • Gently scrub produce to remove garden debris and lurking insects. Soak for 30 minutes in water that has 1/2 cup salt per gallon.
  • Do not trim or cut produce for the soaking step, soak them whole. Remember, produce can float so move it around some while it is soaking.
  • Placing a plate on top will help hold the items under the water.
  • For cucumbers, trim 1/4 inch from the blossom end only. It contains an enzyme that can make pickles mushy.
Pickled beets

Pickled beets

  • Use plain white or apple cider vinegar. You need 5-7% acidity.
  • Sugar is used to counteract the bitterness of the vinegar and salt. If you must substitute, experiment to ensure you like the flavor of the brine. Personally, I don’t care for artificial sweetener.
  • Be sure to wipe the rim of the jars after filling to ensure a good seal.

    Pickling Jars with wire bales and silicone or rubber seals

    Pickling Jars with wire bales and silicone or rubber seals

  • If canning, follow directions exactly. Take a class to learn the safety features.
  • Always use a water bath canner, NEVER a pressure canner! A pressure canner will turn all of your pickles to complete mush. Ew, who likes mush?
  • Pickles will keep for up to 12 months in the refrigerator. I don’t bother to process my jars, just refrigerate them.
  • Use a non iodized salt. Using table salt with iodine will make the brine cloudy and leave an off bitter taste. Pickling salt or Kosher salt works well.
  • If your pickles become slimy or have pink floaties and bubbles,  don’t taste them, just throw them away. These are signs the pickles have become contaminated with something. It could be yeast or bacteria but either way, don’t eat it. This is why it is so important to have very clean equipment, jars and hands when pickling.
  • All the pickles recipes found on Spoon Feast are for small batches and are ready to eat typically within a day or two. But, they continue to improve with age.

About Recipes:

Try pickling something this summer! Please let me know how it goes.

If you have any questions, I’m here to help, just ask in the comments below.

If you have a Perfect Pickle Tip please share below!

Pickled Turnips

Pickled Turnips

Sweet Pickle Chips

Making Sweet Pickle Chips

Making Sweet Pickle Chips

I have to admit I have a great weakness for sweet pickle chips.

Well, actually not just sweet pickle chips, I have a weakness for nearly ALL things pickled.

Chances are if it hangs around on a pickling day it just may get processed into some kind of something sweet or sour or both.

Sweet Pickle Chips

Sweet Pickle Chips

There is something about the simple process and the synergistic reaction of all the ingredients that results in some of the most amazing flavors on earth.

OK, I can get carried away with pickles, but who wouldn’t? I’d rather look at silly pickle pictures on Facebook than all those animal pics. At one time, at another house, in another time, there was a 100 gallon propane tank above the ground to one side of the property. I wanted to paint it like a giant pickle. The gas company told me I would get fined so I didn’t. It was the perfect shape for a giant pickle too!

I get my love of pickles from my Dad. For years now, whenever it is time for a gift, I send him a renewed subscription to The Pickle of the Month Club. He loves them!

Anyway, back to these little gems. They aren’t too sweet. Here are a few pointers:

  • Select cucumbers the size of the pickles you want (Look at the diameter and the length)
  • A basket of goodies to pickle!

    A bowl of goodies to pickle!

  • Dissolve 1/2 cup salt in some luke-warm water. Add enough ice to cool the water down to cold. After washing add the cucumbers , soak them for 30 minutes in the salt water. There should be enough water to cover the cucumbers.
  • By the way, they will float, so dunk them a bit as you work around them. Play like they are submarines . . .

Soaking does a couple of things:

  • Helps eliminate any bugs and garden debris
  • Starts extracting excess water from the cucumbers so they absorb more brine. This step also helps to not dilute the brine when the cucumbers are added later.

Sweet Pickle Chips

Making Sweet Pickles Chips

Making Sweet Pickles Chips

Ingredients:

  • 2 pounds of wax-less Kirby cucumbers, cleaned and cut into slices 1/4 inch thick
  • 8 ounces sweet onion, sliced into 1/4 inch thick slices

Simmering Brine:

  • 1 quart of water
  • 12 ounces apple cider vinegar
  • 1 tablespoon sugar
  • 1 1/2 teaspoons kosher salt
  • 1/2 teaspoon mixed pickling spice

Mix brine ingredients in a large pot, bring to a boil. Once boiling, add the sliced cucumbers and onions, return to a boil and lower heat. Simmer for 10 minutes.

Drain, discarding liquid unless processing another batch.

Pickling Vinegar Brine

  • 10 ounces white vinegar (NOT WINE Vinegar!)
  • 13.5 ounces granulated sugar
  • 1 Tablespoon celery seeds
  • 1 teaspoon mixed pickling spice
  • 1 teaspoon ground turmeric
  • 1/2 teaspoon crushed  whole allspice berries
  • 2 bay leaves

Optional:

  • 2-3 cloves fresh garlic – for a fresh garlic flavor
  • 1-3 dried red chili pods or red jalapeno pepper – to give some heat!

Combine everything in a sauce pot and bring to a boil. It will need to be stirred to encourage the sugar to melt.

Stir the spices and sugar as you bring to a boil for the Pickling Brine.

Stir the spices and sugar as you bring to a boil for the Pickling Brine.

This mixture needs to be boiling when the vegetables are done simmering.

Procedure:

Wash the cucumbers in water slightly warmer than the cucumbers. Soak in a large bowl of cold water with 1/2 cup salt in it.

This helps eliminate any insects and garden debris that may be lurking on the cucumbers.

Mix the simmering brine ingredients, put on the range top over high heat to bring to a boil.

Mix the pickling vinegar brine and put that over high heat, stirring often to prevent the sugar from burning.

Drain the cucumbers after they have been soaking for at least 30 minutes.

Slice the cucumbers and onions into 1/4 inch slices.

Slice the cukes 1/4" thick

Slice the cukes 1/4″ thick

When the simmering brine reaches a boil, drop in the cucumbers and onions, return to a boil, then simmer for 10 minutes.

Drain the vegetables, discarding liquid (Unless processing another batch).

Place the cukes and onions in a large canning jar. Using a wide mouth funnel, pour the boiling pickling brine into the jar all the way to the top. Leave as little head room as possible. Everything must be submerged under the pickling brine.

If you find there are pieces that want to float, place a small glass plate or dish on the surface to hold everything down.

At first the jars may appear cloudy but as the turmeric and celery seeds settle to the bottom, the vinegar will clear up and you can enjoy looking at gleaming bottles of an amazing turmeric colored sweet pickles!

A Jar of Sweet Pickle Chips

A Jar of Sweet Pickle Chips

Resist eating them for at least 4 days but they are amazing if you can hold off for 3-4 weeks. Everything mellows and they become one divine pickle. But if you must, you can taste the next day, just remember they will mellow considerable as they age.

Once you try these, the half sour pickles and the pickled cauliflower, and pickled beets, you will never buy pickles again! I really like that idea – “No processed food unless you process it yourself” is my new motto!

Slicing cucumbers for Sweet Pickle Chips

Slicing cucumbers for Sweet Pickle Chips

You may notice this recipe is the same as the pickled cauliflower recipe and it is! All I have done is substituted the main pickling ingredient.

Cool thing with these is if you ever need pickle relish and don’t have any, simple chop of some of the pickles and onions and you have a great relish! Especially if you add a red chili or sweet red pepper, but not much. The flavor would overwhelm everything else in the jar.

Remember to serve the onions too! If you use a sweet onion like Vidalia, they become another kind of special.

Keep these in the refrigerator unless you want to process them in a canning process to make them shelf stable.

A Jar of Sweet Pickle Chips

A Jar of Sweet Pickle Chips

I find the sweet pickle chips don’t last long enough to can so just get set to make more.

Enjoy!

Pickled Cauliflower

Pickled cauliflower ingredients

Pickled cauliflower ingredients

I don’t know about you, but I LOVE cauliflower, especially when its pickled cauliflower! When I was little, I would go into the jar of mixed pickles in the refrigerator and pick out the few bits of cauliflower that could be found. It was always disappointing because if you were lucky, you could find two pieces in a single jar.

And my dad likes it as much as I do. I always wanted to see a jar of pickled cauliflower on the shelves of the grocery, but when I have seen them, the contents have always been disappointing.

Yummy Pickled Cauliflower!

Yummy Pickled Cauliflower!

SO, using a pickling method I use to make sweet pickles, I used cauliflower instead of cucumbers with lip-smacking good delightful flavor.

Pickled Cauliflower

Ingredients:

  • 2 pounds of cauliflower, cleaned and broken into 2-3 bite size bits – measure after cleaning the cauliflower
  • 8 ounces sweet onion, sliced into 1/4 inch thick slices

Simmering Brine:

  • 1 quart of water
  • 12 ounces apple cider vinegar
  • 1 tablespoon sugar
  • 1 1/2 teaspoons kosher salt
  • 1/2 teaspoon mixed pickling spice

Mix brine ingredients in a large pot, bring to a boil. Once boiling, add the cauliflower and onions, return to a boil and lower heat. Simmer for 10 minutes.

Boil the vegetables in the simmering brine for 10 minutes

Boil the vegetables in the simmering brine for 10 minutes

Drain, discarding liquid unless processing another batch.

While vegetables are simmering, make the vinegar pickling brine.

Pickling Vinegar Brine

  • 10 ounces white vinegar (NOT WINE Vinegar!)
  • 13.5 ounces granulated sugar
  • 1 Tablespoon celery seeds
  • 1 teaspoon mixed pickling spice
  • 1 teaspoon ground turmeric
  • 1/2 teaspoon crushed  whole allspice berries
  • 2 bay leaves

Optional:

  • 2-3 cloves fresh garlic – for a fresh garlic flavor
  • 1-3 dried red chili pods or red jalapeno pepper – to give some heat!

Combine everything in a sauce pot and bring to a boil. It will need to be stirred to encourage the sugar to melt.

Stir the spices and sugar as you bring to a boil for the Pickling Brine.

Stir the spices and sugar as you bring to a boil for the Pickling Brine.

This mixture needs to be boiling when the vegetables are done simmering.

Procedure:

Wash the cauliflower in water slightly warmer than the cauliflower. Cut into florets. Soak in a large bowl of cold water with 1/4 cup salt in it.

This helps eliminate any insects that may be lurking on the vegetable.

Mix the simmering brine ingredients, put on the range top over high heat to bring to a boil.

Mix the pickling vinegar brine and put that over high heat, stirring often to prevent the sugar from burning.

Drain the cauliflower it should soak for at least 15 -30 minutes.

When the simmering brine reaches a boil, drop in the cauliflower and onions, return to a boil, then simmer for 10 minutes.

Drain the vegetables, discarding liquid (Unless processing another batch).

Place the cauliflower and onions in a large canning jar. Using a wide mouth funnel, pour the boiling pickling brine into the jar all the way to the top. Leave as little head room as possible. Everything must be submerged under the pickling brine.

If you find there are pieces that want to float, place a small glass plate or dish on the surface to hold everything down.

At first the jars may appear cloudy but as the turmeric and celery seeds settle to the bottom, the vinegar will clear up and you can enjoy looking at gleaming bottles of an amazing pickled cauliflower!

Fresh and Pickled cauliflower

Fresh and Pickled cauliflower

Keep these in the refrigerator unless you want to process them in a canning process to make them shelf stable.

Pickles Cauliflower, Sweet Pickle Chips and Half-Sour Pickles chilling

Pickles Cauliflower, Sweet Pickle Chips and Half-Sour Pickles chilling

Fresh and pickled cauliflower

Fresh and pickled cauliflower

I find they don’t last long enough to can so just get set to make more.

Enjoy!

Easy Sandwich Rolls

When it comes to a good easy sandwich roll, a homemade one is hard to beat. Finding a great recipe is also a bit of a challenge.

I wanted a recipe that didn’t require an overnight sponge or two rising times. I wanted a recipe that could be done in just a couple of hours and have good texture and great flavor.

The recipe had to be versatile and most of all, fun.

First is the recipe as I made it and after, is a basic recipe that can be modified easily to give youSandwich Rolls a whole bunch of different results.

With practice, you could have these ready to eat within 2 hours.

Easy Sandwich Rolls

Ingredients

  • 1 cup non fat milk
  • 5 ounces water
  • 1 Tablespoon honey
  • 2 ounces butter
  • 1 egg at room temperature, beaten
  • 3 cups AP flour
  • 1 cup whole wheat flour
  • 1/2 cup mixed grains and seeds; soaked in 1/4 cup water
  • 2-1/4 teaspoons instant yeast
  • 1 1/2 teaspoons salt
  • Wash and topping:
  • 1 egg yolk with 1 Tablespoon water
  • Sesame and poppy seeds and coarse salt

Method:

Remove the egg from the refrigerator and crack it into a bowl. Beat it slightly with a fork, set it aside to come to room temperature.

Heat the milk, water and honey with the butter just until the butter melts. Cool until the temperature falls below 120°F then beat in the egg.

Measure 2 cups of AP flour, yeast, and salt in the bowl of a stand mixer. On low-speed, add the cooled milk mixture until a dough forms.

Slowly add the remaining flour a bit at a time. The dough will pull away from the sides of the bowl and will not be sticky when enough flour has been added. You may need to add additional flour beyond what is called for in the recipe.

Once a soft non sticky ball has formed, knead for 5-8 minutes until smooth and elastic.

Zero a scale and weigh the dough mass. Determine how many ounces of total weight you have. You can determine how many rolls to make in one of two ways.

1. Divide the total weight in ounces by how many rolls you need. Then cut off dough balls that of that weight and all rolls will be the same size.

2. Decide how large you want the rolls. The rolls featured are 3.2 ounce dough balls.

Seeded Sandwich Rolls

  • small slider rolls – 2 ounces – bake 10-12 minutes
  • sandwich or burger size rolls – 3.2 ounces – bake 12-14 minutes
  • large sandwich rolls – 4 ounces – bake up to 20 minutes
  • Hot Dog Buns: 4 ounce rolled into oblong shape, slice open on top or side – bake up to 20 minutes

As the dough balls are weighed, round each dough ball to create a smooth top. Place them 3 inches apart on a parchment lined baking sheet. If desired, sprinkle a bit of cornmeal under the rolls.

Place the smooth dough balls onto the prepared baking sheet, cover with a piece of plastic wrap that has been sprayed with non-stick oil. Let the rolls rise until they double in size – in a warm kitchen this may take 30-40 minutes.

Meanwhile, pre-heat the oven to 400°F

Once the rolls have risen, glaze them gently with egg yolk and sprinkle with seeds. The egg yolk helps the seeds stick and gives a nice shine to the finished roll. Brush the egg yolk on with a brush, being careful not to deflate the risen roll.

Bake the rolls in a 400°F oven for 12-15 minutes; 10-12 for the small rolls and up to 20 minutes for the larger rolls.

Verify internal temperature has reached 210°F and then cool the rolls on a rack. Be sure to space them so they don’t become soggy while cooling.

The final internal temperature should reach 210°F for any size.

Once the rolls have cooled, slice them open and fill with your favorite sandwich filling. The rolls are tender, absorbent to hold juicy fillings without getting messy, taste really good and look fantastic.

Once you see how easy it is to make these sandwich rolls, you’ll make them again and again.

BBQ Chicken Sandwich on a Sandwich Roll with Cabbage and Kale Slaw and Sweet Pickle Chips

BBQ Chicken Sandwich on a Sandwich Roll with Cabbage and Kale Slaw and Sweet Pickle Chips

Plain White Sandwich Rolls

Ingredients

  • 1 cup non-fat milk
  • 1/2 cup warm water
  • 1 Tablespoon honey
  • 2 ounces butter, melted
  • 1 room temperature egg, beaten
  • 4 1/2 cups bread or AP flour
  • 2 1/4 teaspoons instant yeast
  • 1 1/2 teaspoons salt

Follow the same directions as the multi-grain rolls.

Use different toppings or slash the tops of some rolls for different looks.

If you use dried minced onions or dried minced garlic on the top of the unbaked rolls, be sure to soak the dried onions or garlic in a small amount of water before using as a topping. If they are not hydrated, they will burn and taste bitter.

Try adding cheese or shredded zucchini in place of butter to the recipe.

Use them as dinner rolls, give a bag to your neighbor.

To me one of the best parts of a sandwich is good bread. This is a great start.

Try them and let me know what you think and if you tried anything different.

Sandwich rolls

Sandwich rolls

Onion Scapes

This post is about the beautiful onion scapes growing in my garden.

Enjoy the photos.

IMG_5639 IMG_5638

Refreshing Summer Beverage – Agua Fresca!

Ah, Summertime! Time for refreshing summer beverages and relaxation in the shade. This Summer, discover the simple pleasure of Agua Fresca.

Simple to make, tremendously refreshing, and limitless varieties.

Some varieties have pureed fruit such as cantaloupe, honeydew or watermelon, others feature berries and herbs while others call for cucumber or carrot slices.

My favorite flavor is citrus so to make it, use 1 lemon, 1 lime, 1 orange and 1 grapefruit if there is one on hand. Additionally I add herbs such as mint, basil or sage on occasion too.

This one is citrus with mint.IMG_5627

Slice the fruit into thick slices, remove any seeds and place the slices into a large pitcher.

Add the mint leaves and a small amount of sugar (or leave the sugar out entirely).

Use a wooden spoon or a muddler to gently crush the mint leaves and the fruit. All you want to do here is to start the release of juice and essential oils.

IMG_5622Fill the pitcher with water, fill another glass with ice and pour. Garnish with mint leaves and a citrus slice.IMG_5626

Prop your feet up and enjoy!

If by any odd chance you have any remaining at the end of the day, remove the fruit to store the beverage overnight. If the fruit is left in, the drink will turn quite bitter from the pith of the fruit. Sometimes you can get a second pitcher out of the fruit too.

I do hope you enjoy this version of agua fresca.IMG_5628

Proud of Potatoes!

IMG_6510

A few of the potatoes, there are red, yellow fingerlings and Peruvian blue growing.

I harvested a few potatoes two weeks ago and was quite proud of my potatoes!

Somewhere, I read that they are supposed to dry a couple of weeks before you eat them so I put them in a bag and let them be until last night.

Look at the inside!

Look at the inside!

Scrubbed potatoes were cut and placed into a pot with cold water and put over high heat. Once the water boiled, salt and herbs were added to water to steep flavor into the potatoes as they cooked.

You can learn more about potato varieties on my post: All About Potatoes

Boil until the potatoes are done, drain and season with snipped chives and a small dab of butter  or olive oil if you like.

YUM!

YUM!

The Peruvian Blue Plant

The Peruvian Blue Plant

The flower

The flower

IMG_5631

So far, it has been quite fun to grow the potatoes. The Peruvian Blue potato plants are actually quite lovely. I’ve kept adding more soil to mimic “hilling” and hopefully, this will result in decent results meaning actually having some potatoes.

I showed the first harvest to Robert he said “looks like its going to be a long winter.” I do hope there are more potatoes to find when it is time! It’s like finding buried treasure when it comes time to dig them out of the ground.

I grew the Peruvian Blue in a 55 gallon purple Rubbermaid bin that I drilled drainage holes in the bottom to drain excess water.

Someone told me that the bags rotted, a pot would have to be quite large so since I had a bunch of bins, one became the container to grow Peruvian Blue Potatoes.

Someone else told me of a large garbage can with a door cut into the side so you could open the door, reach in and harvest a dinners worth of potatoes, close the door and the plant carries on.

How cool is that idea?!

I’d have to think of how to build something though as I’m not to sure everyone would agree on a garbage can with a door cut into the side, growing a potato plant as part of the landscaping.

Now if I lived on a farm . . .

My tomatoes are pitiful. Blossom drop plague. But at least we have a few potatoes.

Charlotte Cooks Wins a Telly Award!

We won a Telly Award for our Shrimp Creole show!

https://i0.wp.com/www.wtvi.org/wp-content/uploads/2013/02/Cooks_Orange_Chicken.jpg

While I can’t post the video yet, here is the recipe for the dish. I hope they release the video soon on You Tube. I think it is circulating now on the channel so I’m guessing when they air a new show this one will become available. When it does, I’ll update this post to include the video.

Until then, enjoy making this recipe which also features Raw Kale Salad.

Creole inspired by NOLA cuisine.

NOLA Style Shrimp Creole

  • 2 pounds Peeled and De-veined Shrimp, save shells to make Shrimp Stock
  • 2 Tablespoons Butter
  • 1 Tablespoon Vegetable Oil
  • 3 Tablespoons All- purpose flour
  • 1 Large Onion, finely chopped
  • 2 Ribs Celery, finely chopped
  • 1 small Green Pepper, finely chopped
  • 2 Tablespoon Creole Seasoning
  • 2 Tablespoon Tomato Paste
  • 2-1/2 Cups Very Ripe Fresh Tomatoes, Diced
  • 1/2 Cup Dry White Wine
  • 2 Cups Shrimp Stock
  • 2 Tablespoon Garlic, minced
  • 2 Bay leaves
  • Cayenne to taste
  • Kosher Salt to taste
  • 1 teaspoon Black Pepper
  • 1 teaspoon White Pepper
  • 1 bunch Fresh Thyme
  • 2 Tablespoon Tabasco or to taste
  • 1 Tablespoon Worcestershire Sauce
  • 1/2 Cup Green Onions, green tops thinly sliced, white part sliced into 1/4″ thickness
  • 2 Tablespoons Flat Leaf Parsley, minced

Melt the butter in a large sauce pan with the vegetable oil over medium high heat.

Add the flour and stir so it looks like wet sand on the beach.

When the butter begins to froth add 1/2 cup of the onions. Cook until the onions are golden brown.

Add the remaining onions, celery, and bell pepper.

Reduce the heat to medium and season with 1 Tablespoon Creole Seasoning and a healthy pinch of salt.

Sweat the vegetables until soft.

Add the tomato paste mixing well, and cook, stirring constantly, until the paste begins to brown, add the fresh tomatoes. Stir well.

When the tomatoes start to break down into liquid add the white wine, bring to a boil and boil for 1-2 minutes.

Add the Shrimp Stock, remaining Creole seasoning, garlic, bay leaves, black pepper, white pepper, cayenne (to taste), and thyme.

Bring to a boil then reduce to a low simmer.

Simmer for 30-45 minutes.

Add the hot sauce, Worcestershire, and adjust seasonings.

Bring the sauce to a boil, reduce the heat to low and add the shrimp.

The key is to not  to over cook your shrimp. Let them slowly simmer in the sauce until just cooked through.

If you boil them, they get tough so just simmer gently. They cook quickly!

Serve with boiled rice and garnish with the remaining green onions and parsley.

Serve immediately.

Serves 4.

I hope you join us in WTVI-PBS Charlotte Thursday evenings at 8:30 to see our new shows.

As always, thanks for watching Charlotte Cooks!

Things to Make with Mint

Mint Leaves

Mint Leaves (Photo credit: Wikipedia)

Mint leaves.

Mint leaves. (Photo credit: Wikipedia)

Oh my! The mint in my garden has taken off! If you have an overgrowth of mint here are a few ideas on how to put the mint to good use.

  • Mint Pesto
  • Mint Mojitos
  • Mint Ice Cream

    A scoop of Mint Chocolate Chip, Baskin-Robbin'...

    A scoop of Mint Chocolate Chip, Baskin-Robbin’s most popular flavor. (Photo credit: Wikipedia)

  • Mint Simple Syrup
  • Mint Liquor
  • Add mint to agua fresca
  • Make chocolate mint leaves by painting clean mint leaves with melted chocolate, let dry and peel the leaf away leaving a chocolate mint leaf!

These take more patience than I have, surely you have more than I do and therefore are able to make en entire tree of chocolate mint leaves.

Personally I don’t care for working with chocolate. I find it far more messy than  worth it. I’ll gladly pay for fine chocolates which are also far better than I would have the patience to make. Temper chocolate? Meh, I’d rather not.

  • English: Too young for mint sauce A very young...

    English: Too young for mint sauce A very young lamb in the wildflower meadow beside the church of St George. (Photo credit: Wikipedia)

    Make mint sauce for lamb! Not mint jelly. Although that would be good too, but the vinegar, sweet mint sauce like Crosse and Blackwell make. I love this sauce on so many things – lamb, shrimp, pork . . .

  • Mint jelly

    Mint jelly (Photo credit: Wikipedia)

    Make Apple Mint Jelly. Put that on a biscuit with some butter. Slap on a bit of salty ham, maybe some brie and chow down!

  • Make Moroccan Mint Tea – Make a large jar full because this will disappear on you so fast!
  • Mint Ice cream with chocolate shavings, or frozen mint chocolate yogurt
  • Rub your temples with mint leaves to help relieve headache and general stress. Breathe deep.
  • If you have large mint plants, cut long thick branches, tie them together and hang them in your shower. The scent will be released from the essential oils in the leaves by the warm water of the shower and be exhilarating. Best first thing in the morning as it can be quite stimulating.
  • Make Tabbouleh
  • At the end of the day make Mint Juleps!

Ah, an over growth of Mint can be heavenly!