Arugula and Pickled Beet Salad

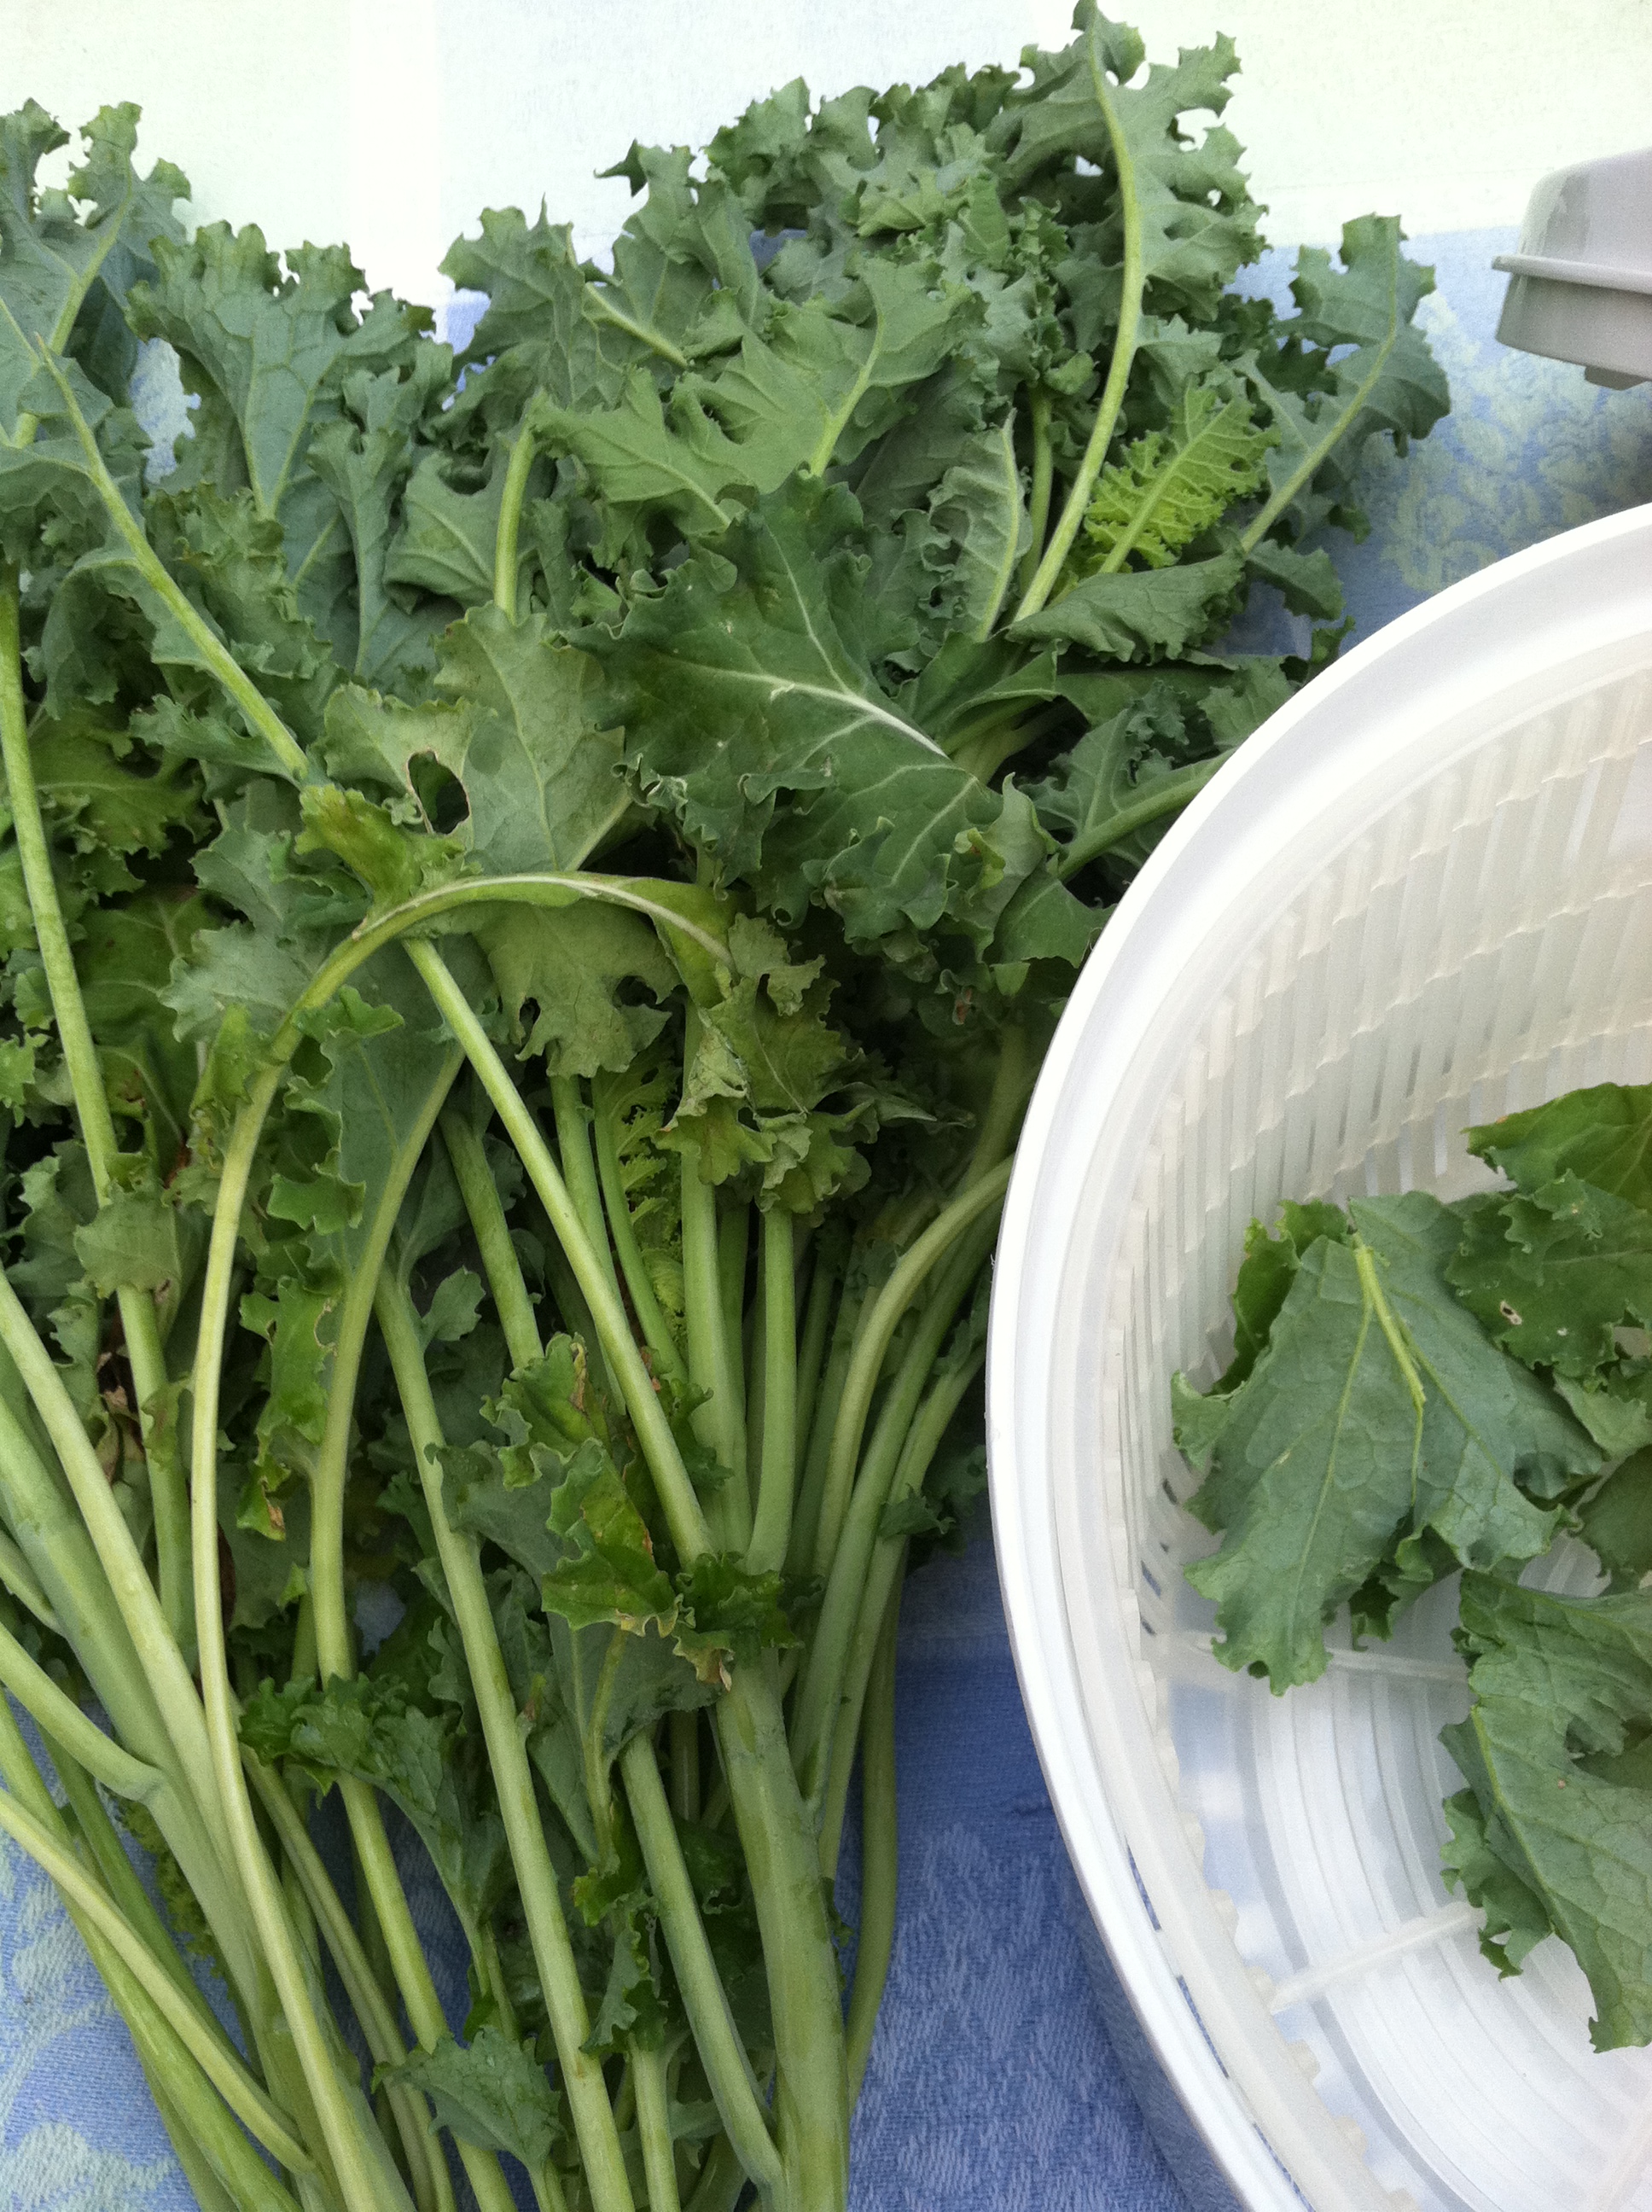
Today’s shared bounty is some lovely arugula (aka rocket). The added bonus of this shared bounty is roots! After washing what we would eat, I choose some to plant and grow more.

Thanks Adria!

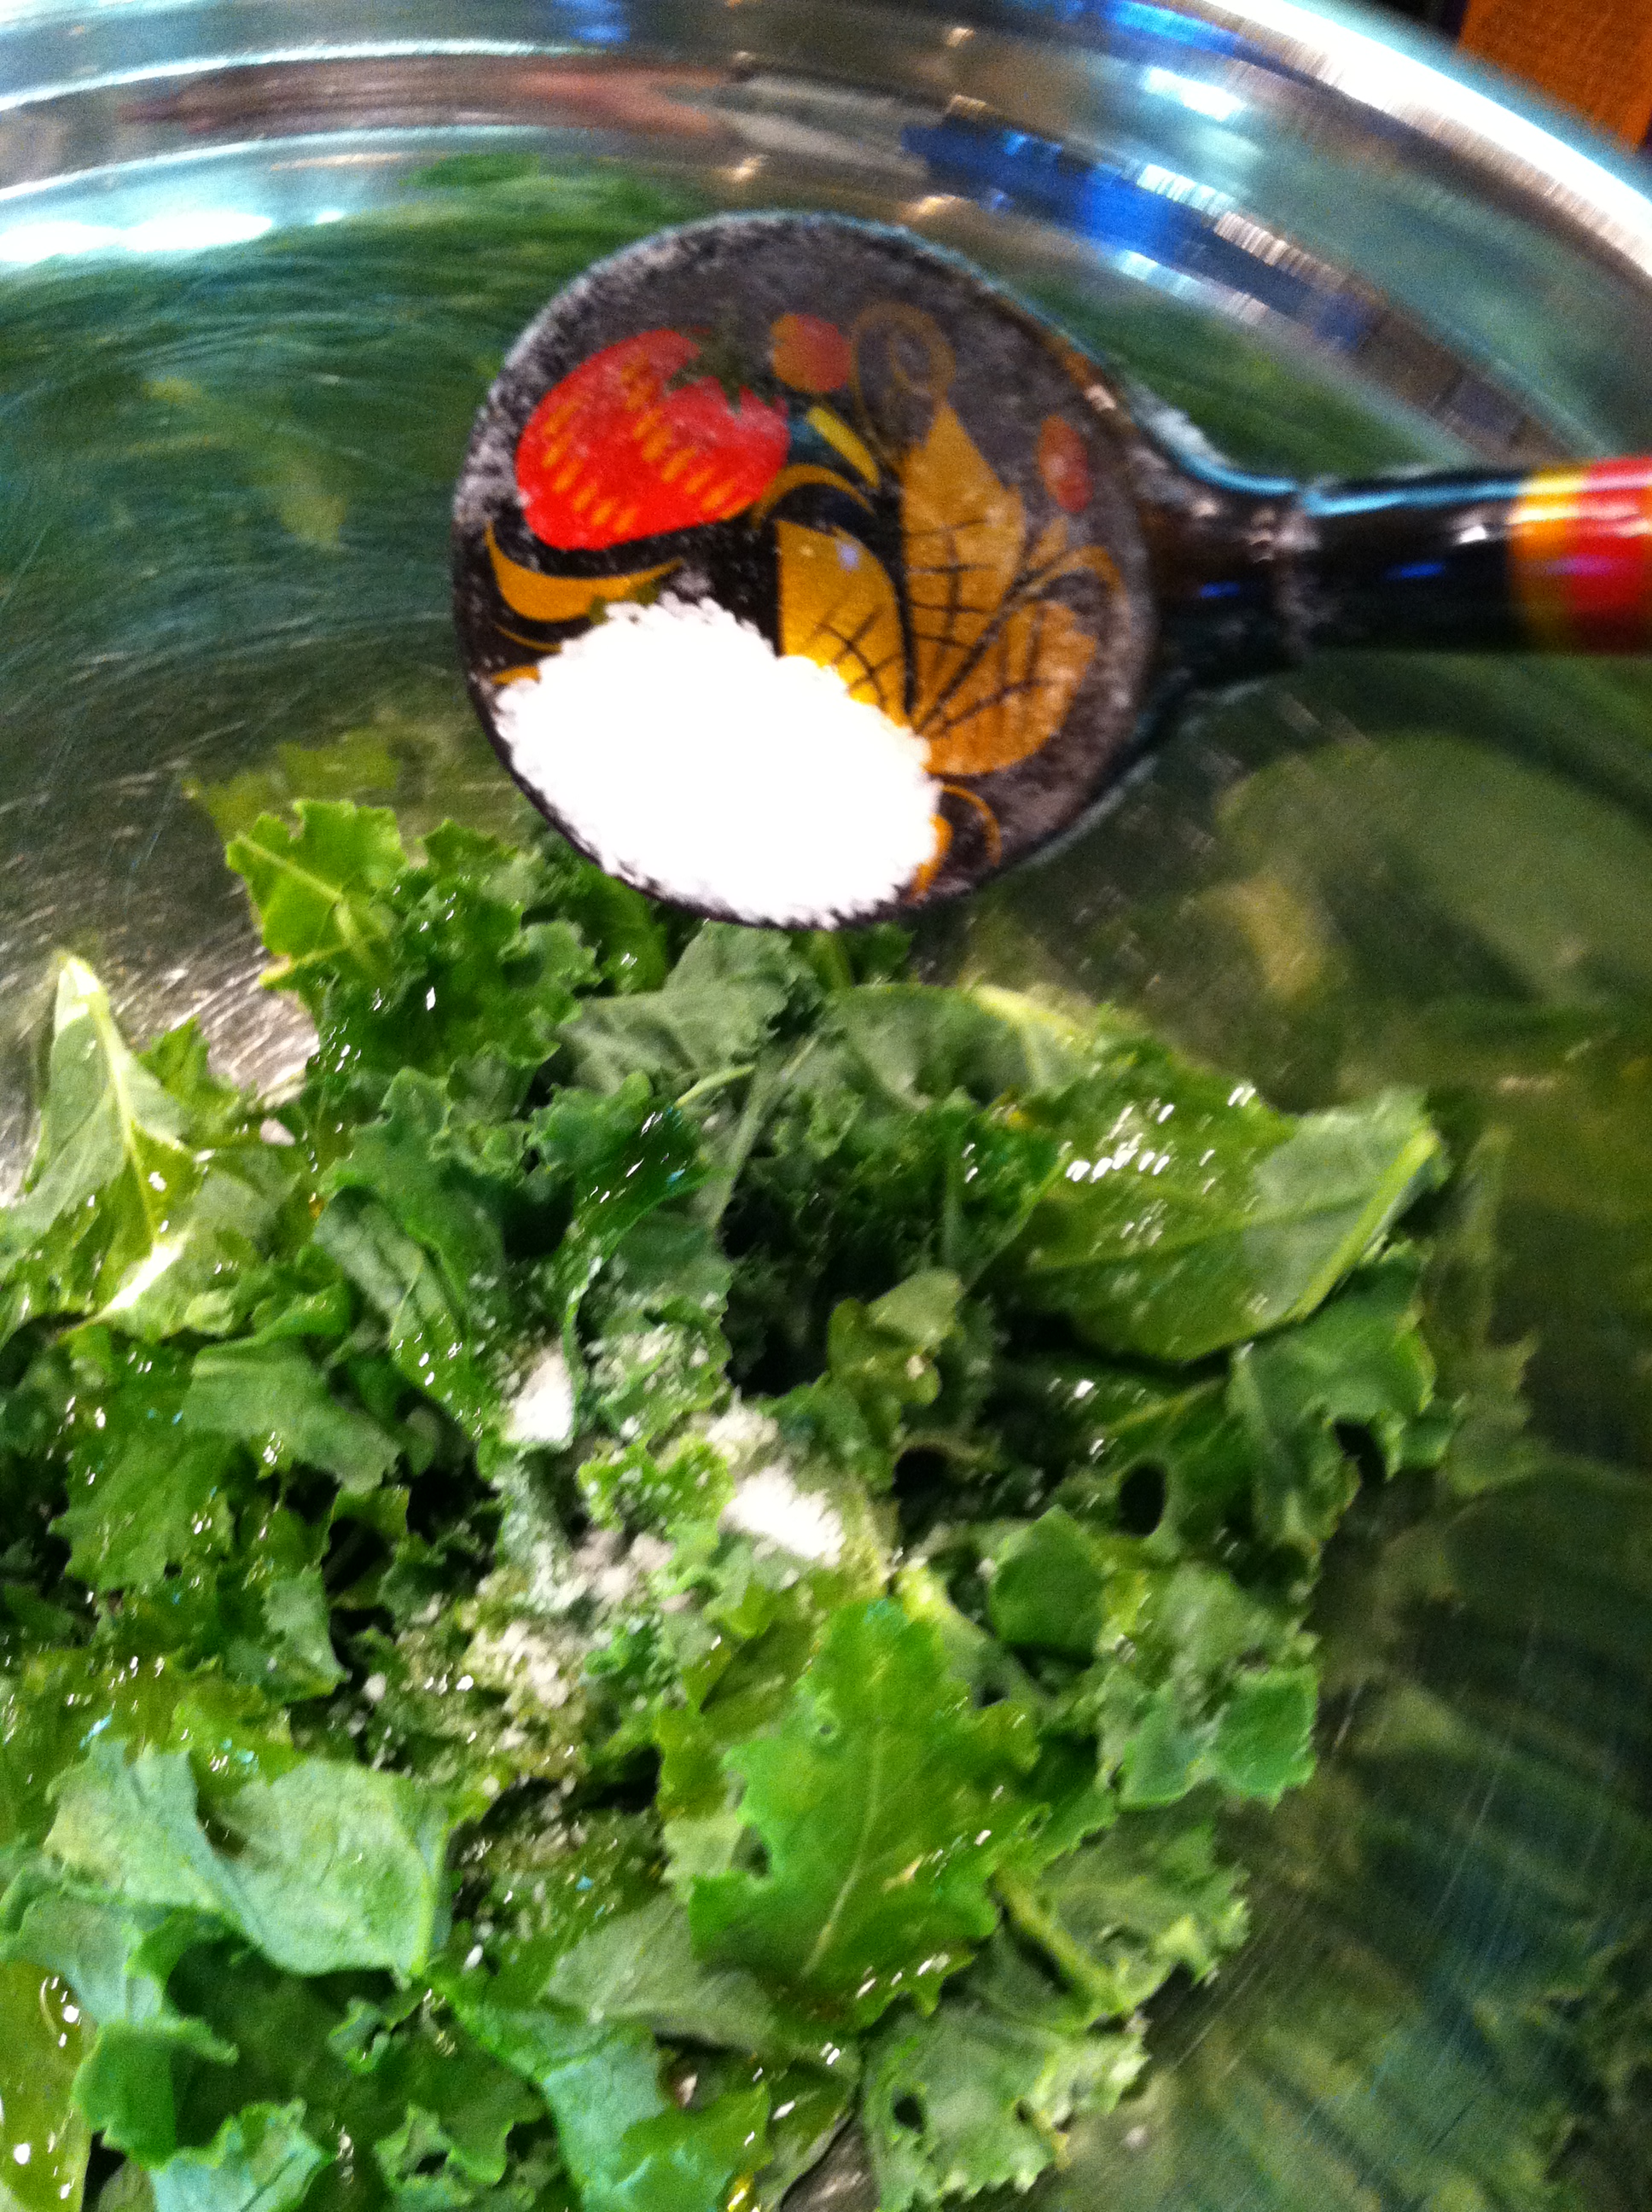
Washed and refreshed, arugula is ready for a terrific, quick and easy salad from things created over the last few days for posts on Spoon Feast.

Picking some fresh red-leaf lettuce from the garden, combining it with arugula, garnishing with fresh tomatoes, cucumbers, steamed artichokes, pickled beets and hard-boiled eggs.

All food gathered from a walk to the farmers market Saturday and shared bounty from friends and colleagues. Oh, add salmon, wild caught, from Alaska.

We tossed the salad with a chive blossom vinaigrette to bring it all together then added croutons and slabs of fresh bread and a few shavings of cheese.

You could use the beet juice from the pickling jar and drizzle a bit of olive oil for the dressing.

I drank champagne; Robert, Stella Artois.

We got to eat the duck, kale and white bean soup earlier

This is how we get to use up a weekend of playing in the kitchen. I don’t just write about recipes and food, we live it. Every day, every meal.

Only a small percentage of what I really cook ever gets written about. I call that “cooking without documentation.”

I cook and create food every single day for as many meals as I can. Sounds like we would be fat porkers, but we aren’t.

Eat responsibly is the key. Love and enjoy food but don’t overdo it.

Robert loves the results. I must admit, it sure is fun to finish with all the cooking and writing and photography; go take a bath and fall asleep. The next day go down to the kitchen and enjoy all the tasty things there are to eat over the next couple of days.

It leads to more posts, more food and photographs.

Robert does not like his food photographed.

Arugula and Pickled Beet Salad with Salmon

So, I make a plate to shoot before we eat. Maybe that’s why he doesn’t like his food photographed, he wants to eat first.

I try not to waste food by eating what is photographed. Sometimes it is necessary to dedicate a plate to the shoot. Others, the plate gets consumed as soon as the camera lights fade.

This time of year is my favorite as there is so much produce, fruit, and flowers available to play with.

I encourage you to try using arugula/rocket in a salad. It is great to top a pizza or drop into soup.

Use arugula/rocket just as you would spinach, raw and cooked. The home-grown varieties  seem to have more peppery flavor than commercial products.

Let me know how you like this crazy green.

Oh, Grasshopper!

Fair warning: If you are squeamish about grasshoppers or insects, move on to the next post. Just a fair warning.

There is a student in my Garde Manger class who brought grasshoppers to class.

A pan of grasshoppers

Even though eating grasshoppers is not the mainstay diet of my readers, I thought it was so interesting I had to write about it. I am not an extreme food consumer, but if it was all there was to eat, I speculate a way would be found.

Comedienne Mary Asher and the Grasshoppers

I couldn’t bring myself to eat one, however, several students were excited to try.

Yong made them nice and crispy and made a Korean style teriyaki sauce and another of his teammates, Andrew, covered them with dark chocolate. Some were paired with cheese on a cracker.

Yong was telling us how in Korea, they raise grasshoppers in very clean ‘grasshopper farms’. I visioned tall blades of lush grass with jumpy, springing green grasshoppers leaping blissfully from blade to blade.

It was fun to watch the adventurous eaters explain: “crunchy like a grassy twig”, “Can I pull the legs off?”, “I don’t like the wings”, “Are they overcooked?” “They make me want to jump around.”

Snacking Grasshoppers

Chocolate Grasshoppers

Grasshoppers with cheese and crackers

Serving Grasshoppers

At least he didn’t bring in hissing cockroaches.

Artichokes!

Artichokes from the market

I found the most amazing artichokes in the farmers market this week. They were huge and hybrids. These artichokes did not have any of the thorns or much of a “choke’ inside either.

The woman at the market asked me “how do you cook them so they are tender?”

Steam them.

I had to find a domed lid to fit the steamer; the artichoke was so big!

All I did with this artichoke is cut the stem so it would fit in the pot with the lid on it and steam. It had to be steamed for about an hour and 15 minutes. Once the water came to a boil, the heat was turned down to low. You will need to check the water level to be sure you don’t burn up a good pot.

If you find the non-hybrid type that have the small thorn on each leaf, you will need to use the kitchen shears and clip them off. After your cut a few, wipe the edges with a cut lemon to prevent the artichoke from turning black.

Any cut you make on a raw artichoke, swipe it with a piece of cut lemon to preserve the color and keep it from oxidizing.

You can tell the artichoke is done cooking when the leaves pull off easily and a knife is easily inserted into the base of the artichoke with no resistance. Do this from the bottom so as not to ruin the presentation.

There are a lot of things you can do with an artichoke but today, I am just steaming it and serving it with a couple of sauces.

We will eat it as an hors d’ oeuvre with aperitif before dinner. Serving like this is also an interesting way to put out a snack when guests and friends come visit. We usually gather in the front yard about an hour or so before dinner and friends join us for great conversations, drinks and sometimes an hors d’ oeuvre or two.

A word of caution, artichokes make cheap red wine taste great and good red wine taste awful. So if you are serving artichokes, serve a decent inexpensive red wine.

Please don’t go down as low as Trader Joe’s Two Buck Chuck. That is truly awful stuff. The only thing that makes that better is pouring it down the drain.

The sauces:

Yogurt Sour Cream Sauce

  • 1/4 cup plain Greek yogurt
  • 1/4 cup sour cream
  • 2 tablespoons mayonnaise
  • 1 teaspoon smooth Dijon mustard
  • 1 teaspoon fresh lemon juice
  • 1/8 teaspoon garlic powder
  • 1/8 teaspoon onion powder
  • Salt to taste
  • Sprinkle of sweet paprika for garnish

Mix it all together. Sprinkle sweet paprika lightly over the top.

Let is rest to allow the flavors to blend.

Dip artichoke leaves in sauce.

Lemon Butter Sauce

  • 1/2 cup butter
  • 1 lemon, zested and juiced

Melt the butter, add the juice of the lemon and 1/2 of the zest. Warm through.

Place a couple of slices of lemon in the bowl to serve. Dip artichoke leaves into sauce.

How do you eat a whole artichoke?

Starting at the bottom base, carefully pull a leaf off. It should separate easily. Dip in sauce if desired.

Place the inside of the leaf against your bottom teeth, lightly bite down and scrape the artichoke flesh off the leaf with your bottom teeth and discard the remaining leaf. You have to pull the leaf to effectively scrape it against your teeth.

As you consume the leaves, the bottom will become visible. Once all the leaves have been consumed, you will find a “choke” in the very center. It is anchored by the bottom of the artichoke.

The "choke"
Notice how fuzzy it is; not leaf like at all

Scrape the choke away from the bottom; discard

The cleaned artichoke bottom

This is how it looks upside down

Cut artichoke bottom ready to use in salads, dips, etc.

You do not eat the choke because it is inedible and if you attempt to eat it, you will choke!

Scrape away the choke and eat the bottom. For this part, you will need a knife and fork.

You can always save it for slicing, mashing into Spinach Artichoke dip, salads or leave it whole and stuff it for a completely different dish.

If you have any leaves left over, scrape the flesh from the leaves with a spoon and make soup, salad dressings or use the artichoke scrapings in stuffing. There isn’t much shape to the scraping, use it like you would something mashed.

You can try making them the Roman way too. (Thanks, Barbara!)

Steamed Artichoke with Yogurt Sour Cream Dip and Crispy Kale Chips

Pickled Beets

Pickled beets jumped out at me this weekend while at the farmers market. I brought home a beautiful bunch of beets with the greens, for just $2.50 this was a real steal.

I made a list of what I could do with them: Roasted beet salad with blood orange vinaigrette, Beet chutney, beets in butter with a splash of rice vinegar and in the end, pickled beets won.

I suppose I thought the bunch of beets was larger than it really was.

The first step in all the recipes is to cook them.

There are several ways, the best method and least messy is to steam them.

Here’s the thing about beets. They will “bleed” this lovely magenta color everywhere and leave a legacy of stains behind them.

Trick of the trade: Don’t cut, nick or peel them before cooking.

Trim leaving 1-2″ of stem; soak to remove soil and sand.
Do not peel or cut.

Trim the roots from the stems by cutting at least 1-2 inches of stem remaining on the root end. Leave the tap-root end in tact also, don’t trim it, just tuck it out-of-the-way.

Gently wash the beets to remove excess soil and sand. Don’t scrub them as they have a thin skin. Soaking for a few minutes is usually good.

Keep the greens. Set them aside in a large deep bowl of cold water. Remove any yellowish or ‘spotted’ leaves you wouldn’t want to eat.

Soak the leaves in cold water. Swish the leaves in the water gently. The sand will fall to the bottom of the bowl. Lift the leaves from the bowl without disturbing the bottom and repeat at least 4 times. You will be amazed how much sand and soil the leaves can hold.

Soak greens to remove dirt, and sand.
Change water 3-4 times

Lastly, rinse the leaves under running water, wrap in a towel, cover with plastic wrap or bag and store in the refrigerator until you want to use them in the next couple of days. That is another post.

How to use the beet greens is another post coming soon. The greens need to be cared for as soon as you remove the root ends so you don’t lose quality. If the greens look limp at first, they crisp up during the soaking process.

If you buy beets with greens and plan to use them later, separate the green tops and the root ends because the greens will pull nutrients, sugars and moisture from the roots during storage. (same with radishes, carrots, bulb onions etc.)

This recipe for pickled beets is simple and very flavorful. Some folks say they can eat the entire batch at once but that’s not recommended.

Steaming the beets takes the longest amount of time.

So here is how to make Pickled Beets:

Pickled Beets

  • Servings: 2 quarts
  • Difficulty: medium
  • Print

1 bunch of beets (8 medium size beets as close to the same size as possible)

Steam the beets by placing them in a steamer pot with a tight-fitting lid. Use good quality water to steam the beets. You will use 1/2 cup of this water in the pickling brine.

Steam the beets until tender

Steam the beets until easily pierced with a paring knife, just as you test a baked potato for doneness.

Do not pierce the beets often or all over as they will “bleed”. You want them to retain the color. Just test the biggest ones.

When the beets are done,  save the water in the bottom pot and place the beets in a big bowl of cold water. Once they are cool, underwater, using your hands, slip the skins off.The skins slip off very easily.

Set the peeled beets aside in another bowl.

Peeling underwater helps keep your hands from staining magenta.

Using a cutting board you can bleach later, trim the top and bottom, then slice the beets into thick slices and place them back into the bowl.

Make the brine and have the jars or containers you are going to store the finished beets in ready to fill.

Pickling brine

  • 3/4 cup apple cider vinegar
  • 3/4 cup water from steaming pot with beet drippings
  • 2 tablespoons sugar
  • 1/2 teaspoon kosher salt (or any non-iodized salt)
  • 3-4 black peppercorns
  • 2-3 whole cloves
  • 2 bay leaves
  • 1 cinnamon stick
  • 1 small sweet onion sliced

Bring the beet water and vinegar to a boil, add the remaining ingredients, including the onion and return to a boil. Boil for 1 minute.

Pour the hot mixture over the beets and gently stir with a rubber spatula to ensure all the beets are coated.

Pour the hot brine over beets, place in storage jars, cool. Serve cold.

Gently place the beets and all the brine into the storage jar. Allow to cool then refrigerate.

The pickled beets are ready to eat after 24 hours. One of my favorite parts are the onions that get pickled too. Slightly crunchy and  what a taste treat!

Pickled beets

Pickled Beets – I could eat the whole jar!

Serve very cold.

Roasted Duck, Kale and White Bean Soup

Since it is cold and raining outside, making a soup from roasted duck, kale and white beans sound good. It is time to use up what is in the refrigerator.

Roasted Duck, Kale and White Bean Soup

You will need

  • 2 tablespoons olive oil
  • 1/2 sweet onion, diced small
  • 2 carrots, peeled and sliced thin
  • 1 tablespoon minced fresh garlic
  • 1 small russet potato, peeled and diced small
  • 3-4 sprigs of fresh thyme
  • 1 quart chicken stock
  • 1 cup leftover roasted duck meat, diced small
  • 1 cup cooked or 1-15 oz. can of white beans, drained
  • 1 medium tomato, peeled, seeded and diced OR 1-15 oz can diced tomatoes
  • 2 cups roughly chopped and stemmed fresh kale
  • Salt and pepper to taste (Start with 1 tablespoon and adjust to suit your taste)
Carrots of many colors.

Carrots of many colors. (Photo credit: Wikipedia)

Saute the onions and carrots in oil for 3 minutes, add the garlic, potatoes and thyme, stir.

When the onions are translucent, add the stock and bring to a boil.

Add the duck and the white beans, bring to a simmer.

Add the tomatoes, simmer for 5 minutes.

Stir in the kale and simmer for 5 minutes more.

When the carrots and potatoes are done, adjust the seasonings with salt and pepper.

Serve with good bread and crispy kale chips.

Baked Crispy Kale Chips

If you love potato chips, you will probably love baked crispy kale chips too.

They are so simple to make, quick and nutritious, and you can’t stop eating them!

The shared bounty this week was baby kale.

ImageHere is how you make the baked crispy kale chips.

Preheat the oven to 350 degrees F. Line a baking sheet pan with parchment. Do not use an insulated baking sheet pan.

You will need:

  • 1 bunch fresh kale
  • olive oil
  • sea or kosher salt (do not used iodized table salt)

Prepare the kale.

To make the chips, remove the leaves from the kale stems. Do this by holding the leaf and pulling the stem off from the back side of the leaf. This removes the stringy stem all the way down the leaf.

ImageImage

Tear the leaves into bite size pieces, but not too small. Wash and spin dry in a salad spinner. Place the kale in a bowl, season with a light drizzle of olive oil and a light sprinkle of salt.Image

Image

Spread the kale on the baking sheet and place in the pre-heated oven for 10-15 minutes. The younger and more tender the kale, the less time it takes to crisp.

When the chips are crispy and slightly brown on the edges, remove from the oven and serve.

If you live in a humid area, the chips may need re-crisping by simply placing them in a warm oven for a few minutes.

They have a lovely earthy flavor that complements many dishes. The chips make a great snack and are something different to put out at your next party.

Image

Spread the kale on a baking sheet and bake for 10-15 minutes

When taking a chefs certification once, I used the kale chip to compliment a dish of Lobster and Israeli Couscous with Grapefruit Emulsion. It was the perfect compliment as it brought  warm earthy “umami” flavors which really made the dish pop.

Sharing the Bounty

I love when people share the bounty.

At work, one of my colleagues is an avid gardener. He often brings in what he has an abundance, this week it was lettuce!

BIG bowl of fresh lettuce and chive flowers

Romaine, green leaf and lambs ear and as I walked past the herb garden at school, I clipped a handful of chive flowers. The huge bowl of greens motivated us to set a salad station and have a big fresh salad with dinner last night.

Instead of using bread for lunch, we wrapped tuna salad in lettuce leaves and felt like Peter Rabbit as we crunched away.

We went to the farmers market and bought some amazing sweet strawberries, radishes, new Vidalia onions, fresh ripe tomatoes and okra and Brussels sprouts and broccoli.

For dinner we grilled chicken and corn on the cob, steamed broccoli and crunched through an amazing fresh salad. We dressed the salad with Chive Blossom Vinaigrette made with Chive Blossom Vinegar.

Prepping Dinner

Rosemary and Lavender Savory Scones

There is nothing quite like a great scone and these Rosemary and Lavender scones fit into the great scone category easily.

Scones are typically thought of as being sweet and fat. This recipe replaces the fat with goat cheese and the dough is delicately scented with rosemary and lavender honey.

If you can’t find lavender honey, you can infuse honey with lavender buds to get the flavor. Put the honey in a double boiler, fold in the lavender buds and warm gently for a couple of hours.

Use only the lavender buds because that is where the essential oil, scent and flavor is, not the stems or leaves.

If you “hyper-heat” the mixture to a boil or heat in the microwave, you will get a very bitter flavor from the lavender. Use too much, you can end up with that “old-lady soap” flavor and no-one wants that!

The amount to use is 1/2 tablespoon to 1 cup of honey. Once the honey has cooled back to room temperature, strain out the lavender. The lavender imparts a very delicate color so if you use a light-colored honey you will see the lavender hue. You won’t see it in darker honey.


Rosemary and Lavender Honey Scented Savory Scones

  • 1 – 1/3 cup unbleached flour
  • 1 –  1/3 cup semolina flour, fine
  • 2 teaspoons baking powder
  • 1 teaspoon finely minced fresh rosemary
  • 1/2 teaspoon baking soda
  • 1/2 teaspoon sea salt
  • 5 oz chevre (a semi-soft goat cheese)
  • 4 Tablespoons olive oil
  • 1/4 cup lavender honey
  • 1 large egg
  • 1/2 cup cream or milk


  • Mix dry ingredients.
  • Cut goat cheese into dry ingredients until it resembles coarse corn meal.
  • In a separate bowl combine wet ingredients.
  • Add to flour mixture and mix until incorporated.
  • Spread the dough out on a parchment lined baking sheet. Try not to handle the dough too much. Pat it lightly to shape and thickness desired
  • Cut into triangles or other desired shapes.
  • Bake at 350° F until golden brown; about 10-20 minutes, depending upon how thick the dough was rolled out.


Mix wet and dry ingredients until incorporated

Pat the dough to desired thickness and shape; cut into triangles or desired shape before baking.

Bake until golden brown

Serve warm.


If desired, spread with goat cheese and drizzle with lavender honey.

These scones make a great breakfast!

I also like to serve them with roasted leg of lamb.

If you didn’t like goat cheese, you can substitute cream cheese.

Chocolate Cherry Bread

Believe it or not, this is not sweet chocolate cherry bread. It would be fantastic with grilled or smoked chicken or ham and honey mustard sandwiches with bread and butter pickles.

Chocolate cherry bread also makes great breakfast.

I have been perfecting a no-knead formula. Trying out different things, discovering what the dough can and can’t do has led to some interesting discoveries, such as this variation.

1. Replace 1/2 cup flour with 1/2 cup special dark cocoa

2. Hydrate 1 cup tart cherries,drain, fold the cherries into the bread after the first rise.

I mixed 1 tablespoon of cocoa into the flour used on the board when folding in the cherries. I did not line the rising baskets with cocoa, just flour.

If I keep making this, I’ll invest in some heavy linen cloth to line the baskets so the cloths will get stained from chocolate, not the baskets.

Recipe for Chocolate Cherry Bread

Makes 2 large loaves

  • 6 cups bread flour
  • 1/2 cup dark cocoa powder
  • 2 Tablespoons kosher salt
  • 3 cups water
  • 2 Tablespoons yeast
  • 1/2 cup dried cherries, soaked in warm water at least 30 minutes
  • 1/4 cup cinnamon sugar, if desired

For handling dough: Mix 2 Tablespoons cocoa powder into 1 cup of bread flour. Use this to dust the rolling surface and any sticky parts of the dough as you shape the loaves.

Combine salt, flour and cocoa powder in a large bowl

Mix the dry ingredients together before adding the wet ingredients

Combine the flour, cocoa, salt in a large bowl, stir to combine.

Warm water to 110°F sprinkle yeast on top and let bubble for 5 minutes. (This ensures the yeast is active)

Whisk the yeast and water together and pour over the flour mixture, fold until all liquid is absorbed and all flour is incorporated.

Pour in the wet ingredients and mix until everything is incorporated; form into a ball on the bottom of the bowl. Let rise for 2 hours or double in size.

Doubled in size

Form into a ball in the bottom of the bowl, cover with an oiled piece of cellophane wrap and allow to rise until doubled in size. This usually takes 2 hours.

Remove and sprinkle the top of the dough with cocoa/flour mixture, scrape to deflate and separate into equal balls of dough.

on a well floured surface, flatten one ball into a rectangle, sprinkle with hydrated cherries and cinnamon sugar if using, fold in thirds, sprinkle more cherries and cinnamon sugar, fold in half. Flatten the dough into another rectangle and roll into a log.

Pre-heat your oven to 450°F for 15 minutes before the bread is ready to bake.

Slash the loaves and place them into the hot oven for 30 minutes or until the internal temperature of the bread reached a minimum of 190°F. Steaming is optional, if you want a crispy crust, steam is recommended. See how to add steam by reading the No Knead Bread post for a full description of baking off the loaves at home.

Shape into a log or ball; let rise for 1 hour or nearly double

As I mentioned before, this bread isn’t sweet. Even if you add the cinnamon sugar, the cinnamon adds to the complex flavor of the cocoa and the cherries. Simply divine for a smoked ham or turkey sandwich with whole grain mustard, lettuce and tomato.

Light lunch